How Do You Seal a Cutting Board: Expert Tips
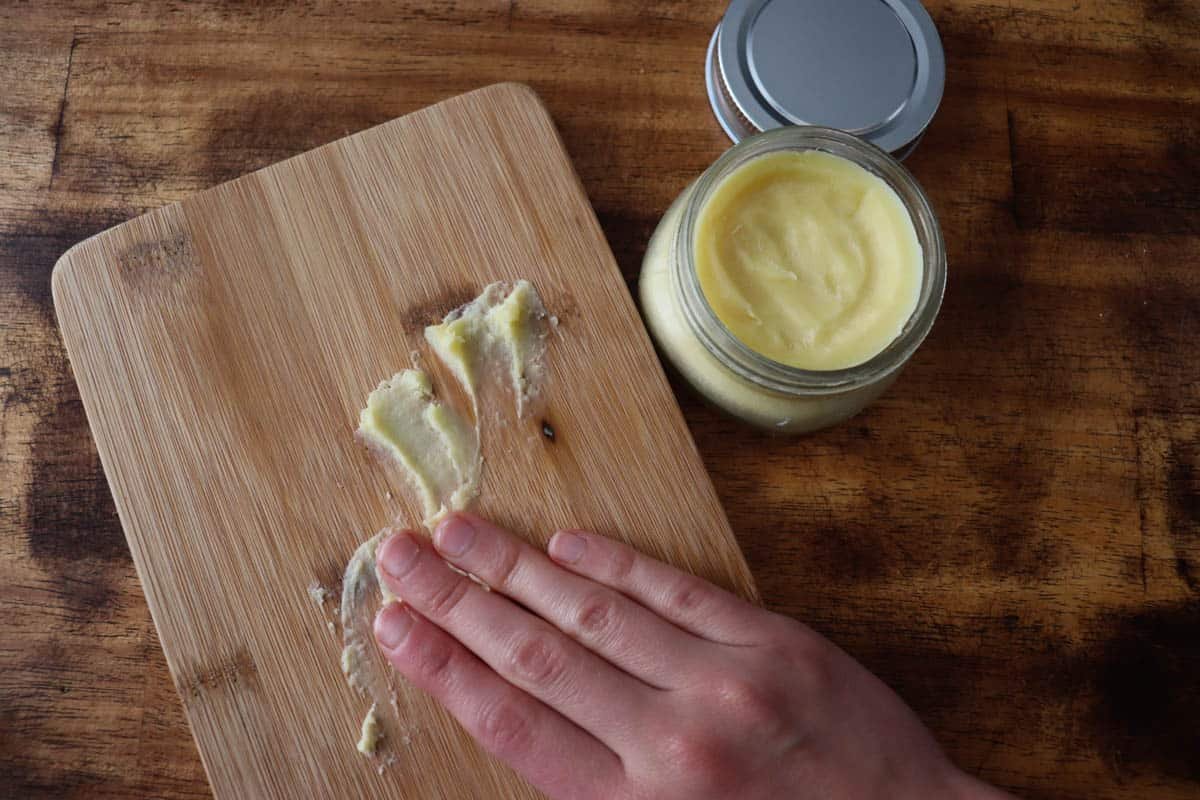
Keeping a cutting board in top shape isn’t just about aesthetics—it’s a food‑safety practice that prevents bacterial harborage, warping, and unpleasant odors. A properly sealed board resists moisture, stands up to daily chopping, and can last for years with minimal effort. This guide walks you through every step, from selecting the right sealant to troubleshooting common issues, so you can maintain a hygienic, durable surface in your kitchen.
 Credit: www.youtube.com
Why Sealing Matters
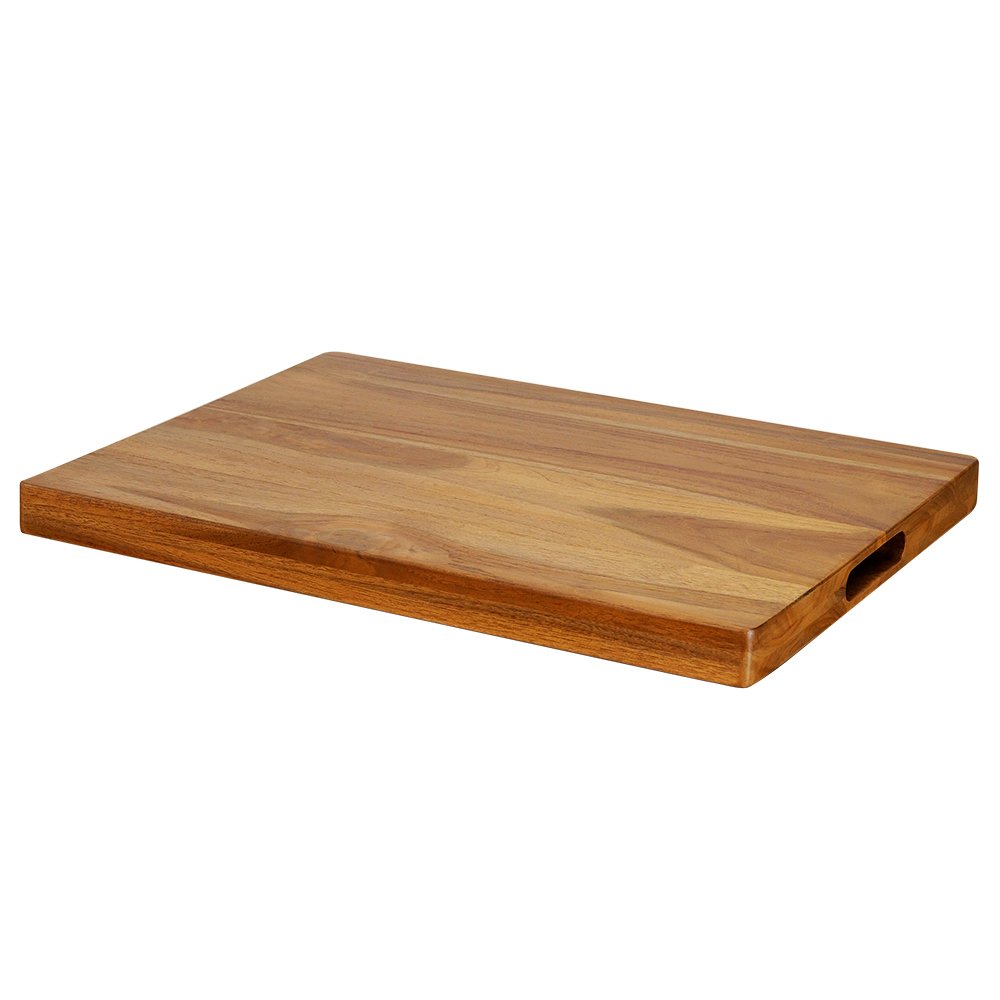
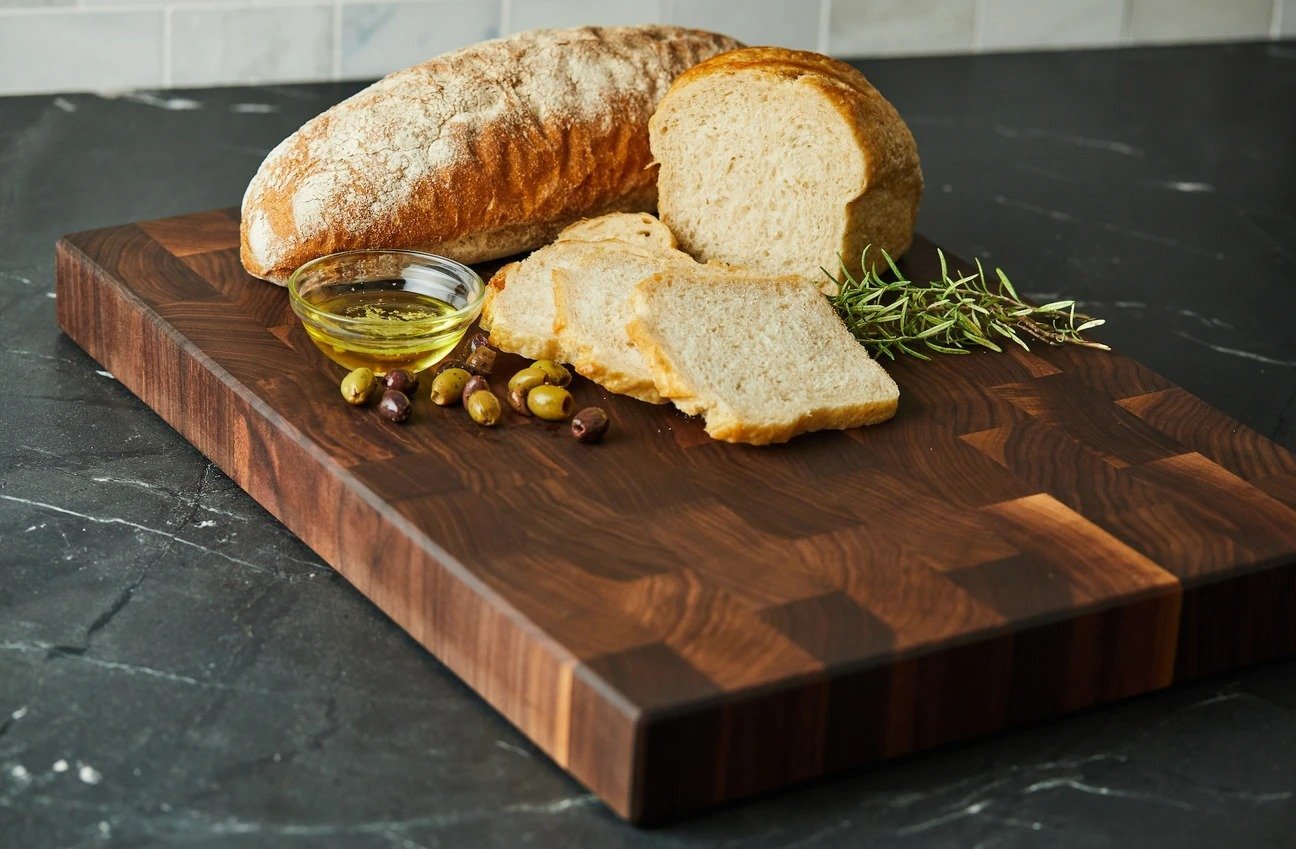
Wood is porous, and every cut opens tiny channels that can trap water, food particles, and microbes. Sealing fills those channels with a food‑safe barrier, reducing the risk of cross‑contamination and keeping the board from drying out or cracking. Just as you would keep a portable travel first‑aid set ready for emergencies, a well‑sealed cutting board protects your food‑prep surface from hidden hazards. According to the FDA guidance on cutting boards, regular oiling is a simple, effective way to maintain a safe cutting surface in home kitchens. For more on this, see our guide on cooking concepts bamboo cutting board.
 Credit: tulipsandtwill.com
Choosing the Right Sealant
Not all oils are suitable for cutting boards. The best sealants penetrate the wood, stay stable over time, and contain no harmful additives.
Food‑Safe Oils
- Mineral oil – odorless, tasteless, and never turns rancid. It’s the most widely recommended option for routine maintenance.
- Fractionated coconut oil – remains liquid at low temperatures, offers a light scent, and resists rancidity better than virgin coconut oil.
- Walnut oil – penetrates deeply and enhances wood grain, but avoid it if anyone in the household has a tree‑nut allergy.
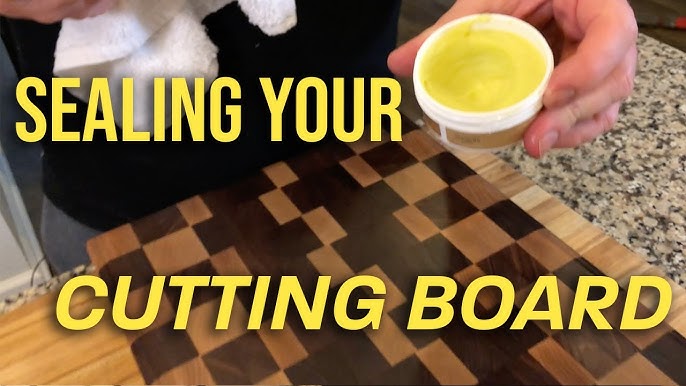
Beeswax Blends
A mixture of melted beeswax and mineral oil (typically 1:4 ratio) creates a slightly harder finish that repels water more effectively. The wax adds a subtle sheen and can extend the time between reapplications. For more on this, see our guide on do titanium cutting boards dull knives.
Oils to Avoid
- Olive, corn, or vegetable oils – prone to oxidation, leading to sticky surfaces and off‑odors.
- Raw linseed oil – often contains metallic dryers that are not food‑safe; only use products explicitly labeled “food‑grade” or “pure” linseed oil.
- Essential oils – too concentrated for wood treatment and can impart unwanted flavors.
For authoritative advice on safe wood treatments, the University of Minnesota Extension provides research‑backed recommendations on cutting‑board care that align with food‑safety standards.
Preparing the Board
A clean, smooth surface ensures the sealant bonds properly and penetrates evenly.
Cleaning the Surface
- Wash the board with hot, soapy water using a non‑abrasive sponge.
- Rinse thoroughly and pat dry with a clean towel.
- Allow it to air‑dry completely; any trapped moisture will inhibit oil absorption.
Sanding for Smoothness
- Use 220‑grit sandpaper (or finer) and sand with the grain to avoid scratches.
- Focus on any rough spots or knife marks until the surface feels uniformly smooth.
- Wipe away dust with a slightly damp cloth, then let the board dry before oiling.
If you enjoy outdoor cooking, think of your board maintenance like packing a fishing trip first‑aid pouch—you want the right tools ready before you head out. For more on this, see our guide on vintage military first aid kit.
Step‑by‑Step Sealing Process
Applying the First Coat
- Pour a small amount of food‑grade mineral oil onto the board—about a tablespoon for a standard 12‑inch board.
- Using a clean, lint‑free cloth or a natural‑bristle brush, spread the oil in a thin, even layer, covering every inch, including the edges.
- Let the oil sit for 20–30 minutes to begin penetration.
Allowing Absorption
- After the initial soak, check the board: if any area looks dry, apply a little more oil.
- For dense hardwoods (e.g., maple, walnut), you may need to let the oil soak up to one hour per coat.
- The board should feel slightly damp but not oily to the touch.
Buffing and Repeating
- Using a fresh cloth, buff the surface in circular motions until no excess oil remains.
- Repeat the application 2–3 times for a new board, or 1–2 times for routine maintenance.
- Allow the final coat to cure overnight before the first use.
Maintenance Schedule
Regular Reapplication
- Light use (a few times per week): oil once every 3–4 weeks.
- Heavy use (daily chopping, juicing, or meat prep): oil weekly or whenever the board looks dull.
- A quick water‑bead test—sprinkle a few drops on the surface—helps you decide: if the water beads, the seal is still good; if it spreads, it’s time to reapply.
Storage Tips
- Store the board upright or on a rack to allow air circulation on all sides.
- Avoid leaning it against wet surfaces or stacking heavy items on top, which can trap moisture and cause warping.
- Keep it away from direct sunlight or heat sources, which can accelerate oil oxidation.
Think of your storage habits as you would a compact purse first‑aid kit—small, accessible, and ready when needed.
Signs Your Board Needs Resealing
- Water no longer beads and instead soaks into the wood.
- The surface feels rough or looks faded after washing.
- You notice lingering odors from garlic, fish, or onions despite cleaning.
- Small cracks or fissures appear along the grain.
Addressing these signs early prevents deeper damage and keeps the board safe for food preparation.
Troubleshooting Common Issues
Sticky or Greasy Surface
- Cause: Over‑application or insufficient buffing.
- Fix: Wipe the board with a dry cloth; if stickiness persists, sprinkle a little baking soda, let it sit for 10 minutes, then wipe clean and re‑oil sparingly.
Warping and Cracks
- Cause: Uneven moisture exposure or rapid temperature changes.
- Fix: For minor warping, place the board under a light, evenly distributed weight (like a cutting board stack) for a day or two. Deep cracks may require sanding down to fresh wood before resealing.
Odor Retention
- Cause: Porous wood trapping strong‑smelling foods.
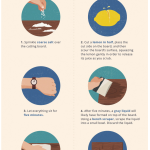
- Fix: Rub the board with half a lemon and coarse salt, let it fizz for a few minutes, then rinse and re‑oil. Persistent smells may need a light sanding and a fresh coat of sealant.
Expert Tips and Tricks
- Warm the oil slightly (by placing the bottle in warm water) to improve penetration, especially in colder months.
- Use a dedicated oil‑only cloth—never reuse it for other kitchen tasks—to avoid cross‑contamination.
- For a pleasant aroma, add a few drops of food‑grade lemon essential oil to your mineral oil blend; the scent dissipates after curing and leaves a fresh note.
- If you prefer a wax finish, apply the beeswax‑oil mixture with a soft cloth, let it set for 45 minutes, then buff to a satin sheen.
- Treat your board like a workplace first‑aid compliance guide—regular checks and timely upkeep keep everything running safely and efficiently.
 Credit: www.youtube.com
Frequently Asked Questions
What is the best thing to seal a cutting board with?
Food‑grade mineral oil is the top choice for most users because it’s inert, inexpensive, and easy to find. A beeswax‑oil blend offers extra water resistance if you prefer a slightly harder finish.
Is it better to oil or wax a cutting board?
Oil penetrates the wood and provides internal protection; wax sits on the surface and adds a temporary barrier. For long‑term care, oil is essential; wax can be used as a supplemental top coat. For more on this, see our guide on marine first aid kit contents list.
Does a cutting board need to be sealed?
Yes. Wooden boards benefit greatly from sealing, which reduces moisture absorption, limits bacterial growth, and prevents cracking. Plastic boards generally don’t require sealing but should still be cleaned and sanitized regularly.
What kind of finish should you put on a cutting board?
A finish of food‑grade mineral oil, applied regularly, is sufficient. If you desire added shine and water repellency, mix in melted beeswax (1 part wax to 4 parts oil) and apply as described above. For more on this, see our guide on empty first aid kit box.
Conclusion
Sealing a cutting board is a straightforward, low‑cost habit that pays off in safety, longevity, and kitchen enjoyment. By choosing the right food‑safe oil or wax blend, preparing the surface properly, and maintaining a regular reapplication schedule, you’ll keep your board resisting stains, odors, and wear for years to come. Treat your cutting board with the same care you’d give any essential kitchen tool—clean it, oil it, and store it wisely, and it will serve you reliably meal after meal.

Hi, I’m Daniel Brooks—a food lover and kitchen gear enthusiast. I enjoy testing cookware, utensils, and gadgets to see what really works in everyday cooking. At PlugChef.com, I share honest reviews, comparisons, and simple guides to help you choose the best tools for a safer, smarter, and more enjoyable kitchen.
Similar Posts