
Your kitchen is the heart of your home, but it’s also one of the most high-traffic, mess-prone spaces in the house. From splattered grease on stovetops to crumb buildup in cabinet crevices, even small lapses in cleaning can lead to stubborn stains, unpleasant odors, and even food safety risks. The U.S. Food and Drug Administration (FDA) notes that unclean kitchen surfaces are a leading contributor to cross-contamination and foodborne illness in home settings. The good news? You don’t need to spend hours scrubbing to get a sparkling, hygienic kitchen. This guide breaks down the 7 most effective, time-tested steps to clean every corner of your kitchen, plus pro tips to make the process faster and more effective for future cleanings.
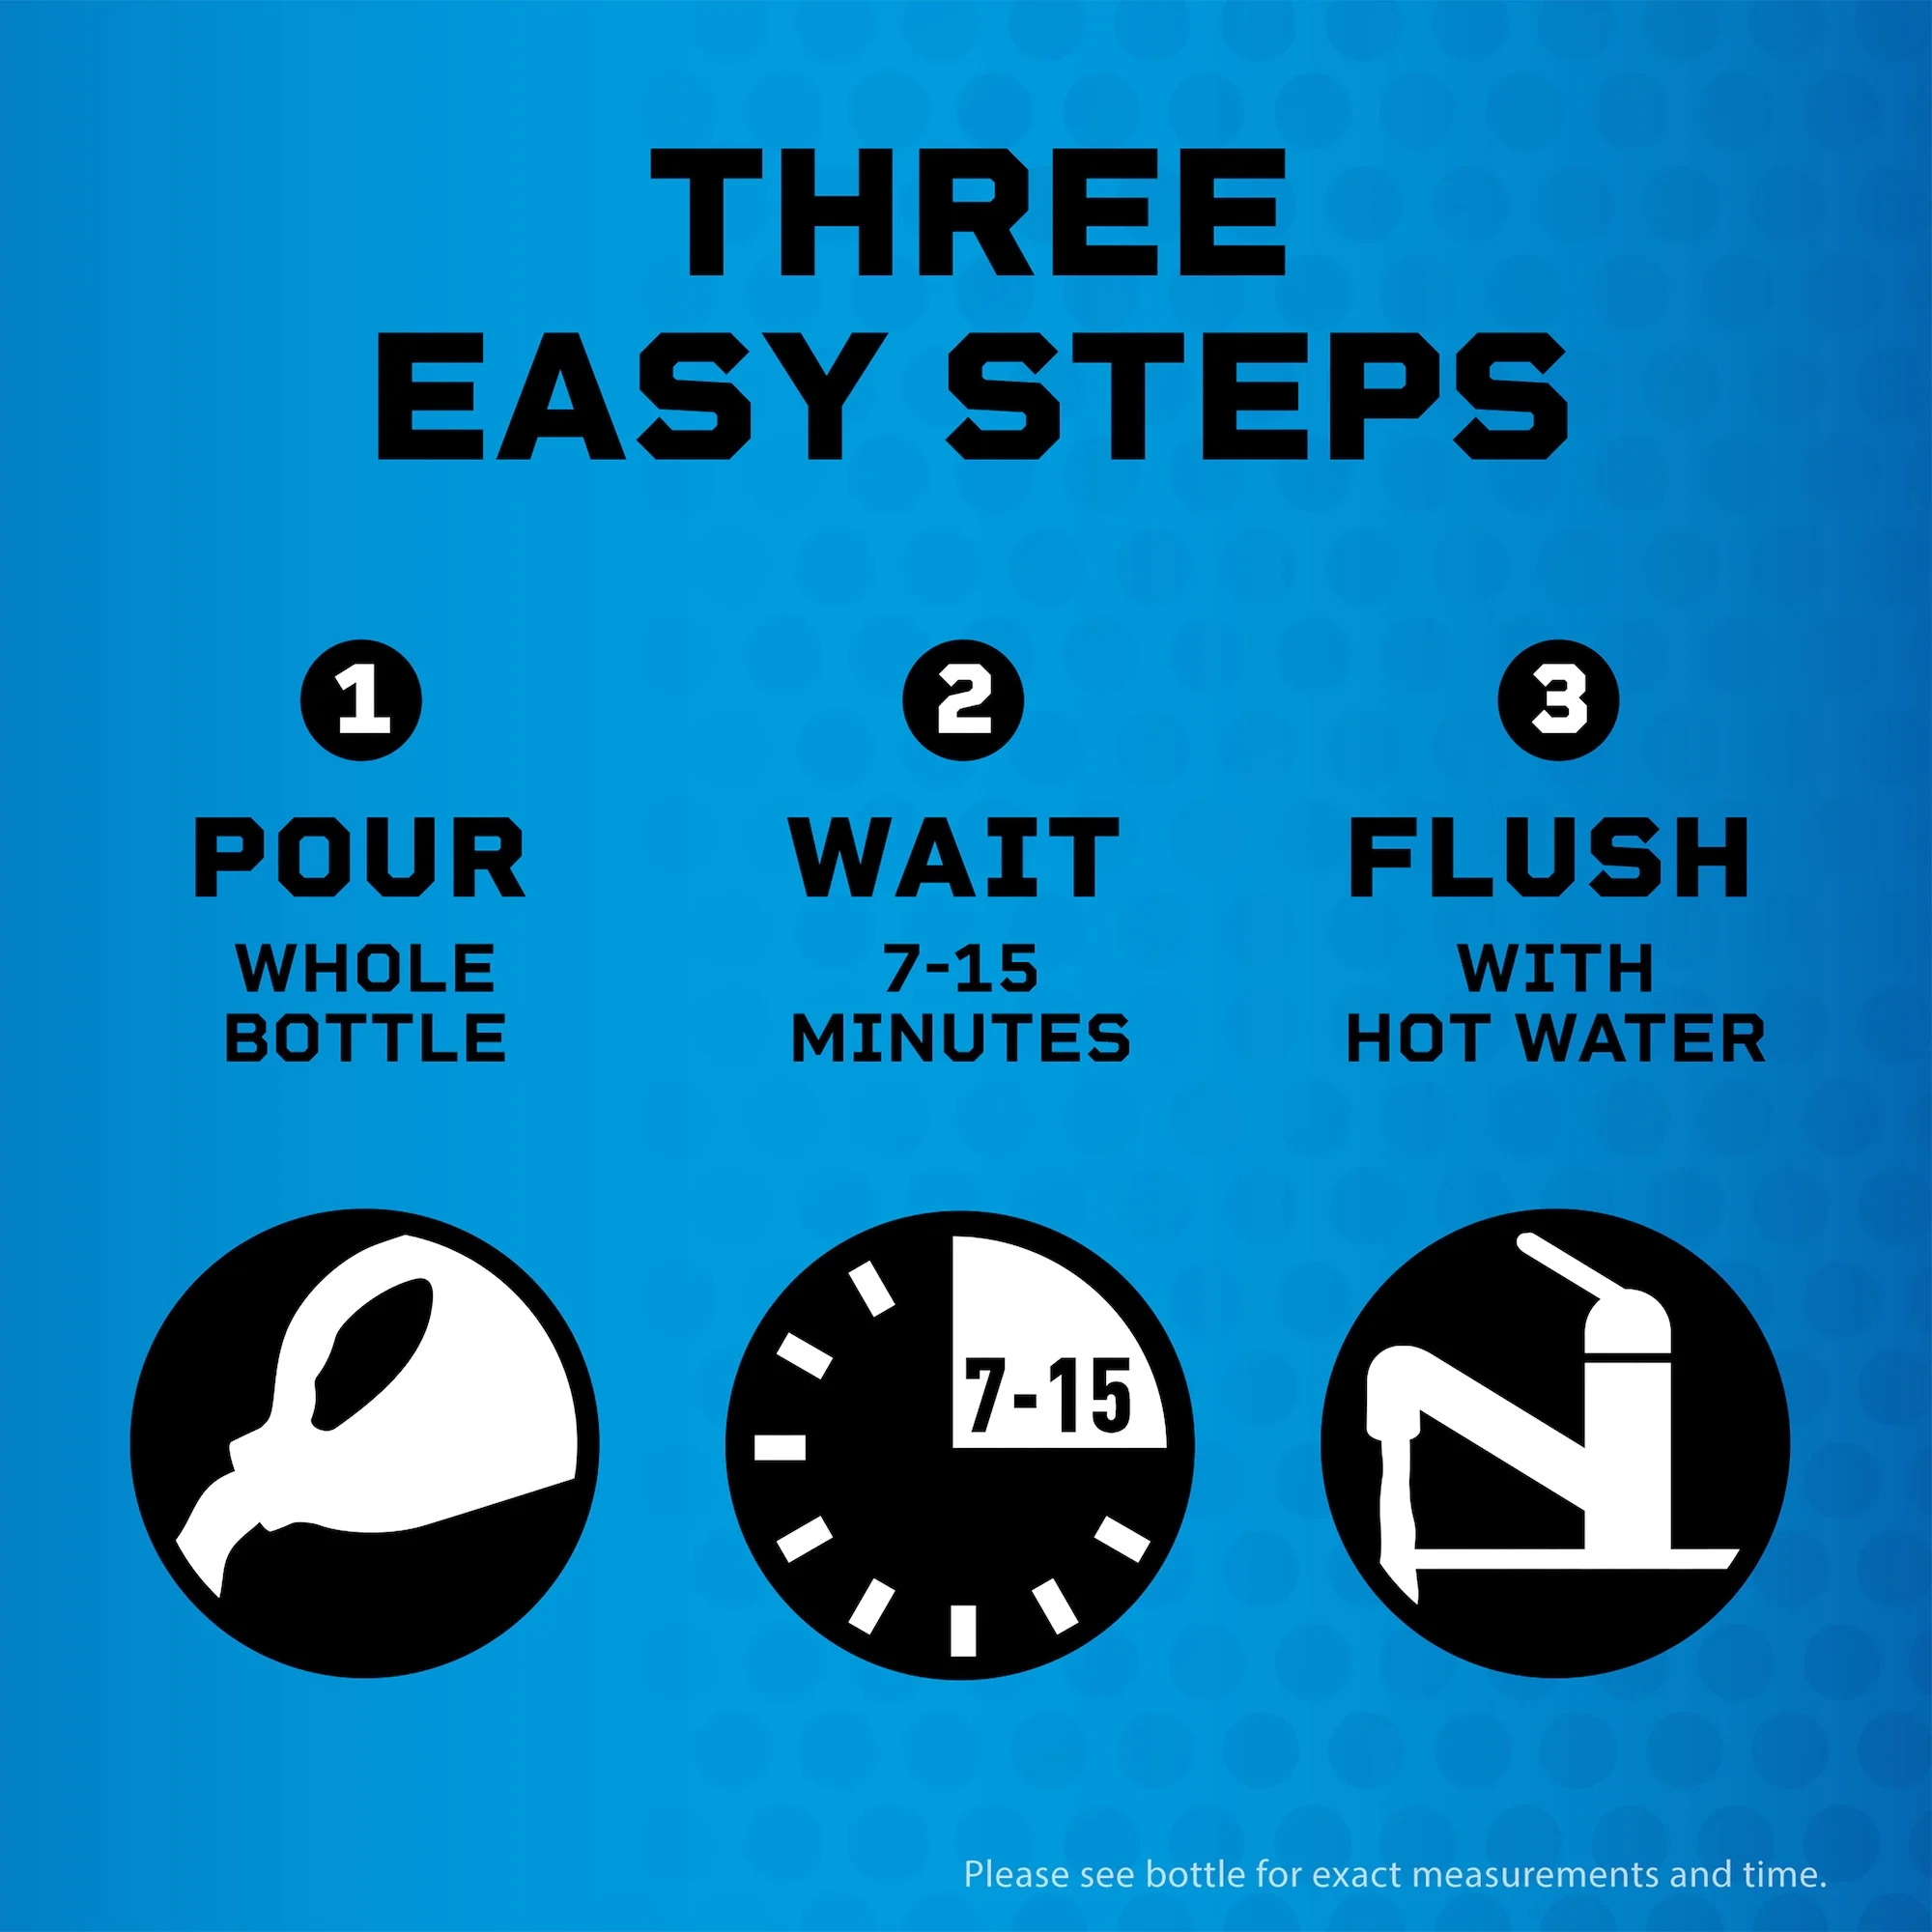 Follow manufacturer instructions carefully when using chemical drain cleaners to avoid pipe damage.
Credit: www.liquidplumr.com
Follow manufacturer instructions carefully when using chemical drain cleaners to avoid pipe damage.
Credit: www.liquidplumr.com
Step 1: Gather Targeted, Non-Toxic Cleaning Supplies
Having the right tools on hand before you start cuts cleaning time in half and ensures you don’t have to pause mid-task to hunt for products. For food-safe, effective options, refer to EPA’s guidance on food-safe cleaning products to avoid harsh chemicals near meal prep areas.
Basic Cleaning Tools
Start with these core tools to tackle every surface type:
- Lint-free microfiber cloths (for streak-free finishes on glass and stainless steel)
- Non-abrasive scrub brushes and sponges (for greasy stovetops and sink surfaces)
- Broom and rubber-edged dustpan (to catch crumbs in tight corners)
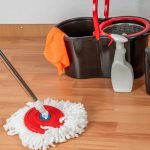
- Microfiber mop and bucket (for sealed tile, vinyl, and hardwood floors)
- Old toothbrush (for scrubbing grout, faucet crevices, and appliance seals)
Surface-Specific Cleaning Solutions
Avoid using one all-purpose cleaner for every surface, as some formulas can damage delicate finishes:
- Mild dish soap and warm water: For daily countertop wiping, dishwashing, and cabinet fronts
- EPA-approved all-purpose disinfectant spray: For high-touch areas like faucet handles, appliance knobs, and light switches to kill 99.9% of common bacteria
- Glass cleaner: For windows, glass backsplashes, and appliance doors
- Baking soda and white vinegar: For deodorizing sinks, drains, and microwaves, and lifting baked-on food stains
- Stone-specific pH-neutral cleaner: For granite, marble, or quartz countertops (never use vinegar or abrasive cleaners on natural stone, as these can etch the surface permanently)
Protective Gear
Wear basic protective gear to avoid skin irritation from cleaning products:
- Long-cuffed reusable rubber gloves (to keep water and chemicals off your wrists)
- Dust mask (if you have sensitivities, or when cleaning moldy areas or sweeping up dust)
- Apron or old clothes to avoid stains from splattered cleaner or grease
Supply Caddy Organization
Store all your cleaning supplies in a portable caddy to carry them from room to room, or keep them tucked under the sink for quick access. Add small labeled containers for spray bottles, sponges, and brushes to keep the caddy tidy and prevent spills.
Step 2: Clear and Declutter Countertops
Clutter on countertops doesn’t just make your kitchen look messy — it also traps crumbs, grease, and spills that are hard to clean around. In practice, fully decluttering countertops before wiping cuts overall cleaning time by nearly a third, as you won’t have to move items mid-clean to reach hidden messes. A common mistake many people make is leaving small appliances, mail, and random utensils out permanently, which creates extra surface area for grime to build up.
The Clear-All, Sort, Return Method
- Remove every item from your countertops, including small appliances, utensil holders, spice jars, and decor.
- Sort items into three piles: daily use (e.g., coffee maker, dish soap), occasional use (e.g., blender, food processor), and rarely used (e.g., holiday serving dishes, specialty gadgets).
- Wipe down the now-empty countertop surface with your chosen cleaner to remove any stuck-on crumbs or stains.
- Return only daily-use items to the counter, and store all other items in cabinets or drawers to keep surfaces clear.
Smart Storage Tips
- Use streamlined countertop and drawer storage solutions to keep utensils, spices, and cooking tools organized and out of sight when not in use.
- Store rarely used small appliances in lower cabinets to free up prep space, and use appliance sliders to make them easy to pull out when needed.
- Keep a small basket on the counter for frequently used items like fruits or cooking oils to avoid clutter while keeping essentials accessible.
Step 3: Tackle Dishes and the Sink Area
The sink is one of the most high-bacteria areas in the kitchen, especially if dirty dishes are left to sit for hours. FDA’s official kitchen sanitation guidance recommends clearing and cleaning the sink daily to prevent cross-contamination between raw food residues and ready-to-eat items. Start with dishes first, as cleaning up food scraps and grime from plates and pots will make the rest of your kitchen cleanup far easier.
Clear and Prep the Sink
- Remove all dishes, food scraps, and cleaning supplies from the sink. Scrape leftover food into the trash or compost bin to avoid clogging the drain.
- Check the drain strainer for stuck food particles, and rinse it under hot water. For lingering odors, pour ½ cup of baking soda down the drain followed by ½ cup of white vinegar, let sit for 10 minutes, then flush with boiling water.
- Scrub the sink basin with a non-abrasive sponge and dish soap, focusing on the drain area and faucet base where grime builds up. Rinse thoroughly and wipe dry with a microfiber cloth to prevent water spots and mineral buildup.
Sort and Wash Dishes Efficiently
- Scrape all leftover food from plates, pots, and utensils before washing to avoid spreading grease around your sink.
- Sort dishes by soil level: start with the least dirty items (glasses, silverware) first, and save heavily soiled pots and pans for last to keep your wash water clean.
- For baked-on food, pre-soak pots and pans in warm, soapy water for 10–15 minutes to cut down on scrubbing time.
- Wash dishes with hot, soapy water, rinse thoroughly, and either air dry or towel dry before putting them away.
Organize Sink and Dish Storage
Install a sturdy under-sink shelf to keep dish soap, sponges, cleaning supplies, and extra dish towels organized and out of sight, preventing clutter and moisture buildup around the sink area that can lead to mold growth.
Step 4: Clean Appliances Inside and Out
Grease, food spills, and crumbs build up on kitchen appliances quickly, not just making them look dirty but also reducing their efficiency and lifespan. Clean appliances inside and out at least once a month, and wipe up spills as they happen to avoid stubborn stains.
Refrigerator
- Unplug the refrigerator (or turn off the circuit breaker) for safety.
- Remove all food, shelves, and drawers. Discard any expired or spoiled food.
- Wash shelves and drawers with warm, soapy water, then dry thoroughly before replacing them.
- Wipe the interior walls and door seals with a damp cloth and mild cleaner to remove spills and mold buildup in seal crevices.
- Pull the refrigerator away from the wall and vacuum the condenser coils (usually located at the back or bottom) every 3 months to improve efficiency and reduce energy bills.
- Wipe the exterior with a stainless steel cleaner (if applicable) or mild all-purpose cleaner, then dry to a streak-free finish.
Oven and Stovetop
- Remove oven racks and soak them in warm, soapy water for 30 minutes to loosen baked-on food.
- For the oven interior, apply a baking soda paste (3 parts baking soda to 1 part water) to stained areas, let sit for 12 hours (or overnight), then wipe away with a damp cloth. For heavy buildup, use an EPA-approved oven cleaner, following all label instructions.
- For glass or ceramic stovetops, use a non-abrasive stovetop cleaner and a scrub pad to lift grease and burnt food. For enamel stovetops, a pumice stone works well for stuck-on grime without scratching the surface.
- Scrub stovetop knobs and the control panel with a damp cloth and mild soap, then dry thoroughly.
Microwave
- Fill a microwave-safe bowl with 1 cup of water and 2–3 lemon slices (or 2 tablespoons of white vinegar for extra deodorizing power).
- Heat on high for 5 minutes, then leave the door closed for 2 more minutes to let steam loosen grime.
- Wipe the interior walls, ceiling, and turntable with a soft, damp cloth. For stuck-on food, scrub gently with a non-abrasive sponge.
- Wipe the exterior and control panel with a mild cleaner, then dry.
Dishwasher
- Remove and rinse the bottom filter under running water weekly to remove food scraps and prevent clogs.
- Check the spray arms for clogs, and clear any blocked holes with a toothpick or small brush once a month.
- Wipe the door seals and interior walls with a damp cloth to prevent mold and mildew growth.
- Run an empty cleaning cycle with a commercial dishwasher cleaner or 1 cup of white vinegar once a month to remove limescale and lingering odors. For daily-use small appliances like coffee makers, follow manufacturer cleaning instructions to avoid damaging internal components; our guide to eco-friendly coffee maker cleaners outlines non-toxic options that won’t leave harmful residues. Use a smart appliance organizer to keep rarely used small appliances tucked away while keeping cords managed and accessible when needed.
Step 5: Wipe Down Cabinets and Drawers
Grease, dust, and crumbs build up on kitchen cabinets and drawers over time, especially above the stove and sink where cooking splatters are most common. Regular wiping prevents grime from hardening into stubborn stains that are hard to remove later.
Prep and Clean Cabinet Exteriors
- Remove all items from cabinets and drawers you plan to clean.
- Dust the exterior and interior surfaces with a dry microfiber cloth to remove loose dust and crumbs.
- For cabinet fronts above the stove or sink, use a degreaser or warm, soapy water to lift stuck-on grease. Avoid abrasive scrubbers, which can scratch cabinet finishes.
- For wood cabinets, use a pH-neutral cleaner specifically formulated for wood to avoid drying out or damaging the finish. For laminate or thermofoil cabinets, mild dish soap and water work well.
- Wipe all handles and knobs with a cloth dipped in soapy water, then dry thoroughly to remove fingerprints and grease.
Clean Drawer Interiors and Organize
- Wipe the interior of all drawers with warm, soapy water to remove crumbs and spills, then dry completely to prevent mold growth.
- Install bamboo drawer organizers in lower cabinets and drawers to keep utensils, spices, and cooking tools sorted, reducing clutter that attracts crumbs and pests.
- Add removable drawer liners to make future cleanups easier — just pull out the liner and wipe it down instead of scrubbing the entire drawer interior.
Maintenance Schedule
| Task | Frequency |
|---|---|
| Wipe cabinet and drawer fronts | Weekly |
| Clean drawer interiors | Monthly |
| Deep clean cabinet exteriors (degrease) | Every 3 months |
| Check for water damage or loose handles | Monthly |

Step 6: Scrub Floors Thoroughly
Kitchen floors take on more spills, crumbs, and foot traffic than any other room in the house, so regular deep scrubbing is key to preventing stains, slip hazards, and bacterial growth. The best cleaning method varies by floor type, so adjust your approach accordingly.
Prep the Floor
- Remove all movable items from the floor, including rugs, mats, and small appliances.
- Sweep or vacuum the floor thoroughly to remove loose crumbs, dust, and pet hair before mopping — this prevents you from spreading dirt around while cleaning.
Floor-Type Specific Cleaning Tips
- Sealed tile/vinyl: Mop with warm water and a small amount of mild floor cleaner. For grout stains, use a grout brush and a paste of baking soda and water, or a hydrogen peroxide solution for light-colored grout.
- Hardwood: Use a pH-neutral hardwood floor cleaner and a damp (not soaking wet) mop to avoid warping the wood. Wipe up spills immediately to prevent water damage.
- Natural stone: Use a stone-specific cleaner and avoid vinegar, bleach, or abrasive scrubbers that can etch the surface.
Deep Clean Hard-to-Reach Areas
Every 3 months, pull heavy appliances like the refrigerator and stove away from the wall to clean under them, where crumbs and spills often build up unnoticed. Place a washable kitchen rug under high-traffic areas like the sink and prep station to catch spills and crumbs, reducing the amount of dirt that gets tracked onto flooring.
Rinse and Dry
Mop the floor with clean water to remove any soap residue, then dry with a clean microfiber cloth or dry mop to prevent water spots and slip hazards. Inspect the floor for any missed spots or stains, and spot-clean as needed.
Step 7: Maintain Freshness and Organization Long-Term
A single deep clean will make your kitchen sparkle, but small daily and weekly habits are what keep it that way long-term. Building a simple maintenance routine cuts down on future deep cleaning time and keeps your kitchen hygienic for cooking and gathering.
Daily Maintenance Tasks
- Wipe down countertops, stovetops, and sink surfaces after each cooking session to prevent grease and food from hardening.
- Sweep the floor daily to remove crumbs and loose dirt.
- Empty the trash and recycling bins every night to prevent odors and pest infestations.
- Run the dishwasher nightly if full, or hand-wash dishes immediately after use to avoid pileup.
Weekly Maintenance Tasks
- Mop the floor and wipe down cabinet fronts and appliance exteriors.
- Wipe out the microwave and clean the stovetop.
- Check the pantry for expired food, and wipe down pantry shelves.
Monthly Maintenance Tasks
- Clean the refrigerator coils and defrost the freezer if needed.
- Deep clean the oven and dishwasher.
- Wipe down cabinet and drawer interiors, and reorganize pantry items.
Odor and Waste Management
- Store dry pantry goods like grains, cereals, and pasta in airtight glass or plastic containers to prevent pest infestations and staleness. Label containers with expiration dates to reduce food waste.
- For food scraps like vegetable peels, coffee grounds, and eggshells, set up a countertop worm composting bin to reduce landfill waste and eliminate organic odors from your trash can.
- Install under-cabinet LED lighting to illuminate dark countertop and floor corners, making it easier to spot crumbs and spills during quick daily cleanups.
- For natural deodorizing, place an open box of baking soda in the back of the refrigerator and a small bowl of white vinegar on the countertop to absorb lingering cooking odors.
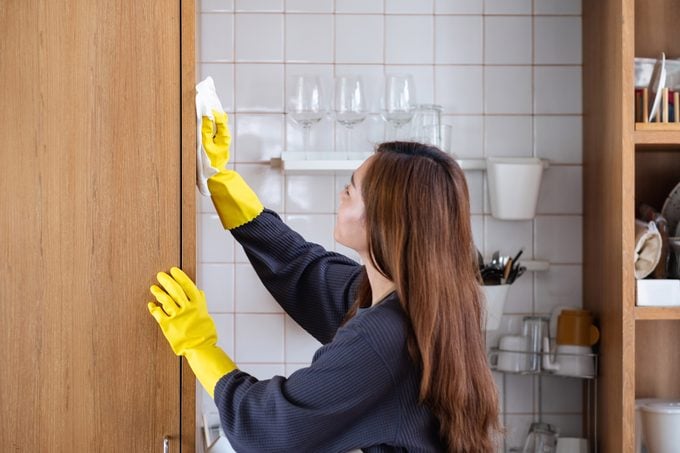 Mop floors after wiping all surfaces to remove any leftover dust or cleaning residue.
Credit: www.rd.com
Mop floors after wiping all surfaces to remove any leftover dust or cleaning residue.
Credit: www.rd.com
Frequently Asked Questions
What are the most important steps for a basic kitchen clean?
The core steps for a quick, hygienic kitchen clean are: 1) Declutter and wipe countertops, 2) Clear and clean the sink and dishes, 3) Wipe down appliance exteriors and high-touch surfaces, 4) Sweep and mop the floor. You can tackle these in 30 minutes or less for a tidy, usable space.
What cleaning products should I avoid using in the kitchen?
Avoid abrasive scrubbers on stainless steel, glass, and natural stone surfaces, as these leave scratches that trap grime. Never mix bleach and vinegar or ammonia, as this creates toxic fumes. For food prep areas, stick to EPA-approved, food-safe cleaners to avoid chemical residue on dishes and surfaces.
How do I remove stubborn grease from stovetops and cabinet fronts?
For baked-on grease, apply a paste of baking soda and warm water to the stained area, let sit for 15–20 minutes, then scrub gently with a non-abrasive sponge. For extra tough grease, add a small amount of white vinegar to the paste for extra lifting power. For cabinet fronts, use a degreaser formulated for kitchen surfaces to avoid damaging the finish.
What’s the best order to clean a kitchen to save time?
The most efficient order is: 1) Gather all cleaning supplies, 2) Declutter and wipe countertops, 3) Clear, wash, and put away dishes, 4) Clean appliance interiors and exteriors, 5) Wipe down cabinets and drawers, 6) Sweep and mop floors, 7) Take out trash and organize storage. This top-to-bottom, dry-to-wet approach prevents you from spreading dirt from the floor to already clean surfaces.
How often do I need to deep clean my kitchen?
A full deep clean of all surfaces, appliances, and floors is recommended every 4–6 weeks for most households. If you cook frequently or have young children or pets, you may need to deep clean every 2–3 weeks to maintain hygiene. Daily and weekly maintenance tasks will cut down on the time needed for deep cleans.
Can I use the same cleaner for all kitchen surfaces?
No. Harsh all-purpose cleaners or bleach can damage delicate surfaces like natural stone countertops, wood cabinets, and stainless steel appliances. Always check manufacturer instructions for cleaning products, and use surface-specific cleaners for best results and to avoid permanent damage.
Conclusion
Cleaning your kitchen doesn’t have to be a hours-long, grueling chore. By following these 7 structured steps, you can tackle even the messiest kitchen in under an hour, and maintain a sparkling, hygienic space with small daily habits. From gathering the right non-toxic supplies to building a simple maintenance routine, these tips are designed to work for every household, whether you’re a frequent home cook or just looking to keep your kitchen tidy between uses. Ready to transform your space? Start with Step 1 today, and pair your cleaning routine with smart organizational upgrades to keep your kitchen sparkling with less effort long-term.

I’m Abby Lu, a passionate home cook who loves simplifying everyday meals. At PlugChef.com, I share product reviews and cooking guides to help you find the best tools for your kitchen.
Related posts:
 What Type of Cooking Utensils are Safe: Expert Picks
 Safest Cooking Utensils: Top Non-Toxic Wooden & Silicone Sets Reviewed
 Best Chef Knife Set for Precision and Durability in Every Kitchen
 How is a Cutting Board Stabilized: Expert Tips for Ultimate Safety
 Unbleached Vs Bleached Parchment Paper: Which Is Safer & Better?
 Using Vinegar to Mop Floors: Ultimate Guide for a Sparkling Clean

