
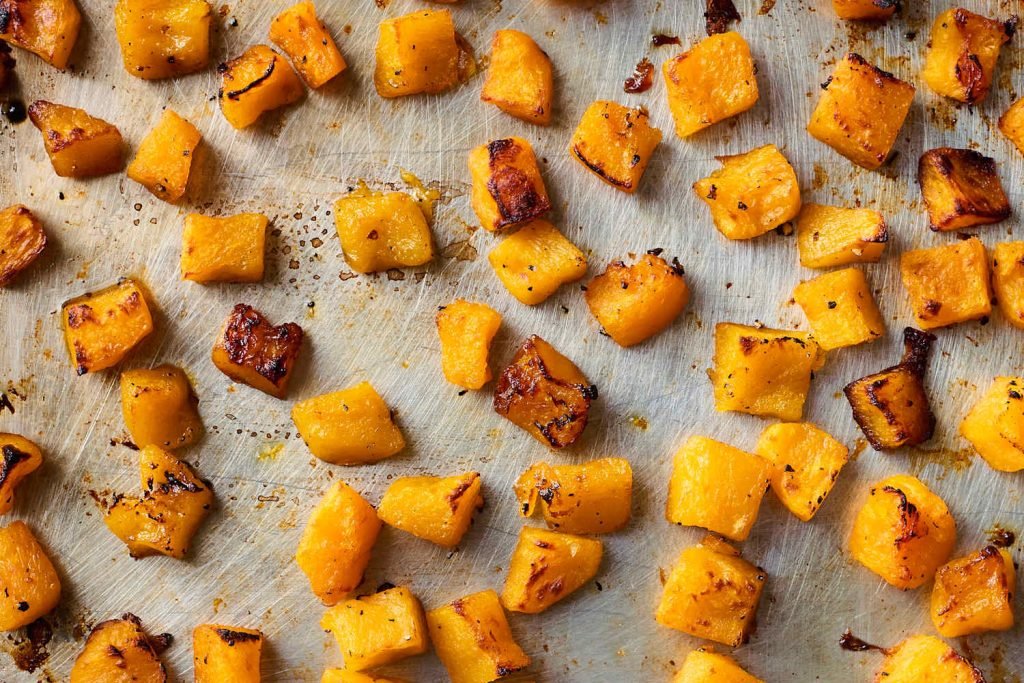
Craving the sweet, nutty flavor of roasted butternut squash but dreading the 20 minutes of peeling, seeding, and cubing fresh squash? Roasted butternut squash from frozen is the busy home cook’s secret weapon: no messy prep, consistent results, and all the cozy flavor you love, ready in under 40 minutes. Whether you’re whipping up a quick weeknight side, prepping make-ahead meals, or looking for a versatile ingredient for soups and salads, frozen butternut squash delivers restaurant-quality results with a fraction of the effort. In this guide, we’ll walk through foolproof roasting techniques, flavor variations for every taste, and pro tips to avoid sogginess and get perfectly crispy, caramelized edges every time.
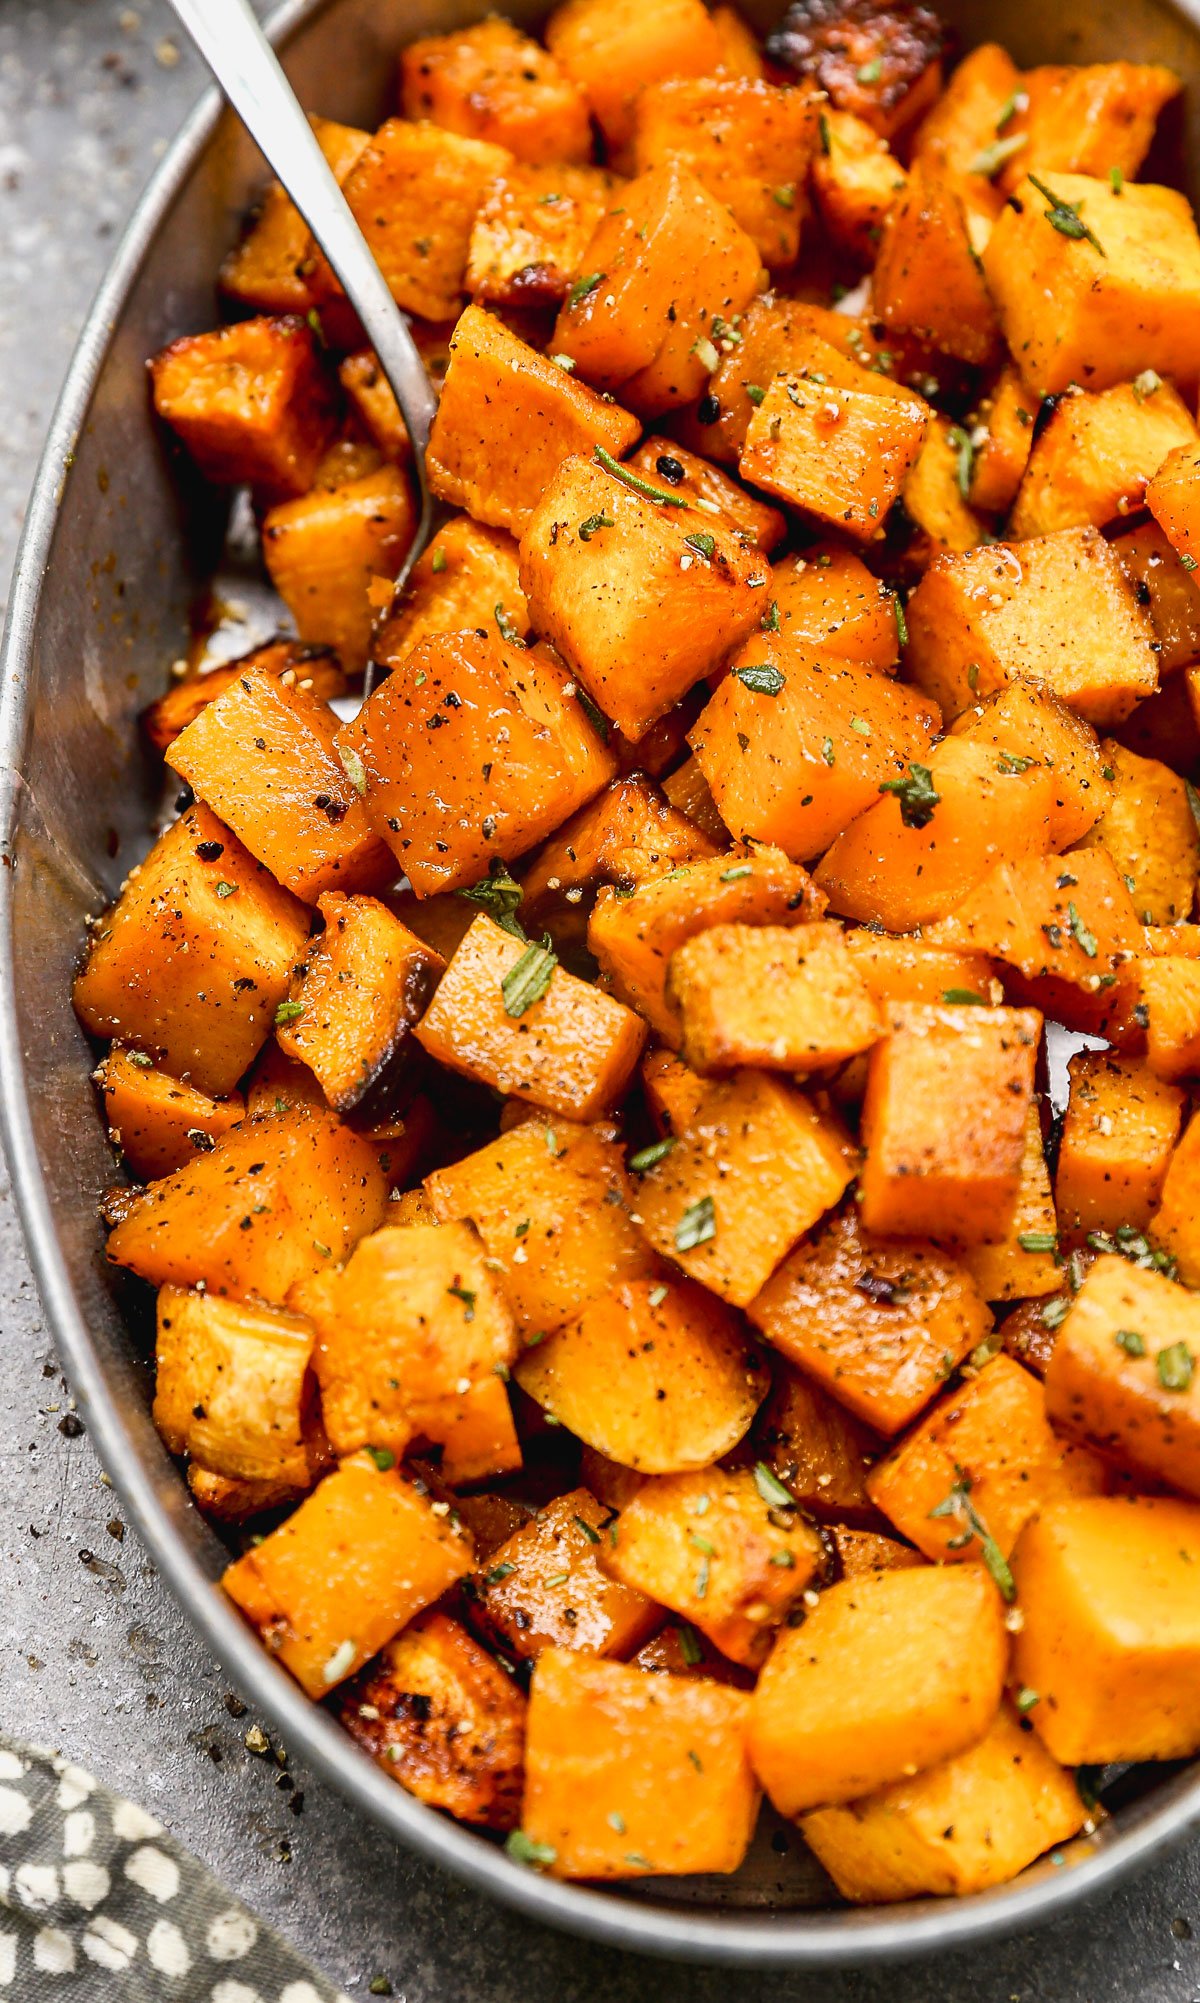 Crispy, caramelized roasted butternut squash made from frozen, ready to serve as a side dish.
Credit: www.wellplated.com
Crispy, caramelized roasted butternut squash made from frozen, ready to serve as a side dish.
Credit: www.wellplated.com
Why Choose Frozen Butternut Squash for Roasting?
Frozen butternut squash is far more than a last-minute convenience hack: it offers tangible benefits for flavor, nutrition, and budget that make it a smarter choice than fresh for most home cooks.
No More Peeling, Seeding, or Cubing
Fresh butternut squash has a tough, waxy skin and hard, stringy seeds that require significant time and effort to remove. Frozen butternut squash is pre-peeled, seeded, and cut into uniform cubes, eliminating the most labor-intensive parts of working with the vegetable. In practice, this cuts total prep time by 15 to 20 minutes per dish, making it ideal for busy weeknights when you don’t have time to wrestle with a whole squash.
Peak Nutrient Retention
Freezing butternut squash at peak ripeness locks in its vitamins, minerals, and natural sweetness before they can degrade during transport and storage. Per USDA guidance on frozen produce nutrition, frozen vegetables often retain equal or higher nutrient levels than fresh produce that has been sitting in grocery store shelves or home refrigerators for several days, as fresh produce loses vitamins the longer it is stored after harvest. You won’t sacrifice nutritional value by choosing frozen.
Budget-Friendly, Year-Round Access
Fresh butternut squash is often expensive and hard to find outside of fall and winter, but frozen varieties are available year-round at a consistent, lower price point. Buying frozen also reduces food waste, as you can use only the portion you need and keep the rest frozen for future meals, no more worrying about a whole squash going bad in your crisper drawer before you can use it.
Prep Basics for Perfect Results
Proper prep is the difference between soggy, steamed squash and crispy, caramelized perfection. Follow these simple steps to set your roasted squash up for success.
Thawing vs. Roasting Directly from Frozen
You don’t have to thaw frozen butternut squash before roasting, but the method you choose will impact cook time and texture:
- Roast directly from frozen: The most convenient option, add 5 to 10 minutes to the standard roasting time. Pat the cubes as dry as possible before oiling to minimize excess moisture.
- Thaw first for crispier results: Thaw overnight in the refrigerator, or submerge sealed cubes in cold water for 30 minutes for a quick thaw. Pat thoroughly dry with paper towels before seasoning to remove all surface moisture.
Avoid microwaving to thaw, as short bursts on high power can partially cook the squash and lead to a mushy texture.
Drying and Oiling for Crispy Texture
Excess surface moisture is the number one cause of soggy roasted squash. After thawing (if using), pat the cubes completely dry with paper towels or a clean kitchen towel, removing as much water as possible. Toss the dry cubes with 1 tablespoon of high-smoke-point oil (avocado, light olive oil, or sunflower oil work best) per pound of squash, ensuring every piece is lightly coated. The oil helps the seasoning stick, promotes browning, and prevents the squash from drying out during roasting.
Seasoning Tips to Avoid Blandness
Frozen butternut squash has a naturally sweet, nutty flavor, but it can absorb seasonings quickly, so start with a light hand. For a base, toss with ¼ teaspoon of salt and ⅛ teaspoon of black pepper per pound of squash, then add dried spices (garlic powder, paprika, cumin, smoked paprika) before roasting. Add fresh herbs (rosemary, thyme, parsley) after cooking to avoid burning, and finish with a sprinkle of flaky sea salt for extra depth.
Once your squash is roasted, toss with fresh herbs if desired, then use a handy produce scrubbing brush to clean your baking sheet in seconds after cooking.
Foolproof Roasting Instructions
Roasting frozen butternut squash is incredibly simple, but a few small adjustments ensure perfect results every time.
Optimal Oven Temperature and Timing
As recommended in University of Minnesota Extension roasting best practices, a high, consistent oven temperature of 425°F (220°C) is ideal for caramelizing vegetables without steaming them, which preserves their natural sweetness and crispy texture. Roast thawed squash for 25 to 30 minutes, and frozen squash for 30 to 40 minutes, stirring halfway through cooking to ensure even browning.
How to Get Crispy, Not Soggy, Edges
A common mistake many home cooks make is overcrowding the baking sheet, which traps steam and leads to soggy, un-caramelized squash instead of the crispy edges most people want. In practice, giving each cube at least ½ inch of space ensures even air circulation and perfect browning. For extra crispiness, preheat your baking sheet for 5 minutes before adding the squash, or arrange the cubes cut-side down to maximize contact with the hot pan.
How to Tell When It’s Done
Your roasted squash is ready when it is fork-tender, with deep golden-brown edges and a few caramelized, almost charred spots. If you poke a cube with a fork and it slides in easily with no resistance, it’s done. If the edges are pale but the squash is tender, switch the oven to broil for 1 to 2 minutes to crisp up the exterior, watching closely to avoid burning.
3 Quick, Tested Flavor Variations
Roasted frozen butternut squash is a blank canvas for flavor, and these tested variations take 5 minutes of extra prep for big flavor payoff:
Savory Garlic & Herb
Toss 1 pound of frozen squash with 1 tablespoon of olive oil, 1 teaspoon of dried rosemary, 1 teaspoon of dried thyme, ½ teaspoon of garlic powder, ¼ teaspoon of salt, and ⅛ teaspoon of black pepper before roasting. Finish with 2 tablespoons of chopped fresh parsley after cooking. This savory blend pairs perfectly with roasted chicken or pork.
Sweet Maple Chili
Whisk 1 tablespoon of pure maple syrup, 1 teaspoon of chili powder, ¼ teaspoon of cayenne pepper (adjust to taste), and a pinch of salt together. Drizzle the mixture over the squash during the last 10 minutes of roasting to avoid burning. Finish with a squeeze of fresh lime juice for brightness. This variation works as a spicy side or a topping for tacos and bowls.
Cheesy Parmesan & Pine Nut
Sprinkle 2 tablespoons of grated Parmesan cheese and 1 tablespoon of toasted pine nuts over the squash during the last 5 minutes of roasting, so the cheese melts slightly without burning. Finish with a pinch of red pepper flakes for extra heat. This rich, indulgent variation works as a standalone side or a topping for pasta.
These recipes are kid-approved, and if you’re cooking with little ones in the kitchen, child safety locks for kitchen cabinets keep cleaning supplies and sharp tools out of reach while you work.
Serving Ideas for Every Meal
Roasted frozen butternut squash is incredibly versatile, working as a side dish, salad ingredient, soup base, or even pizza topping:
As a Simple Standalone Side
Toss roasted squash with a drizzle of balsamic glaze and a sprinkle of fresh herbs for a fast, elegant side that pairs with almost any main course, from roasted turkey to grilled salmon.
In Grain Bowls and Salads
Add cooled roasted squash cubes to spinach or arugula salads for a sweet, creamy contrast to bitter greens and tangy dressings. Mix with quinoa, toasted walnuts, and goat cheese for a hearty grain bowl, or toss with farro, cranberries, and feta for a festive fall salad.
In Soups, Stews, and Purees
Blend half a batch of roasted squash with vegetable broth and a pinch of nutmeg for a creamy, dairy-free soup in 5 minutes. Add whole roasted cubes to vegetable or chicken stews during the last 5 minutes of cooking to keep their texture, or stir into curry for a sweet, creamy element.
As a Pizza or Flatbread Topping
Top store-bought or homemade pizza dough with a layer of olive oil, roasted squash cubes, caramelized onions, and goat cheese before baking for a unique fall-themed pizza. For a festive fall appetizer, toss sweet maple chili roasted squash with crumbled goat cheese and toasted pecans, then serve alongside a curated charcuterie board — use our guide to cutting round cheese for charcuterie boards to create a polished, cohesive spread.
Storing and Reheating for Minimal Waste
Roasted butternut squash stores beautifully, making it an ideal meal prep staple. Follow these tips to keep it tasting fresh for days:
Fridge Storage for Quick Meals
Cool roasted squash completely before transferring it to an airtight container. It will stay fresh in the refrigerator for 4 to 5 days, ready to reheat for quick lunches or sides.
Freezer Storage for Batch Cooking
To freeze roasted squash, spread the cooled cubes in a single layer on a baking sheet and place in the freezer for 1 hour to flash freeze, then transfer to a heavy-duty freezer bag or airtight container. This prevents the cubes from clumping together, so you can grab only the portion you need later. Frozen roasted squash will keep for up to 3 months. Roasted butternut squash freezes perfectly for up to 3 months, making it ideal for meal prep. For more easy make-ahead meal ideas, browse our kitchen tips blog for hundreds of tested weeknight recipes.
Reheating Methods That Preserve Texture
Avoid microwaving roasted squash if possible, as it will turn watery and lose its crispy edges. For best results, reheat in the oven at 375°F (190°C) for 10 to 15 minutes, or in an air fryer at 350°F (175°C) for 5 to 7 minutes to re-crisp the exterior. If you must use the microwave, heat in 30-second bursts, stirring between each, to avoid overcooking. After reheating, use a non-scratch scrubbing tool to easily remove any stuck-on oil or seasoning from your baking sheet without damaging the surface.
Frequently Asked Questions
Can you roast butternut squash directly from frozen?
Yes, you can roast frozen butternut squash without thawing it first. Add 5 to 10 minutes to the standard roasting time, and make sure to pat the cubes as dry as possible before oiling and seasoning to avoid sogginess.
How do you season frozen butternut squash for roasting?
Start with a base of 1 tablespoon of high-smoke-point oil (like avocado or light olive oil) and ¼ teaspoon of salt per pound of squash. Add dried spices (garlic powder, paprika, chili powder, cumin) before roasting, and fresh herbs (rosemary, thyme, parsley) after cooking to avoid burning.
What temperature is best for roasting frozen butternut squash?
425°F (220°C) is the ideal temperature. This high heat evaporates excess moisture quickly, promotes caramelization, and prevents the squash from steaming and turning mushy.
Does roasting frozen squash affect its texture?
When roasted correctly, frozen butternut squash has a tender, creamy interior and crispy, golden edges, nearly identical to freshly roasted squash. The only difference is a slightly longer roasting time if you skip thawing.
Can you roast frozen butternut squash without oil?
Yes, you can roast frozen squash without oil by using a non-stick baking sheet or lining your sheet with parchment paper. Note that oil helps promote browning and crispiness, so oil-free roasted squash will be softer and less caramelized.
How do you prevent frozen butternut squash from getting mushy?
Pat the squash cubes completely dry with paper towels before oiling and seasoning, spread them in a single layer on your baking sheet with space between each piece, and avoid overcrowding the pan, which traps steam and leads to sogginess.
Conclusion
Roasting butternut squash from frozen is a simple, time-saving hack that delivers the same sweet, nutty flavor and tender-crisp texture as fresh-roasted squash, with none of the peeling, seeding, or cubing hassle. Whether you’re looking for a quick weeknight side, a meal prep staple, or a versatile ingredient for soups and salads, frozen butternut squash is a reliable, budget-friendly option available year-round.
By following the prep, roasting, and seasoning tips outlined above, you can avoid common mistakes like sogginess and bland flavor, and customize your squash to match any taste preference, from savory herb to sweet and spicy.
Ready to skip the messy prep work? Grab a bag of frozen butternut squash today and try one of these quick, delicious recipes for a nutrient-packed side dish in under 40 minutes. For more easy, tested weeknight meal ideas, browse our full library of kitchen recipes.
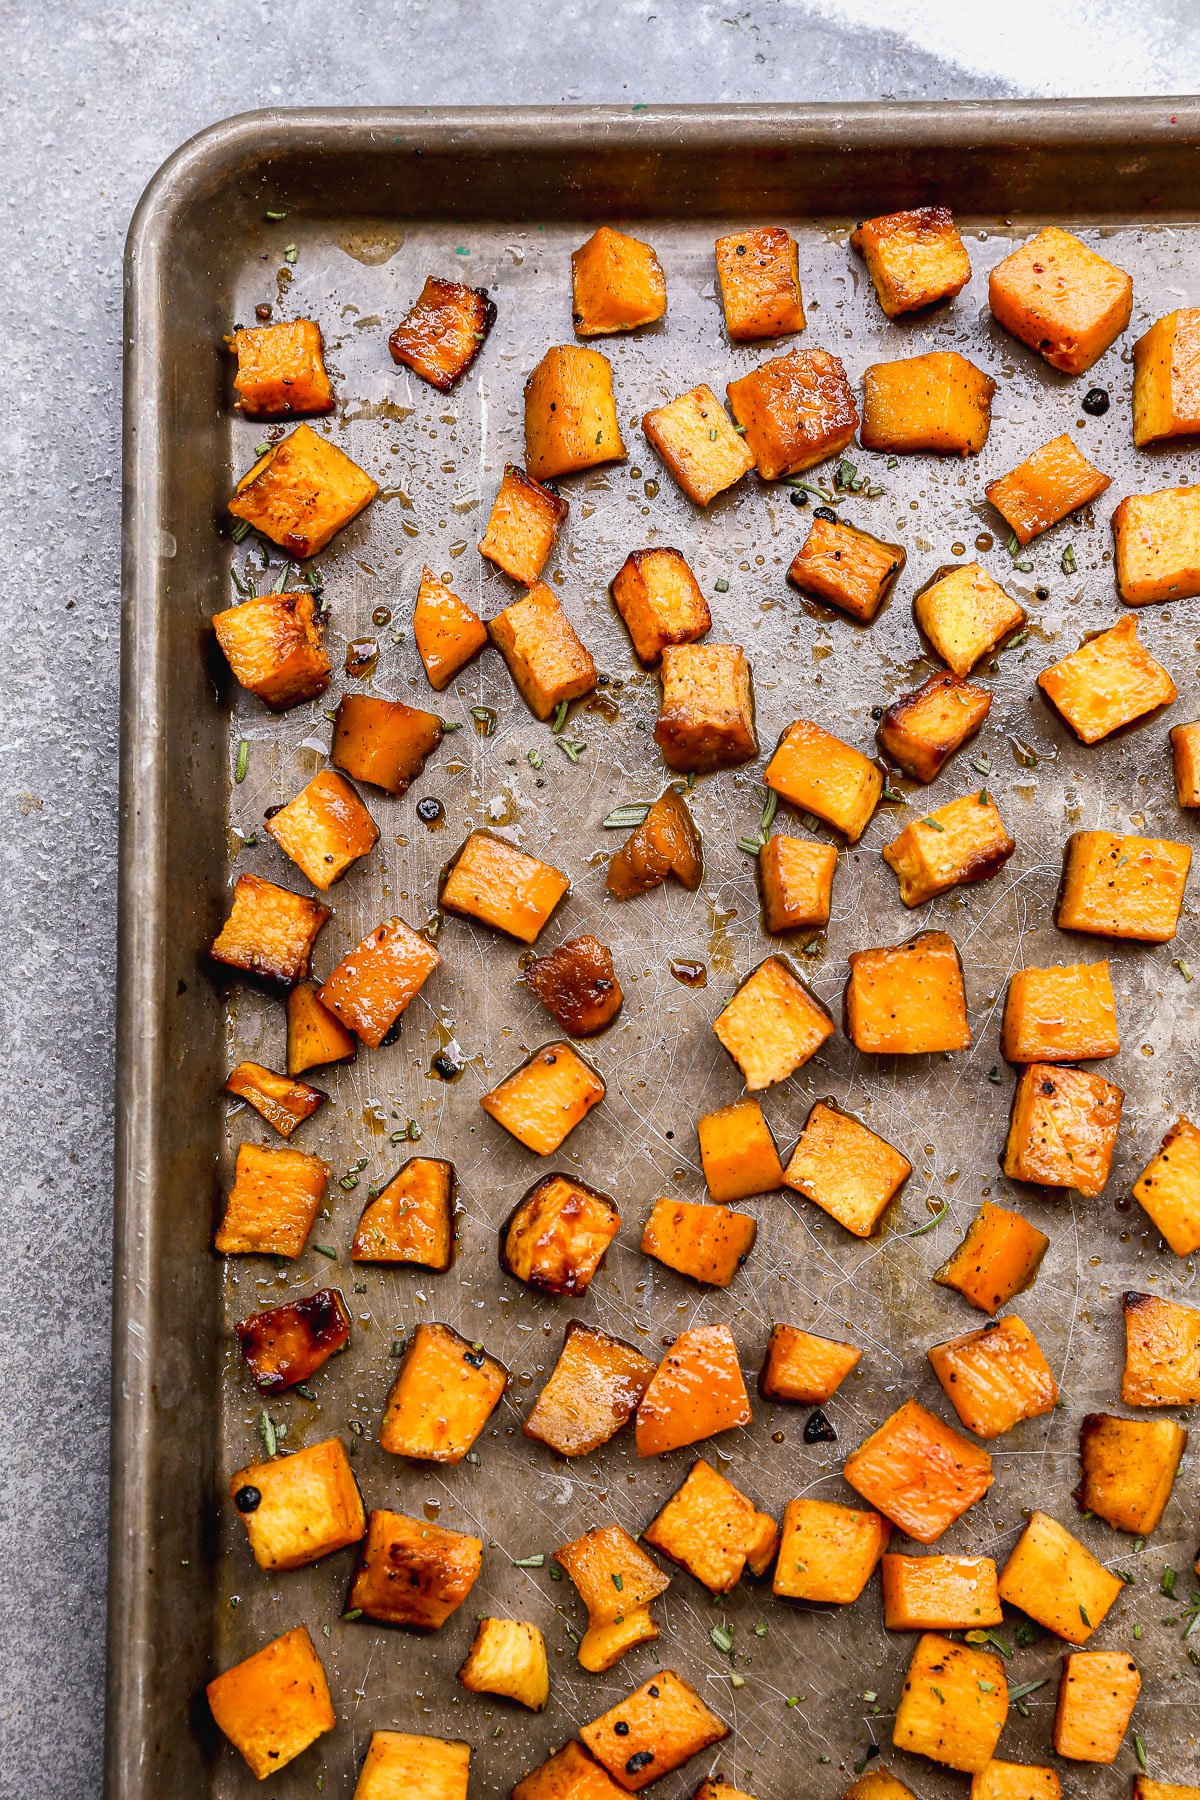 Ideal roasted frozen butternut squash has a tender, creamy interior and crispy, golden-brown exterior.
Credit: www.wellplated.com
Ideal roasted frozen butternut squash has a tender, creamy interior and crispy, golden-brown exterior.
Credit: www.wellplated.com

 Finished roasted frozen butternut squash topped with balsamic glaze and fresh herbs for a bright, flavorful finish.
Credit: www.wellplated.com
Finished roasted frozen butternut squash topped with balsamic glaze and fresh herbs for a bright, flavorful finish.
Credit: www.wellplated.com
Air Fryer Roasting Shortcut
For an even faster, crispier result, roast frozen butternut squash in an air fryer at 400°F (200°C) for 18 to 22 minutes, shaking the basket halfway through cooking. This method uses less oil and produces extra crispy edges in less time than traditional oven roasting, making it perfect for small batches or when you don’t want to heat up your full oven. Pat the squash as dry as possible before cooking for best results, and avoid overcrowding the air fryer basket to ensure proper air circulation.

I’m Abby Lu, a passionate home cook who loves simplifying everyday meals. At PlugChef.com, I share product reviews and cooking guides to help you find the best tools for your kitchen.
Related posts:
 How to Make a Fruit Basket for a Gift: Easy DIY Guide
 Mesh Desk Organizer With Sliding Drawer: Maximize Efficiency
 Decorative Woven Baskets for Wall: Transform Your Space
 Rubbermaid Large Dish Drying Rack: Ultimate Kitchen Solution
 Gray Kitchen With Stainless Steel Appliances: Modern Elegance
 Appliance Play Food Kitchen Toys: Ignite Imaginative Play

