
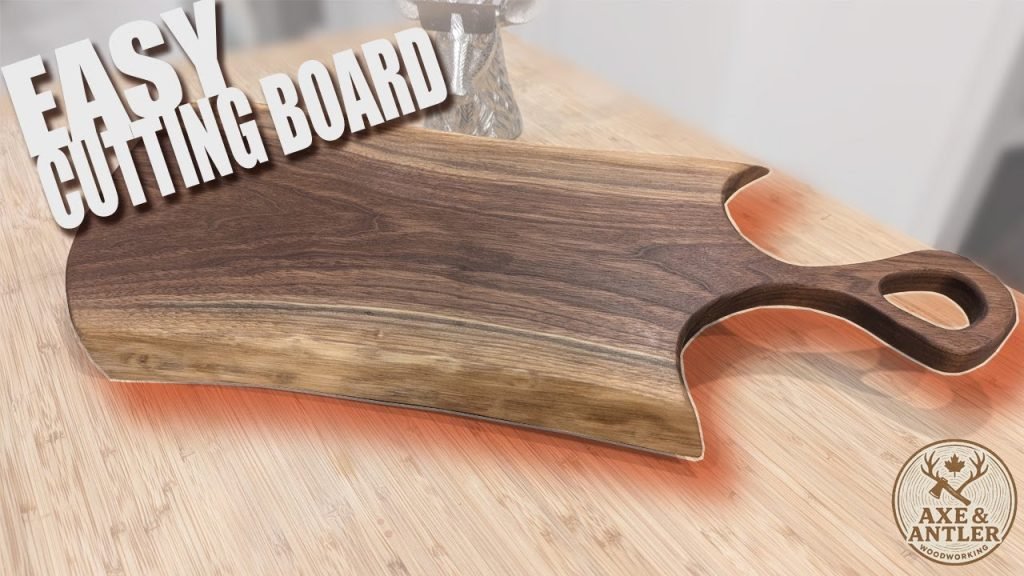
Building your own wooden cutting board is one of the most rewarding, low-stakes woodworking projects for beginners: it’s affordable, customizable, and results in a functional kitchen tool you’ll use for years. Unlike cheap plastic boards that dull knives and harbor bacteria, a well-made hardwood cutting board protects your countertops, extends the life of your cutlery, and can be personalized to match your kitchen’s aesthetic. This guide walks you through the entire process, with pro tips from practice to avoid common beginner mistakes like warped boards, poor glue-ups, and incompatible finishes.
Why Build Your Own Cutting Board?
Store-bought cutting boards are often made from low-quality materials, have standard sizes that don’t fit your kitchen layout, and lack the character of a handmade piece. Building your own lets you customize the dimensions, wood pattern, and even add personal touches like engraving to make it a one-of-a-kind item. It’s also a sustainable option if you use scrap hardwood from other projects, reducing waste and saving money on materials. For a unique, personalized touch, you can add custom engraved details like initials, a family recipe, or a fun kitchen quote to your finished board. A custom-sized board is also perfect for arranging charcuterie, and you can neatly cut round cheese to fit alongside cured meats, fruits, and garnishes for a cohesive spread.
What You’ll Need
Materials
- Kiln-dried closed-grain hardwood: Hard maple (sugar maple), walnut, and cherry are the top choices for cutting boards, as their dense, non-porous structure resists bacteria absorption and is gentle on knife edges. The U.S. FDA food safety guidance recommends closed-grain hardwoods for food-contact surfaces for this reason. Avoid softwoods like pine or fir, which dent easily, and open-grain hardwoods like oak, which have pores that trap food particles. Also steer clear of pressure-treated, chemically treated, or mold-damaged wood. Aim for wood with a moisture content of 6-10% to prevent warping after construction.
- Type II PVA wood glue: Titebond III is the industry standard for food-contact projects, as it’s water-resistant and non-toxic once fully cured. Avoid regular craft glue, which breaks down with repeated washing.
- Food-safe finish: 100% pure mineral oil (no additives) or a beeswax-mineral oil blend are the safest options. Never use vegetable oils (olive, canola) which go rancid over time, or film-forming finishes like polyurethane, which can chip and be ingested during cutting.
- Sandpaper: 80-grit, 120-grit, and 220-grit sheets, or a multi-grit sanding block for hand sanding.
Tools
- Saw: A table saw or circular saw works for fast, straight cuts, but a miter box with a sharp handsaw is a low-cost alternative for beginners. A speed square or carpenter’s square will help you cut perfectly straight, 90-degree strips to avoid a wavy final board.
- Clamps: 4+ bar clamps or pipe clamps to hold glued strips together during drying. Even pressure is critical to avoid gaps between strips.
- Sander: A random orbital sander speeds up sanding, but hand sanding blocks work perfectly for small boards.
- Tack cloth or shop vacuum: To remove all sanding dust before applying finish, as trapped dust will create a rough texture under the finish.
- Clean lint-free rags: For applying finish, avoid paper towels which leave behind lint.
- Safety gear: Safety glasses, a dust mask, and hearing protection if using power tools.
Step-by-Step Cutting Board Build Process
Step 1: Select and Prep Your Lumber
Start by inspecting your hardwood for knots, cracks, or sapwood pockets in the area you’ll be cutting — these weak points can cause the board to split over time. If you’re unsure of the wood’s moisture content, use a cheap moisture meter (available at most hardware stores) to confirm it falls in the 6-10% range: wood that’s too wet will warp as it adjusts to your home’s humidity, while wood that’s too dry is prone to cracking. For a standard 12×18 inch all-purpose cutting board, cut your lumber into 1.5-inch wide, 18-inch long strips, accounting for small amounts of material lost to glue and sanding. A common beginner mistake is skipping the moisture check, which leads to a warped board just a few months after completion.
Step 2: Cut Your Wood to Size
Set up your saw with a fine-tooth blade for clean, splinter-free cuts, and use a speed square to guide each cut to ensure all strips are exactly 1.5 inches wide and perfectly straight. Cut 6-8 strips total, depending on your desired pattern: for a simple striped design, alternate between two wood types (e.g., maple and walnut) for visual contrast. Always cut with the grain of the wood, not against it, to avoid tear-out and splintering. Wear safety glasses and a dust mask while cutting to protect yourself from sawdust and debris. If you don’t have a table saw, a miter box with a sharp handsaw will give you perfectly straight cuts with minimal effort.
Step 3: Glue Up the Board
Arrange your strips in your desired pattern on a flat work surface. Apply a thin, even layer of PVA wood glue to the edge of each strip, being careful not to get glue on the faces of the wood — excess glue on the surface is difficult to sand away later and can interfere with finish adhesion. Fit the strips together tightly, wiping away any squeezed-out glue immediately with a damp cloth before it dries. Clamp the entire assembly evenly, using 4 clamps spaced 6 inches apart, applying firm but not excessive pressure (overtightening can warp the strips). Let the glue dry fully for 24 hours at room temperature (70°F/21°C); if your workspace is colder, extend drying time to 36 hours to ensure a strong bond.
A common mistake here is using too much glue, which creates messy excess that weakens the joint if not cleaned up immediately. In practice, a thin bead of glue is all you need for a strong, lasting bond.
 Even, distributed clamping pressure eliminates gaps between strips, a critical step for a flat, durable board.
Credit: www.youtube.com
Even, distributed clamping pressure eliminates gaps between strips, a critical step for a flat, durable board.
Credit: www.youtube.com
Step 4: Sand to a Smooth Finish
Once the glue is fully cured, remove the clamps and inspect the board for any gaps or excess dried glue. Use 80-grit sandpaper to sand the board flat, removing any uneven spots or glue residue, always sanding with the grain of the wood to avoid cross-grain scratches. Move to 120-grit sandpaper to smooth out marks from the 80-grit, then finish with 220-grit sandpaper for a perfectly smooth surface that’s ready for finish. If you’re using a power sander, be careful not to sand too much in one spot, which can create low spots in the board. For hand sanding, use a sanding block to keep the sandpaper flat against the surface. After sanding, wipe the entire board with a tack cloth or vacuum to remove all dust — any remaining dust will get trapped under the finish and create a rough texture. Skipping the final 220-grit sanding step is a common mistake that leaves visible scratch marks that catch food and bacteria, even after finish application.
Step 5: Apply a Food-Safe Finish
For a food-safe, durable finish, use 100% pure mineral oil or a pre-mixed beeswax-mineral oil conditioner. The University of Illinois Extension food-contact guidance recommends these options, as they are non-toxic, easy to reapply, and won’t leach chemicals into food. Apply a generous coat to the entire board, including the edges, using a clean lint-free rag, and let it soak in for 4-6 hours. Wipe off any excess finish, then apply a second coat. For a new board, apply 3-5 total coats, letting each coat soak in fully before applying the next. Avoid using vegetable oils or unapproved finishes: vegetable oils go rancid over time, leaving a bad smell and taste on food, while polyurethane and other film-forming finishes can chip and be ingested during cutting.
Step 6: Cure and Test the Board
After applying the final coat of finish, let the board cure for 48 hours in a well-ventilated area before using it for food. To test if the finish is ready, run your finger over the surface: if it feels smooth and not tacky, it’s ready for use. Before the first use, wash the board with warm soapy water and dry it thoroughly with a clean towel.
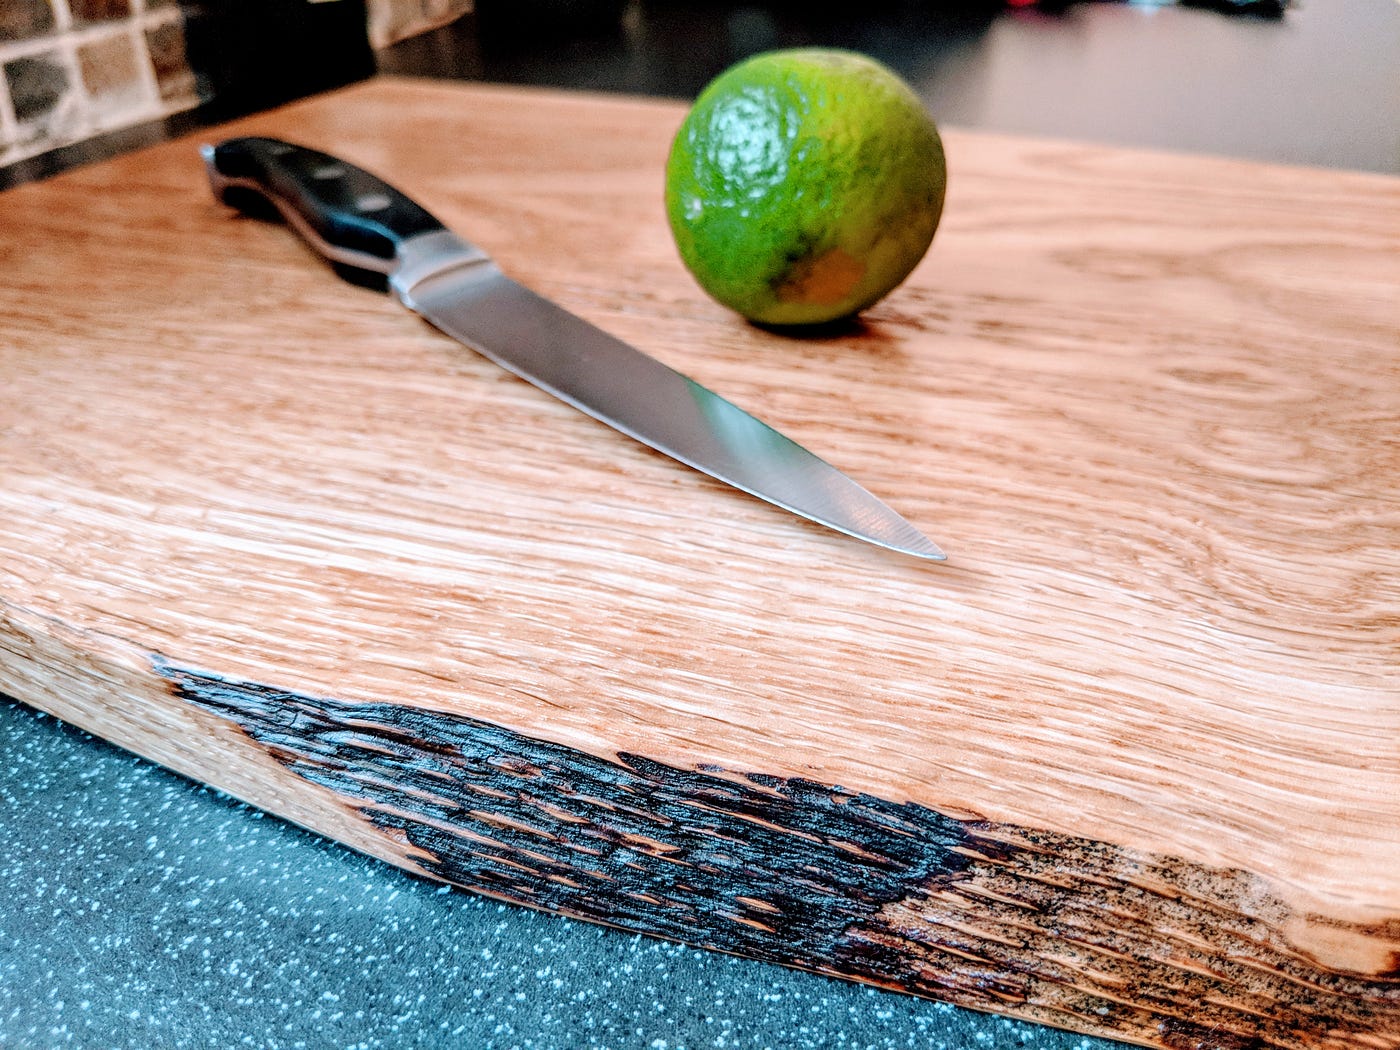 A contrasting two-tone edge-grain pattern is beginner-friendly, requiring only straight cuts and simple glue-up.
Credit: medium.com
A contrasting two-tone edge-grain pattern is beginner-friendly, requiring only straight cuts and simple glue-up.
Credit: medium.com
Long-Term Cutting Board Care and Maintenance
Daily Care
After each use, wash the board with warm water and mild dish soap, scrubbing with a soft-bristled cleaning brush to remove food particles. Never soak the board in water or put it in the dishwasher, as prolonged water exposure will cause the wood to swell, warp, or split. Dry the board immediately with a clean towel, and stand it upright to air dry completely before storing.
Monthly Maintenance
Apply a thin coat of mineral oil to the board once a month, or whenever the wood looks dry and dull. This replenishes the natural oils in the wood, prevents cracking, and keeps the finish water-resistant. For deep cleaning, scrub the board with a stiff-bristled cleaning scrub brush and a paste of coarse salt and lemon juice to lift stubborn stains, coffee rings, or onion odors. Rinse thoroughly and dry immediately.
Storage Tips
Store your finished board in a cool, dry spot away from direct heat (like next to a stove or in direct sunlight) and if you have young children, secure the storage cabinet with child-safe cabinet locks to prevent unsupervised use. Avoid leaning the board against a wall, which can cause it to warp over time — stand it upright or lay it flat on a stable surface.
When to Replace Your Cutting Board
Even with proper care, cutting boards need to be replaced eventually. If you notice deep, unremovable cuts, cracks, or areas where the finish has worn through to expose raw wood, it’s time to make a new one. Exposed raw wood is porous and can harbor harmful bacteria, even with regular washing, so it’s not safe for food contact. A well-maintained hardwood cutting board will last 5-10 years with regular use before needing replacement.
Frequently Asked Questions
What type of wood is best for a cutting board?
Closed-grain hardwoods like hard maple (sugar maple), walnut, and cherry are the best choices for cutting boards. Their dense, non-porous structure resists bacteria absorption, is gentle on knife edges, and holds up well to repeated use and washing. Avoid softwoods like pine or fir, which dent easily, and open-grain hardwoods like oak, which have pores that trap food particles and bacteria. For beginners, hard maple is the most forgiving option, as it’s uniform and easy to work with.
How do I prevent my wooden cutting board from cracking?
Cracking is almost always caused by moisture imbalance: avoid soaking the board in water, dry it immediately after washing, and oil it regularly to keep the wood hydrated. Store the board away from direct heat sources (stoves, radiators, direct sunlight) which can dry out the wood and cause it to split. Using kiln-dried wood with a moisture content of 6-10% when building the board also reduces the risk of cracking over time.
Can I make a cutting board without power tools?
Absolutely. A beginner can build a simple cutting board with just a handsaw, miter box (to make straight cuts), hand sanding blocks, and basic clamps. While power tools like a table saw and random orbital sander speed up the process, they are not required for a high-quality finished board.
How long does it take to make a wooden cutting board?
Total active build time is 4-6 hours, spread over 2-3 days to account for glue drying and finish curing. You’ll spend about 1 hour prepping and cutting your lumber, 30 minutes gluing and clamping, 2 hours sanding, and 1 hour applying finish and waiting for coats to dry. The glue needs 24 hours to reach full strength, and the finish needs 48 hours to cure fully before heavy use.
How do I fix a warped cutting board?
For minor warping, sand the high spots flat once the board is fully dry. For more severe warping, place the board on a flat surface with a heavy weight (like a stack of books) on top for 3-5 days to press it flat. Prevention is the best fix, though: use kiln-dried wood, apply even pressure when clamping the glue-up, and avoid prolonged water exposure or extreme temperature changes during use.
How do I know when my cutting board needs to be replaced?
Replace your board when it has deep, unremovable cuts, cracks, or areas where the finish has worn through to expose raw wood. Exposed raw wood is porous and can harbor harmful bacteria, even with regular washing, so it’s not safe for food contact. A well-maintained hardwood cutting board will last 5-10 years with regular use before needing replacement.
Conclusion
Building your own wooden cutting board is a simple, satisfying woodworking project that results in a durable, custom kitchen tool you’ll use for years. By choosing the right materials, following the step-by-step process, and committing to regular maintenance, you can avoid common beginner mistakes like warping, cracking, and finish failure. Even if your first board has small imperfections, it will be far more unique and functional than any mass-produced plastic board you can buy. Once you’ve mastered this basic design, try adding custom engraved details or experimenting with contrasting wood patterns to create a one-of-a-kind piece, or use your new board to arrange a charcuterie spread with neatly cut round cheese for your next gathering.

Hi, I’m Daniel Brooks—a food lover and kitchen gear enthusiast. I enjoy testing cookware, utensils, and gadgets to see what really works in everyday cooking. At PlugChef.com, I share honest reviews, comparisons, and simple guides to help you choose the best tools for a safer, smarter, and more enjoyable kitchen.
Related posts:
 Seville Expandable Cabinet And Pantry Organizer: Space Savior
 Glideware Pull Out Cabinet Organizer for Pots & Pans: Space Saver
 Small 3-Tier Shelf Organizer: Maximize Space Effortlessly
 Trader Joe’S Spicy Lentil Wrap: Delicious, Healthy, and Quick Meal!
 Easy Way to Peel Pumpkin: Quick Tips for Effortless Prep
 How Long Do Grapes Last: Ultimate Freshness Guide Revealed

