
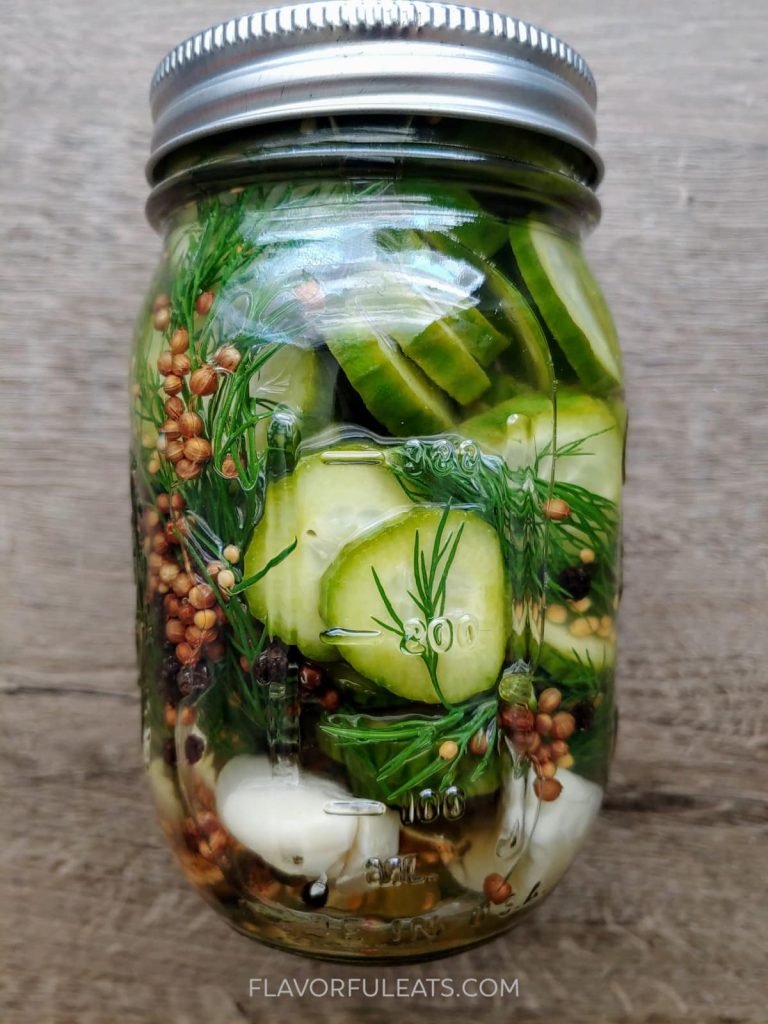
There’s nothing better than the sharp, crunchy bite of a homemade pickle straight from the fridge — no canning equipment, no complicated preservation steps, just 10 minutes of active prep and a few days of waiting. This garlic dill refrigerator pickles recipe delivers that classic deli-style tang and garlicky punch with a fraction of the effort of traditional canned pickles, and they stay crisp for weeks in your fridge. Perfect for snacking, sandwich toppings, or brightening up rich, savory meals, this beginner-friendly recipe works even if you’ve never pickled before. Store-bought pickles often contain excess preservatives, sodium, or soft, mushy textures from long shelf storage, so making your own lets you control every element of flavor and crunch for a far more satisfying result.
Why Make Homemade Garlic Dill Refrigerator Pickles?
Refrigerator pickles are a low-effort alternative to traditional canned pickles, which require boiling water baths, special equipment, and hours of active work. Unlike shelf-stable canned pickles, refrigerator pickles are cured in cold brine, which preserves their fresh, bright cucumber flavor and crisp texture without the softness that often comes from heat processing. They’re also a zero-waste way to use up extra cucumbers from your garden or local farmers market, and you can customize the spice level, tang, and herb profile to match your taste exactly. For anyone who loves tangy, crunchy snacks without the hassle of canning, this recipe is the perfect solution.
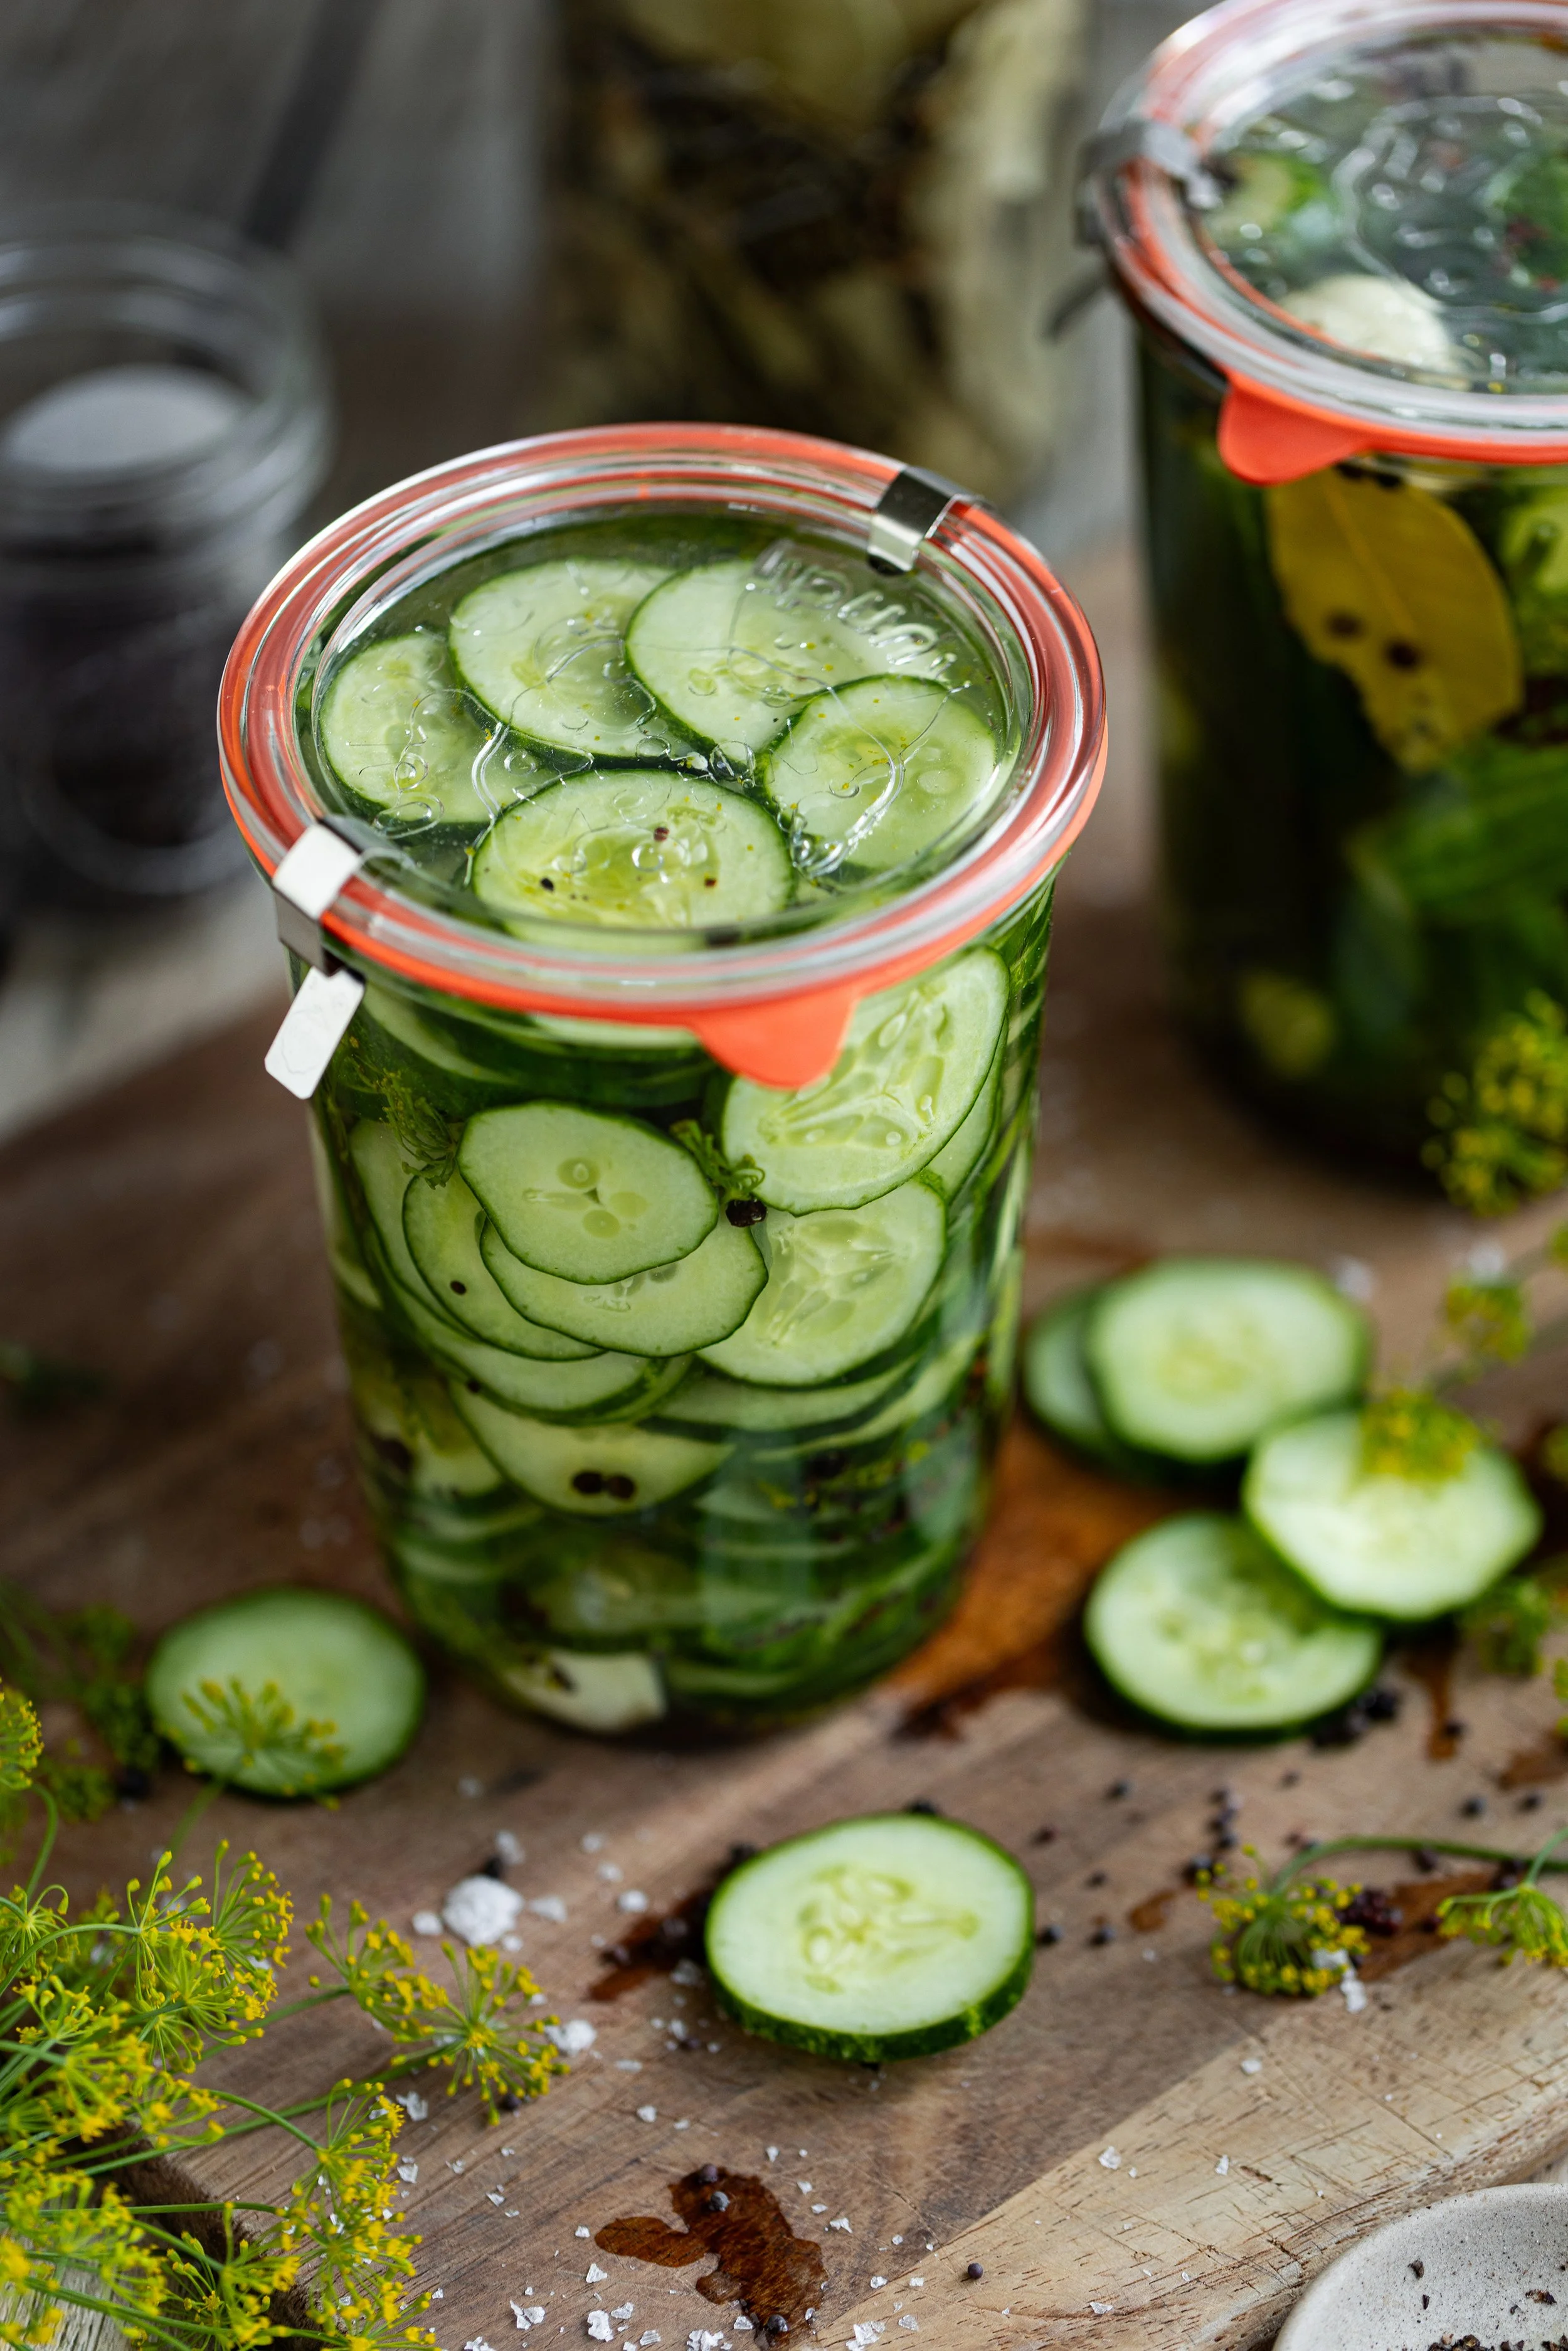 Freshly packed garlic dill refrigerator pickles, ready to cure in the fridge for 3–5 days.
Credit: underatinroof.com
Freshly packed garlic dill refrigerator pickles, ready to cure in the fridge for 3–5 days.
Credit: underatinroof.com
Ingredients You’ll Need
This recipe makes 1 quart of pickles, enough for 2–3 weeks of snacking. All ingredients are easy to find at most grocery stores, and you can adjust quantities if you want to make a larger batch.
Fresh Produce
- 1 lb Kirby or pickling cucumbers (firm, 3–4 inches long, no soft spots or blemishes — these varieties have thick, crisp skin and low water content, which prevents sogginess)
- 4–6 large garlic cloves, peeled and lightly smashed (to release their oils without turning the brine bitter)
- 2–3 fresh dill sprigs (fresh dill has a bright, grassy aroma that dried dill can’t match; if you can’t find fresh, 1 tbsp dill seeds works as a substitute)
Brine Base
- 1 ½ cups white vinegar (5% acidity, marked on most bottles — this acidity level is critical for food safety and preventing spoilage)
- 1 ½ cups filtered water (avoid tap water with high mineral content, which can cloud the brine)
- 1 tbsp pickling salt (no iodine or anti-caking agents, which soften cucumbers and create cloudy brine; kosher salt without additives works as a substitute)
- 1 tsp granulated sugar (balances the vinegar’s tang without making the pickles taste sweet; omit entirely for fully savory pickles)
Optional Add-Ins
- 1 tsp whole black peppercorns
- ½ tsp yellow mustard seeds
- 1 tsp red pepper flakes (for a spicy kick)
- 1 bay leaf (for a subtle earthy note)
- 1 tsp coriander seeds (for a warm, citrusy twist)
For reference, use the brine ratios below if you want to scale the recipe for larger jars:
| Jar Size | White Vinegar (5%) | Filtered Water | Pickling Salt | Sugar |
|---|---|---|---|---|
| 1 pint | ¾ cup | ¾ cup | ¾ tsp | ¾ tsp |
| 1 quart | 1 ½ cups | 1 ½ cups | 1 tbsp | 1 tsp |
| ½ gallon | 3 cups | 3 cups | 2 tbsp | 2 tsp |
How to Prep Cucumbers for Maximum Crispness
Proper cucumber prep is the single biggest factor in getting crunchy, not mushy, pickles. Skipping key steps here will lead to soft, watery results even with a perfect brine.
Washing and Cutting
Start by rinsing cucumbers under cold running water, then scrub the skin thoroughly with a sturdy produce brush to remove any wax, dirt, or debris from the skin, which can otherwise leave a gritty texture in your finished pickles. Pat the cucumbers completely dry with a clean towel — do not rinse them again after washing, as this washes away the natural enzymes that help keep cucumber cell walls firm. For even brining and consistent texture, cut cucumbers into uniform ¼-inch thick rounds or 1-inch thick spears. In practice, ¼-inch slices hit the sweet spot between fast flavor absorption and long-lasting crunch, avoiding the sogginess that comes with overly thin cuts. Uneven slices will absorb brine at different rates, leading to some pieces that are overly sour and others that are still bland.
The Ice Soak Step (Non-Negotiable for Crunch)
Before packing your cucumbers into jars, soak them in a bowl of ice water mixed with 1 tbsp pickling salt for at least 30 minutes. This step firms up the cucumber’s cell walls, draws out excess moisture, and reduces the chance of sogginess as they cure. I’ve tested batches with and without this soak, and the difference in crunch after 1 week of storage is undeniable — batches without the soak turn noticeably softer by day 7, while soaked batches stay crisp for up to 3 weeks. If you’re short on time, even a 15-minute ice soak will make a difference, though 30 minutes yields the best results.
Mixing the Perfect Pickling Brine
Refrigerator pickle brine doesn’t need to be boiled, unlike shelf-stable canned pickle brine, which simplifies the process and preserves the fresh, bright flavor of the cucumbers. The goal is to dissolve the salt and sugar fully while maintaining the vinegar’s acidity for food safety.
Balancing Vinegar and Water
Stick to a 1:1 ratio of vinegar to water for a classic, tangy pickle flavor. If you prefer a milder, less sharp taste, you can bump the water up to 2 parts per 1 part vinegar, but never reduce the vinegar below 1 part per 1 part water, as this lowers the brine’s acidity and increases the risk of spoilage. White vinegar gives a clean, sharp tang, while apple cider vinegar adds a subtle, fruity sweetness that pairs well with the garlic and dill. To keep your refrigerator pickles safe for storage, always use vinegar with 5% acidity (check the label for this marking) and maintain the 1:1 vinegar-to-water ratio to ensure the brine is acidic enough to prevent harmful bacteria growth, per established food safety standards from university extension programs.
Adding Spices and Seasonings
You can add whole spices directly to the brine as it heats, or layer them into the jars with the cucumbers for more even distribution. Heat the brine gently over medium heat, stirring occasionally, until the salt and sugar are fully dissolved — do not let it boil, as high heat can weaken the vinegar’s acidity. Once dissolved, remove the brine from the heat and let it cool for 5 minutes before pouring it over the cucumbers; pouring boiling brine will slightly cook the cucumbers, leading to soft texture.
Assembling and Packing Your Pickle Jars
Proper packing ensures even flavor distribution and prevents mold growth, which is the most common cause of spoiled refrigerator pickles.
Layering for Maximum Flavor
Start with clean, sterilized quart-sized glass jars (run through your dishwasher’s sanitize cycle or boil for 10 minutes to sterilize, scrubbing with a jar cleaning brush set first if they have any residue). Place 2 garlic cloves, 1 dill sprig, and any optional spices at the bottom of each jar first. Layering the aromatics at the bottom ensures their flavors infuse the brine and cucumbers from the bottom up as the pickles cure, rather than floating to the top and leaving the bottom pieces bland. If you love bold garlic flavor, you can add an extra clove or two per jar — the longer the pickles cure, the more mellow the garlic taste will become, so don’t worry about it being too strong at first.
Packing Cucumbers Tightly
Pack the cucumber slices or spears tightly into the jar, pressing down gently to remove air pockets, but avoid crushing the cucumbers. Leave ½ inch of headspace at the top of the jar to account for the cucumbers shrinking slightly as they brine. Tight packing ensures every piece is fully submerged in brine, which prevents exposed cucumber from molding and ensures even flavor absorption. Pour the warm brine over the cucumbers, making sure all pieces are fully covered — any exposed cucumber will develop mold within a few days, even in the fridge. Wipe the jar rim clean with a damp towel to remove any brine or cucumber residue, then seal tightly with a lid. Wipe up any spills immediately with a heavy-duty kitchen brush to avoid sticky residue on your countertops.
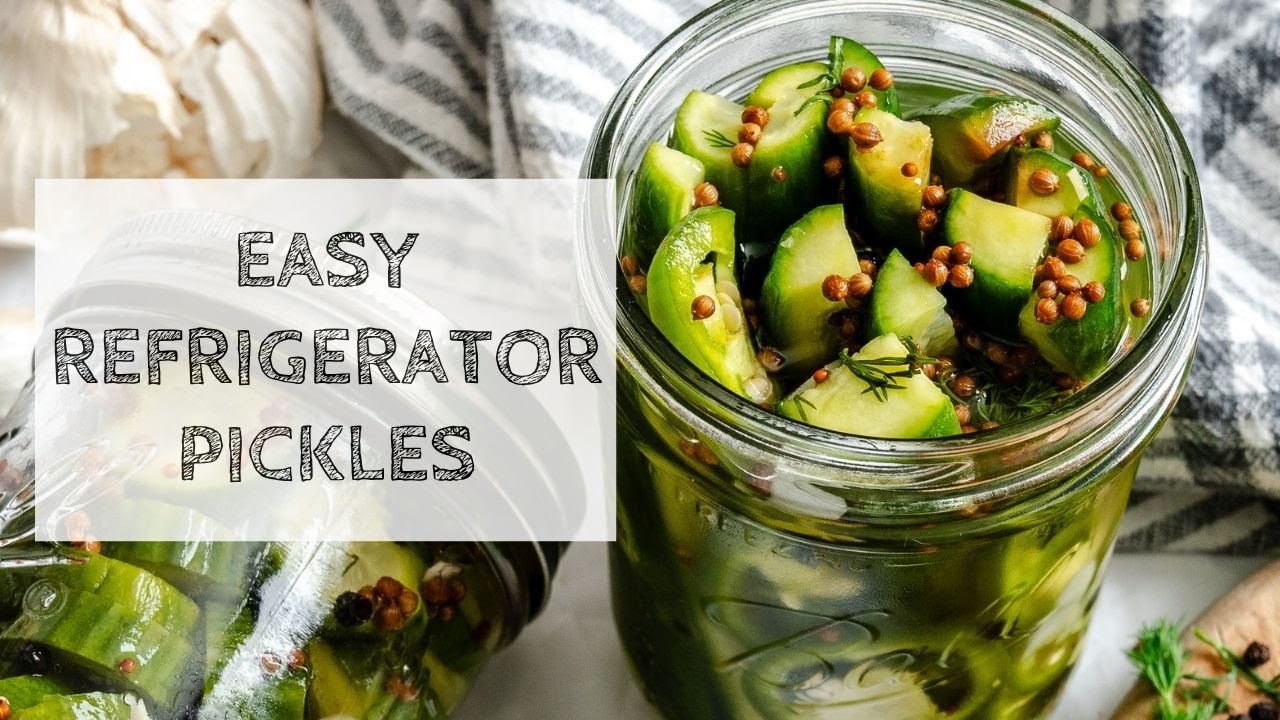 Packing cucumbers tightly minimizes air pockets for even brine coverage.
Credit: www.youtube.com
Packing cucumbers tightly minimizes air pockets for even brine coverage.
Credit: www.youtube.com
Curing and Storage Guidelines
Refrigerator pickles need consistent cold temperatures to cure properly and stay safe to eat.
Ideal Storage Conditions
Store sealed jars in the coldest part of your fridge, usually the back of the bottom shelf — avoid the fridge door, which fluctuates in temperature every time it’s opened, as this can speed up spoilage and soften the pickles. Always ensure cucumbers stay fully submerged in brine; if a few pieces float to the top after a day, press them down with a clean spoon to keep them under the liquid.
Flavor Development Timeline
- 24 hours: Mild tang, crisp texture, subtle garlic and dill flavor — perfect if you want quick pickles for a same-day meal.
- 3–5 days: Full, developed tang, bright dill and garlic flavor, maximum crunch — this is the ideal timeline for most home cooks.
- 2+ weeks: Pickles will become increasingly sour, but will start to lose crispness after 10 days. They’re still safe to eat as long as they’re fully submerged and there’s no mold or foul smell, but texture will be softer. Properly stored, these pickles will stay fresh and crisp for 3–4 weeks in the fridge.
Pro Tips for Never-Soggy Pickles
Even with a perfect recipe, small mistakes can lead to soft, mushy pickles. These tips, drawn from testing dozens of batches at home, will help you get consistent crunch every time.
Common Crispness Mistakes to Avoid
- Using overripe cucumbers: Cucumbers with soft spots, yellowing skin, or that feel squishy when squeezed have broken-down cell walls that will turn mushy in brine. Always choose firm, bright green Kirby or pickling cucumbers no more than 4 inches long.
- Skipping the ice soak: As noted earlier, this step is non-negotiable for long-lasting crunch. The 30-minute soak firms the cucumber cell walls enough to hold up to weeks of brining.
- Using table salt: Iodine and anti-caking agents in table salt break down cucumber pectin, leading to soft texture. Always use pickling salt or additive-free kosher salt.
- Exposing cucumbers to air: Any cucumber piece not fully submerged in brine will mold within 2–3 days. Pack jars tightly and press down floating pieces daily for the first week.
Fixing a Soft Batch
If your pickles do turn out softer than you’d like, don’t throw them out! They’re still safe to eat and delicious chopped up in potato salad, tuna salad, relish, or as a topping for hot dogs and burgers. The flavor will still be tangy and garlicky, even if the crunch is missing.
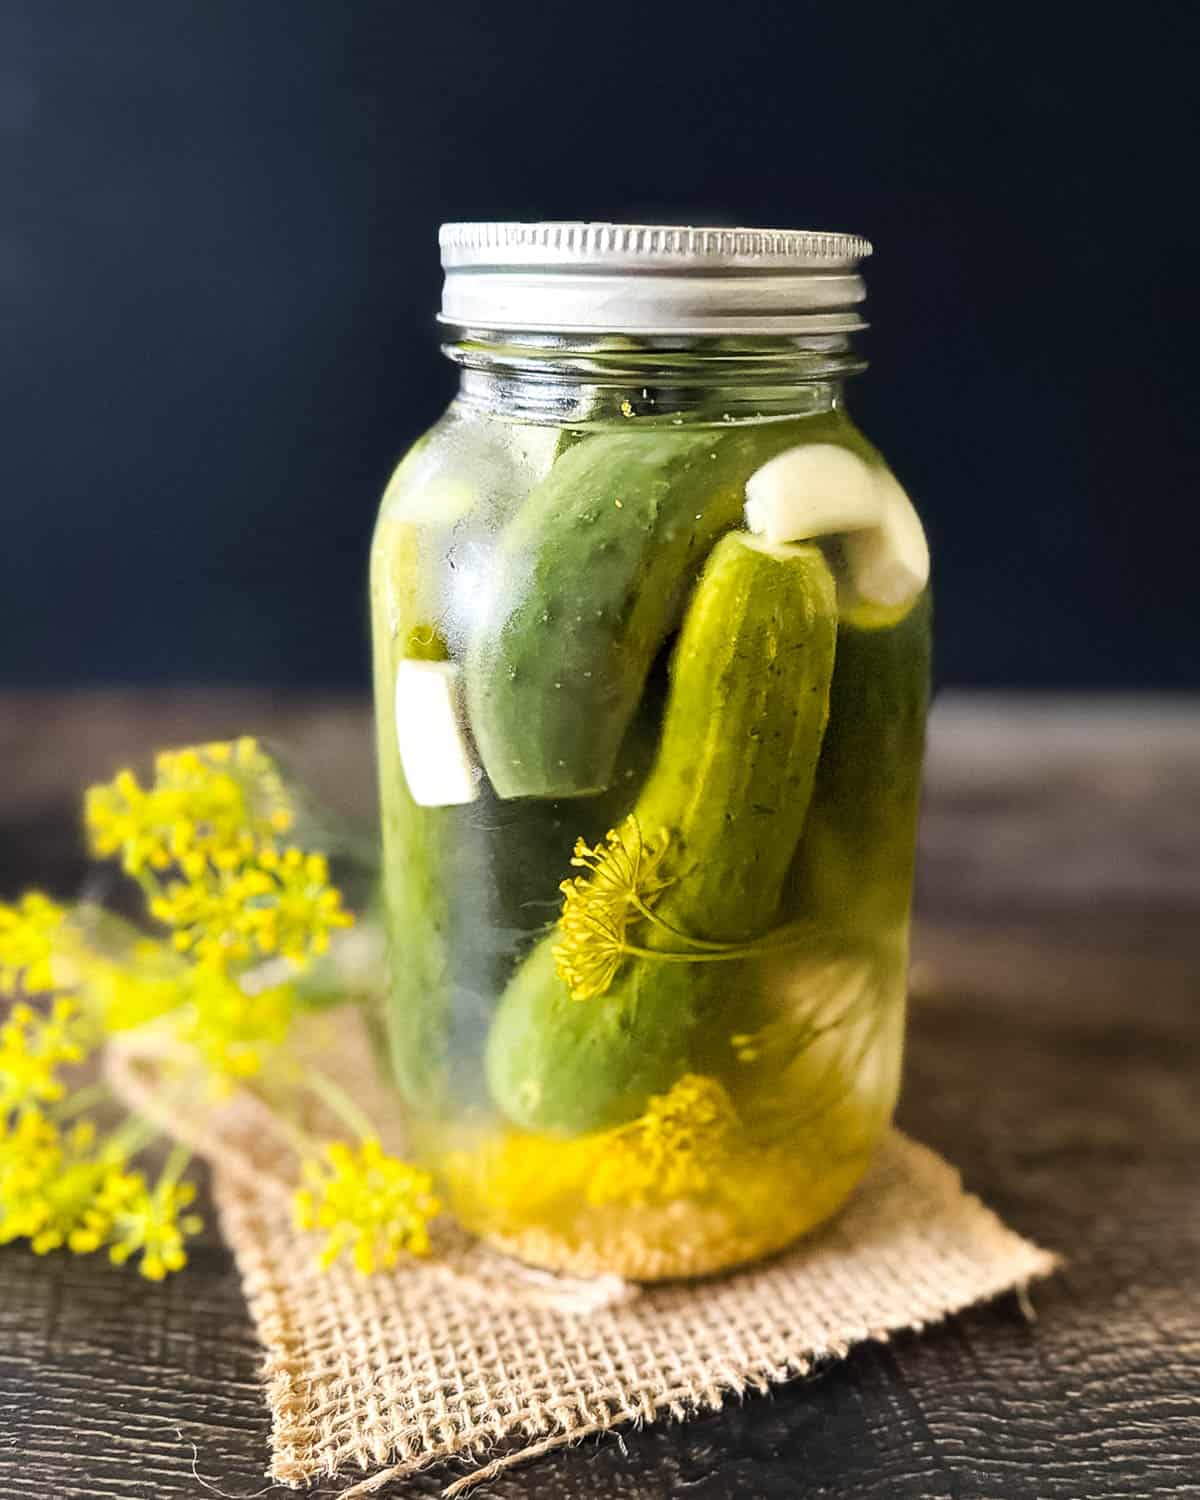 Sealed, cured pickles have a bright, tangy flavor and satisfying crunch.
Credit: www.windingcreekranch.org
Sealed, cured pickles have a bright, tangy flavor and satisfying crunch.
Credit: www.windingcreekranch.org
Serving and Customization Ideas
These pickles are far more versatile than a standard side snack — their bright, acidic punch cuts through rich, heavy flavors and adds a fresh, crunchy element to almost any meal.
Classic Pairings
- Top burgers, deli sandwiches, or wraps for a tangy, crunchy contrast to rich meats and cheeses.
- Serve alongside grilled steak, chicken, or pork to cut through the savory, fatty flavor of the meat.
- Add to creamy potato salad or coleslaw for a bright, acidic kick that balances the creaminess.
- Include on charcuterie boards alongside cured meats, cheeses, and crackers — for help putting together a balanced board, check out our charcuterie cheese prep guide for step-by-step instructions on cutting and arranging cheese.
Creative Uses and Customization
- Chop pickles finely and mix into cream cheese or Greek yogurt for a fast, flavorful spread on crackers or bagels.
- Add minced pickles to deviled egg yolk filling for a surprising crunch and tang.
- Wrap pickle spears in thin slices of prosciutto or turkey for a high-protein, low-carb snack.
- Customize the brine to match your taste: swap white vinegar for apple cider vinegar for a fruity, milder tang, add sliced jalapeños for a spicy kick, or swap garlic for garlic scapes in the spring for a milder garlic flavor. You can also add other veggies to the same brine, including green beans, carrot sticks, radish slices, and cauliflower florets, all of which follow the same 3–5 day curing timeline.
Frequently Asked Questions
What ingredients do I need for garlic dill refrigerator pickles?
You need Kirby/pickling cucumbers, fresh garlic, fresh dill, 5% acidity white vinegar, filtered water, pickling salt, and a small amount of sugar to balance the tang. Optional add-ins include peppercorns, mustard seeds, and red pepper flakes for extra flavor.
How long do homemade garlic dill refrigerator pickles last?
Properly stored in an airtight jar in the fridge with cucumbers fully submerged in brine, these pickles will stay fresh and crisp for 3–4 weeks. Discard them immediately if you see mold on top of the brine or notice a foul, fermented smell.
Can I use table salt instead of pickling salt?
No, table salt contains iodine and anti-caking agents that will cloud the brine and soften the cucumber cell walls, leading to mushy pickles. Additive-free kosher salt is a good substitute if you can’t find pickling salt.
Can I eat the pickles right after making them?
You can taste them after 24 hours, but they will have a mild, underdeveloped flavor at this point. Wait 3–5 days for full, bright tang and maximum crunch.
Why is my brine cloudy?
Cloudy brine is usually caused by using table salt, or by natural sediment from the dill and garlic. It is not a sign of spoilage unless there is mold or a foul smell. To avoid cloudiness, use pickling salt and let the brine settle for 10 minutes before pouring it into the jars if you want a clear liquid.
Can I reduce the sugar in this recipe?
Yes, you can omit the sugar entirely for a fully savory, tangy pickle, or reduce it to ½ tsp if you prefer minimal sweetness. The sugar is only there to balance the vinegar’s sharpness, not add sweetness.
Conclusion
Homemade garlic dill refrigerator pickles are one of the easiest, most rewarding kitchen projects you can try, delivering deli-quality crunch and tang with minimal effort and no special equipment. Whether you’re snacking on them straight from the jar, topping your favorite sandwich, or adding a bright, acidic kick to a charcuterie spread, they’re a versatile, preservative-free alternative to store-bought pickles that you can customize to your taste. Ready to make your first batch? Grab a handful of Kirby cucumbers, fresh dill, and a quart jar, and have crisp, flavorful pickles ready to eat in less than a week. For more easy, beginner-friendly homemade recipes and kitchen hacks, check out our more homemade kitchen hacks to keep your kitchen adventures going. If you’re storing these pickles in a household with young children, pairing them with basic child safety locks for lower fridge shelves keeps the tangy, garlicky treats out of reach of little hands.

I’m Abby Lu, a passionate home cook who loves simplifying everyday meals. At PlugChef.com, I share product reviews and cooking guides to help you find the best tools for your kitchen.
Related posts:
 What Oil to Use on Cutting Board: Best Options Revealed
 Is Teak Wood Good for Cooking Utensils: Discover Benefits
 How to Cut Skirt Board for Stair: Expert Tips & Techniques
 Can I Put Wood Cutting Board in Dishwasher? Essential Tips
 First Aid Kit Supplies Refills: Essential Items You Must Restock
 10 Person First Aid Kit: Essential Gear for Emergencies

