
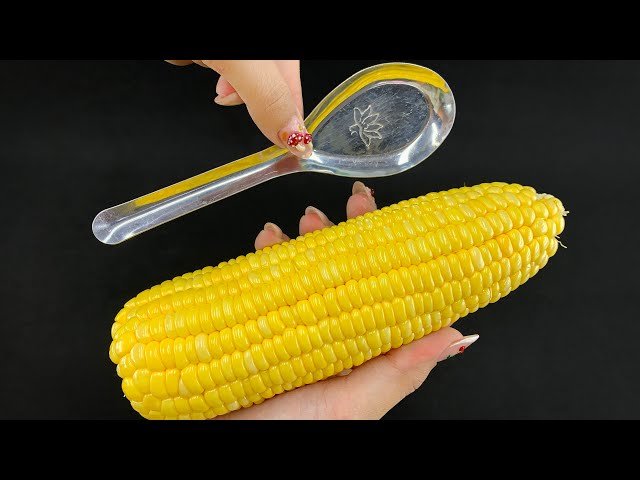
Are you tired of struggling to remove corn kernels from the cob without making a mess or wasting time? You’re not alone.
Whether you’re cooking for your family, preparing a large meal, or just want to enjoy fresh corn quickly, knowing the easiest and safest way to get those kernels off can change everything. You’ll discover simple, effective methods that save you effort and keep your kitchen clean.
Keep reading, and you’ll never dread corn season again!
Tools For Removing Kernels
Removing corn kernels from the cob can be a simple task if you have the right tools at hand. The choice of tool not only affects how easy the process is but also how cleanly the kernels come off. Let’s look at some practical options that can help you get the job done efficiently.
Knives And Corn Strippers
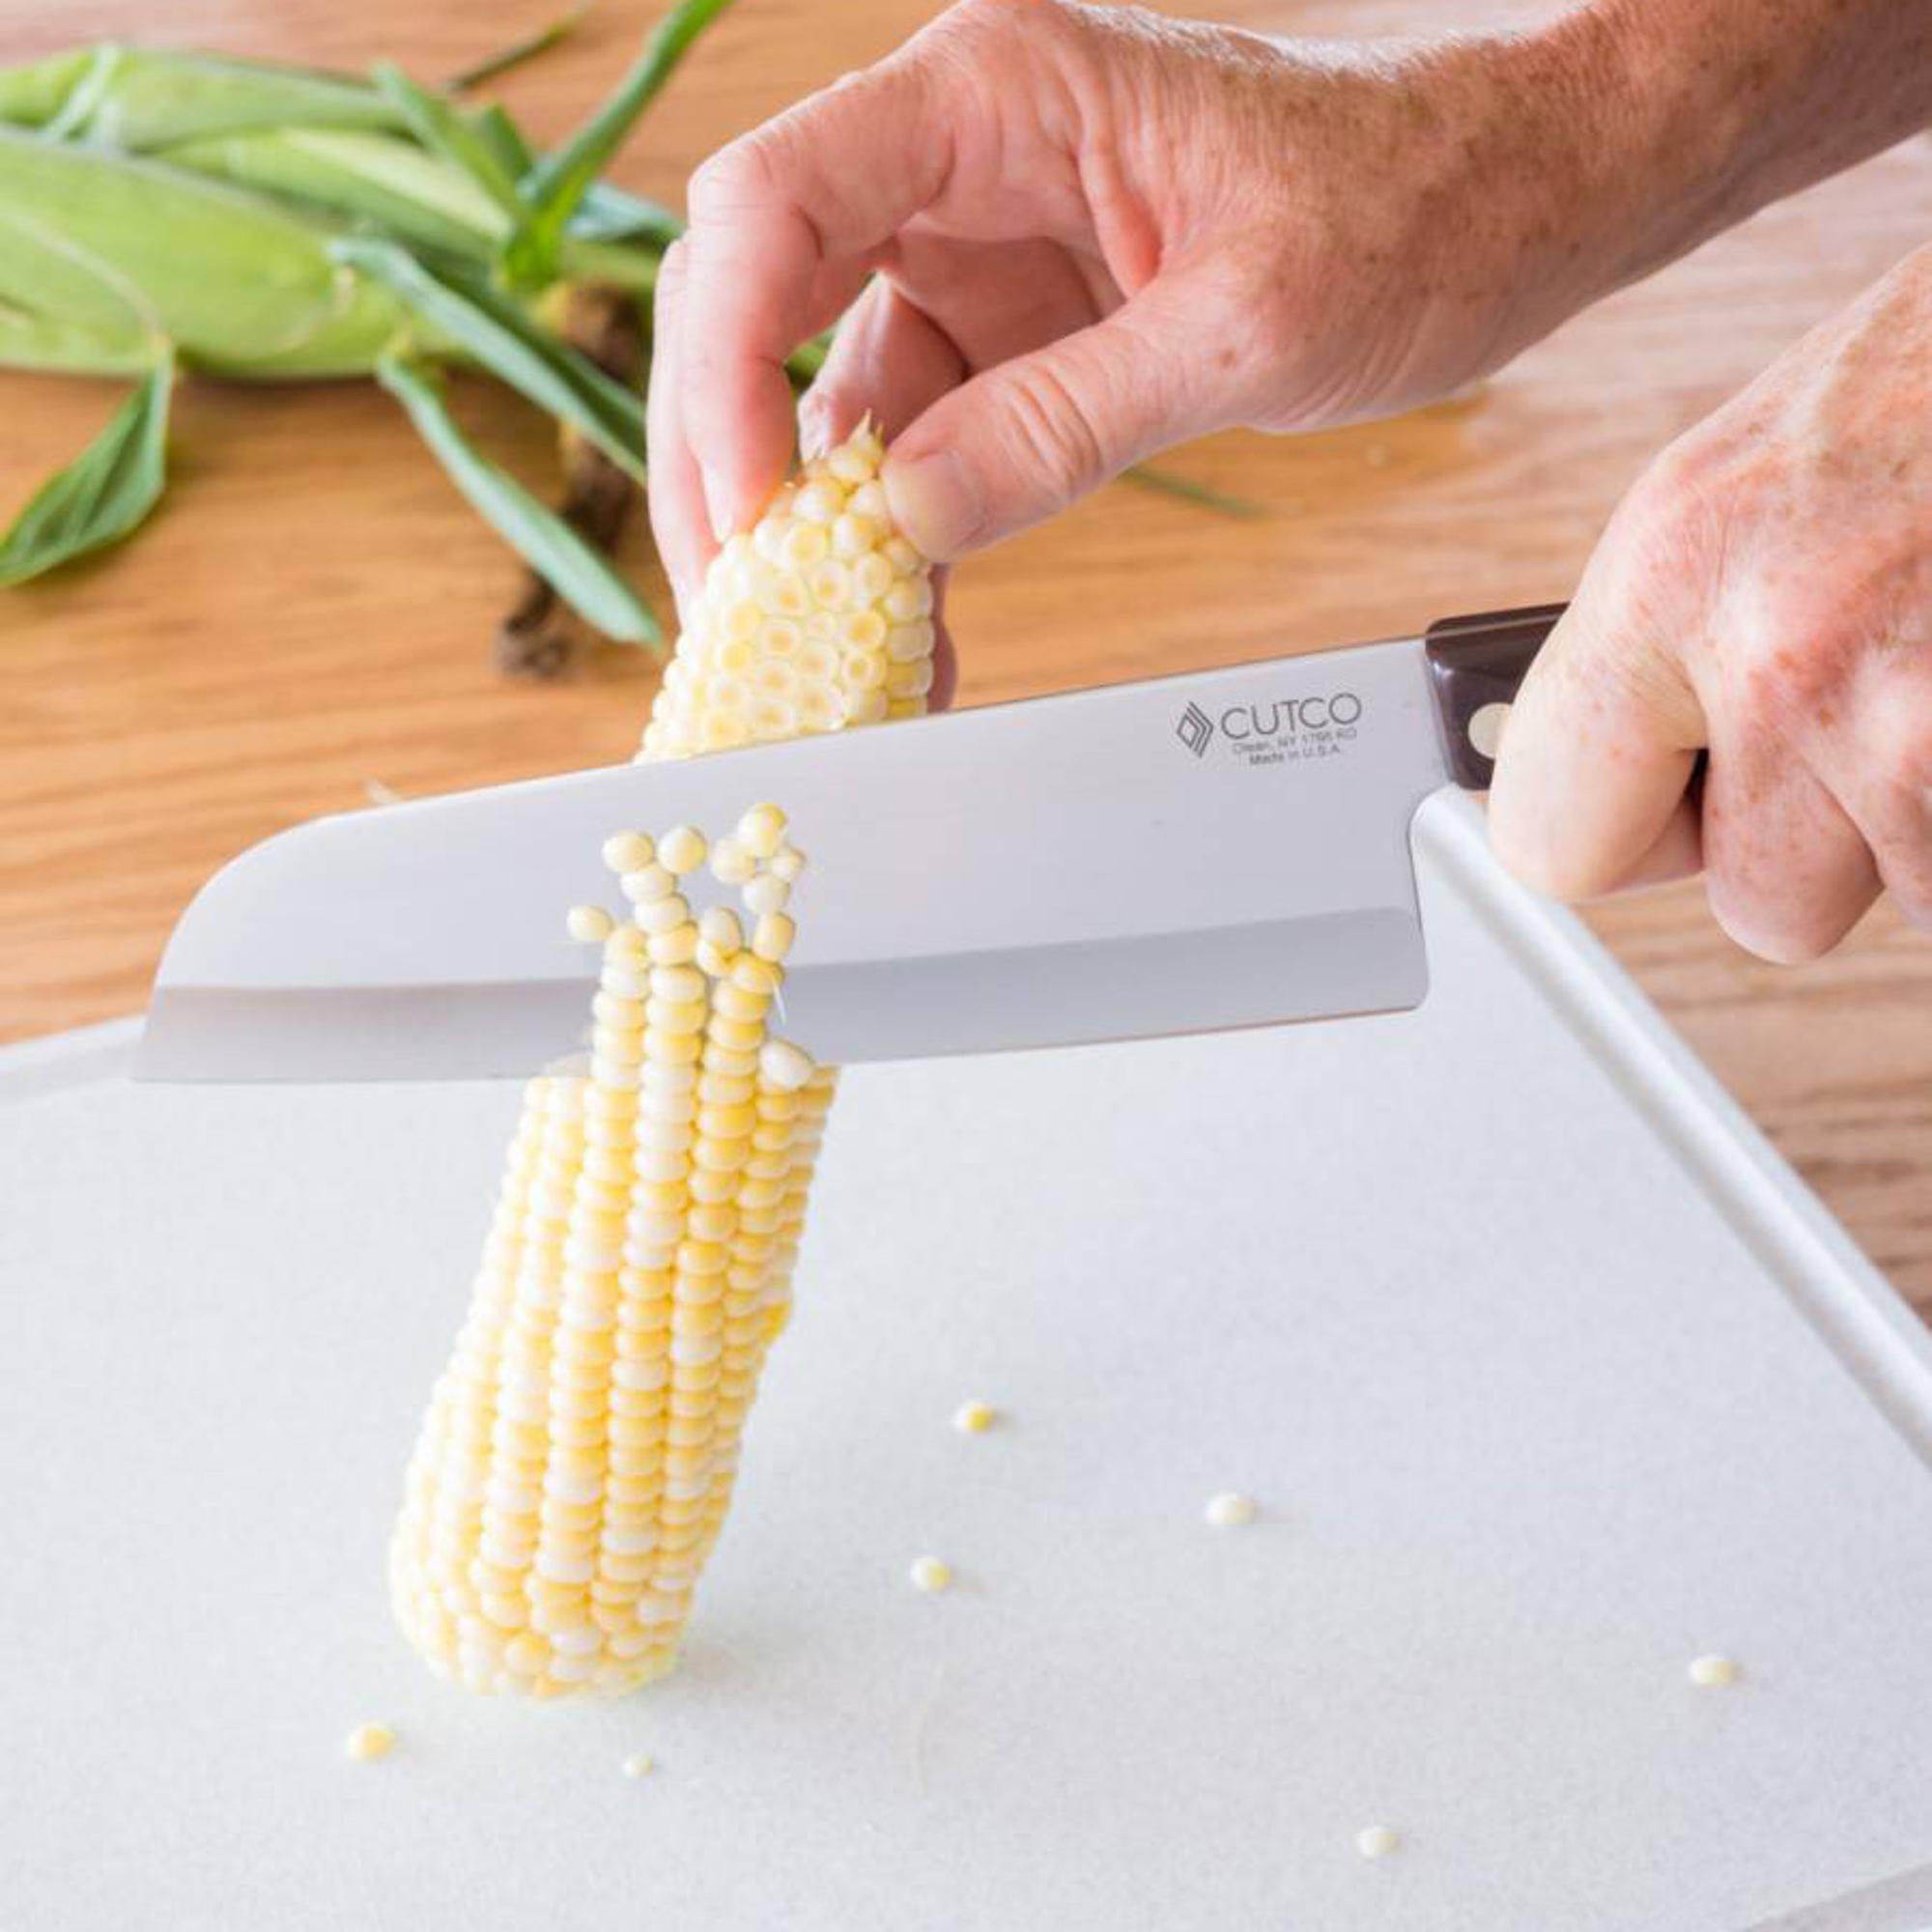
A sharp knife is the most common tool for removing corn kernels. It’s handy because you likely already have one in your kitchen. Using a serrated or chef’s knife, hold the cob upright and slice downward to separate the kernels.
Corn strippers are specialized tools designed to make this task quicker and safer. They often feature a curved blade that fits the cob perfectly, reducing the risk of cutting yourself. Have you noticed how much less mess you get with these tools compared to a regular knife?
Using A Bundt Pan
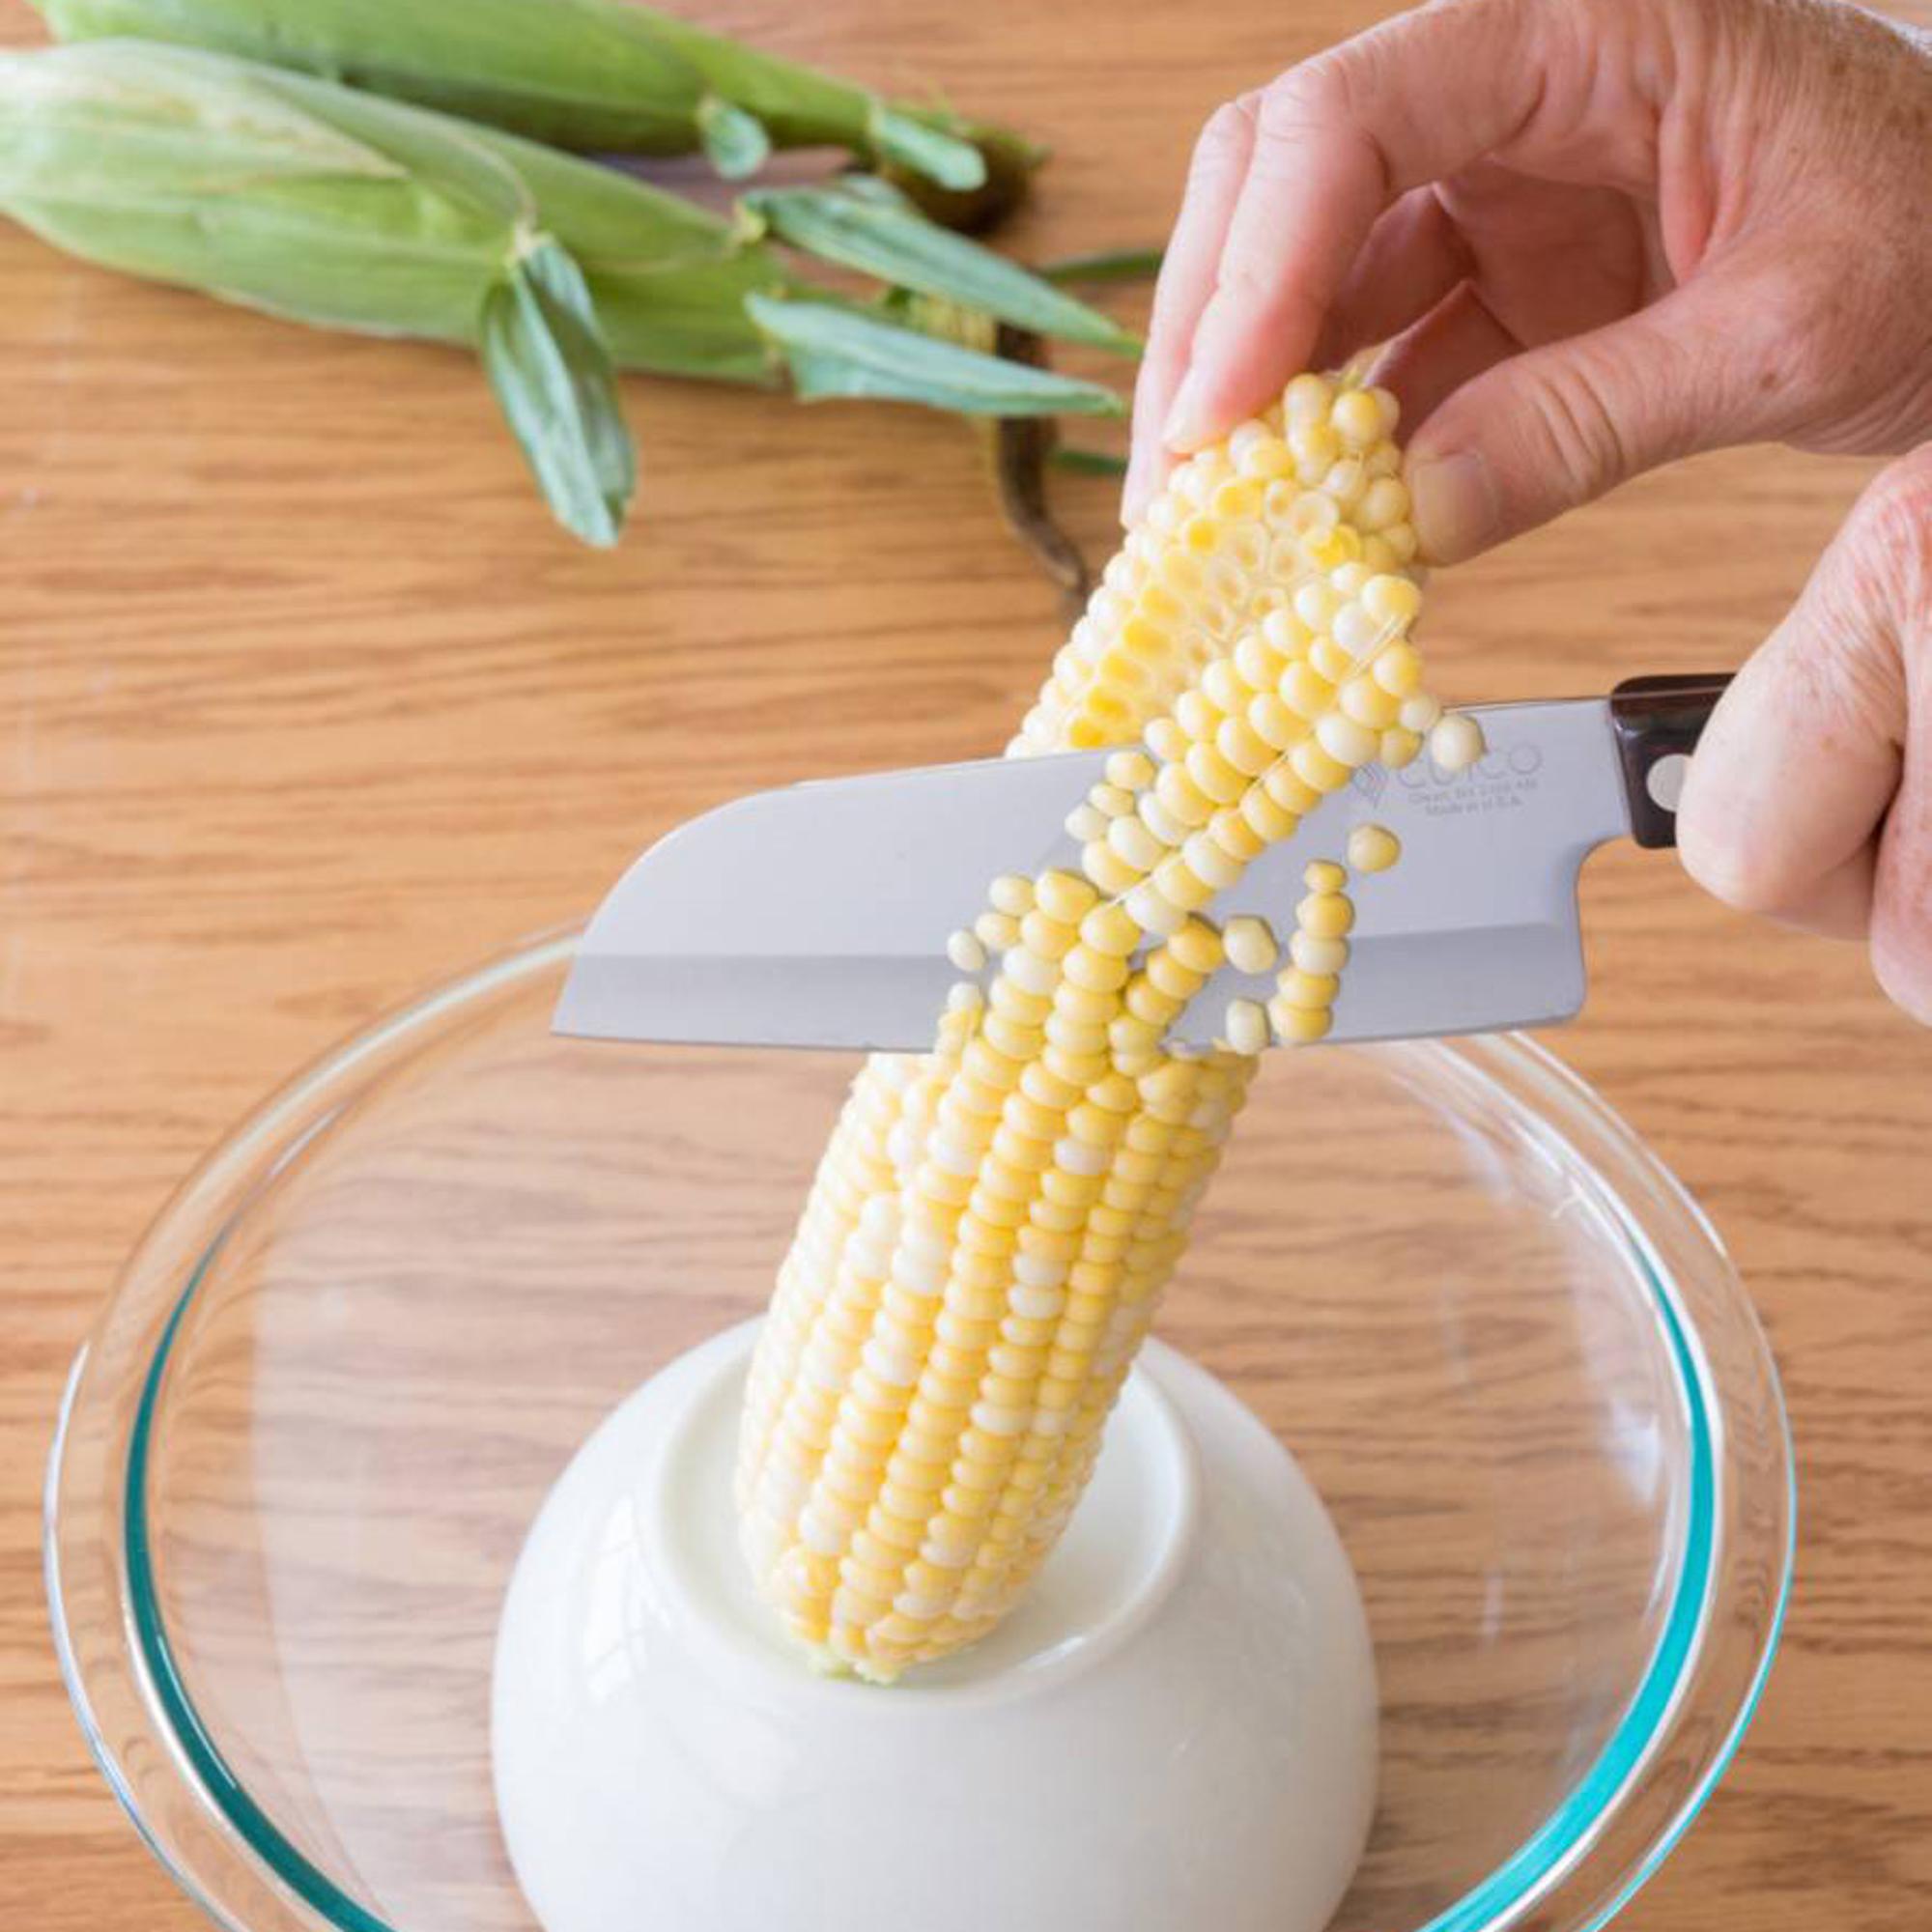
The bundt pan trick is a clever way to speed up kernel removal without fancy tools. Place the narrow end of the corn cob in the hole of an inverted bundt pan. Then, use a knife to cut down the cob—the kernels will fall neatly into the pan, containing the mess.
This method keeps your countertop cleaner and your kernels collected in one place. It’s a great hack if you’re prepping large amounts of corn and want to avoid chasing stray kernels everywhere.
Specialized Corn Peelers
Specialized corn peelers are designed solely for this task and often come with ergonomic handles and sharp circular blades. They reduce the effort needed and help you remove kernels in uniform rows. If you cook with fresh corn often, investing in one might save you time and frustration.
Consider how much time you spend cutting kernels by hand. Would a specialized tool make your cooking prep smoother? These peelers can turn a tedious chore into a quick step, letting you focus on the rest of your recipe.
Preparation Steps
Preparing corn for kernel removal makes the task easier and cleaner. Proper preparation helps keep kernels whole and prevents mess. Follow these simple steps before you start cutting kernels off the cob.
Choosing Fresh Corn
Select corn with bright green husks and moist silk. Avoid ears with dry or brown silk. Fresh corn has plump kernels and a sweet taste. Check that kernels feel firm and tight on the cob.
Trimming The Ends
Cut off the tip and base of the cob for stability. Remove any leftover silk or husk pieces. Trimming creates a flat surface for safe handling. This step helps prevent slipping during kernel removal.
Soaking For Easier Removal
Soak the corn in cold water for 10-15 minutes. Water softens the cob and loosens kernels slightly. This reduces the effort needed to cut kernels free. After soaking, pat the corn dry before cutting.
Techniques For Quick Kernel Removal
Removing corn kernels from the cob can be quick and easy if you choose the right technique. Each method offers unique advantages depending on your tools and how much effort you want to put in. Let’s look at some practical ways to get those kernels off fast, so you can focus on cooking or enjoying your meal.
Hand Method
This is the simplest way, requiring no tools at all. Hold the cob vertically on a sturdy surface and use your thumb to push the kernels off. It’s surprisingly effective for small amounts and gives you good control over the process.
You might wonder if this method is too slow for larger batches. It can be, but it’s gentle and keeps kernels intact, perfect when you want whole kernels for salads or roasting.
Knife Method
Using a sharp knife speeds things up dramatically. Stand the cob upright on a cutting board and carefully slice downward to remove the kernels. Make sure your knife is sharp to avoid slipping and to get clean cuts.
Be cautious with this method. It requires some practice to avoid cutting yourself or damaging the cob. However, once you get the hang of it, you’ll be amazed at how quickly you can remove kernels from multiple cobs.
Microwave Softening
Microwaving the corn for a minute or two can soften the kernels, making them easier to remove. Place the whole cob in the microwave, then let it cool slightly before handling. This reduces the effort needed to cut or push the kernels off.
Have you ever noticed how much easier peeling fruit becomes after warming it? The same idea applies here. Softening the kernels first can save you time and make your task less tiring, especially if you have many cobs to process.

Credit: www.youtube.com
Safety Tips
Hold the cob firmly on a stable surface to avoid slipping. Use a sharp knife carefully to cut kernels away from the cob, keeping fingers clear.
Removing corn kernels from the cob can be a simple task, but it’s essential to prioritize safety to avoid accidents. Whether you’re a culinary novice or an experienced cook, practicing caution will not only protect you but also make the process smoother and more enjoyable. Let’s explore some key safety tips that will help you handle this task like a pro.Handling Sharp Tools
Using a sharp knife can make cutting corn kernels off the cob easier, but it also requires vigilance. Always ensure your knife is sharp; a dull knife is more likely to slip and cause injury. When cutting, maintain a firm grip on the cob and slice downwards steadily, keeping your fingers away from the blade’s path.Preventing Slips
Corn cobs can be slippery, especially if they’re fresh and juicy. Place a damp towel or non-slip mat under your cutting board to keep it from moving. This simple precaution helps you stay in control and minimizes the risk of accidental slips.Using Protective Gloves
Consider wearing protective gloves, especially if you’re cutting a large batch of corn. Gloves can provide extra grip and protect your hands from minor cuts. Choose gloves that fit well and are made of a material that offers both dexterity and protection. Remember, safety doesn’t have to be a chore. By taking these precautions, you can focus more on enjoying the process and less on worrying about potential mishaps. What other creative safety tips do you employ in your kitchen?Storing Removed Kernels
Storing removed corn kernels properly keeps them fresh and tasty. Proper storage stops them from drying out or spoiling. It also helps preserve their sweet flavor and texture. You can store corn kernels for short or long periods depending on your needs.
Short-term Refrigeration
Place the fresh kernels in an airtight container or a sealed plastic bag. Store them in the refrigerator’s crisper drawer. Keep the temperature around 32–40°F (0–4°C). Use the kernels within 3 to 5 days for best taste. Avoid moisture buildup inside the container to prevent mold.
Freezing For Longevity
Spread the kernels on a baking sheet in a single layer. Freeze them for 1 to 2 hours until firm. Transfer the frozen kernels to airtight freezer bags or containers. Remove as much air as possible to avoid freezer burn. Label the bags with the date and use within 8 to 12 months.
Avoiding Spoilage
- Do not leave kernels at room temperature for long periods.
- Keep containers tightly sealed to stop air exposure.
- Check for any signs of mold or off smell before use.
- Use clean utensils to handle kernels and avoid contamination.
Credit: cutco.com
Creative Uses For Corn Kernels
Once you’ve removed the corn kernels from the cob, you have a versatile ingredient ready to brighten up your meals. Corn kernels bring natural sweetness, crunch, and vibrant color to many dishes. How you use them can transform simple recipes into something exciting and fresh.
Recipes To Try
Think beyond boiling or steaming. Corn kernels can be added to soups, stews, and chowders for a subtle sweetness and texture contrast. Try mixing them into a creamy corn chowder with potatoes and bacon for a comforting meal.
Another tasty idea is to make corn fritters. Combine the kernels with flour, eggs, and a pinch of chili powder. Fry them until golden brown—you’ll get crispy bites that are perfect as appetizers or snacks.
Freezing For Future Meals
If you have a large batch of fresh kernels, freezing is a smart option. Spread the kernels in a single layer on a baking sheet and freeze until solid. Then transfer them to a freezer-safe bag to keep them fresh for months.
Frozen corn is handy to have on busy days. You can add it straight to soups, casseroles, or stir-fries without thawing. Have you ever reached for frozen corn and found it saved dinner? It really is a kitchen lifesaver.
Incorporating Into Salads And Sides
Fresh corn kernels brighten salads with their crisp texture and sweet flavor. Toss them with chopped tomatoes, cucumbers, and fresh herbs for a refreshing summer salad. Add a squeeze of lime and a sprinkle of salt to enhance the taste.
You can also mix corn into side dishes like rice pilafs or roasted vegetable medleys. It pairs well with black beans and avocado for a quick southwestern twist. What’s your favorite way to add a pop of sweetness to sides?
Credit: cutco.com
Frequently Asked Questions
How Do You Easily Remove Corn Kernels From Cob?
To remove corn kernels easily, use a sharp knife and cut downward close to the cob. Hold the cob vertically on a stable surface to avoid slipping. This method ensures clean separation of kernels without damaging them, making preparation quick and efficient.
What Tools Are Best For Removing Corn Kernels?
A sharp chef’s knife or a corn stripper tool works best. Knives provide precision, while corn strippers speed up the process. Choose based on your comfort and quantity of corn to prepare. Both tools help remove kernels cleanly and safely.
Can You Remove Corn Kernels Without A Knife?
Yes, you can use hands or a fork to strip kernels in small amounts. Hands work best on softer, fresh corn, while a fork helps loosen kernels. However, knives or specialized tools are faster and more effective for larger quantities.
Is It Better To Remove Kernels Raw Or Cooked?
Removing kernels from raw corn is easier because the kernels are firm and intact. Cooked kernels can become soft and slippery, making them harder to separate cleanly. For best results, remove kernels before cooking or steaming the corn.
Conclusion
Removing corn kernels from the cob is simple and quick. Use a sharp knife and steady hands. Hold the cob firmly and slice downward carefully. This method keeps kernels whole and ready to cook. Fresh corn tastes better and adds flavor to many dishes.
Practice a few times to get comfortable. Soon, you will remove kernels with ease. Enjoy fresh corn in salads, soups, or as a snack. Simple steps bring great results every time.

Hi, I’m Daniel Brooks—a food lover and kitchen gear enthusiast. I enjoy testing cookware, utensils, and gadgets to see what really works in everyday cooking. At PlugChef.com, I share honest reviews, comparisons, and simple guides to help you choose the best tools for a safer, smarter, and more enjoyable kitchen.
Related posts:
 What Type of Cooking Utensils are Safe: Expert Picks
 What Innovations Could Blenders Make: Unleashing Future Tech
 Smart Strategies to Organize a Small Kitchen: Maximize Space
 How to Organize a Kitchen Cabinet: Expert Tips & Tricks
 How to Organize Kitchen Drawers: Expert Tips and Tricks
 How to Organize a Corner Kitchen Cupboard: Expert Tips

