
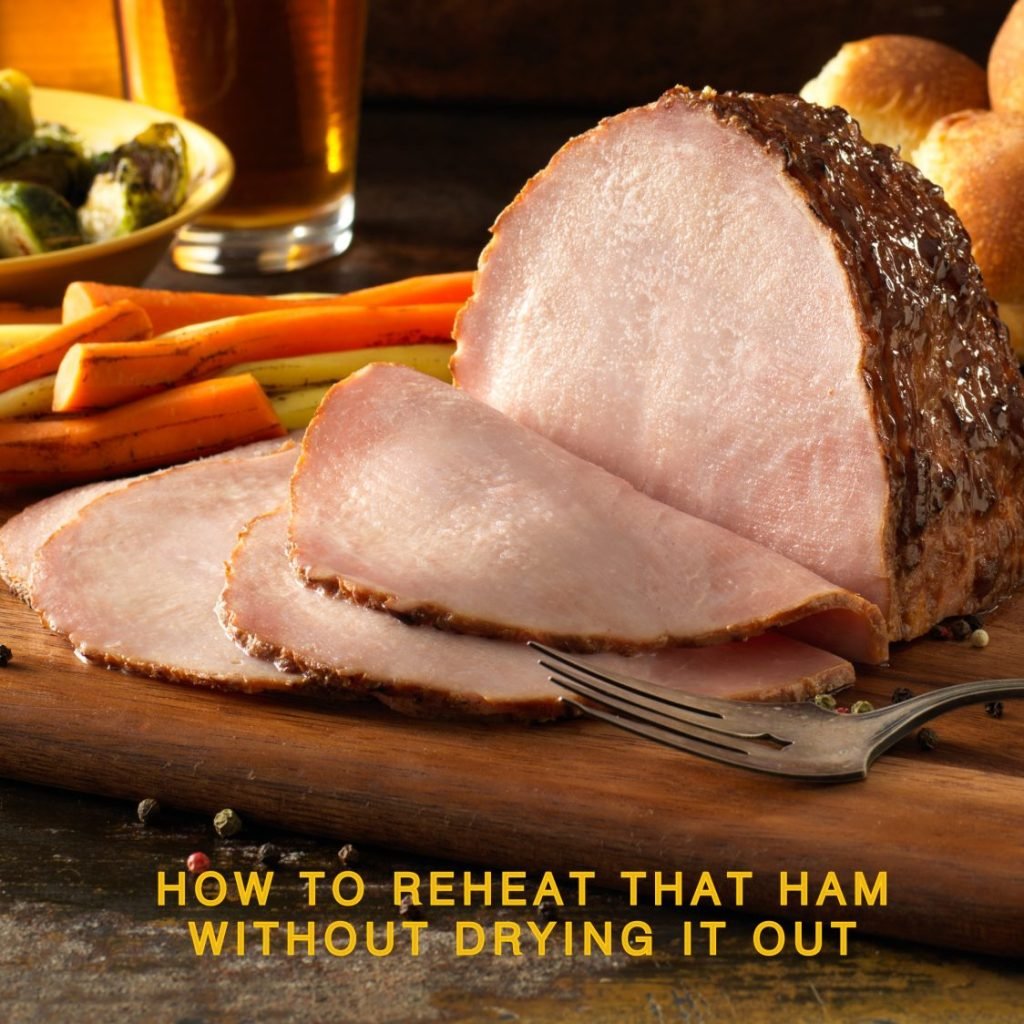
There’s nothing more disappointing than dry, rubbery leftover ham slices after a holiday meal or Sunday brunch. Unlike cooking raw pork, reheating pre-cured, pre-cooked ham requires gentle, even heat to lock in its natural juices and preserve its signature savory-sweet flavor. When done correctly, oven-reheated ham slices taste just as juicy and flavorful as the day they were first cooked, with no wasted leftovers. This guide walks you through the exact steps, temperature settings, and pro tricks to get juicy perfection every time, no fancy equipment required.
Why Oven Reheating Outperforms Other Methods
Many home cooks default to the microwave or stovetop to reheat ham slices, but these methods often lead to uneven, dry results. Microwaves heat food by agitating water molecules, which quickly draws moisture out of cured ham and creates tough, chewy edges with cold centers. Stovetop heating can crisp the outside of slices while leaving the middle lukewarm, and requires constant monitoring to avoid burning. The oven, by contrast, provides consistent, gentle ambient heat that warms slices evenly from edge to center, preserving their natural tenderness. For slices thicker than ¼ inch, the oven is the only reliable method to avoid undercooked centers or overcooked edges.
Choosing the Best Ham Slices for Reheating
Not all ham slices reheat equally, and a small amount of prep before cooking makes a huge difference in final texture and flavor.
Types of Ham That Reheat Best
The two most common grocery store ham varieties are wet-cured (city) ham and dry-cured (country) ham, and they require slightly different handling. Wet-cured ham is brined during processing, giving it a mild, sweet flavor and high moisture content that makes it very forgiving when reheating. This is the standard pre-sliced ham sold in most delis and packaged for holidays. Dry-cured country ham is salt-cured and aged, giving it a bold, savory flavor but lower natural moisture; if using this variety, rinse slices under cold water before reheating to remove excess surface salt, and add an extra splash of apple juice to the pan to keep them moist. Pre-glazed holiday ham slices are also ideal for reheating, as the sugar coating acts as a barrier to lock in moisture. Avoid pre-sliced deli ham that is very thin (less than ⅛ inch thick), as it will dry out in 5 minutes or less at any oven temperature.
Trimming and Prepping Slices
Before reheating, use a sharp carving knife to trim only thick, hard, rendered fat edges that won’t soften during heating. Leave a ¼-inch fat cap on the rest of the slice: this layer melts during baking, basting the meat from the inside to keep it juicy. If your slices are uneven, place thinner slices on the bottom of the pan and thicker slices on top, so they all finish cooking at the same time. Tearing or shredding the meat with a dull knife will create jagged edges that lose juice faster, so always use a sharp, clean blade for prepping.
 Freshly sliced raw ham with a thin fat cap retains moisture best during reheating
Credit: farmhouseharvest.net
Freshly sliced raw ham with a thin fat cap retains moisture best during reheating
Credit: farmhouseharvest.net
Oven Setup for Perfect, Even Heating
The right temperature and cookware are just as important as the ham itself when it comes to avoiding dry, tough results.
Temperature Guidelines
Stick to a low temperature range of 275°F to 300°F (135°C to 150°C) for standard ovens. This slow, gentle heat warms the ham through without tightening its protein fibers, which is what causes toughness and juice loss. If you have a convection oven, lower the temperature to 250°F (120°C), as convection fans circulate hot air 25°F faster than standard ovens. The USDA confirms pre-cooked, cured ham only needs to reach an internal temperature of 140°F (60°C) when reheating, far lower than the 165°F (74°C) required for raw pork safe minimum cooking temperatures. This lower threshold preserves moisture without risking undercooking, as cured ham has already been treated to kill harmful bacteria.
Cookware and Moisture-Trapping Tools
Glass or ceramic baking dishes are the best option, as they hold and distribute heat evenly without creating hot spots that dry out the edges of the ham. If you don’t have a baking dish, a rimmed metal baking sheet works fine, as long as you add a splash of liquid to the pan to create steam. Cover the dish tightly with aluminum foil, or wrap individual slices in foil if you’re only reheating a small batch. Leave a 1-inch gap on one side of the foil to let excess steam escape, so the ham doesn’t become soggy. If you have young children in the home, store hot pans and oven mitts out of reach using kid-safe drawer locks to avoid burns.
Step-by-Step Reheating Guide for Juicy Results
Follow these exact steps for consistent, tender ham every time, no guesswork required.
- Prep the pan and ham: Preheat your oven to the correct temperature for your oven type. Arrange ham slices in a single, non-overlapping layer in your baking dish, so heat can circulate evenly around each slice.
- Add moisture: Pour ¼ cup of liquid per 4 slices into the bottom of the dish. Use water, low-sodium chicken broth, apple juice, or even a splash of dry white wine for extra depth of flavor. Pour the liquid around the slices, not directly on top, to avoid washing off any seasonings or glaze.
- Cover and bake: Seal the dish tightly with foil, or wrap individual slices if preferred. Place in the preheated oven and bake for the time recommended in the table below, based on slice thickness and oven type.
| Slice Thickness | Standard Oven (275°F / 135°C) | Convection Oven (250°F / 120°C) | Notes |
|---|---|---|---|
| ⅛ inch (3 mm) | 5-7 minutes | 4-6 minutes | Check at 5 minutes to avoid drying |
| ¼ inch (6 mm) | 8-10 minutes | 6-8 minutes | Ideal thickness for even heating |
| ½ inch (12 mm) | 12-15 minutes | 10-12 minutes | Add 1 extra minute per ⅛ inch if ham is bone-in |
- Check for doneness: Use an instant-read meat thermometer inserted into the thickest part of the slice to confirm it reaches 140°F (60°C). If you don’t have a thermometer, the ham should be uniformly warm to the touch, with no cold spots in the center. For glazed ham slices, you can uncover the pan for the last 2 minutes of baking to caramelize the sugar coating, if desired.
- Rest before serving: Remove the ham from the oven and let it rest, covered, for 2-3 minutes before serving. This short rest lets the juices redistribute throughout the slice, so they don’t all run out when you cut into it.
 Caramelized brown sugar glaze adds sweetness and a crispy edge to reheated ham slices
Credit: www.dinner-mom.com
Caramelized brown sugar glaze adds sweetness and a crispy edge to reheated ham slices
Credit: www.dinner-mom.com
Pro Flavor Boosters for Upgraded Leftovers
Reheated ham doesn’t have to be plain: a few simple additions can elevate its flavor and make it the star of your meal.
Glazes That Won’t Burn
Sugary glazes pair perfectly with the salty, savory flavor of cured ham, but adding them too early will cause them to burn at low oven temperatures. Brush your glaze onto the slices during the last 2 minutes of baking, or add a teaspoon of melted butter to the glaze mixture to help it caramelize evenly without burning. For a classic sweet-tangy glaze, mix 2 tablespoons of honey, 1 tablespoon of Dijon mustard, and a pinch of paprika. For a warm, winter-friendly option, combine 2 tablespoons of maple syrup, 1 teaspoon of cinnamon, and a splash of orange juice.
Simple Seasoning Combinations
Most cured hams are already high in sodium, so skip adding extra salt before reheating. Instead, use salt-free seasonings to add depth: smoked paprika adds a subtle smoky note that pairs well with glazed ham, while fresh rosemary or thyme adds herbal brightness for a more savory profile. For a touch of warmth, add a pinch of ground cloves or nutmeg, which complement the natural sweetness of the ham. Sprinkle seasonings lightly over the slices before covering them with foil, so they have time to infuse into the meat as it warms.
Common Reheating Mistakes to Avoid
Even experienced cooks make these errors, which lead to dry, unappetizing ham:
- Cranking the oven temperature: Setting the oven to 350°F or higher to speed up reheating tightens the ham’s protein fibers, squeezing out all natural moisture and creating tough, rubbery slices in under 10 minutes. Always stick to 275°F or lower.
- Overlapping slices: Piling slices on top of each other creates cold, undercooked centers and overcooked, dry edges. Always arrange slices in a single layer.
- Skipping the resting step: Cutting into ham immediately after removing it from the oven lets all the internal juices run out onto your cutting board, leaving the slices dry. Let it rest covered for 2-3 minutes first.
- Reheating multiple times: Each reheat cycle draws out more moisture and increases the risk of bacterial growth. Only reheat the amount of ham you plan to serve immediately.
If you do end up with dry ham slices, you can salvage them by dicing them up and adding them to a breakfast casserole or fried rice, where the extra sauce or oil will mask the toughness.
Storing and Repurposing Leftover Ham
If you have leftover reheated ham, let it cool completely (no more than 2 hours at room temperature) before storing it in an airtight container in the refrigerator for up to 4 days. For longer storage, wrap slices tightly in plastic wrap and aluminum foil and freeze for up to 2 months; thaw frozen slices in the fridge before reheating. Leftover ham works in dozens of dishes: dice it for omelets, fold it into scalloped potatoes, or add it to a homemade charcuterie board paired with cheese and crackers for a quick snack. After reheating, clean your baking dish easily with a convenient soap-dispensing scrub brush to cut through stuck-on glaze and fat, or use a sturdy cleaning brush for tougher, baked-on bits.
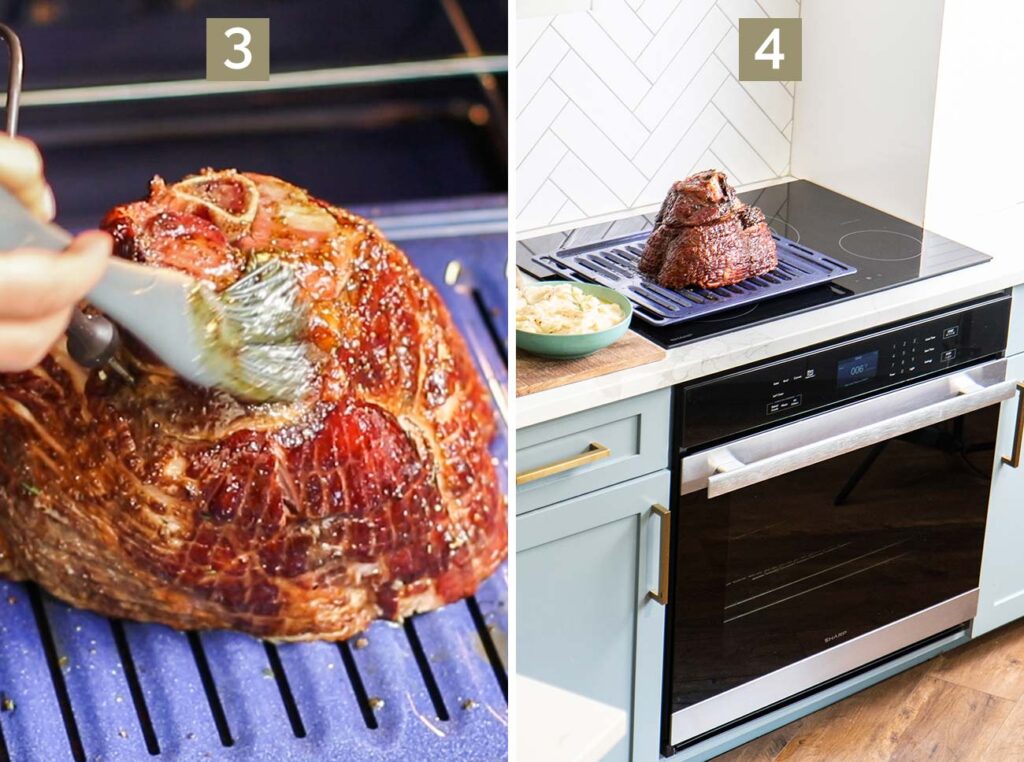 Wrapping ham slices tightly in foil traps steam to lock in moisture during baking
Credit: sunkissedkitchen.com
Wrapping ham slices tightly in foil traps steam to lock in moisture during baking
Credit: sunkissedkitchen.com
Frequently Asked Questions
What temperature do you reheat ham slices in the oven?
For standard ovens, preheat to 275°F (135°C). If using a convection oven, lower the temperature to 250°F (120°C) to account for faster air circulation.
How long does it take to reheat ham slices in the oven?
Reheating time depends on slice thickness: ¼-inch slices take 8-10 minutes in a standard oven, while ½-inch slices take 12-15 minutes. Always check for doneness with a meat thermometer rather than relying solely on time.
Can you reheat glazed ham slices without burning the glaze?
Yes. Add the glaze during the last 2 minutes of baking, or cover the slices with foil for the first 8 minutes of cooking, then uncover to let the glaze caramelize for the remaining time.
Is it safe to reheat ham slices more than once?
No. The USDA recommends only reheating ham once to avoid bacterial growth and moisture loss. Only reheat the amount you plan to serve immediately, and store leftovers properly for future use.
Why is my reheated ham dry?
The most common causes are using too high an oven temperature, overcooking the slices, or not covering the pan to trap steam. Stick to the low temperature and coverage guidelines in this guide for juicy results every time.
Conclusion
Reheating ham slices in the oven is a simple process that delivers restaurant-quality results when you follow a few key rules: use low, even heat, cover the slices to trap moisture, and let them rest before serving. Whether you’re reheating leftover holiday ham for a quick weeknight dinner or prepping brunch for a crowd, these tips will ensure your slices stay juicy, flavorful, and tender. For more easy kitchen tips and recipes to make the most of your leftovers, browse our kitchen tips blog for hundreds of tested, home-cook-friendly guides.

I’m Abby Lu, a passionate home cook who loves simplifying everyday meals. At PlugChef.com, I share product reviews and cooking guides to help you find the best tools for your kitchen.
Related posts:
 How to Make a Fruit Basket for a Gift: Easy DIY Guide
 Do You Need a Basket? Essential Guide for Air Fryers
 How to Adjust Syrup Dispenser Pressure: Expert Tips
 Appliance Play Food Kitchen Toys: Ignite Imaginative Play
 How Long Do Beauty Blenders Last: Expert Tips Unveiled
 Philips Kitchen Appliances Compact Pasta And Noodle Maker: Effortless Homemade Pasta

