
There’s nothing quite like a glazed ham as the centerpiece of a meal: glossy, caramelized, sweet with a hint of tang, and tender enough to melt in your mouth. This honey ham glaze recipe hits that perfect balance every time, requiring just 6 pantry staples and 10 minutes of active prep, no fancy cooking skills needed. In testing this glaze for everything from small weeknight family dinners to 20-person holiday gatherings, it’s proven versatile enough to pair with mild, salty city ham or smoky, rich country ham, and works equally well for fresh or pre-cured cuts. Whether you’re planning an Easter feast, a Sunday supper, or just want to elevate a simple weeknight meal, this glaze will turn an ordinary ham into an unforgettable dish that keeps guests coming back for seconds.
Why This Glaze Works for Every Occasion
Unlike store-bought glazes loaded with preservatives and artificial flavors, this homemade version lets you control the sweetness and spice level to match your preferences. It caramelizes beautifully in the oven, creating a crisp, shiny crust that locks in moisture while adding a burst of flavor to every bite. It also works as a leftover condiment: drizzle it over ham sandwiches, mix it into deviled eggs, or use it as a dipping sauce for appetizer skewers for a quick flavor boost.
Ingredients for Perfect Honey Ham Glaze
The secret to a well-balanced glaze lies in using high-quality, fresh ingredients that complement the ham’s natural saltiness rather than overpowering it. Below are the precise measurements for an 8–10 lb ham, plus notes on common swaps and pro tips for each component.
| Ingredient | Amount | Role in Glaze | Pro Tip |
|---|---|---|---|
| Pure honey (clover or wildflower) | ½ cup | Primary sweetener, adds glossy stickiness and floral sweetness | Avoid ultrapasteurized honey, which loses flavor and can separate when heated |
| Packed light brown sugar | ¼ cup | Adds caramel depth, thickens the glaze as it cooks | Light brown sugar has a milder molasses flavor than dark, so it won’t overpower the ham |
| Dijon mustard | 2 tbsp | Cuts sweetness with mild tang and subtle heat | Whole-grain mustard works for a textured, rustic glaze if you prefer |
| Apple cider vinegar | 1 tbsp | Brightens the overall flavor, balances richness | Substitute with pineapple juice for a tropical twist |
| Ground cloves | ¼ tsp | Adds warm, aromatic spice without overpowering | Freshly grated nutmeg (⅛ tsp) can replace cloves for a softer spice note |
| Warm water | 2 tbsp | Adjusts consistency for easy brushing | Add more 1 tsp at a time if the glaze is too thick after cooking |
Common ingredient swaps: If you don’t have Dijon mustard on hand, swap it for 1 tbsp of tomato paste for a subtle umami boost, or omit it entirely and add an extra ½ tsp of apple cider vinegar to keep the flavor bright. For a vegan version, use maple syrup instead of honey and coconut sugar instead of brown sugar.
Step-by-Step Glaze Preparation
This glaze comes together in minutes on the stovetop, and the process is forgiving enough for even novice cooks. Follow these steps for a smooth, lump-free finish every time:
- Prep all ingredients first: Measure out all components before turning on the heat, as the glaze cooks quickly and can burn if left unattended.
- Combine in a small saucepan: Add the honey, brown sugar, Dijon mustard, apple cider vinegar, ground cloves, and 1 tbsp of the warm water to a small saucepan over medium-low heat. Whisk gently to combine, making sure no sugar lumps remain at the bottom of the pan.
- Cook until thickened: Heat for 3–5 minutes, stirring constantly, until the brown sugar is fully dissolved and the mixture thickens enough to coat the back of a metal spoon. To test the consistency, run your finger through the glaze on the spoon: if the line stays intact, it’s ready.
- Adjust if needed: If the glaze is too thick to brush easily, whisk in the remaining 1 tbsp of warm water 1 tsp at a time until you reach a smooth, pourable consistency. Avoid adding too much water at once, as this can thin the glaze too much and prevent it from caramelizing properly.
- Cool slightly: Remove the saucepan from heat and let the glaze cool for 2 minutes before brushing onto the ham. This prevents it from running off the surface of the meat.
Make-ahead tip: You can prepare this glaze up to 3 days in advance. Store it in an airtight container in the refrigerator, and reheat gently over low heat (stirring often) before using. If it thickens too much in the fridge, whisk in 1 tsp of warm water at a time to restore your desired consistency.
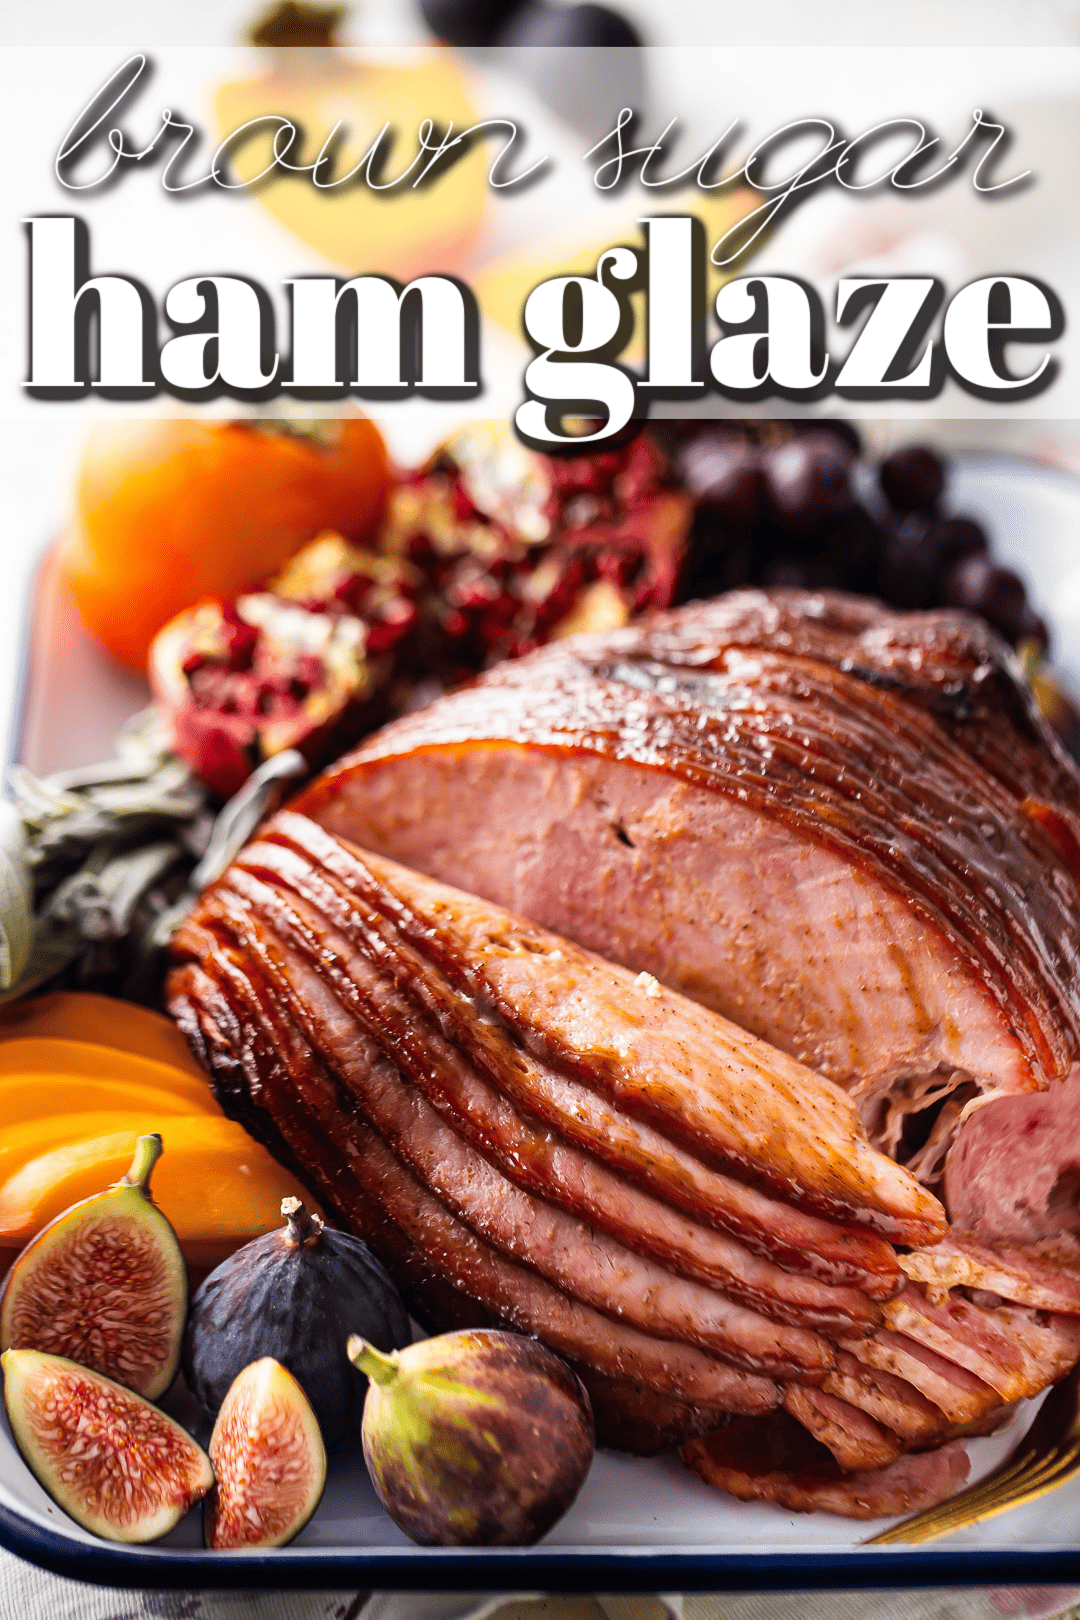 Whisking the glaze mixture over low heat to dissolve sugar evenly
Credit: bakingamoment.com
Whisking the glaze mixture over low heat to dissolve sugar evenly
Credit: bakingamoment.com
Preparing Your Ham for Glazing
Proper ham prep is just as important as the glaze itself for achieving that perfect crispy, caramelized crust. Follow these steps to get your ham ready:
- Dry the surface: Pat the entire ham dry with paper towels. Any excess moisture will prevent the glaze from sticking, leading to a patchy, uneven finish.
- Score the ham: Use a sharp knife to cut ¼-inch deep diagonal lines 1 inch apart across the entire surface of the ham, then cross-score the opposite direction to create a diamond pattern. The cuts trap the glaze, so every bite is packed with flavor, and create a beautiful, professional-looking finish when baked—this scoring technique also works when prepping cheese for charcuterie to hold garnishes and glazes.
- Check cooking temperature: For pre-cooked hams, heat to an internal temperature of 140°F (60°C) before applying glaze. For raw cured hams, cook to 145°F (63°C) and let rest for 3 minutes before slicing, per USDA food safety guidelines for ham. Always use a meat thermometer to ensure safe, even cooking.
Safety note: If you’re cooking with young children in the kitchen, keep hot saucepans and pot lids out of reach using childproof cabinet locks to prevent accidental burns.
How to Apply Glaze for Even, Glossy Results
Proper application ensures the glaze caramelizes evenly without burning, and creates that signature shiny, sticky crust. Follow these steps for best results:
- Apply the first coat: Use a clean silicone pastry brush (natural bristle brushes can shed into the glaze) to apply a thin, even layer of the warm glaze over the entire surface of the ham, making sure to work it into the scored cuts.
- Baste during cooking: If you’re baking a large ham, baste with extra glaze every 10–15 minutes during the last 30 minutes of cooking to build layers of flavor and keep the surface moist.
- Caramelize the final layer: For an extra-glossy, crispy crust, turn your oven up to 400°F (200°C) for the final 5–10 minutes of cooking. Watch the ham closely during this time to prevent the glaze from burning. If the top is browning too quickly before the ham is fully heated, tent it loosely with aluminum foil.
A common mistake to avoid: applying the glaze too early in the cooking process. The high sugar content will burn long before the ham is cooked through if added during the first hour of baking. Always wait until the final 30 minutes of cooking to start glazing.
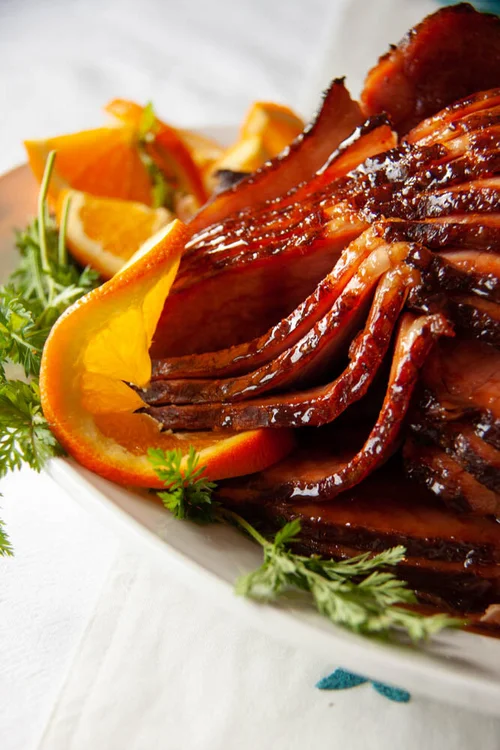 Freshly baked honey glazed ham with a crispy, caramelized outer layer
Credit: www.wonderfullifefarm.com
Freshly baked honey glazed ham with a crispy, caramelized outer layer
Credit: www.wonderfullifefarm.com
Custom Flavor Variations to Try
While the base honey glaze is delicious on its own, small tweaks can tailor it to your taste preferences or match your holiday menu. All variations use the base recipe above, with the noted swaps:
- Citrus Honey Glaze: Add 1 tsp of orange zest and 1 tbsp of fresh orange juice to the base for a bright, zesty twist perfect for spring ham.
- Spicy Honey Glaze: Mix in ½ tsp of cayenne pepper and 1 tsp of smoked paprika for a subtle kick that pairs perfectly with smoky country ham.
- Bourbon Brown Sugar Glaze: Swap 1 tbsp of apple cider vinegar for bourbon, and add an extra 1 tbsp of packed brown sugar for a rich, boozy flavor ideal for winter holiday dinners.
- Pineapple Ginger Glaze: Replace apple cider vinegar with pineapple juice, and add 1 tsp of grated fresh ginger for a tropical, aromatic glaze that pairs well with ham served alongside fried rice or stir-fried sides.
Serving Suggestions for a Balanced Meal
The sweet, savory profile of honey glazed ham pairs well with a mix of savory, acidic, and fresh sides to cut through its richness. After carving, let the ham rest for 10 minutes before serving to let the juices redistribute, ensuring every slice is tender and juicy.
Classic Side Pairings
- Savory mashed potatoes with garlic and butter
- Roasted Brussels sprouts with balsamic glaze
- Sharp arugula salad with lemon vinaigrette
- Creamy coleslaw with a tangy dressing
- Warm cornbread with honey butter
Drink Pairings
The glaze’s sweetness pairs well with crisp, low-sugar drinks: try a dry Riesling, a crisp pilsner, sparkling water with a slice of lemon, or warm spiced apple cider for a cozy cold-weather option.
If you’re setting out a full spread, wipe down your serving platters with a professional-grade kitchen brush to ensure they’re spotless for a polished presentation.
 Sliced glazed ham served with classic holiday sides like roasted carrots and mashed potatoes
Credit: lifemadesimplebakes.com
Sliced glazed ham served with classic holiday sides like roasted carrots and mashed potatoes
Credit: lifemadesimplebakes.com
Storing and Reheating Leftover Glazed Ham
Leftover honey ham is a versatile ingredient that can be repurposed for days after your meal if stored properly.
Proper Storage
Let the ham cool to room temperature (no more than 2 hours after cooking) before wrapping tightly in aluminum foil or storing in an airtight container. Leftover ham (with glaze) will keep in the refrigerator for 3–4 days, or in the freezer for up to 2 months. Label packages with the date to avoid confusion.
Reheating Best Practices
To keep leftover ham juicy, reheat it slowly in a 275°F (135°C) oven, covered with foil, with a splash of apple juice or water added to the pan to lock in moisture. Reheat to an internal temperature of 165°F (74°C) for food safety. For quick single servings, microwave slices in 30-second bursts covered with a damp paper towel to avoid drying out.
Creative Leftover Ideas
Don’t just reheat and eat! Dice leftover ham for omelets, fold it into quiches, toss it into soup or pasta, or use it as a topping for pizza. The leftover glaze also works as a sandwich spread or dipping sauce for pretzel bites.
Clean any sticky glaze residue from pans and utensils right away with a heavy-duty kitchen scrub brush to avoid hardened sugar that’s hard to scrub off later. Reheat leftover ham slices in a covered dish with a splash of apple juice to keep them moist, and scrub your reheating dish afterward with an easy-clean dish scrubbing tool for easy cleanup.
Frequently Asked Questions
What type of honey works best for this glaze?
Lighter honeys like clover or wildflower have a mild, floral sweetness that lets the ham and spice flavors shine. Darker honeys like buckwheat have a robust, molasses-like flavor that works well with bold spice variations, but can overpower mild, lightly salted hams if used in large amounts. Opt for pure, unprocessed honey rather than ultra-pasteurized varieties, which often have a flat taste and may separate when heated, per University of Minnesota Extension’s guide to cooking with honey.
Can I make this glaze ahead of time?
Yes! You can prepare the full glaze up to 3 days in advance. Store it in an airtight container in the refrigerator, and reheat gently over low heat (stirring often) before using. If it thickens too much in the fridge, whisk in 1 tsp of warm water at a time to reach your desired consistency.
Why is my glaze burning before the ham is done?
This usually happens if your oven temperature is too high, or you’re applying the glaze too early in the cooking process. Always apply the glaze during the last 30 minutes of cooking, and tent the ham loosely with aluminum foil if the top is browning too quickly before the ham is heated through.
Can I make this glaze without mustard?
Yes. If you have a mustard allergy or dislike the tang, swap the Dijon mustard with 1 tbsp of tomato paste for a subtle umami boost, or omit it entirely and add an extra 1 tsp of apple cider vinegar to keep the flavor balanced.
How long does leftover glaze last?
Stored in an airtight container in the refrigerator, leftover glaze will keep for up to 1 week. Reheat gently before using, stirring with a small precision cleaning brush if needed to smooth out any separated bits.
Conclusion
This honey ham glaze is the perfect no-fuss addition to any meal, balancing sweet, tangy, and warm spice notes that complement ham’s natural saltiness without overpowering it. It comes together in 10 minutes flat, requires no special equipment, and can be customized to match any taste preference or holiday menu. Whether you’re hosting a big family gathering or just want to make a weeknight dinner feel special, this glaze will turn a simple ham into a showstopping dish that everyone will rave about. For more easy, crowd-pleasing recipes and cooking tips, browse our full blog collection for your next meal inspiration.

I’m Abby Lu, a passionate home cook who loves simplifying everyday meals. At PlugChef.com, I share product reviews and cooking guides to help you find the best tools for your kitchen.
Related posts:
 Seville Expandable Cabinet And Pantry Organizer: Space Savior
 Glideware Pull Out Cabinet Organizer for Pots & Pans: Space Saver
 Small 3-Tier Shelf Organizer: Maximize Space Effortlessly
 Trader Joe’S Spicy Lentil Wrap: Delicious, Healthy, and Quick Meal!
 Easy Way to Peel Pumpkin: Quick Tips for Effortless Prep
 How Long Do Grapes Last: Ultimate Freshness Guide Revealed

