
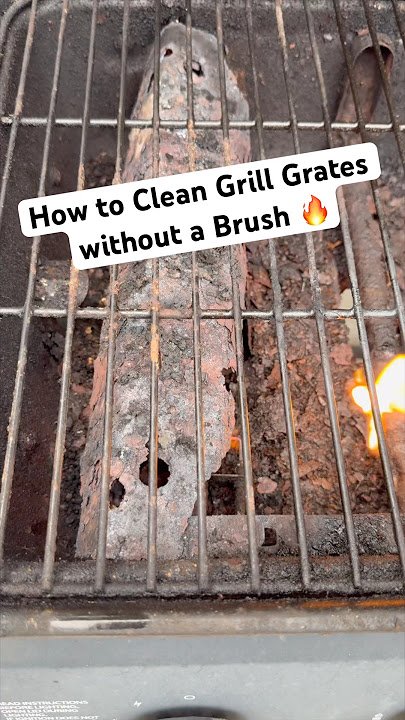
Few things ruin a backyard cookout faster than biting into a perfectly grilled burger only to taste old, burnt grease from a dirty grate, or watching a sudden flare-up incinerate your steaks. Cleaning BBQ grates doesn’t have to be a time-consuming, messy chore — with the right techniques tailored to your grate material, you can keep your grill performing at its best, extend its lifespan by years, and ensure every meal tastes as intended. This guide covers material-specific care, step-by-step cleaning methods for every level of grime, maintenance hacks to reduce future work, and troubleshooting for stubborn rust and stuck-on residue, all verified against current food safety and grill maintenance best practices.
Why Regular Grate Cleaning Is Non-Negotiable
Many grill owners skip routine grate cleaning until buildup becomes impossible to ignore, but consistent maintenance delivers far more than just shiny metal. According to USDA grilling safety guidelines, accumulated grease and food particles in grate crevices can cause dangerous, unpredictable flare-ups, and harbor harmful bacteria like E. coli and Salmonella that can contaminate even properly cooked food. Dirty grates also lead to uneven heating, sticking, and off-flavors from burnt old residue, while neglected rust will eventually eat through metal and force you to replace your grates years before their expected lifespan. A quick 5-minute scrub after most cooks prevents all of these issues, saving you hours of deep scrubbing later and money on replacement parts.
Match Your Cleaning Method to Your Grate Material
The biggest mistake grill owners make is using a one-size-fits-all cleaning approach, as different grate materials require vastly different care to avoid damage. Using the wrong tool or cleaner can scratch enamel, strip seasoning, or create micro-abrasions that trap grease and accelerate rust. Below is a breakdown of care for the four most common grate types:
Cast Iron Grates
Cast iron is the gold standard for heat retention and searing, but it requires regular seasoning to prevent rust and sticking. Avoid soap, harsh degreasers, and abrasive scrubbers for routine cleaning — a stiff wire brush while the grates are still warm is almost always sufficient. For deep cleaning, scrub with a paste of coarse salt and oil to lift stuck-on residue without stripping the seasoning layer.
Stainless Steel Grates
Stainless steel is rust-resistant and low-maintenance, but soft brass or nylon brushes are best for routine cleaning to avoid scratching the surface, which can trap grease and lead to discoloration. For stuck-on grime, a mixture of warm water and mild dish soap works well, but avoid abrasive pads and acidic cleaners like undiluted vinegar, which can dull the finish over time.
Porcelain-Coated Grates
Porcelain enamel prevents sticking and makes cleanup easy, but it chips easily if scratched with metal tools. Use only plastic or nylon scrapers and soft-bristled brushes for all cleaning, and avoid harsh chemical cleaners that can degrade the enamel. For light stuck-on residue, a paste of baking soda and water scrubbed with a soft sponge will lift debris without damaging the coating.
Aluminum Grates
Lightweight and rust-resistant, aluminum grates are common on budget and portable grills. They are prone to scratching, so stick to soft nylon brushes and mild soap for cleaning. Avoid abrasive scrubbers and acidic cleaners, which can corrode the metal over time and cause pitting.
Essential Tools for Safe, Effective Cleaning
Having the right tools on hand cuts down on scrubbing time and prevents accidental damage to your grates. Skip the cheap, single-use wire brushes that shed bristles — opt for durable, purpose-built options designed for your grate type.
Brushes and Scrapers
For routine cleaning of cast iron and stainless steel grates, a stainless steel or brass bristle brush with a long, heat-resistant handle is ideal, as it lets you scrub hot grates safely without burning your hands. For porcelain and aluminum grates, a nylon bristle brush or plastic scraper will remove stuck-on food without chipping the surface. If you’re looking for an affordable, multi-pack option for routine post-cook cleaning, a set of durable grill brushes will cover all your basic needs. For heavy-duty stuck-on residue on cast iron grates, a tough residue remover will cut through grease without excessive elbow grease.
Non-Abrasive Cleaning Tools
For deep cleaning and delicate surfaces, keep a supply of soft sponges, plastic scrapers, crumpled aluminum foil (a cheap, effective scraper for hot grates), and coarse salt (a gentle abrasive for cast iron seasoning maintenance) on hand. For porcelain-coated grates that scratch easily, opt for a soft-bristled gentle scrubbing brush to avoid surface damage.
Safety Gear and Supplies
Never skip basic safety prep: wear heat-resistant gloves to avoid burns from hot grates or cleaning chemicals, keep a Class B fire extinguisher within arm’s reach in case of flare-ups, and work in a well-ventilated area to avoid inhaling fumes from grease or cleaners. If you have children or pets, always secure the grill area during cleanup — child-safe access barriers can help keep curious toddlers away from hot surfaces and harsh cleaning chemicals. Avoid using harsh oven cleaners or undiluted bleach on grates, as residue can transfer to food and cause illness.
Step-by-Step Pre-Cleaning Prep
Proper prep makes the actual cleaning process faster, safer, and more effective. Follow these steps before you start scrubbing:
- Clear the area around your grill of any flammable materials, and make sure the grill is turned off and disconnected from its fuel source (propane or natural gas) if you’ll be removing the grates for deep cleaning.
- Put on heat-resistant gloves and keep a fire extinguisher nearby.
- Turn the grill to high heat, close the lid, and let the grates heat for 10 to 15 minutes. This will burn off loose food particles and loosen hardened grease, making scrubbing far easier. To test if the grates are hot enough, hold your hand 6 inches above the grate surface — if you can only hold it there for 2 to 3 seconds, they’re ready.
- Turn off the grill and let the grates cool slightly (until they’re warm to the touch but not hot enough to cause burns) before scrubbing.
Proven Cleaning Techniques for Every Level of Grime
Not every cook requires a full deep clean — match your cleaning effort to how much buildup is on your grates:
Routine Post-Cook Cleaning (After Every Use)
This 5-minute step prevents 90% of long-term buildup and is the single most important habit for grate maintenance. While the grates are still warm (not hot) after cooking, use a stiff wire brush (or nylon brush for delicate grates) to scrape off all visible food particles and grease. For extra stuck-on bits, crumple a sheet of aluminum foil into a ball and scrub the grate surface — the rough texture lifts residue without damaging the metal. There’s no need to wash the grates with soap after every use unless you’ve cooked extremely greasy or sugary foods.
 Video tutorial showing the proper technique for brushing warm grates after cooking.
Image source: www.youtube
Video tutorial showing the proper technique for brushing warm grates after cooking.
Image source: www.youtube
Moderate Grime Removal (Monthly for Frequent Grillers)
If you notice a thin layer of hardened grease or faint rust after a few weeks of use, do a deeper scrub without removing the grates:
- Heat the grill to high for 10 minutes to loosen buildup.
- Turn off the grill and let grates cool slightly.
- Scrub all surfaces thoroughly with a stiff brush, focusing on crevices and corners.
- Wipe down the grates with a damp cloth dipped in warm, soapy water (mild dish soap is fine for all grate types except cast iron, which you can wipe with a damp cloth only to avoid stripping seasoning).
- Dry the grates completely with a clean towel or paper towels.
Deep Cleaning for Stuck-On Grease and Rust (Quarterly or Yearly)
For heavy buildup, rust, or grates that haven’t been cleaned in months, remove the grates from the grill for a full deep clean:
- Scrape off as much loose debris as possible with a grill scraper while the grates are warm.
- Soak the grates in a large tub or sink filled with warm water and 1/2 cup of dish soap for 30 minutes to 1 hour to loosen stubborn grime. For rust removal, add 1 cup of white vinegar to the soak water.
- Scrub all surfaces with a stiff brush, paying extra attention to rust spots and crevices where grease builds up.
- For remaining stuck-on residue, make a paste of baking soda and water, apply it to the grates, let sit for 10 minutes, then scrub again.
- Rinse the grates thoroughly with clean water to remove all soap and cleaner residue.
- Dry the grates completely with a clean towel — any remaining moisture will cause rust.
- Apply a thin, even layer of high-heat cooking oil (canola, vegetable, or grapeseed oil work well) to all surfaces with a paper towel or brush, then heat the grill to medium for 15 minutes to bond the oil to the metal. As noted by University of Minnesota Extension, this seasoning step not only prevents rust but also improves the non-stick properties of cast iron and carbon steel grates over time.
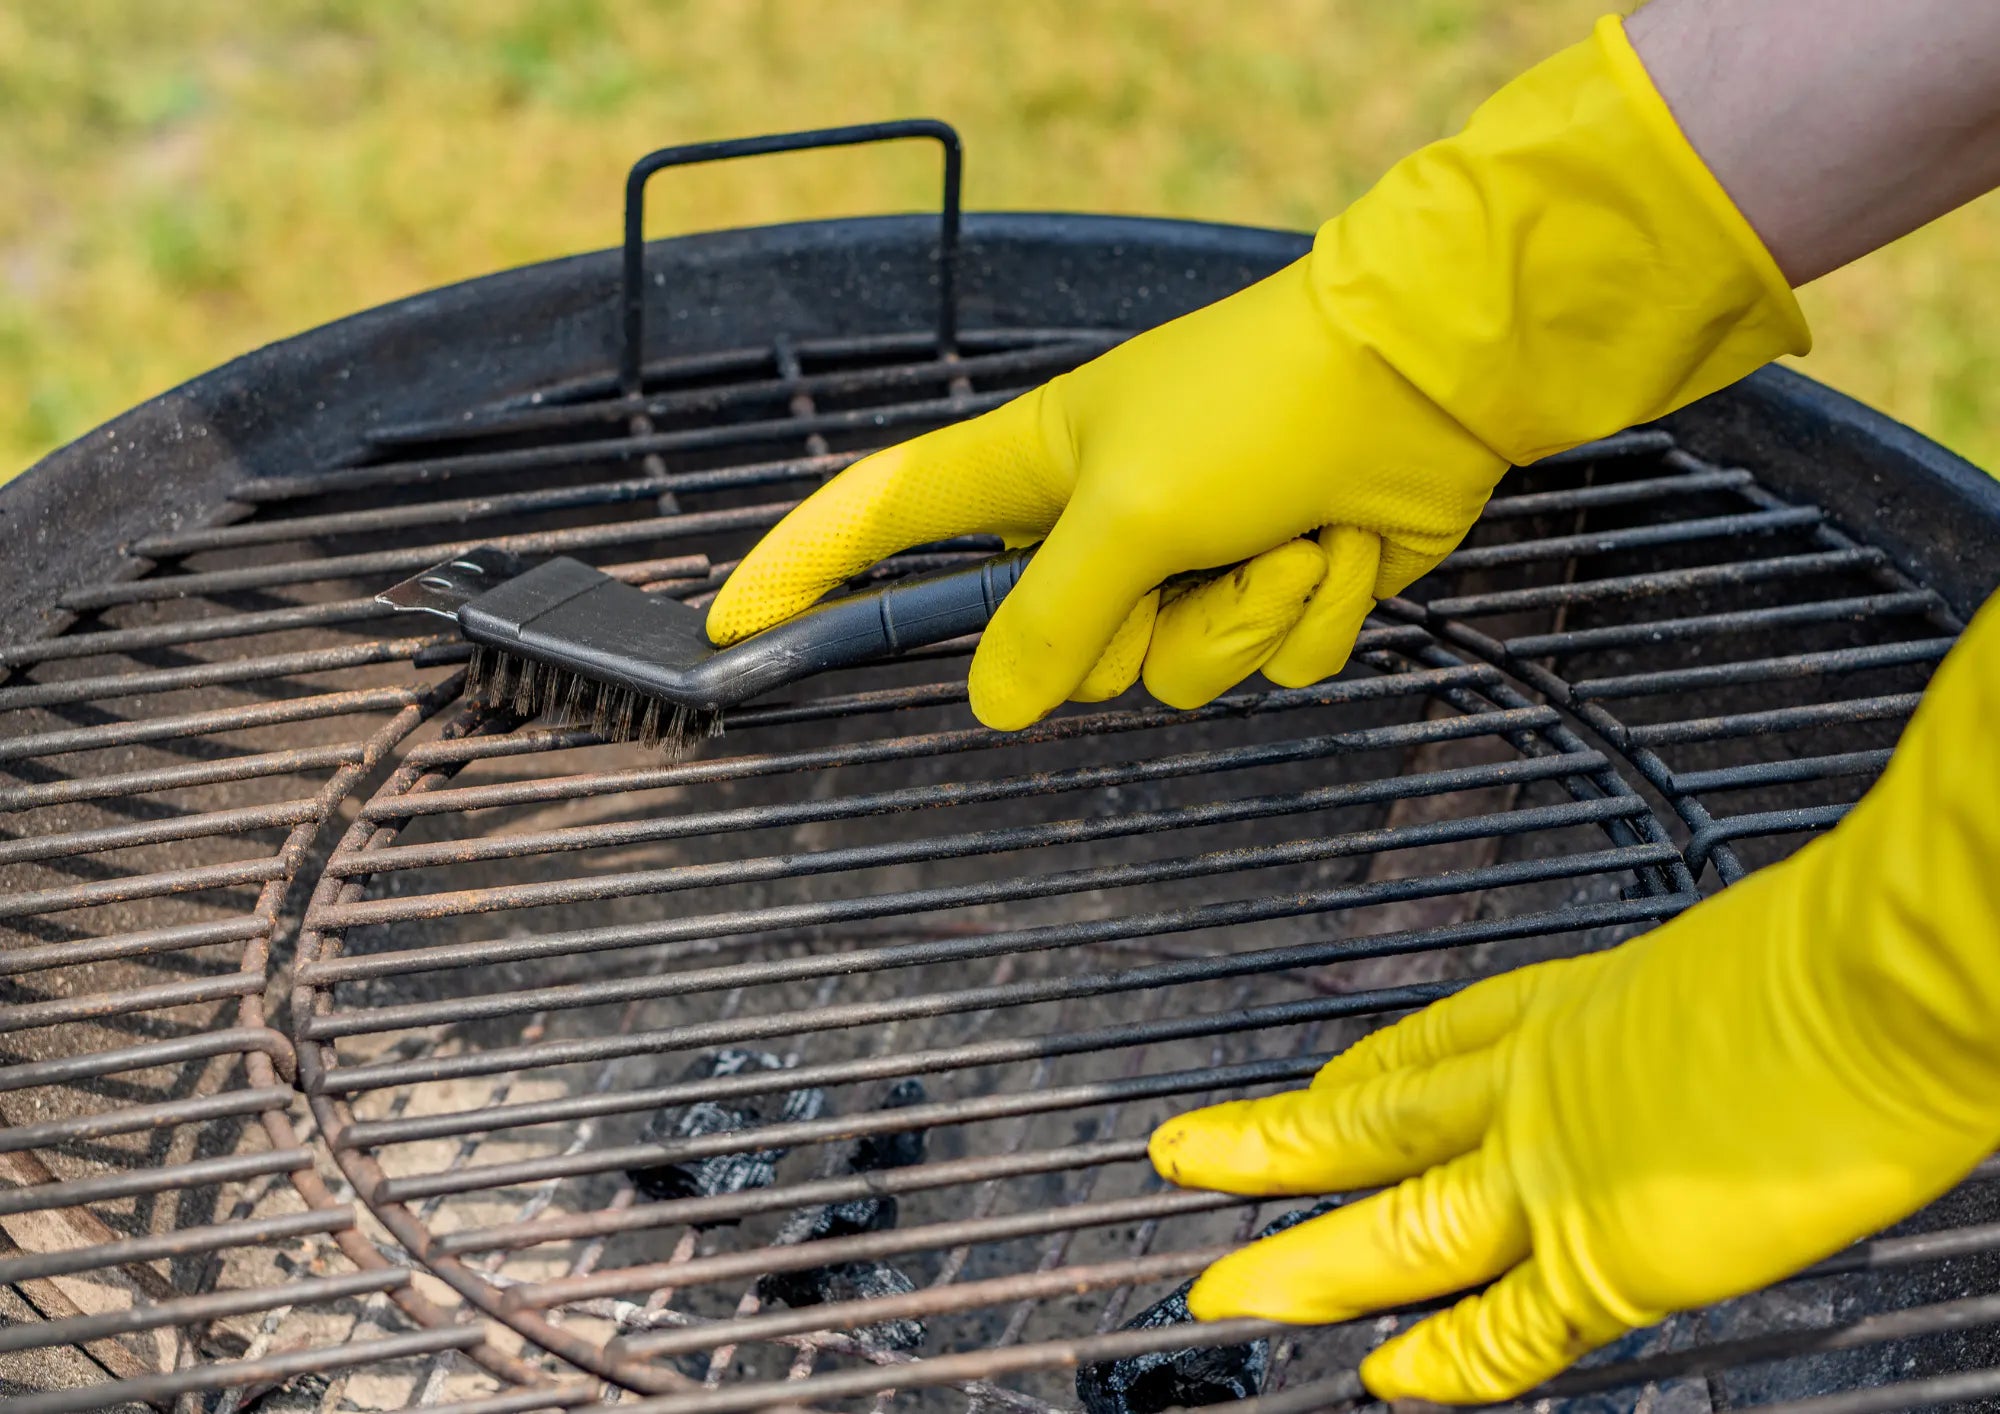 Applying a light coat of oil after deep cleaning prevents rust and improves non-stick performance.
Image source: themeatstick.com
Applying a light coat of oil after deep cleaning prevents rust and improves non-stick performance.
Image source: themeatstick.com
Post-Cleaning Care to Keep Grates Sparkling
A good clean is only half the battle — a few simple habits after cleaning will keep your grates in top shape for months:
- Season regularly: After every deep clean (and monthly for cast iron grates), apply a thin layer of high-heat cooking oil and heat the grates for 15 minutes to bond the oil to the metal. This creates a natural non-stick barrier and prevents rust.
- Store properly: If you live in a humid climate or won’t be using your grill for an extended period, coat the grates with a thin layer of cooking oil, wrap them in a dry cloth, and store them in a cool, dry place. Avoid covering the grill while the grates are still damp, as trapped moisture will cause rust.
- Stick to a schedule: For most home grillers, a 5-minute post-cook brush after every use, a monthly moderate scrub, and a quarterly deep clean is enough to keep grates in perfect condition. If you grill multiple times a week, you may need to do a moderate scrub every two weeks instead of monthly.
Once your grates are sparkling, you’re ready for your next cookout — if you’re hosting a backyard grilling night with a charcuterie spread, round cheese slicing tips will help you prep the perfect board to serve alongside your grilled favorites.
Common Grate Cleaning Mistakes to Avoid
Even experienced grill owners make these errors that can damage their grates or make cleaning harder than it needs to be:
- Using metal tools on porcelain or aluminum grates: Metal scrapers and steel wool will chip enamel and scratch soft aluminum, creating spots where grease and rust can build up. Stick to nylon or plastic tools for these grate types.
- Cleaning cold grates: Trying to scrub cold, hardened grease and stuck-on food requires far more effort and can damage grate surfaces. Always heat the grill first to loosen debris.
- Using harsh degreasers on cast iron: Products like oven cleaner or undiluted bleach will strip the seasoning layer from cast iron grates, leaving them vulnerable to rust. Stick to mild soap, salt, or natural cleaners like baking soda and vinegar for cast iron.
- Skipping the drying step: Moisture is the number one cause of rust on BBQ grates. Always dry grates completely with a clean towel after washing, and never store them damp.
- Neglecting the underside of grates: Grease and debris build up on the underside of grates just as much as the top, so be sure to scrub both sides during deep cleaning.
Troubleshooting Stubborn Cleaning Issues
Even with regular maintenance, you may run into tough grime or rust that requires extra attention. Here’s how to fix the most common problems:
Stuck-On Sugary or Caramelized Residue
Sauces with high sugar content (like BBQ sauce, honey glaze, or teriyaki) can carbonize and stick to grates tenaciously. After heating the grates to loosen residue, scrub with a paste of baking soda and water, then let it sit for 10 minutes before scrubbing again with a stiff brush. For extremely stubborn bits, a pumice stone designed for grill cleaning (avoid regular sandpaper, which can scratch) will lift the residue without damaging the grate surface.
Heavy Rust
For grates with surface rust, scrub with a paste of coarse salt and oil to lift the rust without damaging the metal. For deep rust that has pitted the surface, soak the grates in a 1:1 mixture of white vinegar and water for 1 to 2 hours, then scrub with a wire brush (for cast iron/stainless steel only) or nylon brush (for porcelain/aluminum). Rinse thoroughly, dry completely, and apply a fresh layer of seasoning to prevent further rust.
Persistent Grease Buildup
If grease builds up in hard-to-reach crevices, use a grill brush with a long, angled handle to scrub into corners, or spray a mixture of warm water and dish soap into crevices and let it sit for 10 minutes before scrubbing. For extremely greasy grills, you can also place a disposable aluminum tray under the grates while cooking to catch excess grease and reduce buildup.
Frequently Asked Questions
How often should I clean BBQ grates?
For most home grillers, a quick 5-minute brush after every use is enough to prevent buildup. Perform a moderate scrub monthly (or every two weeks if you grill 3+ times a week), and a full deep clean quarterly, or immediately if you notice rust, heavy grease, or stuck-on residue that won’t come off with a brush.
What is the easiest way to clean BBQ grates?
The easiest method is to brush the grates immediately after cooking while they are still warm — this takes 5 minutes or less and prevents 90% of long-term buildup. For tougher grime, soak the grates in warm soapy water for 30 minutes before scrubbing.
Can I use vinegar to clean BBQ grates?
Yes, white vinegar is a safe, natural cleaner for most grate types, and works well to dissolve grease and remove light rust. Mix equal parts white vinegar and warm water, spray or wipe it onto the grates, let sit for 10 minutes, then scrub with a brush and rinse thoroughly. Avoid leaving undiluted vinegar on stainless steel or polished grates for long periods, as it can dull the finish.
Should I clean BBQ grates when cold or hot?
Always clean grates when they are warm (not scalding hot) — heat softens grease and loosens stuck-on food, making scrubbing far easier and faster. Wait 10 to 15 minutes after turning off the grill before scrubbing to avoid burns.
Can I use dish soap on cast iron grill grates?
For routine cleaning, avoid dish soap on cast iron grates, as it can strip the seasoning layer that prevents rust and sticking. Wipe warm grates with a damp cloth or scrub with a stiff brush and coarse salt instead. For deep cleaning, you can use a small amount of mild dish soap, but be sure to rinse thoroughly and re-season the grates immediately after drying.
Final Thoughts
Cleaning your BBQ grates doesn’t have to be a dreaded weekend chore — with a few simple, material-specific habits, you can keep your grates sparkling, extend their lifespan by years, and ensure every grilled meal tastes its best. The most impactful step is brushing your grates immediately after every cook while they’re still warm, which prevents 90% of stubborn buildup from forming in the first place. Pair that with a monthly moderate scrub and quarterly deep clean, and you’ll never have to deal with rusty, food-covered grates again. For more in-depth grill care and outdoor cooking guides, check out our full blog library for seasonal maintenance hacks and recipe ideas to make every cookout a success.

Hi, I’m Daniel Brooks—a food lover and kitchen gear enthusiast. I enjoy testing cookware, utensils, and gadgets to see what really works in everyday cooking. At PlugChef.com, I share honest reviews, comparisons, and simple guides to help you choose the best tools for a safer, smarter, and more enjoyable kitchen.
Related posts:
 Wall Mount Spice Rack With Doors: Maximize Your Kitchen Space
 Glideware Pull-Out Cabinet Organizer: Transform Your Kitchen
 Organize Pantry With Wire Shelves: Transform Clutter to Order
 Spice Rack for Side of Refrigerator: Maximize Kitchen Space
 New Earth Organic Top Shelf Garden Soil: Ultimate Growth Boost
 How to Clean Kitchen Sink Drain Smell: Easy Tips to Eliminate Odors

