
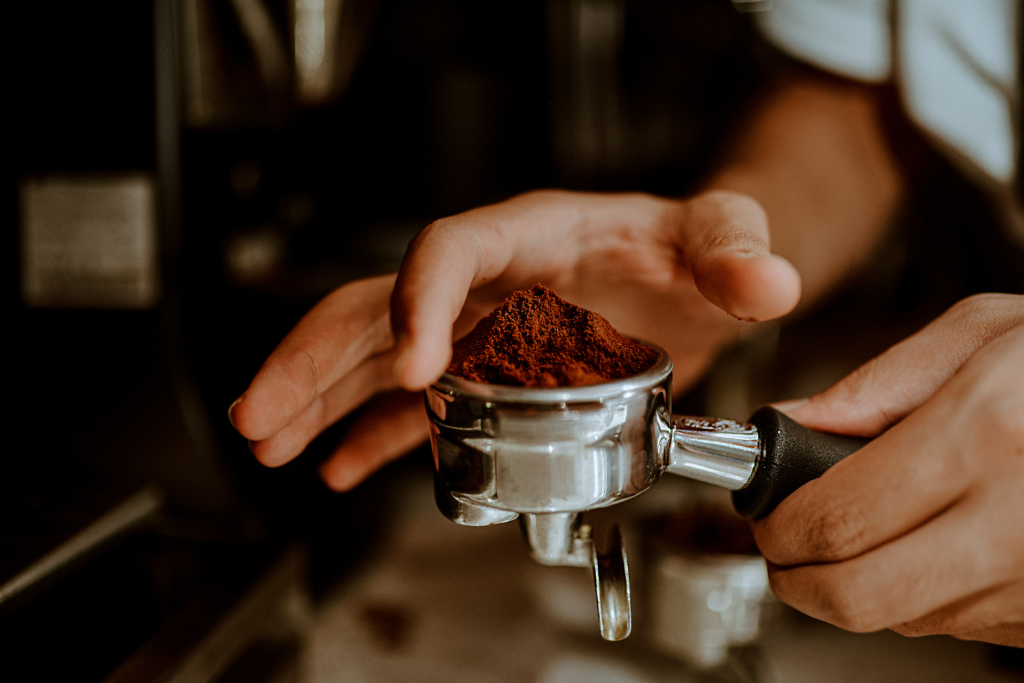
If you’ve ever splurged on a $20 bag of single-origin Ethiopian Yirgacheffe, only to pour a bitter, watery cup, the culprit is almost certainly your grind. Grinding coffee isn’t just a pre-brew chore—it’s the single most adjustable variable that controls extraction, unlocking bright acidity, rich body, and complex flavor notes you didn’t know your beans had. Whether you’re a total beginner using a basic blade grinder or a home espresso enthusiast tuning your burr setup, these expert, field-tested tips will help you nail consistent, delicious grounds every single brew, whether you’re sipping solo or pairing your cup with hearty roasted sides or crispy air-fried latkes for a lazy weekend brunch.
Choosing the Right Grinder for Your Brew Setup
The grinder you use determines 90% of your brew’s flavor potential, far more than your coffee maker or bean quality alone. Picking the right model for your routine, budget, and preferred brewing method is the first step to consistent, great-tasting coffee.
Blade vs. Burr Grinders: The Core Difference
Blade grinders work like miniature food processors, using a spinning propeller-style blade to chop beans randomly. They are cheap (most cost under $20) and widely available, but they produce a highly inconsistent mix of large boulders (coarse particles) and fine dust. This variance causes over-extraction from the fines (bitter, harsh notes) and under-extraction from the boulders (sour, weak notes) in the same cup, ruining even high-quality beans. Blade grinders are only acceptable for very basic auto-drip coffee if you have no other option, and even then, you must pulse them in 1-second bursts to reduce friction heat that cooks delicate bean oils.
Burr grinders, by contrast, use two serrated, abrasive surfaces (one stationary, one rotating) that crush beans to a uniform size. Entry-level burr grinders start around $50, and eliminate the particle size variance that ruins 30% of your bean’s potential flavor. They are the only viable option for espresso, pour-over, and any brew where consistency matters. Ceramic burrs stay sharp longer than steel, but are more brittle and can chip if you accidentally grind hard items like spices.
Manual vs. Electric Grinders: Pick Based on Your Routine
Manual grinders require you to turn a crank by hand, making them compact, quiet, and ideal for travelers, campers, or anyone who makes 1–2 cups a day. Modern ceramic-burr manual models (like the popular Hario Skerton) can grind 15g of beans for pour-over in 45 seconds, and produce consistent particle size comparable to mid-tier electric models. They are also far less expensive than electric burr grinders, with reliable options starting at $30.
Electric grinders save time and effort for households that make multiple cups a day, brew espresso regularly, or want preset grind size options. Conical-burr electric models are great for all-purpose brewing, while flat-burr electric grinders are the gold standard for espresso, as they produce the ultra-consistent fine grind needed for proper pressure extraction. Note that cheap electric grinders can hit 80+ decibels (equivalent to a garbage disposal), while manual models are nearly silent—ideal for early morning brews without waking your household.
Essential Grinder Maintenance for Consistent Performance
Coffee oils and residue build up in grinder chambers over time, going rancid and ruining the flavor of fresh batches. After every use, tap the hopper and burr chamber to dislodge stuck grounds, then brush out all residue with a dry, soft-bristled brush (never use water on burrs, as it causes rust and traps oil). For deep cleaning, run 10–15g of uncooked white rice (for blade grinders) or dedicated grinder cleaning pellets (for burr grinders) through the grinder, then brush out all remaining residue to pull out trapped, stale oils.
For burr grinders, check burr alignment every 6 months: if your grind size feels inconsistent even at the same setting, you may need to recalibrate or replace the burrs, which last 2–5 years depending on use. Sharp, well-maintained burrs will outperform a new, cheap grinder with dull burrs every time.
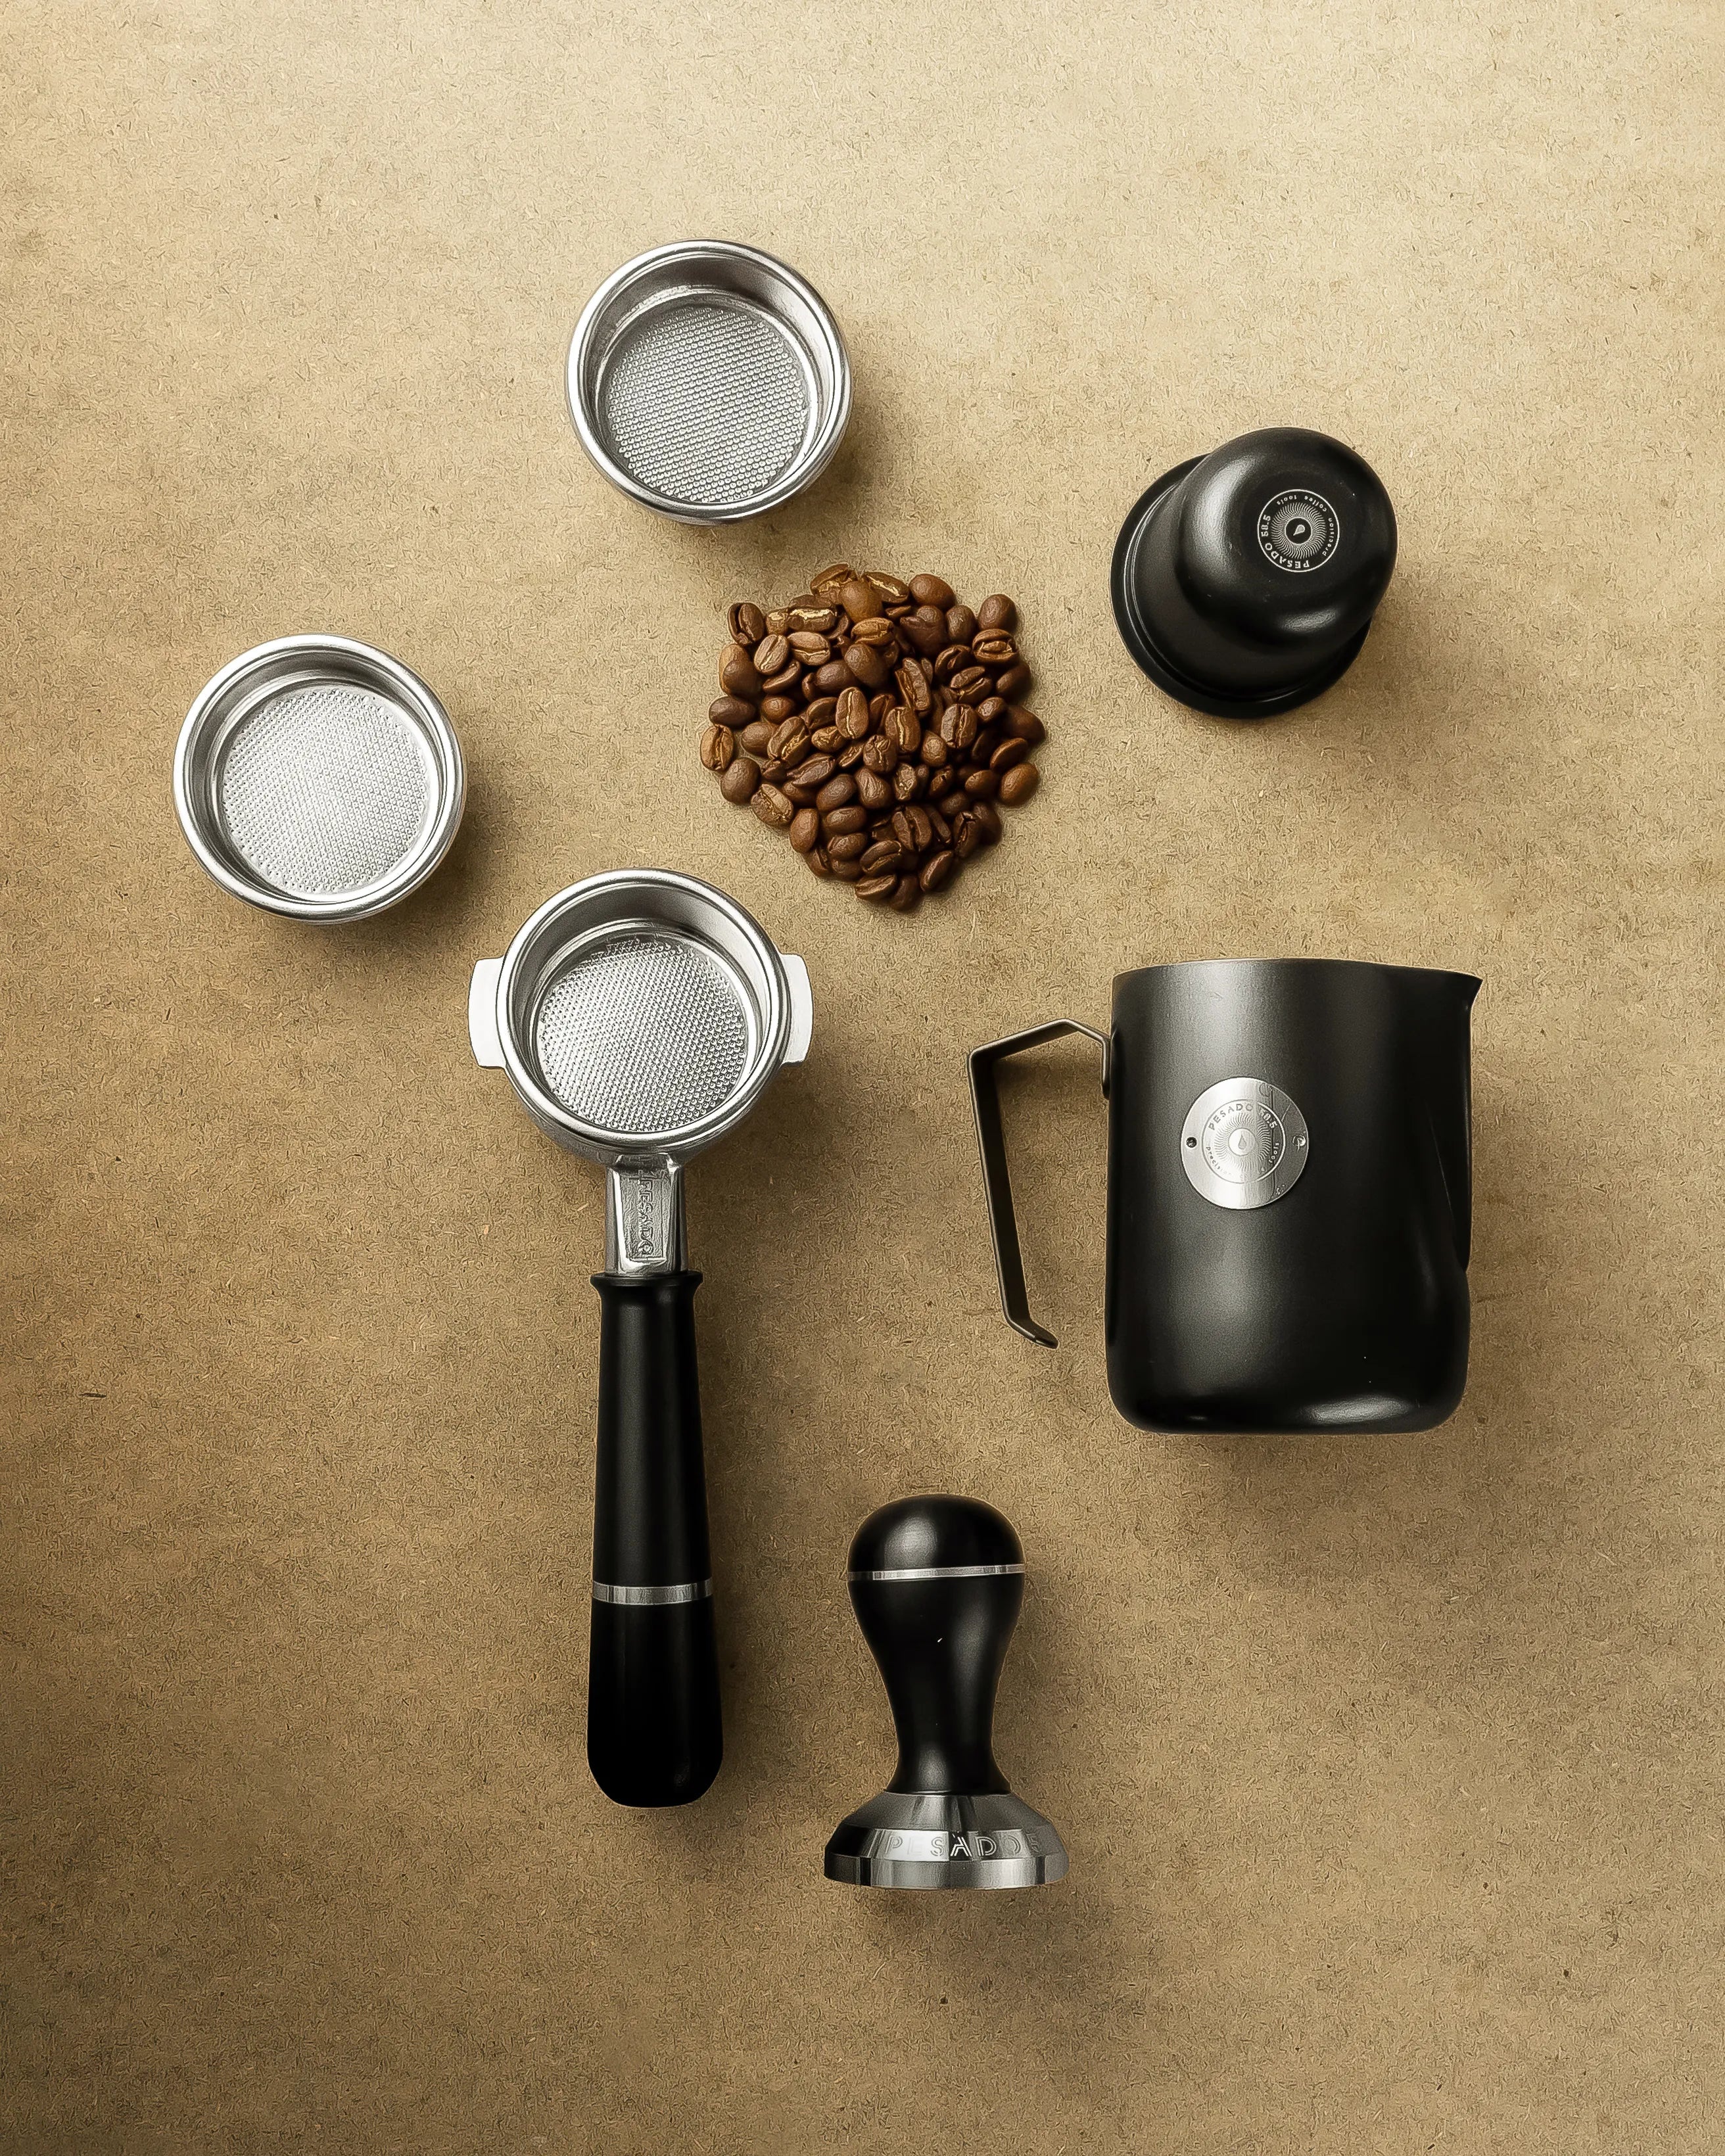 A consistent, adjustable grind size is the foundation of great coffee, no matter your brewing method.
Credit: pesado585.com
A consistent, adjustable grind size is the foundation of great coffee, no matter your brewing method.
Credit: pesado585.com
Matching Grind Size to Your Brewing Method
Grind size controls how quickly water flows through coffee grounds, directly impacting extraction time and flavor. Use the quick reference table below as a starting point, then tweak to taste based on your preferences and equipment.
| Brewing Method | Grind Size | Texture Reference | Extraction Time | Flavor Profile |
|---|---|---|---|---|
| Turkish Coffee / Ibrik | Extra-Fine | Powdered sugar, flour | 1–2 minutes | Intense, strong, full-bodied |
| Espresso (pump) | Fine | Table salt, fine sand | 25–30 seconds | Bold, concentrated, rich crema |
| Pour-Over (V60, Kalita) | Medium-Fine | Kosher salt | 2–3 minutes | Bright, clean, nuanced acidity |
| Drip Coffee (standard machine) | Medium | Coarse sand, sea salt | 4–5 minutes | Balanced, smooth, approachable |
| French Press, Cold Brew | Coarse | Rough sea salt, peppercorns | 4+ minutes (cold brew: 12–18 hours) | Full-bodied, low acidity, rich |
Coarse Grinds for Immersion Brewing (French Press, Cold Brew)
Immersion brews steep grounds in water for an extended period, so coarse particles prevent over-extraction and bitter, harsh notes. For French press, a too-fine grind will slip through the metal filter, creating gritty sediment in your cup, while cold brew’s 12–18 hour steep time means even coarser grinds work well, as the slow extraction pulls out sweet, low-acidity notes without bitterness. A common mistake is using pre-ground coffee for French press, which is almost always too fine for the method.
Medium Grinds for Drip and Pour-Over
Medium grinds are the most versatile option, working for standard auto-drip machines, pour-over cones, and siphon brewers. For pour-over, a slightly finer medium (medium-fine) is better to control flow rate and avoid under-extraction, while auto-drip needs a true medium to avoid clogging the machine’s filter. If your drip coffee tastes flat and muted, you’re likely grinding too coarse; if it’s bitter and astringent, grind 1–2 steps coarser.
Fine Grinds for Pressure Brewing (Espresso, Moka Pot)
Pressure brewing forces hot water through tightly packed grounds in seconds, so fine particles create enough resistance to slow water flow and extract full, balanced flavor. For espresso, a consistent fine grind is non-negotiable: even small variance will cause channeling (water finding paths of least resistance through the coffee puck) leading to sour, uneven shots with no crema. For Moka pots, which operate at lower pressure than espresso machines, a medium-fine grind works best to avoid over-extraction. Turkish coffee requires an extra-fine powder, as the grounds are brewed directly in the pot and not filtered out.
Pro Grinding Techniques for Maximum Freshness
Even the best grinder and beans will produce mediocre coffee if you use poor grinding techniques. These small, intentional steps will preserve flavor and ensure consistent results every brew.
Grind Immediately Before Brewing
Always grind coffee beans right before you brew. Coffee’s volatile aroma compounds evaporate within 30 minutes of grinding, and oxidation begins immediately, turning bright, fresh notes stale within 24 hours. Even high-quality pre-ground coffee loses 70% of its volatile aroma compounds within 24 hours of grinding, according to the Specialty Coffee Association, which is why freshly ground coffee tastes noticeably brighter and more complex. If you must pre-grind for convenience (e.g., for work), grind the night before, store in an airtight container in a cool dark spot, and use within 24 hours max.
Measure Beans by Weight, Not Volume
A common mistake is using a coffee scoop, which varies in size and leads to inconsistent brew strength. Use a digital kitchen scale (accurate to 0.1g) to weigh beans before grinding: the standard ratio is 1:15 to 1:17 coffee to water (e.g., 20g coffee to 300g water) for most brewing methods. Adjust up to 1:14 for stronger, bolder brews, or 1:18 for lighter, more tea-like cups. Weighing beans before grinding also lets you adjust grind size to hit your target brew time, which is key for consistency.
Dial In Your Grind for Each Brew Method
Once you have your base grind size for your method, tweak it based on taste: if your coffee tastes sour, sharp, or weak, grind finer to increase surface area and extraction time. If it tastes bitter, harsh, or astringent, grind coarser to reduce extraction. For espresso, you’ll often adjust grind size daily based on humidity and bean roast level: darker roasts grind easier and need a coarser setting, while lighter roasts are denser and require a finer grind. Keeping a small notebook of grind settings, brew times, and tasting notes will help you dial in your perfect cup faster.
Avoid Heat Buildup During Grinding
Grinding generates friction, which heats up beans and can cook delicate aroma compounds, leading to a flat, baked taste. To avoid this: don’t grind more beans than you need for a single brew, pulse blade grinders in 1–2 second bursts instead of running continuously, and let burr grinders rest for 30 seconds between batches if grinding large amounts. For manual grinders, grind at a steady, moderate pace instead of rushing, which reduces heat transfer from your hands to the burrs.
 Grinding beans immediately before brewing preserves volatile aroma compounds for maximum flavor.
Credit: coffeekreis.com
Grinding beans immediately before brewing preserves volatile aroma compounds for maximum flavor.
Credit: coffeekreis.com
Common Grinding Mistakes That Ruin Your Coffee
Even experienced coffee drinkers fall victim to these avoidable errors that sabotage flavor. Recognizing and fixing them will instantly improve your daily brew.
Over-Grinding or Under-Grinding for Your Brew Method
In practice, the most common mistake new coffee makers make is using a “one grind fits all” approach. For example, using a fine espresso grind for a French press will create a muddy, over-extracted cup with harsh bitter notes, while using a coarse French press grind for espresso will produce a weak, sour shot that can’t form proper crema. A simple rule of thumb: if your brew finishes too fast (under 2 minutes for pour-over, under 20 seconds for espresso), grind finer; if it takes too long (over 4 minutes for pour-over, over 35 seconds for espresso), grind coarser.
Using Dull or Damaged Grinder Burrs/Blades
Dull blades or burrs don’t cut or crush beans cleanly, leading to a mix of fines and boulders even at the same grind setting. For blade grinders, you can sharpen the blades by running them empty for 10 seconds every few months, but they will never produce a uniform grind. For burr grinders, burrs last 2–5 years with regular cleaning: if you notice your grind size feels inconsistent, or your coffee has a flat, muted taste even with fresh beans, it’s time to replace the burrs. Ceramic burrs stay sharp longer than steel, but are more brittle and can chip if you grind hard items like spices accidentally.
Ignoring Grind Consistency
Even a small amount of fine particles (called “fines”) in your grind will over-extract and add bitter, astringent notes to your cup, while large boulders will under-extract and add sour, salty notes. Burr grinders produce far more consistent grinds than blade models: entry-level conical burr grinders have a particle size variance of less than 10%, while cheap blade grinders can have variance of 50% or more. If you’re still using a blade grinder, upgrading to a $50 manual or electric burr grinder is the single biggest improvement you can make to your home coffee, no fancy beans or brewers required.
Storing Beans Incorrectly Before Grinding
Storing beans in the fridge or freezer causes condensation when you take them out, which seeps into the grounds and creates a stale, moldy taste. The National Coffee Association recommends storing coffee in an airtight container in a cool, dark spot, away from direct heat and sunlight, to preserve freshness for up to 2 weeks after opening. Avoid storing beans near your stove, dishwasher, or sunny windowsill, where fluctuating heat and light will speed up oxidation and ruin flavor.
Proper Coffee Bean Storage to Preserve Freshness
Storing your beans correctly ensures they stay fresh from the day you buy them to the day you grind them, preserving the flavor you paid for.
Store Whole Beans, Not Pre-Ground
Whole beans have a shelf life of 2–4 weeks after roasting if stored properly, while pre-ground coffee goes stale in days. If you buy pre-ground by accident, use it within 3 days for the best flavor, but whole beans are always the better choice for maximum freshness.
Keep Beans Away from Heat, Light, and Moisture
Heat accelerates oxidation, light breaks down flavor compounds, and moisture causes mold and rancidity. Never store beans in the fridge or freezer: temperature fluctuations cause condensation when you take the container out, which seeps into the beans and grounds, ruining flavor. A cool, dark pantry shelf is ideal, at a consistent 60–70°F (15–21°C). Just like consistent deep cleaning protocols for commercial kitchen spaces, regular grinder maintenance prevents oil and residue buildup that leads to stale, rancid coffee flavors.
Use Airtight, Opaque Containers
Clear glass jars look nice, but let in light that degrades beans over time. Opt for ceramic, stainless steel, or opaque plastic containers with a rubber seal to lock out air. Avoid storing beans in the original one-way valve bag once you’ve opened it, as the valve only works for unopened bags to let CO2 out without letting air in—once opened, transfer to an airtight container. Only fill the container with 1–2 weeks’ worth of beans at a time, as more frequent exposure to air when you reach for the beans degrades the entire batch faster. For long-term storage of bulk beans, use heavy-duty storage for dry goods designed to block moisture and light.
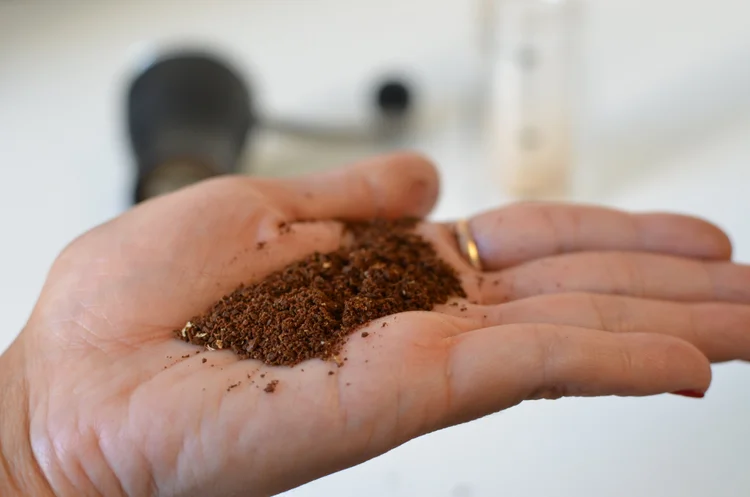 A uniform grind ensures even extraction for a balanced, flavorful cup every time.
Credit: www.thegirlinthecafe.co.uk
A uniform grind ensures even extraction for a balanced, flavorful cup every time.
Credit: www.thegirlinthecafe.co.uk
Frequently Asked Questions
What grind size is best for different coffee methods?
Use the reference table above as a starting point, then tweak to taste. Coarse grinds work for immersion methods like French press and cold brew, medium grinds for auto-drip and pour-over, and fine grinds for pressure-brewed espresso and Moka pots. Adjust 1–2 steps at a time to avoid over-correcting.
How long should you grind coffee beans?
For burr grinders, 10–20 seconds for a single serving (15–20g) is standard. For blade grinders, pulse in 1-second bursts for 5–10 seconds total, shaking the grinder between pulses to ensure even distribution. Never grind for more than 30 seconds total, as friction heat will cook the beans and mute flavor.
Can grinding coffee too fine affect taste?
Yes, too-fine grinds cause over-extraction, leading to bitter, astringent, harsh flavors. They can also clog filters in drip machines or pour-over cones, leading to over-steeping and even more bitterness. For espresso, too-fine grinds cause channeling, where water bypasses the coffee puck entirely, leading to a sour, weak shot with no crema.
Should coffee beans be ground before or after brewing?
Always grind immediately before brewing. As noted earlier, pre-ground coffee loses 70% of its aroma compounds within 24 hours, per the Specialty Coffee Association, and goes completely stale within 7 days. If you need to pre-grind for convenience, grind the night before, store in an airtight container in a cool dark spot, and use within 24 hours max.
How do I fix bitter or sour coffee?
Bitter coffee usually means over-extraction, so grind coarser or shorten your brew time. Sour coffee means under-extraction, so grind finer or lengthen your brew time. Also check your water temperature: water that’s too hot (above 205°F/96°C) can scald the grounds and cause bitterness, while water that’s too cool (below 195°F/90°C) won’t extract enough flavor, leading to sourness. The ideal brewing temperature is 195–205°F (90–96°C).
Do I need to calibrate my grinder for different beans?
Yes, especially for light vs. dark roasts. Light roasts are denser and harder, so they require a finer grind setting to extract enough flavor, while dark roasts are more porous and brittle, so they need a coarser setting to avoid over-extraction and bitterness. Most burr grinders have numbered settings, so note your go-to setting for each roast level to save time.
Final Thoughts
Grinding coffee correctly is a simple, low-effort skill that delivers a far bigger payoff than buying more expensive beans or fancy brew equipment. Start by picking a burr grinder that fits your routine, match your grind size to your brewing method, and grind immediately before brewing for the freshest flavor. Small, intentional adjustments will help you dial in your perfect cup in no time.
A well-extracted, bright coffee is the perfect complement to sweet dishes like creamy dessert floats or rich fruit pies, cutting through sweetness with bright, balanced acidity. If you’re hosting a brunch, dial your grind to a medium for drip coffee to serve alongside savory pizza sides for a crowd-pleasing spread, or pair a bold espresso with sweet glazed ham for a hearty weekend meal. For a quick weeknight dinner, pair your coffee with savory one-pot meals for a cozy, satisfying end to the day, or mix cold brew concentrate into boozy coffee cocktails for a weekend pick-me-up.
Ready to level up your coffee routine? Start by adjusting your grind size for your go-to brew method today, and taste the difference a consistent grind makes. Have a favorite grind tip or go-to brew method? Share it with us in the comments, and browse our library of easy recipes for the perfect brunch pairing for your next cup.

Hi, I’m Daniel Brooks—a food lover and kitchen gear enthusiast. I enjoy testing cookware, utensils, and gadgets to see what really works in everyday cooking. At PlugChef.com, I share honest reviews, comparisons, and simple guides to help you choose the best tools for a safer, smarter, and more enjoyable kitchen.
Related posts:
 How to Organize Medicine Cabinet: Maximize Space Effortlessly
 Dollar Tree Dish Drying Rack: Affordable Kitchen Solution
 Hobby Lobby Basket Wall Decor: Transform Your Space
Pizza With Arugula And Prosciutto: Irresistible Flavor Combo
Hobby Lobby Basket Wall Decor: Transform Your Space
Pizza With Arugula And Prosciutto: Irresistible Flavor Combo
 Can You Bake Pyrex Glass: Essential Tips for Safe Baking
 Brown Sugar Mustard Honey Glaze: Irresistible Flavor Boost for Meals

