
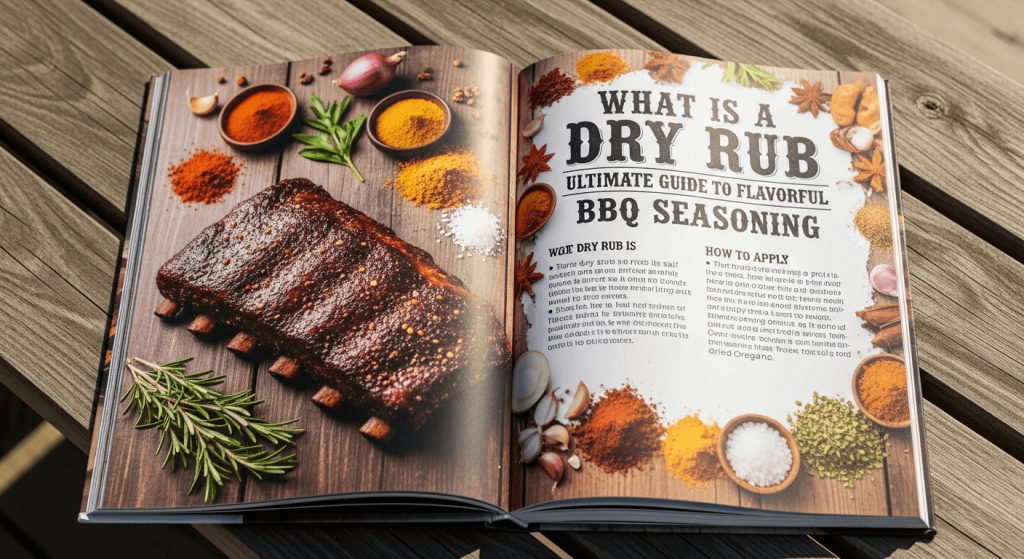
There’s a reason championship BBQ brisket has that dark, crispy, flavor-packed bark, and why smoked ribs have a sweet, savory crust that pulls away from the bone with a single tug: the secret is almost always a dry rub. Unlike saucy, messy glazes, dry rubs are a no-fuss, customizable seasoning technique that uses a blend of dry spices, herbs, salt, and sugar to build deep, complex flavor without extra liquid. Whether you’re firing up a smoker for a weekend cookout, grilling steaks for a weeknight dinner, or roasting vegetables for a vegetarian meal, mastering dry rubs will take your cooking from average to unforgettable. This guide covers the science behind what makes dry rubs work, how to choose the right blend for your protein, pro application tips, foolproof recipes, and common mistakes to avoid.
 A base of salt, pepper, and paprika forms the foundation of most dry rubs.
What Exactly Is a Dry Rub?
Core Definition
A dry rub is a blend of dry, shelf-stable ingredients—typically spices, herbs, salt, and sugar—pressed onto the surface of meat, poultry, seafood, or vegetables before cooking. Unlike liquid-based seasoning methods, dry rubs cling to the exterior of food, forming a flavorful, textured crust as it cooks. They require no special equipment, are fully customizable to taste preferences, and work across every cooking method from high-heat grilling to low-and-slow smoking.
How Dry Rubs Work (The Science)
Dry rubs rely on two key chemical processes to build flavor and texture. First, salt in the rub draws out excess moisture from the surface of the meat via osmosis, then reabsorbs that moisture along with spices and herbs to tenderize the protein and infuse flavor deeper than a surface sprinkle would. Second, the combination of amino acids in the meat and sugars in the rub triggers the Maillard reaction when exposed to heat, creating the browned, crispy, aromatic crust known as bark on smoked meats, or a caramelized sear on grilled steaks. Dry rubs are particularly popular for low-and-slow BBQ because the long cook time allows these processes to develop fully, resulting in layered, complex flavor that wet sauces can’t replicate. University of Minnesota Extension food science guidance confirms that dry rubs also reduce moisture loss during cooking, leading to juicier finished meat.
Dry Rubs vs. Marinades vs. Wet Rubs
While all three methods add flavor to meat, they work in very different ways and are suited to different cooking goals. Use this comparison to choose the right method for your next cookout:
| Feature | Dry Rub | Marinade | Wet Rub |
|---|---|---|---|
| Base | Dry spices, herbs, salt, sugar | Oil, acid (vinegar, citrus), spices | Dry rub mixed with oil, broth, or sauce |
| Prep & Rest Time | 5 mins to apply; 15 mins to 24 hrs rest | 5 mins to mix; 1 to 24 hrs rest | 10 mins to mix; 30 mins to 2 hrs rest |
| Best For | Low-and-slow smoking, grilling, roasting | Tenderizing tough, lean cuts of meat | High-heat grilling, glazing |
| Texture Result | Crispy, flavorful bark or crust | Tender, moist interior | Sticky, glazed exterior |
 Dry rubs form a crispy crust, while marinades soak into meat to tenderize it from the inside out.
Core Dry Rub Ingredients & Their Roles
Every dry rub starts with a balance of four core ingredient categories. Understanding the role each plays will help you tweak recipes to match your taste and the meat you’re cooking.
Salt: The Flavor Foundation
Salt is the most important ingredient in any dry rub, as it amplifies the flavor of all other components and triggers the osmosis process that tenderizes meat. Kosher salt is the gold standard for rubs, as its coarse texture adheres well to meat and it has no anti-caking additives that can alter flavor. Note that kosher salt is less salty by volume than fine table salt, so if you substitute, use ½ the amount of table salt called for in a recipe to avoid over-salting. If your meat was brined before rubbing, reduce the salt in your rub by 25% to avoid an overly salty finished dish.
Spices & Herbs: Building Depth
Spices form the backbone of a rub’s flavor profile. Paprika (sweet or smoked) adds color and subtle sweetness, cumin brings warm, earthy notes perfect for pork, chili powder and cayenne add heat, and garlic and onion powder provide umami depth that complements almost any meat. Dried herbs like rosemary, thyme, oregano, and basil add fragrant, earthy notes that balance bold spices, and pair especially well with poultry, lamb, and vegetables. For the most vibrant flavor, grind whole spices fresh just before mixing your rub, as pre-ground spices lose potency after 6 months.
Sweeteners: Balancing & Caramelizing
Sweeteners like brown sugar, maple sugar, or even a pinch of cinnamon or cocoa powder balance heat and acidity, and caramelize during cooking to create a rich, golden crust. Brown sugar is the most popular choice for its molasses content, which adds depth of flavor and helps retain moisture in the meat. A small amount of sugar works for high-heat cooking, but avoid overusing it at temperatures above 350°F (177°C), as it will burn and create a bitter taste.
Peppers: Heat & Pungency
Black pepper (freshly ground for maximum pungency) adds a sharp, warm kick that complements almost every meat. White pepper offers a milder, earthy heat that works well in subtle rubs for fish or poultry, while cayenne pepper adds pure, intense heat with no additional flavor. Adjust pepper levels to match your spice tolerance, and remember that heat will mellow slightly as the meat cooks.
 Homemade rubs let you control salt, spice, and sugar levels to match your taste and dietary needs.
Matching Dry Rubs to Meats & Cuts
Not all rubs work for every cut of meat. The right blend complements the natural flavor of the protein and works with its fat content and cook time.
Beef & Bison
Tough, fatty cuts like brisket, chuck roast, and short ribs stand up to bold, savory rubs with minimal sugar. A classic Texas-style rub of coarse kosher salt, black pepper, and smoked paprika lets the beef’s natural flavor shine, while a touch of brown sugar adds caramelized sweetness for fattier cuts like ribeye. For premium steaks, keep rubs simple to avoid overpowering the meat’s natural flavor.
Pork
Pork’s mild, slightly sweet flavor pairs perfectly with sweet and savory rubs. Brown sugar, paprika, cumin, and garlic powder are classic pairings for pork shoulder, ribs, and loin, as the fat renders during cooking and carries the rub’s flavor through the meat. For pork chops or tenderloin, use a lighter hand with sugar to avoid burning during high-heat grilling.
Poultry
Chicken, turkey, and duck have milder flavor profiles, so rubs can be more creative. Sweet and spicy blends work great for chicken wings, while herb-forward rubs with lemon zest, rosemary, and thyme pair perfectly with whole roasted chicken or turkey. For duck, use a rub with a touch of five-spice or star anise to complement its rich, gamey flavor.
Seafood & Vegetables
Delicate fish and vegetables need subtle, light rubs to avoid overpowering their natural flavor. Use dried herbs, lemon pepper, garlic, and minimal sugar for grilled salmon, shrimp, roasted cauliflower, or charred corn. Toss vegetables in a small amount of oil before applying rub to help it adhere during roasting or grilling.
 Pre-mixed rubs for different proteins make cookout prep fast and easy.
How to Apply a Dry Rub for Best Results
Proper application is just as important as the rub recipe itself. Follow these steps to get even flavor and a perfect crust every time.
Prep Work First
- Pat your meat completely dry with paper towels to remove excess moisture. Moisture prevents the rub from sticking and causes steaming instead of searing or bark formation. Pat your meat dry on a clean surface, and use a sturdy cutting board for prep to avoid cross-contamination between raw meat and other ingredients.
- Trim excess fat if desired, leaving a thin ¼-inch layer to help the rub adhere and render during cooking.
- Mix your rub ingredients thoroughly in a bowl to avoid clumps of salt or sugar that can cause uneven seasoning.
Application Technique
- Sprinkle the rub generously over all surfaces of the meat, including crevices and the fat cap.
- Press firmly with your hands to work the spices into the meat and ensure even coverage.
- Flip the meat and repeat on the other side, making sure no spots are left unseasoned.
Timing Guidelines
Timing depends on the cooking method you’re using:
- Quick cooks (steaks, chicken breasts, vegetables): Rest for 15 minutes to 1 hour at room temperature to allow salt to penetrate the surface.
- Low-and-slow cooks (brisket, pork shoulder, ribs): Rest for 4 to 24 hours in the refrigerator for deep flavor penetration. Always refrigerate meat while it rests with a dry rub to prevent bacterial growth, per USDA safe handling guidelines.
- Avoid resting meat with a rub for longer than 24 hours, as the salt can start to cure the meat and alter its texture.
 Press the rub firmly into the meat to help it adhere during cooking.
5 Go-To Dry Rub Recipes for Every BBQ
These tested recipes work for every skill level and cooking method, and can be scaled up or down as needed.
1. Classic All-Purpose BBQ Rub
- ¼ cup kosher salt
- ¼ cup brown sugar
- 2 tbsp smoked paprika
- 1 tbsp freshly ground black pepper
- 1 tbsp garlic powder
- 1 tsp onion powder
- ½ tsp cayenne pepper (optional, for heat) Best for: Ribs, pork shoulder, chicken. Works for both grill and smoker, and balances sweet, savory, and spicy notes.
2. Texas-Style Beef Rub
- ¼ cup coarse kosher salt
- 2 tbsp freshly ground black pepper
- 1 tbsp smoked paprika
- 1 tsp garlic powder No added sugar, for a bold, savory crust that won’t burn during long 12+ hour smokes. Best for: Brisket, ribeye steak, chuck roast.
3. Sweet & Smoky Pork Rub
- ⅓ cup brown sugar
- 2 tbsp paprika
- 1 tbsp kosher salt
- 1 tbsp ground cumin
- 1 tsp chili powder
- 1 tsp garlic powder The brown sugar caramelizes beautifully during cooking, creating a sticky, flavorful crust on pork. Best for: Pork ribs, pulled pork, pork loin.
4. Spicy Cajun Chicken Rub
- 2 tbsp paprika
- 1 tbsp kosher salt
- 1 tsp cayenne pepper
- 1 tsp dried oregano
- 1 tsp dried thyme
- 1 tsp garlic powder
- 1 tsp onion powder
- ½ tsp black pepper Bold, herbaceous, and spicy, this rub pairs perfectly with the mild flavor of chicken. Best for: Chicken wings, whole chicken, grilled shrimp.
5. Coffee & Cocoa Beef Rub
- 2 tbsp kosher salt
- 2 tbsp freshly ground black pepper
- 1 tbsp smoked paprika
- 1 tsp unsweetened cocoa powder
- 1 tsp finely ground coffee
- 1 tsp brown sugar The bitter notes of coffee and cocoa add deep, earthy complexity to beef, cutting through rich fat for a well-rounded flavor. Best for: Brisket, ribeye, lamb chops.
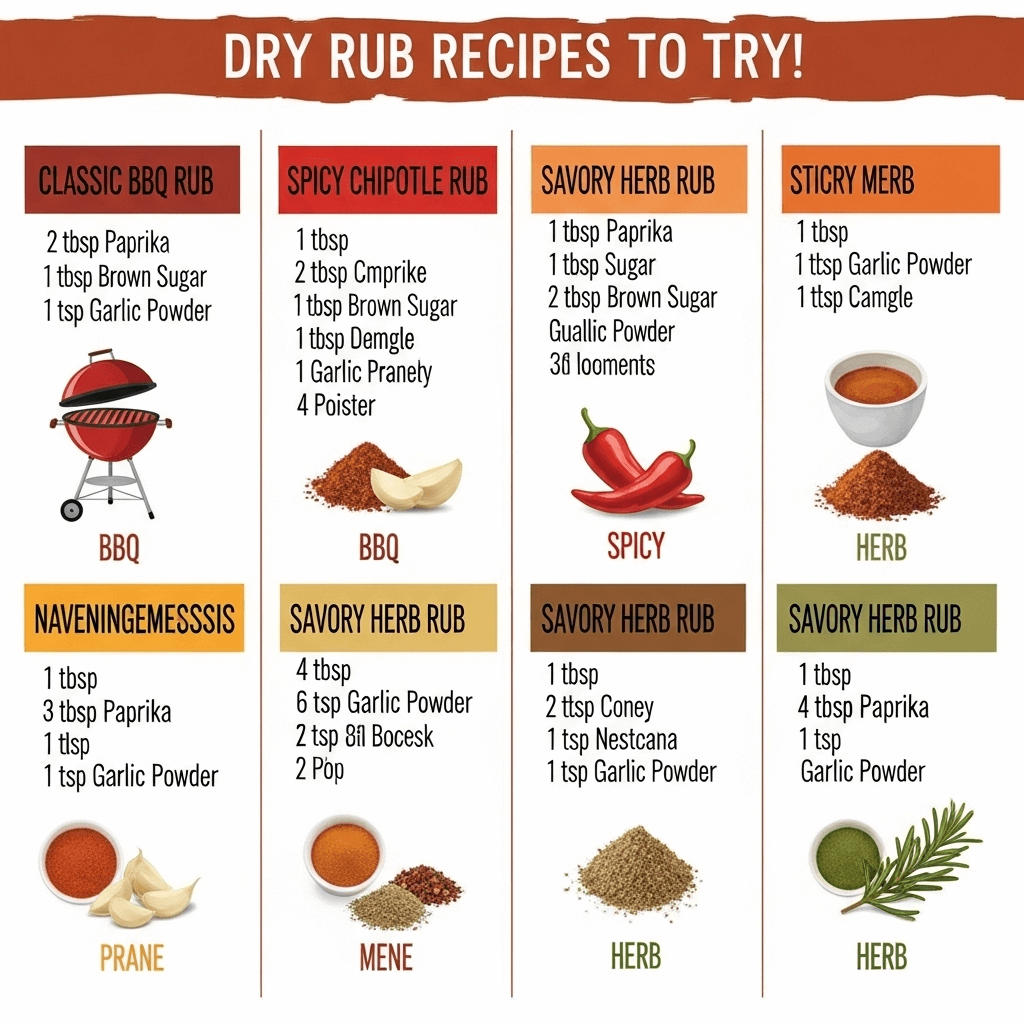 Pre-making rub blends in bulk makes cookout prep fast and easy.
How to Store Homemade Dry Rubs
Proper storage keeps your rubs fresh and flavorful for months, so you can skip buying pre-made blends and save money.
Container Selection
Use airtight, opaque glass jars with tight-sealing lids for long-term storage. Glass doesn’t retain odors from strong spices, and opaque blocks sunlight, which degrades spice potency over time. BPA-free plastic containers work for short-term storage, but avoid clear containers, as even indirect light will fade flavor over 1–2 months.
Shelf Life & Freshness Checks
- Whole spices (peppercorns, whole cumin seeds, bay leaves) stay fresh for 1–2 years when stored properly.
- Ground spices and pre-mixed rubs last 6–12 months.
- Check for stale rubs by smelling them: if the aroma is faint, musty, or absent, it’s time to replace it. Faded color is also a sign of lost potency.
Long-Term Storage Tips
- Store rubs in a cool, dark pantry away from the stove, oven, or direct sunlight. Heat and light accelerate flavor loss.
- Always use a clean, dry spoon to scoop rubs to avoid introducing moisture, which causes clumping and mold growth.
- For rubs you won’t use within 6 months, store them in the freezer in an airtight container. Thaw to room temperature before use to avoid condensation that can cause clumping.
 Label jars with the date you made the rub to track freshness easily.
Common Dry Rub Mistakes to Avoid
Even experienced cooks make these errors, which can ruin an otherwise great cookout. Avoid them to get perfect results every time.
1. Using Stale Spices
Pre-ground spices lose potency after 6 months, and old paprika or garlic powder will result in a bland, flat rub with no depth. Grind whole spices fresh just before mixing your rub, and replace ground spices annually for the best flavor.
2. Over-Salting
A common mistake is substituting table salt for kosher salt 1:1, which leads to over-salting because table salt is twice as salty by volume. If you only have table salt, use ½ the amount called for in recipes, and reduce salt in your rub by 25% if you brined the meat beforehand.
3. Too Much Sugar for High-Heat Cooking
Sugar burns at 350°F (177°C), so if you’re grilling over high heat or searing steak, limit sugar to 1 tsp per cup of rub. For low-and-slow smoking (225–275°F), you can use up to ¼ cup of sugar per batch for a caramelized crust without burning.
4. Applying Rub to Wet Meat
Pat meat completely dry before applying rub. Excess moisture creates a paste that prevents the rub from forming a crispy crust, and causes spices to slide off during cooking.
5. Skipping the Rest Time
Applying rub right before cooking means flavors don’t have time to penetrate the meat. Even a 15-minute rest makes a noticeable difference in flavor depth, while 4–24 hours of rest for low-and-slow cuts creates deeply infused, restaurant-quality flavor.
 Avoid these common errors to get a perfectly seasoned, flavorful crust every time.
Frequently Asked Questions
What is the difference between a dry rub and a seasoning blend?
A dry rub is specifically formulated for raw meat/produce, with higher salt content to tenderize and infuse flavor, while seasoning blends are meant for finished dishes. Many dry rub recipes can be used as seasoning, but they are optimized for pre-cooking application to build crust and depth.
Can I use a dry rub on vegetables?
Absolutely. Dry rubs work great on roasted or grilled vegetables like cauliflower, carrots, corn, and potatoes. Use a lighter hand with salt and sugar, and toss veggies in a small amount of oil to help the rub adhere during cooking.
Do I need to let meat rest after applying a dry rub?
Yes, for best results. Quick-cook meats need at least 15 minutes to allow salt to draw out and reabsorb moisture, while low-and-slow cuts benefit from 4–24 hours of rest in the refrigerator for deep flavor penetration.
Can I use a dry rub on frozen meat?
It’s not recommended. Rubs won’t adhere to frozen, icy surfaces, and the meat will release excess moisture as it thaws, washing off the spices. Always thaw meat completely before applying a dry rub.
How do I fix a dry rub that’s too salty?
If you accidentally over-salt a rub, add equal parts unsalted spice (like paprika, garlic powder, or brown sugar) to dilute the salt content. For meat that’s already been rubbed, brush it with a thin layer of oil or a mild BBQ sauce to balance the saltiness.
Conclusion
Dry rubs are one of the simplest, most versatile tools in any BBQ lover’s arsenal. With just a handful of pantry staples, you can create custom blends that elevate any cut of meat, from budget-friendly pork shoulder to premium brisket, no messy sauces or fancy equipment required. The best part? You can tweak recipes endlessly to match your taste—add more heat for spice lovers, extra brown sugar for a sweet crust, or fresh herbs for a lighter, brighter profile. Ready to fire up the grill? Start with the classic all-purpose rub recipe above, and browse more tested cookout recipes and BBQ tips on the PlugChef blog to make your next cookout unforgettable. If you’re cleaning up after your cookout, a heavy-duty cleaning brush makes quick work of stuck-on spice and grill grates, and if you have kids running around, childproof cabinet locks will keep them safe near hot surfaces and sharp tools. For easy cleanup of dishes after your meal, a scrub brush with dispenser makes washing up fast and painless, and you can store extra rub ingredients or tools in drawers secured with no-drill drawer latches for added safety.
 All-purpose rubs work for every cut of meat, from steaks to ribs to brisket.
Mastering dry rubs transforms your BBQ from simple cooking to a craft. The beauty lies in their simplicity: a few shelf-stable spices, a little patience, and the heat of your grill or smoker do all the heavy lifting. Start with the classic all-purpose recipe, then tweak ratios to match your protein and taste—more brown sugar for a sweet crust on pork, extra pepper for a bold Texas-style bark on brisket. Remember that the best rubs are built on a foundation of quality kosher salt and freshly ground spices, not pre-mixed blends with fillers. For more tested recipes, pro tips, and gear recommendations, explore the PlugChef blog—your go-to source for everything from engraved cutting boards for serving to the best kitchen cleaning brushes for tackling post-cookout messes. After your cookout, keep your kitchen safe and organized with childproof cabinet locks and no-screw drawer latches, especially if little ones are around. With a little practice, you’ll never look at plain grilled meat the same way again.

I’m Abby Lu, a passionate home cook who loves simplifying everyday meals. At PlugChef.com, I share product reviews and cooking guides to help you find the best tools for your kitchen.
Related posts:
 Dish Drying Rack Utensil Holder: Maximize Kitchen Space
 What to Put in Wicker Baskets for Decoration: Stylish Ideas
 Cord Organizer for Kitchen Appliances: Tidy Your Space
 Thyme And Table 10 Piece Ceramic Kitchen Set: Organize Now!
 Dish Dryer Rack in Sink: Maximize Kitchen Efficiency
 White Kitchen And White Appliances: Timeless Elegance Revealed

