
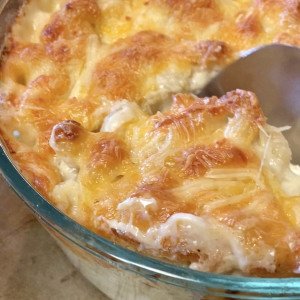
Few dishes evoke universal comfort quite like a bowl of creamy, cheesy mac and cheese. Most home recipes fall flat, though—either with grainy, separated sauce, bland flavor, or soggy pasta that loses its texture. This tested Kitchenista mac and cheese recipe fixes all those common pitfalls, delivering a rich, flavorful dish that works for quick weeknights, family dinners, and even casual gatherings. With a foolproof roux base, balanced cheese blend, and endless customization options, it’s the only mac and cheese recipe you’ll ever need.
It’s also a family-friendly meal that’s easy to customize for picky eaters, and if you’re cooking with little ones nearby, securing lower cabinets with cabinet safety latches keeps dangerous items out of reach while you work.
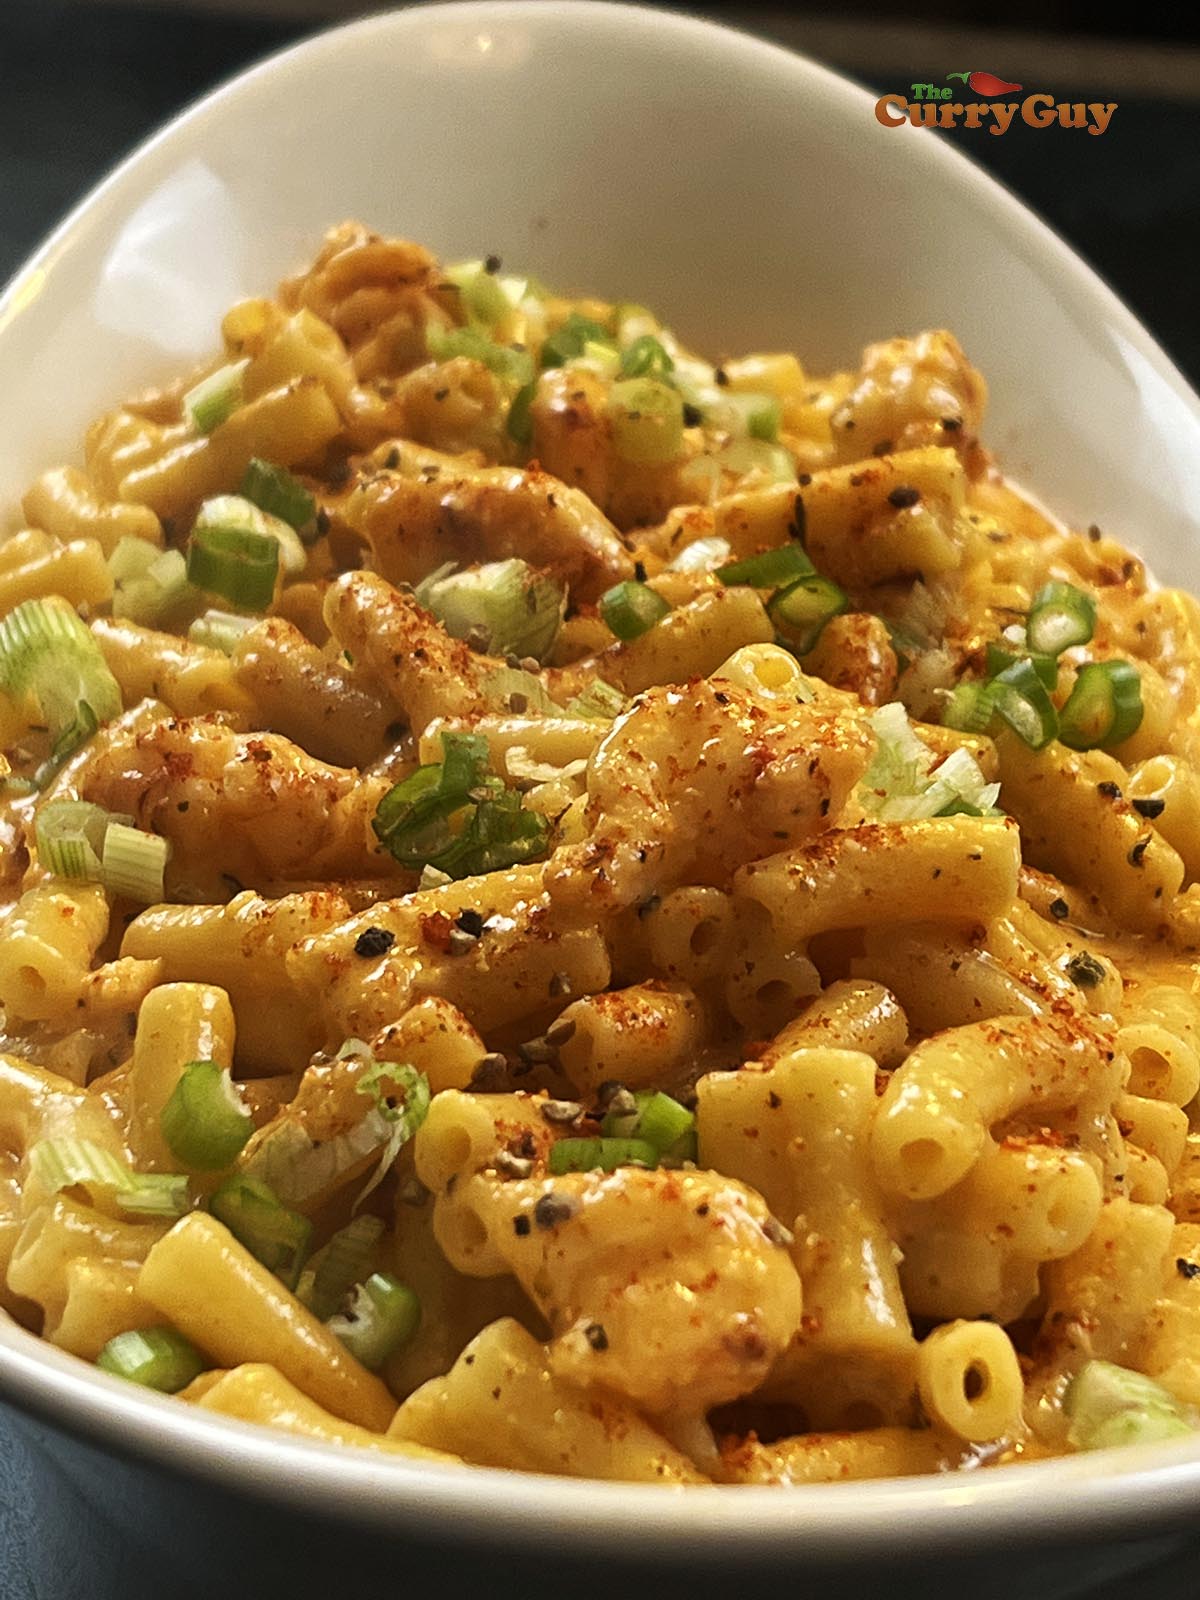 Fresh out of the oven, this baked Kitchenista mac and cheese has a perfectly golden, crunchy crust
Image source: greatcurryrecipes.net
Fresh out of the oven, this baked Kitchenista mac and cheese has a perfectly golden, crunchy crust
Image source: greatcurryrecipes.net
Why This Kitchenista Mac And Cheese Stands Out
This recipe avoids the shortcuts that ruin most homemade mac and cheese: it calls for freshly grated cheese (no pre-shredded blends with anti-caking agents that cause grainy sauce), a precise roux ratio for a lump-free base, and balanced seasoning that lets the cheese flavor shine without being overwhelming. It works equally well as a quick stovetop meal or a showstopping baked dish for guests, and it’s easy to customize with add-ins to suit any taste. Tested dozens of times for consistent results, it delivers that perfect balance of creamy sauce, tender pasta, and (if you choose to bake it) a satisfying crunchy topping every time.
Ingredients You’ll Need
Getting the ingredient balance right is the foundation of a great mac and cheese. Below are the core components, plus notes on selecting the best options for your dish.
Choosing The Right Cheese
The cheese blend is the most critical part of the recipe, as it determines the flavor, melt, and texture of the final dish. For 4 servings, use this tested blend:
- 2 cups extra-sharp cheddar: Provides the classic tangy, robust cheese flavor
- 1 cup Gruyère: Adds a nutty, buttery depth and melts smoothly without getting greasy
- ½ cup Monterey Jack: Gives the sauce a silky, stretchy texture
Always grate cheese from a block yourself: pre-shredded cheese is coated in cellulose anti-caking agents that prevent smooth melting and leave a grainy, separated sauce. For extra depth, you can swap in ½ cup smoked gouda or add ¼ cup grated parmesan for a salty, umami boost. Avoid soft cheeses like brie or camembert, as they do not melt smoothly and will make your sauce oily.
Pasta Selection Tips
Pasta shape impacts how much sauce clings to every bite. For the classic experience, use 1 pound of bronze-cut elbow macaroni: the rough, porous surface holds sauce far better than smooth pasta. If you prefer extra sauce pockets, opt for cavatappi (its spiral shape traps more cheese) or small shell pasta, which hold cheese inside for burst of flavor in every bite. Cook pasta to al dente (firm to the bite with a slight core) as it will continue cooking slightly when mixed with the hot sauce.
Essential Pantry Staples
These simple ingredients build the creamy base that defines the dish, with exact measurements for consistent results:
| Pantry Staple | Purpose | Exact Amount (for 4 servings) |
|---|---|---|
| Unsalted butter | Forms the roux base for thickening, adds rich, customizable flavor | 4 tablespoons |
| All-purpose flour | Combines with butter to create a smooth, lump-free thickening base | 4 tablespoons |
| Whole milk | Provides the liquid base for a creamy, velvety sauce | 2 cups |
| Heavy cream (optional) | Adds extra richness and silkiness for a more indulgent dish | ½ cup |
| Dry mustard powder | Enhances the natural tang of cheese without adding acidic sharpness | 1 teaspoon |
| Kosher salt & freshly ground black pepper | Balances and brightens the overall flavor profile | To taste |
| Smoked paprika (optional) | Adds a subtle smoky depth, especially for baked versions | ½ teaspoon |
Whole milk is non-negotiable for the best texture: low-fat milk lacks the fat needed to create a smooth, rich sauce, and will leave you with a thin, watery result.
Step-By-Step Cooking Instructions
Each step builds on the last, so following the order and timing carefully will guarantee perfect results every time.
Prep The Pasta First
Bring 4 quarts of water to a rolling boil, then stir in 1 tablespoon of kosher salt to season the pasta from the inside out. Add pasta and cook for 1 minute less than the package directions for al dente—firm to the bite with a slight core, as it will continue cooking in the hot sauce. Drain thoroughly, then toss with 1 tablespoon of unsalted butter to prevent sticking while you prepare the cheese sauce. Pro tip: reserve ½ cup of pasta water before draining to thin the sauce if it gets too thick later.
Make The Creamy Cheese Sauce
Melt 4 tablespoons of unsalted butter in a heavy-bottomed saucepan over medium heat. Whisk in 4 tablespoons of all-purpose flour and cook for 1-2 minutes, stirring constantly, until the roux smells nutty and looks like wet sand (do not let it brown, as this will make your sauce taste bitter). Slowly pour in 2 cups of warm whole milk (and ½ cup heavy cream if using) while whisking constantly to eliminate lumps. Continue cooking and stirring until the sauce thickens enough to coat the back of a spoon, about 5-7 minutes.
Reduce heat to the lowest setting, then add grated cheese in 3 small batches, stirring until fully melted and smooth before adding the next batch. Stir in mustard powder, salt, and pepper to taste. Add grated cheese to the warm sauce in small batches, stirring constantly over low heat—high temperatures can cause cheese proteins to seize and separate, an issue noted in University of Illinois Extension dairy guidance. Do not let the sauce boil after adding cheese, as this will cause the proteins to separate and the sauce to become greasy.
Combine And Finish
Pour the cheese sauce over the drained pasta and fold gently until every noodle is evenly coated. If the sauce is too thick, stir in a splash of reserved pasta water to reach your desired consistency. The thick, cheesy residue left on your saucepan after making the sauce is no match for a heavy-duty cleaning brush, which scrubs away stuck-on sauce without scratching non-stick cookware.
For baked mac and cheese, transfer the mixture to a greased 9×13 inch baking dish, top with panko breadcrumbs mixed with 2 tablespoons of melted butter, and bake at 375°F for 20-25 minutes until golden and bubbly around the edges. For stovetop, serve immediately, topped with fresh chives or cracked black pepper if desired.
Common Mistakes To Avoid
Even experienced home cooks run into issues with mac and cheese. Avoid these common pitfalls for perfect results every time:
- Using pre-shredded cheese: Anti-caking agents in pre-shredded blends prevent smooth melting and leave a grainy texture. Always grate your own cheese from a block.
- Overcooking the pasta: Mushy pasta absorbs too much sauce and becomes soggy. Cook 1 minute less than package directions, as it will continue cooking in the hot sauce.
- Boiling the cheese sauce: High heat causes cheese proteins to seize and separate, leading to an oily, lumpy sauce. Keep heat as low as possible when adding and melting cheese.
- Adding cheese all at once: This clumps the cheese and creates uneven melting. Add it in small batches, stirring until fully incorporated before adding more.
- Skipping the pasta water reserve: If your sauce gets too thick, reserved starchy pasta water thins it perfectly without diluting flavor.
- Using low-fat dairy: Low-fat milk and cheese lack the fat needed for a smooth, rich sauce. Stick to whole milk and full-fat cheese for best results.
Pro Tips For Ultra-Creamy Results
These tested tweaks take your mac and cheese from great to restaurant-quality:
Upgrade Your Dairy Base
For extra silkiness without extra richness, swap ½ cup of the whole milk for evaporated milk—its concentrated protein structure creates a smoother, more stable emulsion that won’t separate as easily. Always warm your milk and cream before adding it to the roux to prevent temperature shocks that cause lumps.
Butter & Roux Best Practices
Use unsalted butter so you can control the salt level of your dish. Cook the roux for exactly 1-2 minutes, just until it smells nutty: undercooked roux has a raw flour taste, while overcooked roux will make your sauce taste bitter.
Melting Cheese The Right Way
Always grate cheese finely for faster, more even melting. Stir cheese into the sauce in a figure-eight motion to incorporate it smoothly without clumping. A tiny pinch of cream of tartar added to the sauce before cheese can help prevent separation, especially when making large batches.
Extra Creamy Add-Ins
For an ultra-decadent version, stir in 4 ounces of softened cream cheese along with the other cheeses, or top with a dollop of sour cream before serving for a tangy, rich twist.
Creative Variations For Every Taste
This recipe is a perfect base for endless customization. Try these popular twists to switch up your mac and cheese routine:
Meat & Protein Add-Ins
Crispy bacon, crumbled sausage, or shredded rotisserie chicken add hearty, savory depth. For a spicy twist, mix in Buffalo sauce and shredded rotisserie chicken for a Buffalo chicken mac and cheese, or add chunks of cooked lobster for a decadent seafood version. Cook any meat separately before adding it to the finished mac and cheese to avoid greasiness. When cooking with kids nearby, install childproof drawer locks on lower drawers to keep small hands away from hot pans and sharp utensils.
Vegetable Boosters
For a nutrient-packed twist, stir in steamed broccoli florets, roasted cauliflower, or sautéed spinach. Roasted sweet corn or sun-dried tomatoes add a pop of sweetness and tang that cuts through the rich cheese sauce. Scrub any veggies with a versatile veggie scrub brush before prepping to remove dirt and debris.
Flavorful Seasoning Twists
Smoked paprika, cayenne pepper, or a dash of hot sauce add a gentle heat that balances the creamy cheese. Fresh herbs like thyme, chives, or parsley add a bright, fresh note that lightens the dish. For a Southern twist, add a pinch of Cajun seasoning and top with crumbled fried okra.
Dietary Restriction Swaps
For gluten-free diets, use gluten-free elbow pasta and substitute the all-purpose flour with a 1:1 gluten-free flour blend or cornstarch (use 2 tablespoons cornstarch mixed with 2 tablespoons cold water instead of the roux; add the cornstarch mixture to the warm milk to thicken the sauce). For a vegan version, use plant-based pasta, vegan butter, and a blend of nutritional yeast and vegan cheese shreds, with oat milk as the liquid base.
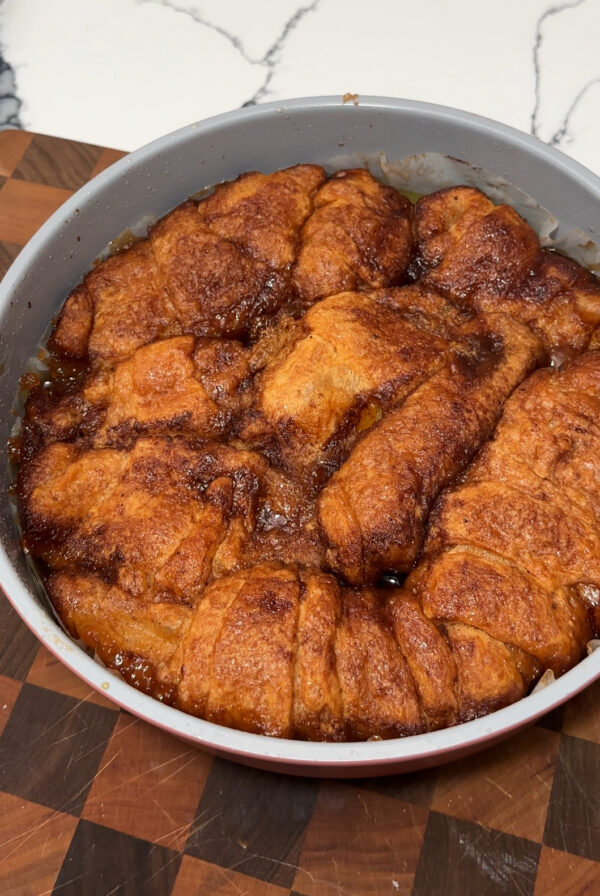 Customize your mac and cheese with add-ins like crispy bacon, roasted veggies, or smoky spices
Image source: asiliglam.com
Customize your mac and cheese with add-ins like crispy bacon, roasted veggies, or smoky spices
Image source: asiliglam.com
Baking Vs. Stovetop: Which Method To Choose?
Both methods produce delicious mac and cheese, but each suits different occasions and preferences:
When To Choose Baked Mac And Cheese
Baking is ideal for when you want a crispy, golden breadcrumb topping that contrasts with the creamy interior. It’s perfect for family dinners, potlucks, or when you want to prep the dish ahead of time—you can assemble it up to 24 hours in advance, cover, and refrigerate, then bake when ready to serve. Preheat your oven to 375°F, and bake for 20-25 minutes until the top is golden and the sauce is bubbly around the edges.
Advantages Of Stovetop Cooking
Stovetop mac and cheese is the fastest option, ready in just 15 minutes from start to finish. It has an ultra-silky, smooth texture that’s perfect for quick weeknights when you don’t have time to heat up the oven. You can adjust the consistency easily by adding reserved pasta water, and taste as you go to adjust seasoning.
The Hybrid Method For Best Of Both Worlds
For the ultimate texture, start the mac and cheese on the stovetop until the sauce is smooth and the pasta is coated, then transfer to a baking dish, top with breadcrumbs, and broil for 2-3 minutes until the top is golden and crispy. This gives you the creamy, silky base of stovetop mac and cheese with the satisfying crunch of a baked version, no full bake time required.
Serving & Pairing Ideas
The right sides and presentation can elevate your mac and cheese from a simple weeknight meal to a memorable dining experience:
Best Side Dishes
Balance the rich, creamy mac and cheese with fresh, crunchy, or acidic sides to cut through the richness. A simple arugula salad with lemon vinaigrette, roasted Brussels sprouts with parmesan, or garlic bread are all classic pairings. For a hearty Southern meal, serve alongside fried chicken or pulled pork. For a special touch, serve your mac and cheese on a custom engraved cutting board for a personalized, restaurant-worthy presentation.
Wine & Beverage Pairings
| Beverage | Why It Works |
|---|---|
| Sauvignon Blanc | High acidity cuts through the richness of the cheese and refreshes your palate |
| Unoaked Chardonnay | Buttery, subtle notes complement the creamy cheese sauce without overpowering it |
| Pinot Noir | Light body and low tannins won’t overpower the dish, making it a great red option |
| Sparkling water with lemon | Refreshing, palate-cleansing, and zero-proof for non-drinkers |
| Crisp apple cider | Slight sweetness and bright acidity pair perfectly with the savory cheese |
Presentation Tips
Top baked mac and cheese with fresh chives, parsley, or a sprinkle of smoked paprika for a pop of color and extra flavor. Serve in individual ramekins for portion control and a fancy touch, or family-style in a large cast-iron skillet for a rustic, cozy feel. White ceramic plates make the golden cheese sauce stand out beautifully.
Storing & Reheating For Best Flavor
Proper storage and reheating keep leftovers tasting as good as the day you made them:
Proper Storage Methods
Cool leftover mac and cheese to room temperature within two hours of cooking, as recommended by USDA food safety guidelines for perishable dairy dishes to prevent bacterial growth. Transfer to an airtight container and refrigerate for up to 4 days. For longer storage, freeze in airtight freezer bags or containers for up to 2 months; portion into single servings for easy thawing.
Reheating Without Drying Out
Avoid the microwave if possible, as it can make the pasta rubbery and the sauce grainy. For stovetop mac and cheese, reheat over low heat, stirring frequently, and add a splash of milk or reserved pasta water to loosen the sauce. For baked mac and cheese, reheat in a 350°F oven for 15-20 minutes until warmed through, covering with foil if the top is browning too quickly. If using a microwave, heat in 30-second intervals, stirring and adding a splash of milk between each burst to keep the sauce creamy.
Freezing Tips
Freeze mac and cheese in portion-sized containers for easy meal prep. Thaw overnight in the refrigerator before reheating, and add an extra splash of milk when reheating to restore the creamy texture, as freezing can cause the sauce to thicken slightly.
Frequently Asked Questions
What ingredients do I need for Kitchenista Mac And Cheese?
For 4 servings, you’ll need 1 pound bronze-cut elbow macaroni, 2 cups extra-sharp cheddar (grated), 1 cup Gruyère (grated), ½ cup Monterey Jack (grated), 4 tablespoons unsalted butter, 4 tablespoons all-purpose flour, 2 cups whole milk, 1 teaspoon dry mustard powder, kosher salt and freshly ground black pepper to taste, and optional panko breadcrumbs and melted butter for a baked topping.
How long does Kitchenista Mac And Cheese take to cook?
The stovetop version is ready in 15 minutes total, while the baked version takes 45 minutes total (20-25 minutes of active prep, 20-25 minutes of bake time).
Can I use different cheeses in this recipe?
Absolutely! While the cheddar-Gruyère-Monterey Jack blend is tested for the best balance of flavor and melt, you can swap in smoked gouda, parmesan, or pepper jack for extra depth. Avoid soft cheeses like brie or camembert, as they don’t melt smoothly and can make the sauce greasy.
Is Kitchenista Mac And Cheese gluten-free?
The traditional recipe uses all-purpose flour and regular pasta, but you can make it gluten-free by using gluten-free elbow pasta and substituting the all-purpose flour with a 1:1 gluten-free flour blend or 2 tablespoons of cornstarch mixed with 2 tablespoons of cold water (add the cornstarch mixture to the warm milk to thicken the sauce).
Can I make this recipe ahead of time?
Yes! For baked mac and cheese, assemble the dish up to 24 hours in advance, cover, and refrigerate. Add 5 minutes to the bake time if baking from cold. For stovetop, make the sauce and pasta separately, store in airtight containers in the refrigerator for up to 2 days, then combine and reheat when ready to serve.
Can I freeze leftover mac and cheese?
Yes, frozen mac and cheese will last for up to 2 months in an airtight container. Thaw overnight in the refrigerator, then reheat with a splash of milk to restore the creamy texture.
Final Thoughts
This Kitchenista mac and cheese recipe is a tested, foolproof take on the ultimate comfort food, with a perfectly smooth, cheesy sauce, tender pasta, and endless customization options. It’s quick enough for a busy weeknight, but special enough to serve to guests, and it’s a hit with kids and adults alike. The key to success is using freshly grated cheese, cooking the pasta al dente, and keeping the heat low when melting the cheese to avoid separation.
Ready to make this ultimate comfort food your new go-to meal? Grab your ingredients, preheat your oven if you’re baking, and get cooking—you won’t be disappointed. For more easy, tested comfort food recipes and kitchen tips, browse our full blog archive for weekly meal inspiration.

I’m Abby Lu, a passionate home cook who loves simplifying everyday meals. At PlugChef.com, I share product reviews and cooking guides to help you find the best tools for your kitchen.
Related posts:
 How to Make a Fruit Basket for a Gift: Easy DIY Guide
 Do You Need a Basket? Essential Guide for Air Fryers
 How to Adjust Syrup Dispenser Pressure: Expert Tips
 Appliance Play Food Kitchen Toys: Ignite Imaginative Play
 How Long Do Beauty Blenders Last: Expert Tips Unveiled
 Philips Kitchen Appliances Compact Pasta And Noodle Maker: Effortless Homemade Pasta

