
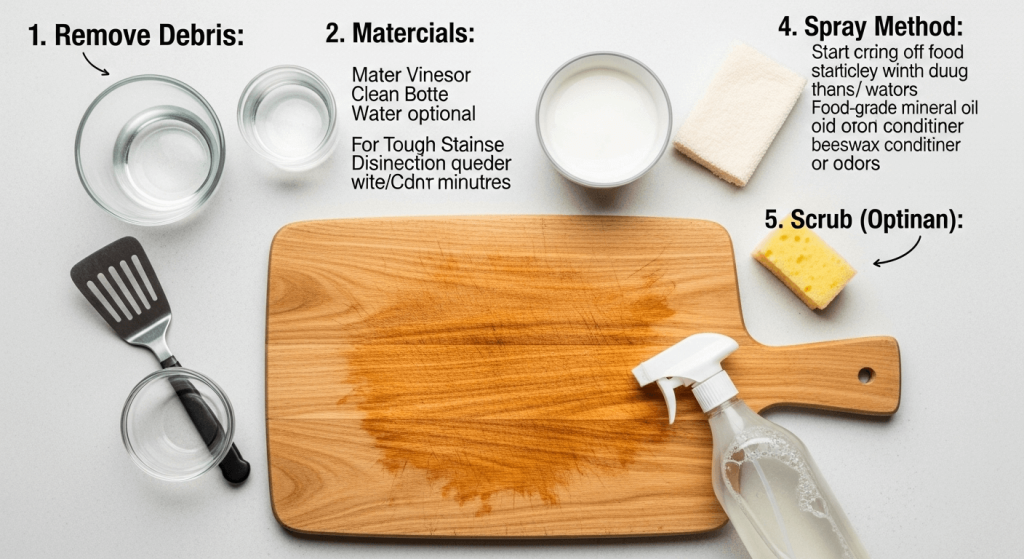
Wooden cutting boards are durable, knife-friendly, and attractive—but they require the right routine to stay sanitary and last. White distilled vinegar (about 5% acetic acid) is an inexpensive, low-toxicity option for routine deodorizing and reducing surface microbial load. This expert guide shows when vinegar helps, when it doesn’t, and exactly how to use it safely without harming wood. You’ll get step-by-step cleaning procedures, deep-cleaning and repair options, conditioning and storage recommendations, and practical troubleshooting from everyday kitchen experience.

Credit: homewithgraceandjoy.com
Why vinegar helps — and its real limits
White distilled vinegar lowers surface pH and breaks down odor compounds, which helps reduce many spoilage bacteria on contact. In practice, a short contact time (about 5 minutes) improves its effect, and most home cooks use it full-strength for spot treatment or spray-and-wipe deodorizing.
Limitations and safety trade-offs:
- Vinegar is not an EPA-registered disinfectant and is less reliable than approved sanitizers for killing all pathogens. For official surface-cleaning and food-safety guidance, follow national resources such as the CDC and the USDA.
- For routine cleaning after fruits, vegetables, bread and daily use, vinegar is a good low-toxicity step when combined with proper washing and drying.
- After raw meat, poultry, or seafood contact, vinegar should not be your only step; prioritize mechanical cleaning (hot, soapy water) and stronger sanitizing measures if needed (see the raw-meat section).
In short: vinegar is a useful component in a multi-step cleaning approach, not a standalone disinfectant for high-risk contamination.
What you’ll need (kitchen-proven list)
- White distilled vinegar (5% acetic acid household vinegar)
- Dish soap and hot water (as hot as comfortable to handle)
- Spray bottle (optional) or measuring cup
- Soft sponge or microfiber cloth and a nonabrasive nylon scrub brush
- Coarse salt (kosher or sea salt) and a lemon (for surface scrub)
- Baking soda (for a paste to lift residues)
- Fine- and medium-grit sandpaper (120–220 grit) for deep repair
- Food-grade mineral oil and/or a beeswax-mineral oil board conditioner
- Clean towels and a drying rack or vertical storage space
If you want a step-by-step primer on preparing boards before first use, refer to this short internal seasoning guide for more detail: seasoning guide.
Everyday cleaning routine (best practice)
This is the safe, repeatable routine for most prep tasks (vegetables, fruit, bread):
- Remove scraps and scrape. Use a bench scraper or folded paper towel to clear debris and crumbs—scraping reduces food trapped in grooves.
- Wash with hot, soapy water. Generously lather both faces and the edges; scrub with a sponge or brush to dislodge oils and bits. Mechanical action is the most important step.
- Rinse thoroughly. Remove suds and loosened residue.
- Apply vinegar for deodorizing and extra microbial reduction. Either spray or pour a small amount of undiluted white vinegar across the surface and let sit ~5 minutes. Vinegar helps neutralize odors and lowers surface microbial counts.
- Rinse briefly and dry immediately. Wipe with a clean towel, then stand the board on its edge to air-dry completely.
Practical notes:
- For hot water, use the warmest water you can safely handle—heat helps lift oils and residue.
- A common mistake is to spray vinegar first and skip scrubbing. In practice, vinegar works best after removing visible debris.
- For fast, light cleanup between tasks: wipe with a soapy cloth, rinse, then spray-vinegar and wipe dry.
Quick cleanup option for light use
- Wipe off debris, spray with vinegar, let sit 1–2 minutes, then wipe dry. Good for quick vegetables or fruit prep; not adequate after raw meat or greasy jobs.
After raw meat, poultry, or seafood — elevated steps
If the board contacted raw animal protein, follow this order:
- Scrape and wash immediately with hot, soapy water and a scrub brush.
- Rinse thoroughly.
- If you want additional sanitizing beyond vinegar, use an approved sanitizer per label instructions or follow national recommendations (see guidance from the CDC and USDA). Be cautious with household bleach on wood: it can discolor and damage porous wood, and wood does not absorb sanitizers uniformly.
- Consider using a dedicated nonporous board (plastic or composite) for raw meats to eliminate repeated sanitizer exposure on wood.
- If you prefer one board, sanitize only when necessary and inspect for grooves where bacteria can hide—repair or replace if grooves are not removable.
A common and practical kitchen workflow is to reserve one board for raw proteins and another for produce to minimize cross‑contamination.
Deep cleaning: stains, odors, and knife grooves (step-by-step)
For surface odors, stains, or embedded food in grooves, progress from least to most invasive.
Salt + lemon (surface deodorize and mild stain lift)
- Sprinkle coarse salt evenly over a damp board.
- Rub a halved lemon across the surface, pressing to work the salt and juice into the wood.
- Let sit 5–10 minutes, then rinse and dry. Repeat if needed.
Baking soda paste (tough residue)
- Make a paste of baking soda and a little water.
- Apply to stains, scrub gently with a soft brush, rinse and dry. Baking soda is mildly abrasive and helps lift sticky residues.
Sanding (for deep grooves and persistent odors)
- If knife grooves trap food or persistent odor remains after cleaning, sand the surface to remove the damaged top layer.
- Start with medium grit (around 120–150) to level deep cuts, then finish with 220 grit for a smooth surface.
- Clean sanding dust with a vacuum or damp cloth, allow to dry fully, then recondition with oil.
- Sanding removes wood and changes appearance—only use when necessary.
If you want more on heavy cleaning or sanitizing, see this internal sterilize instructions page: sterilize board.
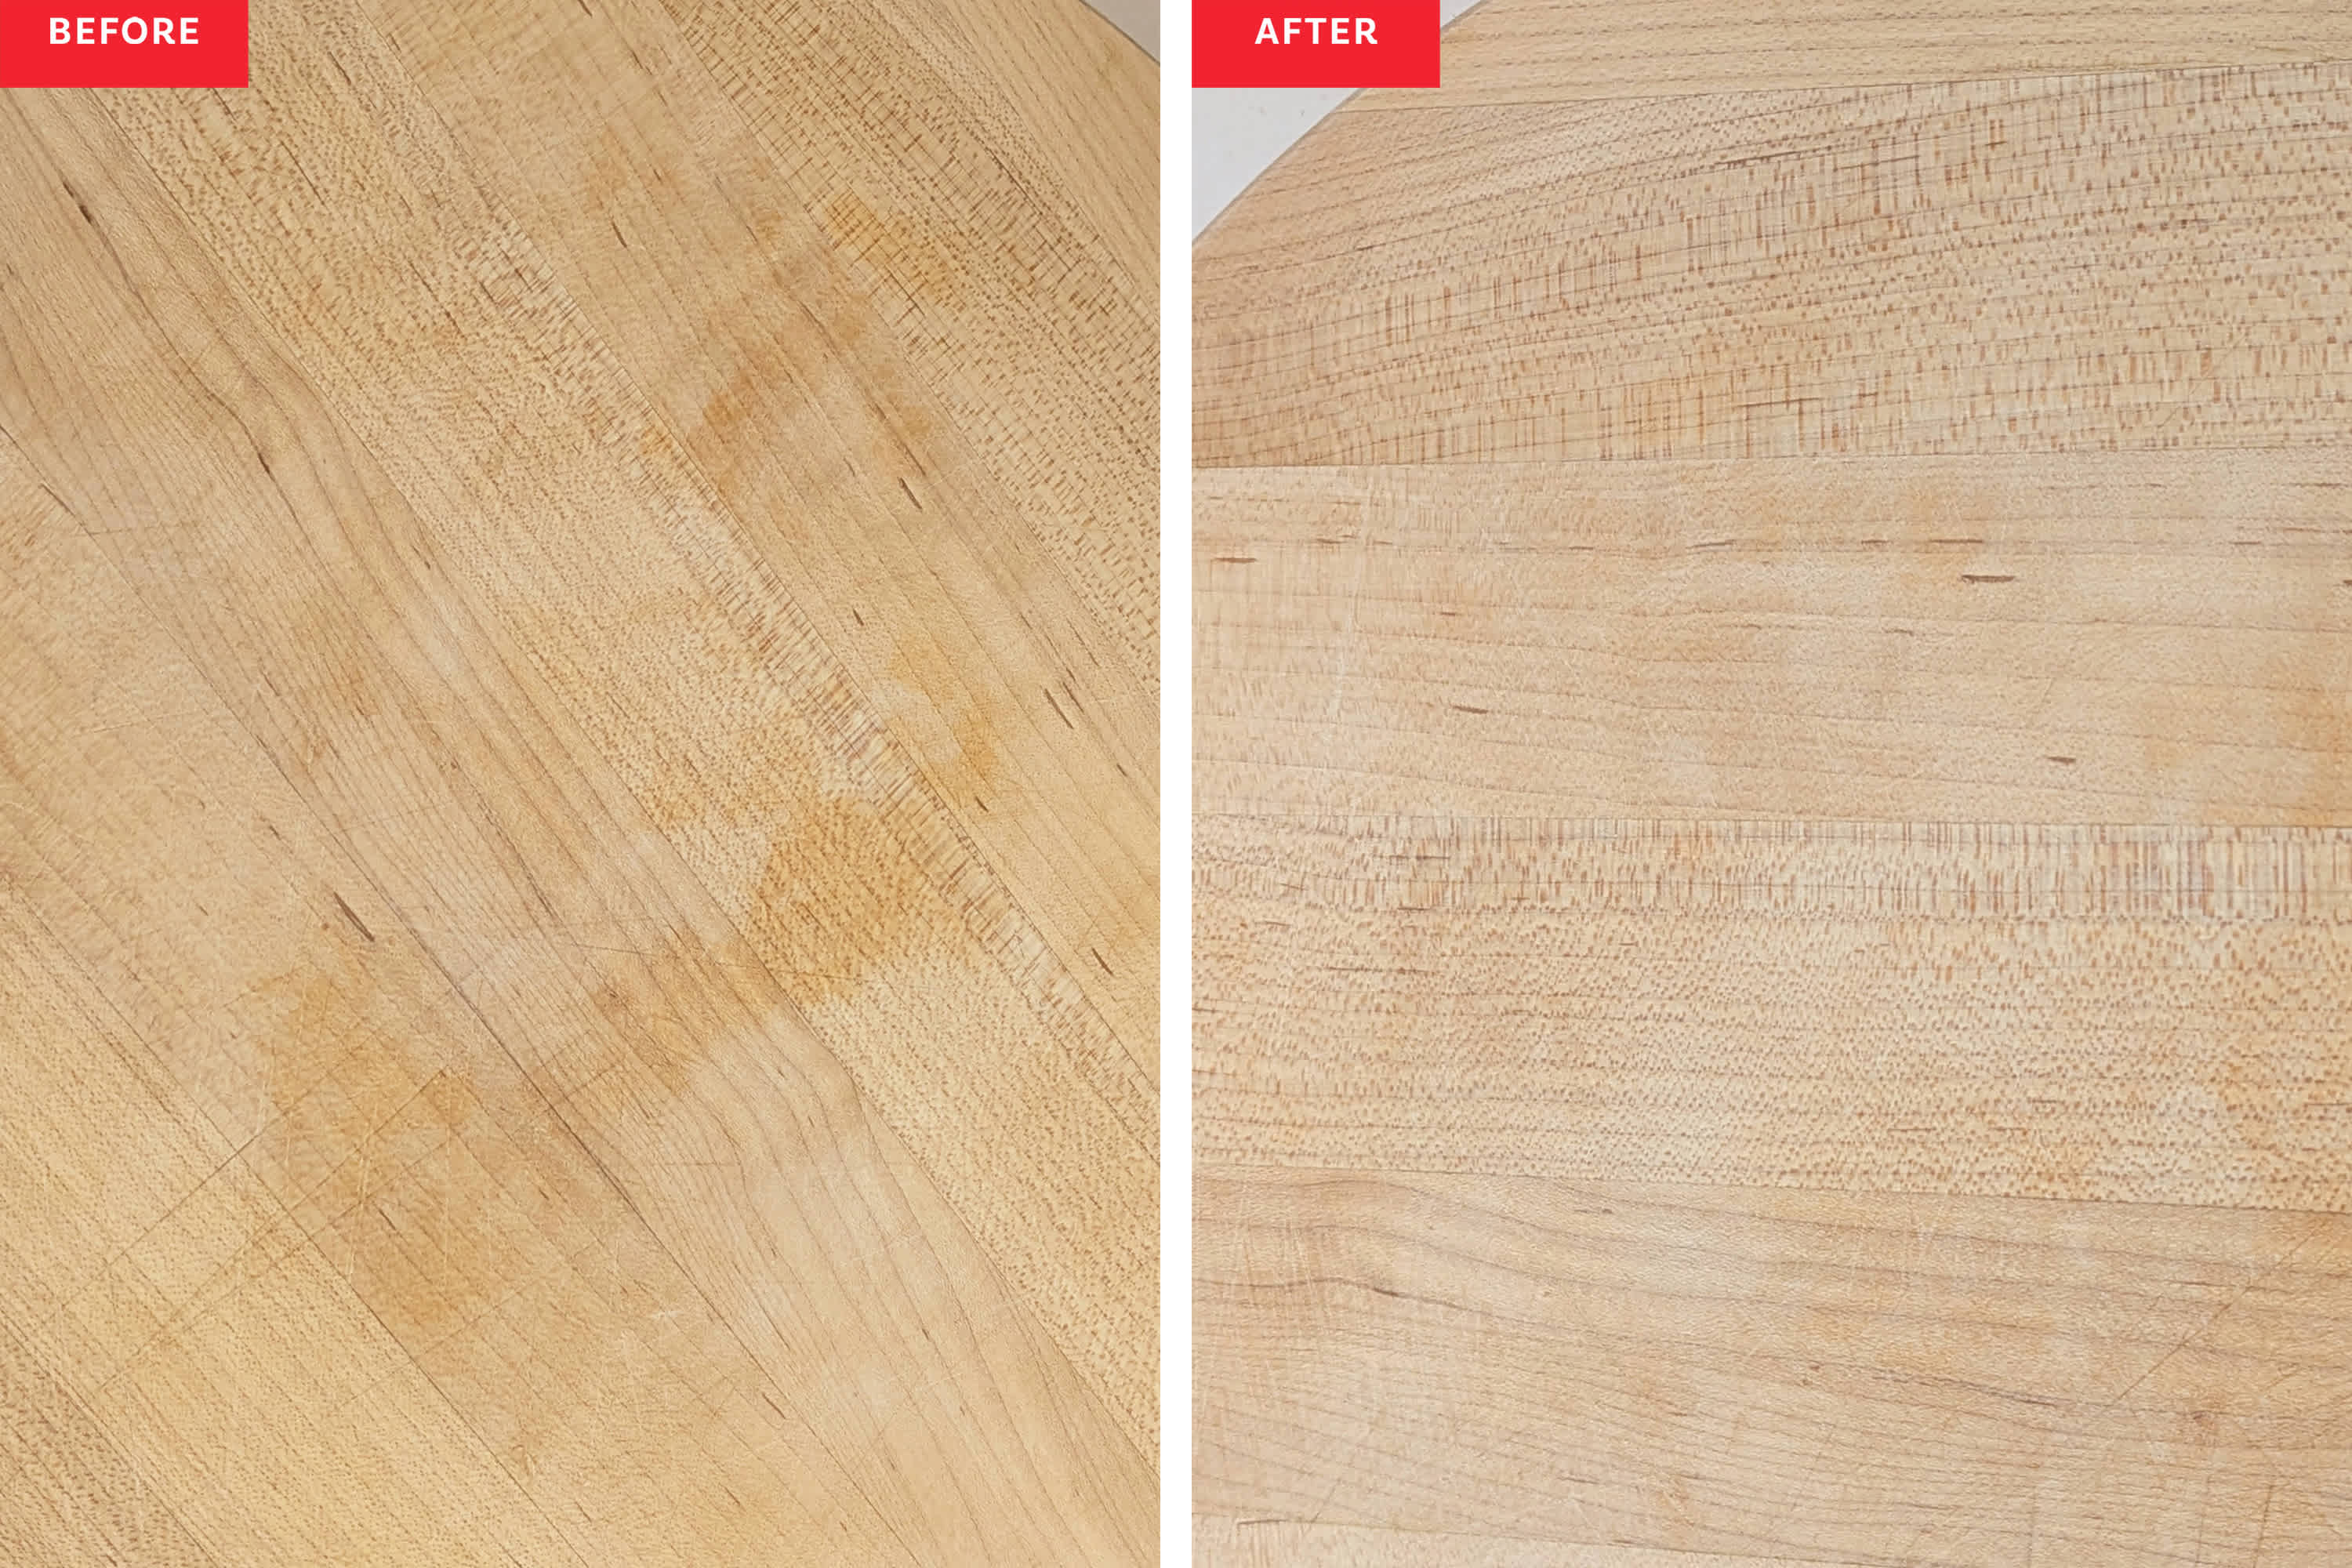
Credit: [www.thekitchn.com]
Using lemon and coarse salt to deodorize and lift surface stains.
Practical rule: try lemon + salt first → baking soda paste next → sanding only when grooves affect hygiene.
Conditioning and long-term care
Why conditioning matters
- Oil seals pores, repels moisture, and keeps boards from drying and cracking. Well-conditioned wood is less likely to split or absorb strong odors.
What to use
- Food-grade mineral oil is the safest, non-rancid choice. Commercial board oils and beeswax blends add longer protection and sheen.
- Avoid vegetable cooking oils (can go rancid) and solvent-based finishes not intended for food contact.
How to oil (simple, effective method)
- After cleaning and when the board is fully dry, apply a thin, even coat of food-grade mineral oil—about a teaspoon for a small board, a tablespoon for a large one.
- Rub into the wood with a clean cloth in the direction of the grain; apply to edges as well.
- Let soak for several hours or overnight. Wipe away excess oil.
- For a longer-lasting coat, use a beeswax/mineral oil blend. If you want more detail on oiling bamboo and other woods, consult this internal bamboo care guide: bamboo care.
How often
- Oil when the wood looks or feels dry. For average home use, monthly to every couple of months is typical; heavily used boards may need monthly attention.
Long-term trade-offs
- Over-oiling leaves a sticky surface. Under-oiling accelerates cracking and warping. In practice, light regular maintenance beats occasional heavy soaking.
How to decide when to repair or replace
Inspect regularly and act on these signs:
- Deep grooves or knife cuts that retain debris after cleaning.
- Persistent, unpleasant odor after thorough cleaning and sanding.
- Cracks that reach through the board or compromise its structure.
- Warping that prevents the board from sitting flat.
If sanding restores the surface smoothly and the board holds conditioning oil, repair is reasonable. If structural cracks, severe warping, or irreversible staining persist, replacement is the safer option.
For stain removal tips for fruit and colored foods, see this short internal guide: remove fruit stains.
Storage and everyday habits that prevent problems
- Dry upright after each use so both faces and edges dry completely.
- Alternate sides to even wear; flip regularly during chopping sessions.
- Keep boards away from direct heat or sunlight that can warp or dry wood.
- Don’t soak wood or put it in the dishwasher—both speed deterioration.
- Use separate boards or a strict cleaning routine when handling raw meat.
Small habit that helps: perform a water-drop test—if a drop beads on the surface, the oiling is doing its job; if it soaks in, it’s time to re-oil.
Common mistakes and how to avoid them
- Skipping scrubbing and relying only on vinegar. Fix: always scrape and wash first.
- Using abrasive steel wool or harsh pads. Fix: use nylon brushes or sand lightly when needed.
- Oiling with pantry vegetable oil. Fix: use food-grade mineral oil or dedicated board conditioner.
- Letting a wet board lie flat to dry. Fix: stand boards on edge until fully dry.
- Overusing bleach or concentrated sanitizers on wood. Fix: reserve harsh sanitizers for nonporous surfaces or follow label guidance and expert resources (CDC/USDA).
In practice, a simple routine—scrape → wash → vinegar (optional) → rinse/dry → periodic oiling—keeps boards functional and safe.
Frequently asked questions
Q: Can I spray plain vinegar on a cutting board every day? A: Yes for deodorizing and light cleanup, but always wash with hot, soapy water when the board has raw meat remnants or sticky grime. Vinegar does not replace mechanical scrubbing.
Q: Will vinegar eat the wood or finish over time? A: Short contact followed by rinsing and conditioning is generally safe for well-maintained boards. Avoid prolonged soaking in acidic solutions.
Q: How long should vinegar sit on a board? A: About 5 minutes is sufficient for deodorizing and modest microbial reduction in routine use. Longer contact usually offers no extra benefit and may affect finishes if repeated excessively.
Q: Can I neutralize odors by using baking soda and vinegar together? A: They chemically neutralize each other. Use them sequentially (e.g., baking soda paste to lift stains, rinse, then vinegar for deodorizing).
Q: When is bleach appropriate on wood? A: Bleach can sanitize, but it can also discolor or damage porous wood. Follow label instructions and national guidance from agencies like the CDC or USDA before applying bleach to food-contact surfaces.
Quick printable checklist
- After each use: scrape → wash hot, soapy water → rinse → optional vinegar spray (5 min) → dry upright.
- Weekly: inspect for odor or residue; treat with salt + lemon if needed.
- Monthly (or when dry): oil the board.
- Repair/replace: sand when grooves trap food; replace if cracked, warped, or structurally compromised.
Conclusion
Vinegar is a safe, low-cost tool for routine cleaning and deodorizing wooden cutting boards when used as part of a complete maintenance routine: remove debris, wash with hot soapy water, apply vinegar for deodorizing, rinse and dry, and condition the wood regularly. Use more aggressive sanitation only when warranted (raw meat contact) and follow national food-safety guidance for high-risk situations. Adopt the simple daily checklist above, and your wooden boards will stay hygienic, visually appealing, and serviceable for years.
Keep a bottle of white distilled vinegar with your board-cleaning supplies and start using the scrape → wash → vinegar → dry routine today for safer, longer-lasting wooden boards.

I’m Abby Lu, a passionate home cook who loves simplifying everyday meals. At PlugChef.com, I share product reviews and cooking guides to help you find the best tools for your kitchen.
Related posts:
 How to Oil Cutting Board Bamboo: Ultimate Guide for Lasting Care
 How to Get Stain Out of Wood Cutting Board: Easy & Effective Tips
 How to Get Smell Out of Wooden Cutting Board: Easy & Effective Tips
 Rubber Mat for Kitchen Sink: Essential Protection Tool
 How to Microwave Steam Asparagus: Quick & Easy Perfect Results
 How to Soak Grill Grates: Easy Tips for a Sparkling Clean Grill

