
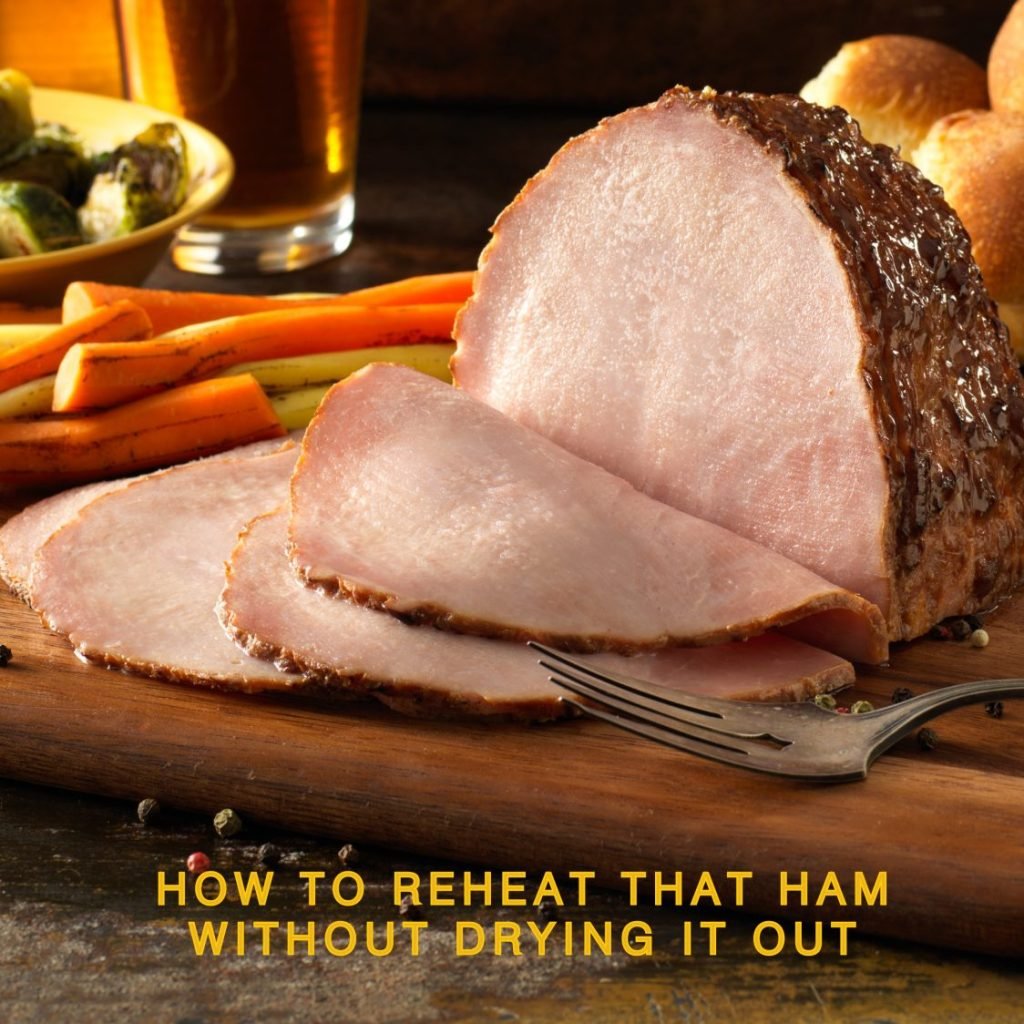
Reheating ham slices so they stay moist, flavorful and safe takes a little planning: gentle heat, a bit of moisture, and accurate temperature checks. This guide shows step-by-step methods (oven, microwave, stovetop, slow cooker, air fryer and sous-vide), explains safety targets, gives a practical timing chart, fixes common mistakes, and adds glaze and storage guidance you can use today.
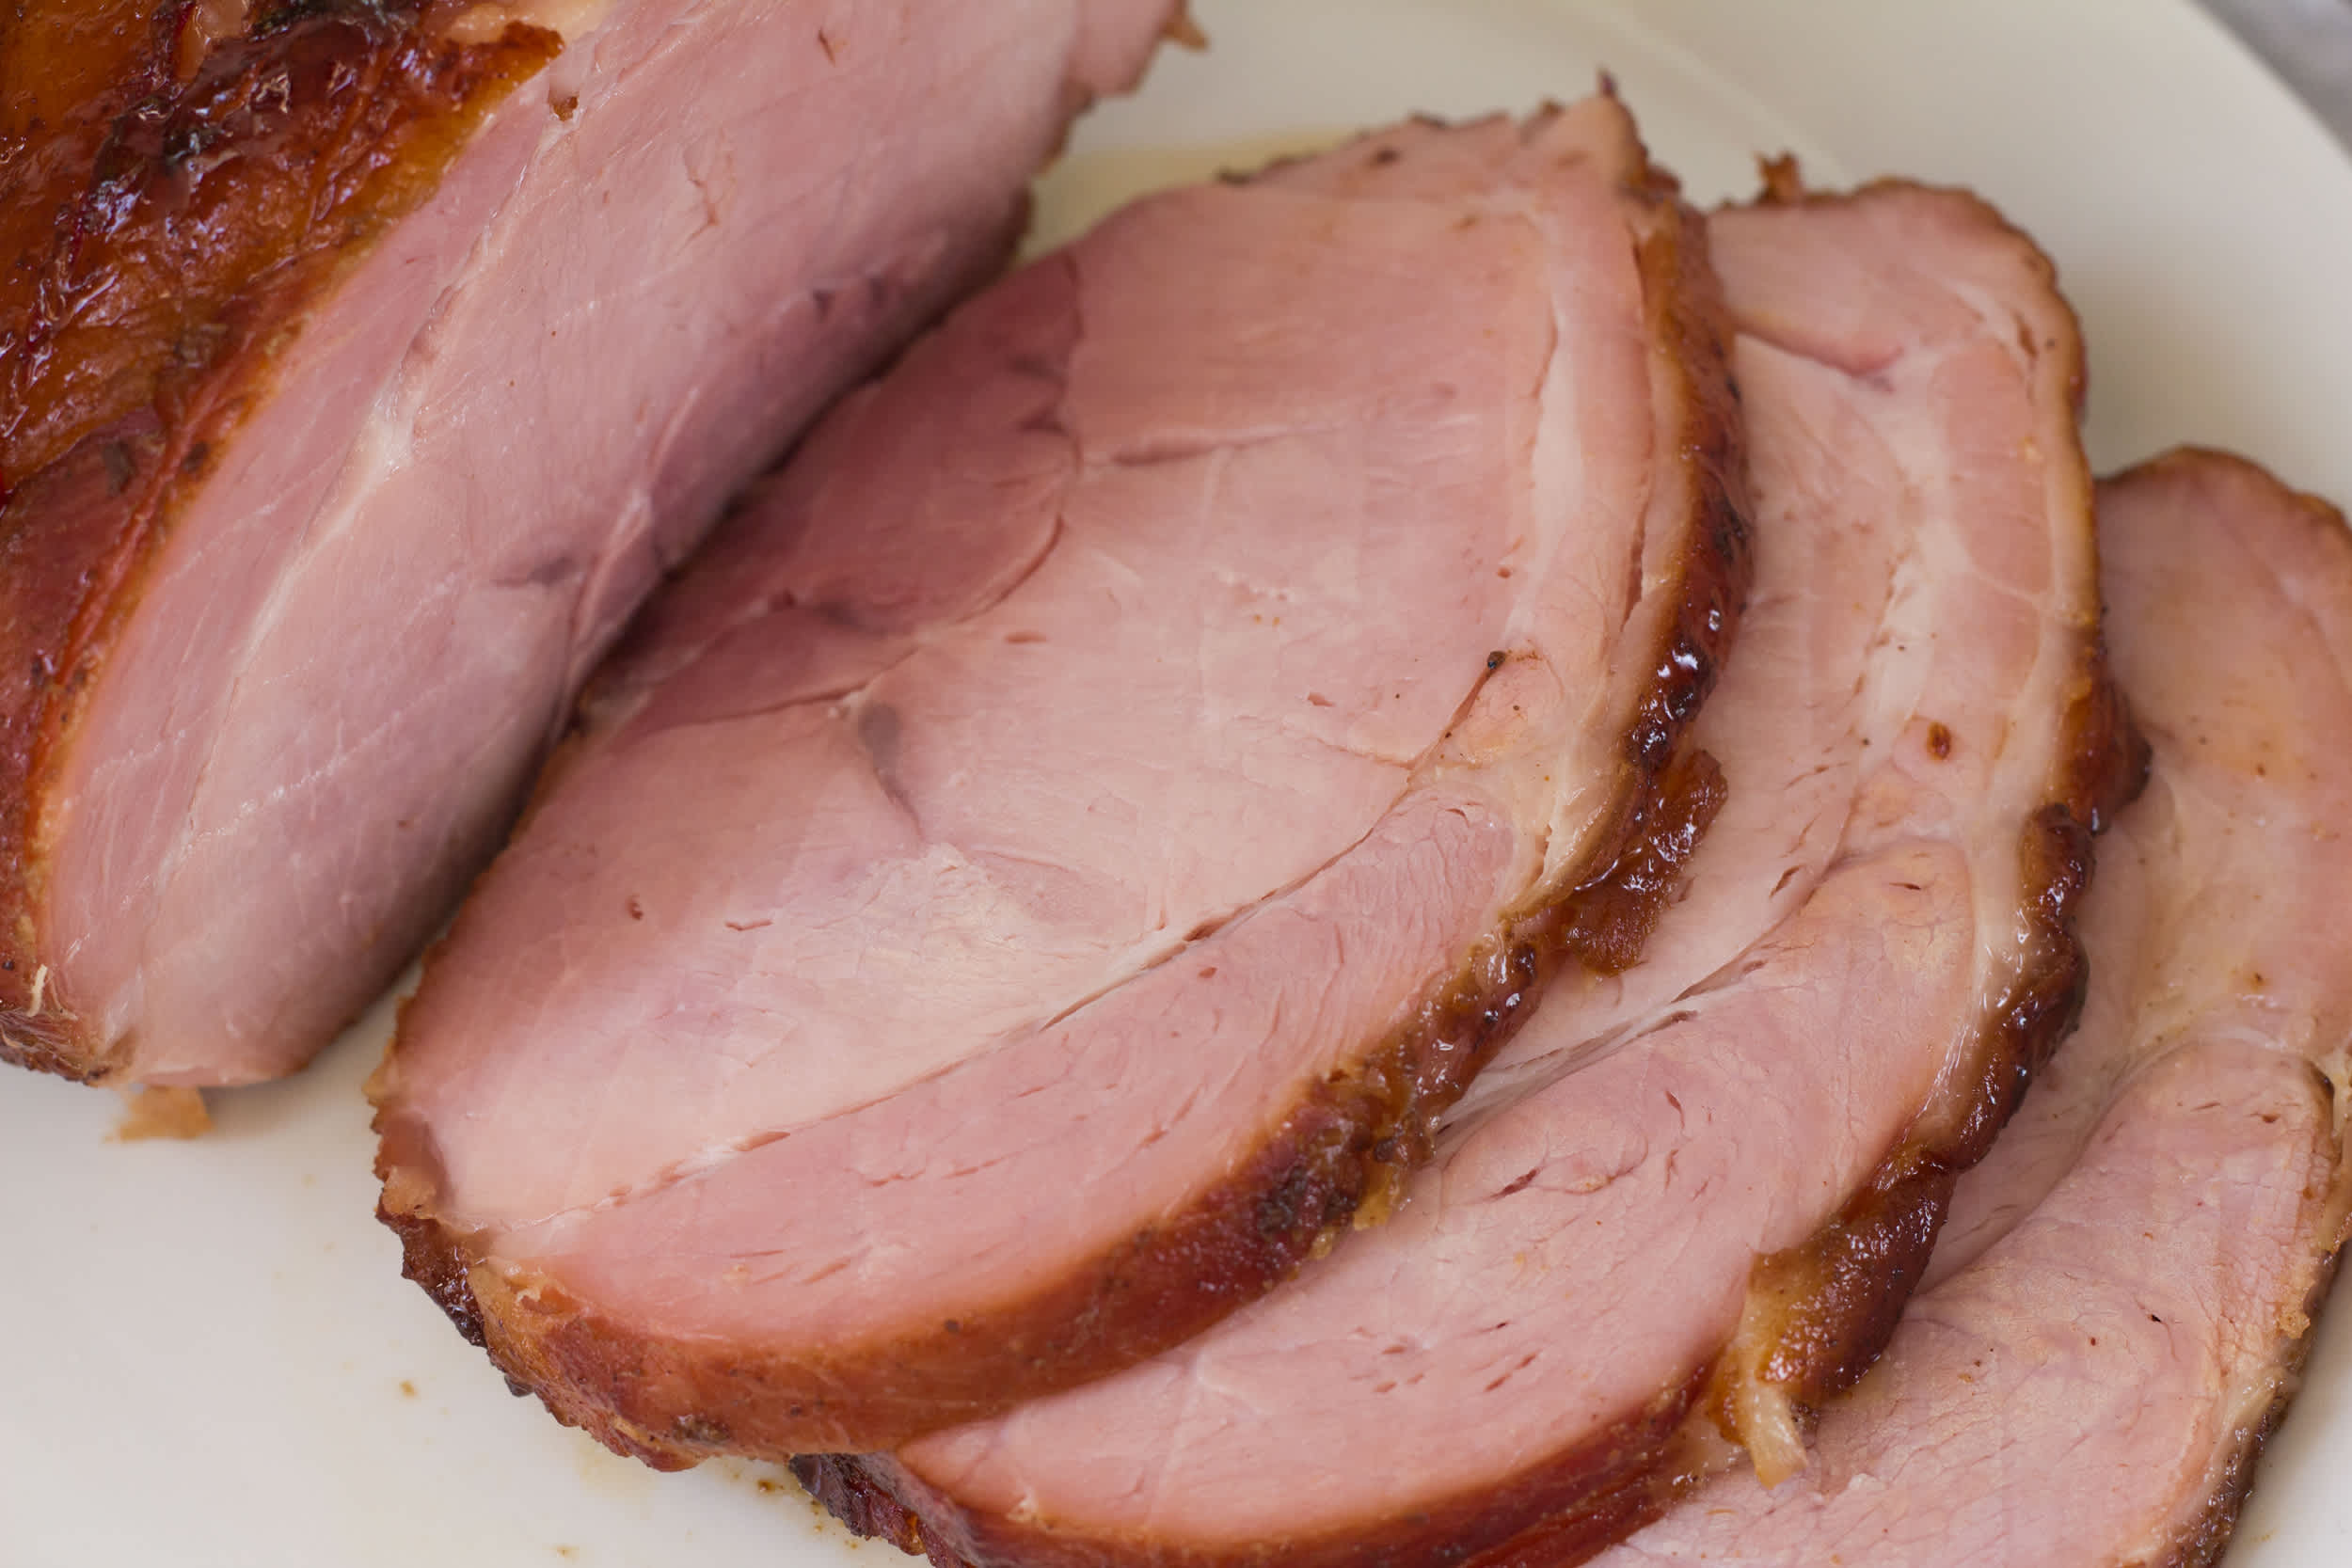
Credit: www.food.com
Plated baked ham slices ready to reheat or serve.
Quick food-safety rules (must-read)
- Reheat leftovers to 165°F (74°C). This is the USDA-recommended safe reheating temperature for previously cooked foods to reduce bacterial risk. For commercially labeled fully cooked hams, manufacturers sometimes recommend reheating to 140°F (60°C); follow package directions if present. See official guidance at the USDA for broader food-safety details.
- Reheat only once when possible. Repeated cooling and reheating increases food-safety risk and degrades quality.
- Cool and refrigerate cooked ham within 2 hours of serving (1 hour if ambient temperature is above 90°F/32°C). Store in airtight containers and use within 3–4 days; freeze for longer storage.
- Always use an instant-read or probe thermometer to confirm internal temperature at the thickest part—“hot to the touch” is unreliable.
In practice: a common mistake is skipping the thermometer and assuming all slices warmed evenly. Heat pockets and thin/thick differences can hide cold centers or cause overcooked edges.
What affects reheating time and method choice
- Slice thickness: deli-thin slices heat rapidly; thicker 1/4–1/2" slices need more time. Bone-in or 1" slices are best with low, long heat.
- Ham type: spiral-cut and glazed hams contain sugars that burn quickly; country-style or uncured hams may be drier and need moisture.
- Quantity and arrangement: crowded pans or stacked slices cause uneven heating—reheat in single layers when possible.
- Starting temperature: refrigerated vs. room-temperature slices will change timing; frozen slices should be thawed in the refrigerator first for even reheating.
Tools and prep checklist
- Instant-read thermometer or probe thermometer (calibrate occasionally by testing in ice water and boiling water).
- Ovenproof dish with tight-fitting lid or heavy foil, microwave-safe plate, skillet with lid, slow cooker, air fryer, or sous-vide setup.
- Small liquid options: water, chicken broth, apple juice or cider—these add moisture and mild flavor.
- Basting brush for glazes, aluminum foil or parchment for tenting.
- Cutting board and sharp knife for portioning.
Tip: Trim excess fat if you plan to crisp slices on the stovetop—fat can cause flare-ups or uneven browning.
Best methods — how to reheat ham slices, step-by-step
Choose the method that fits your equipment, portion size and desired finish.
Oven — best balance of juiciness and consistent heating
- Preheat to 275–325°F (135–165°C). Use 275°F for a gentle reheat or 325°F if time is limited.
- Arrange slices in a single layer in a shallow baking dish. Add about 1–2 tablespoons liquid per cup of slices (apple juice, broth or water).
- Cover tightly with foil or a lid to trap steam.
- Heat until the center of the thickest slice reaches 165°F (74°C) for leftovers; if package specifies 140°F (60°C) for fully cooked ham, use that guidance.
- For a glaze: remove cover for the final 3–7 minutes, brush glaze on and broil briefly (watch closely to prevent burning).
Why it works: low, moist heat prevents muscle fibers and fat from tightening too quickly, preserving juiciness.
Microwave — fastest for 1–2 servings
- Arrange 1–3 slices in a single layer on a microwave-safe plate; overlap minimally.
- Cover with a damp paper towel or microwave-safe lid to trap steam.
- Use medium power (50–70%) and heat in 20–30 second bursts for thin slices; 45–60 seconds for thicker slices, flipping halfway.
- Check temperature and let rest 30–60 seconds before serving.
Practice note: microwaves vary widely—start short, check, and add time. Medium power helps prevent rubbery texture.
Stovetop — quick reheating and browned edges
- Use a nonstick or cast-iron skillet over medium-low heat. Add 1 teaspoon oil, butter, or a splash of broth.
- Add slices in a single layer; cover and heat about 1.5–3 minutes per side, depending on thickness.
- Uncover and finish 30–60 seconds per side for browning if desired. Verify internal temp with a thermometer.
Trade-off: higher heat gives caramelization but risks drying or burning glazes. Keep heat controlled.
Slow cooker — hands-off for larger batches
- Layer slices in the crock in a single or slightly overlapping layer.
- Add 1/4–1/2 cup liquid (broth, apple cider) for a full slow cooker; for a smaller unit use proportionally less.
- Set to Low and heat 1–2 hours, checking occasionally until 165°F in the thickest part.
- Optional: transfer to a broiler-safe pan to apply and caramelize a glaze for a few minutes.
Best for: keeping large amounts warm without drying during gatherings.
Air fryer — fast with edge crispness (small batches)
- Preheat to 300–325°F (150–165°C). Lightly oil the basket.
- Place slices in a single layer; warm 3–6 minutes depending on thickness, flipping halfway.
- Reduce temperature if using a sugary glaze to avoid charring. Check internal temperature before serving.
Tip: quick, dry heat can dehydrate thin slices—consider lightly misting with water or covering briefly.
Sous-vide — precise control, best texture
- Vacuum-seal slices or use a heavy-duty zip bag with most air removed. Add a teaspoon of butter or a splash of juice for extra moisture.
- Set bath to 140°F (60°C) for pre-cooked ham (or 165°F if you are reheating refrigerated leftovers to the USDA-recommended temp). Time: 20–45 minutes depending on thickness.
- Optionally sear briefly in a hot skillet for color.
Why choose it: sous-vide gives exact temperature control and excellent moisture retention when you have the equipment and time.
Quick timing chart (practical guidelines)
| Slice thickness | Microwave (med power) | Oven covered (275–300°F) | Stovetop (covered) |
|---|---|---|---|
| Deli-thin (≤1/8") | 20–30 sec | 5–8 min | 45–60 sec per side |
| 1/4"–1/2" | 40–75 sec | 10–15 min | 1.5–3 min per side |
| 1" or thicker | Not ideal | 15–25 min | 3–5 min per side (low heat) |
Always confirm doneness with a thermometer; appliance performance and load size change times.

Credit: www.101cookingfortwo.com
Example of a ham steak finished with glaze and char.
Glaze, flavor and finishing tips
- Apply sweet glazes (brown sugar, honey, maple) in the final 3–7 minutes of oven reheating. Sugar burns fast—add late and monitor.
- Thin dense glazes with a splash of apple juice, orange juice, or broth for even brushing.
- For a quick pan-glaze: heat glaze in the skillet until bubbly, then add slices to coat and reduce for 30–60 seconds.
- Add delicate sauces, fresh herbs or mustard-based dressings after reheating to preserve bright flavors.
- Pairings: acidic sides (pineapple, apple slaw, mustard vinaigrette) help balance ham’s saltiness.
Common error: glazing too early—glaze turns from glossy to charred quickly under heat.
Troubleshooting: fix common reheating problems
- Dry, chewy slices: reduce temperature, add moisture (liquid and cover), and avoid overcooking. Reheating slowly at lower temps gives better texture.
- Burned glaze: lower heat or apply glaze later. Use a thinner glaze or tent with foil while glazing.
- Uneven heating: stop and separate crowded slices, stir or flip, and always check multiple spots with a thermometer.
- Cold center in microwave: use medium power and short bursts; rest after heating to allow carryover warming.
Practical trick: let reheated slices rest 2–3 minutes under foil—carryover heat evens temperature and redistributes juices.
Storage and reheating again
- Refrigerate within two hours and use within 3–4 days. Freeze for longer storage, ideally wrapped flat and stored in a freezer bag—use within about two months for best quality.
- If reheating from frozen, thaw in the refrigerator overnight for even results. For emergency reheating from frozen, use oven or sous-vide and allow extra time; microwave will likely be uneven.
- Reheating more than once is allowed by safety rules if handled properly, but each reheating lowers quality. When possible, reheat only the portion you plan to eat.
For official guidance on storage and leftovers consult government food-safety sources such as the FDA or USDA.
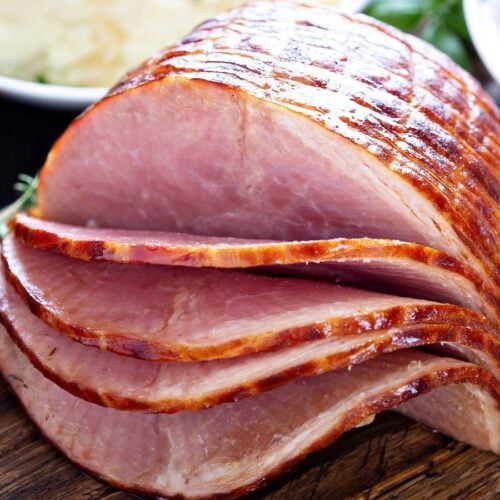
Credit: www.centercutcook.com
Ready-to-serve reheated ham slices plated.
FAQ — quick answers
Q: Can I reheat ham slices straight from frozen?
A: Thaw overnight in the refrigerator for best, even results. If you must reheat from frozen, use oven or sous-vide and allow extra time; microwaving frozen thick slices often heats unevenly.
Q: What exact internal temperature should I use?
A: Reheat leftovers to 165°F (74°C). For commercially pre-cooked hams, follow the package—many specify 140°F (60°C) for reheating. When unsure, 165°F is the safer target.
Q: How long can reheated ham sit at room temperature?
A: No more than 2 hours (1 hour if above 90°F/32°C). Return leftovers to the refrigerator promptly or keep on a low-temperature buffet well above safe holding temperatures.
Q: Is the microwave OK for sandwich slices?
A: Yes, for thin sandwich slices use medium power and short bursts with a damp paper towel cover to avoid rubberiness. Check temperature and rest briefly.
Quick reheating checklist (print or save)
- Use thermometer and target 165°F for leftovers.
- Choose method by portion: microwave for singles, oven/sous-vide for best quality, stovetop/air fryer for finish.
- Add 1–2 tbsp liquid per cup of slices in oven or slow cooker.
- Glaze only at the end.
- Rest 2–3 minutes before serving.
If this helped, bookmark or print the checklist before your next meal—small prep adds real juiciness.
Conclusion
Reheating ham slices perfectly is simple when you control temperature, add a touch of moisture and choose the right method for your portion size. Use a thermometer to avoid guesswork, apply glazes late, and favor lower, slower heat for the juiciest results. Try the recommended method that matches your equipment—microwave for speed, oven or sous-vide for best texture, stovetop or air fryer for a quick caramelized finish—and you’ll consistently get flavorful, juicy ham slices.
Want a printable one-page reheating checklist? Save the timing chart and thermometer checklist now to make reheating effortless next time.

Hi, I’m Daniel Brooks—a food lover and kitchen gear enthusiast. I enjoy testing cookware, utensils, and gadgets to see what really works in everyday cooking. At PlugChef.com, I share honest reviews, comparisons, and simple guides to help you choose the best tools for a safer, smarter, and more enjoyable kitchen.
Related posts:
 How to Make a Fruit Basket for a Gift: Easy DIY Guide
 Do You Need a Basket? Essential Guide for Air Fryers
 What Blenders Do Tropical Smoothie Use: Expert Insights
Stainless Steel Vs White Kitchen Appliances: Ultimate Showdown
What Blenders Do Tropical Smoothie Use: Expert Insights
Stainless Steel Vs White Kitchen Appliances: Ultimate Showdown
 Kitchen Appliances for Wedding Registry: Must-Have Essentials
 Top 10 Best Non-Toxic Cooking Utensils – Safe & Durable Choices for Healthy Homes

