
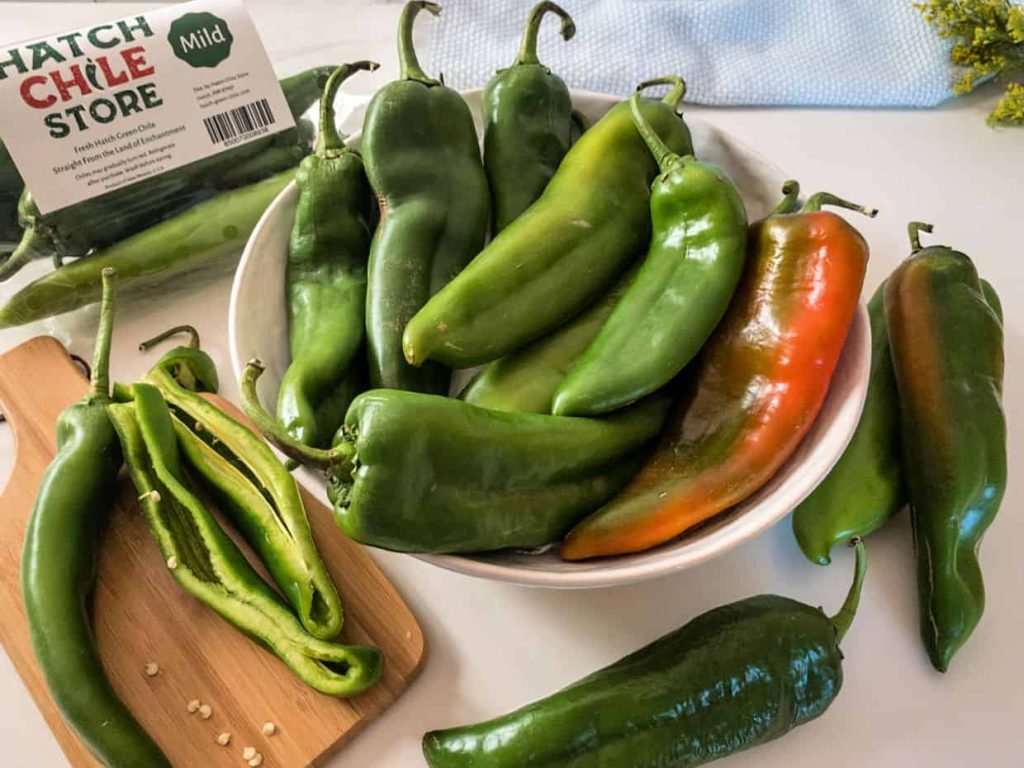
If you love the bold, smoky flavor of Hatch chiles, you know how exciting it is to get them fresh. But what if you want to enjoy that taste long after the season ends?
Freezing Hatch chiles is the perfect way to lock in their vibrant flavor and heat. In this guide, you’ll learn simple, effective steps to freeze your Hatch chiles so they stay fresh and ready to use anytime you want. Keep reading, and soon you’ll have a stash of these delicious peppers waiting in your freezer for all your favorite recipes.
Credit: www.gardencityharvest.org
Choosing Hatch Chiles
Choosing the right Hatch chiles is key to a tasty frozen batch. Freshness and ripeness affect flavor and texture. Picking quality peppers sets the stage for great meals later.
Selecting Fresh Peppers
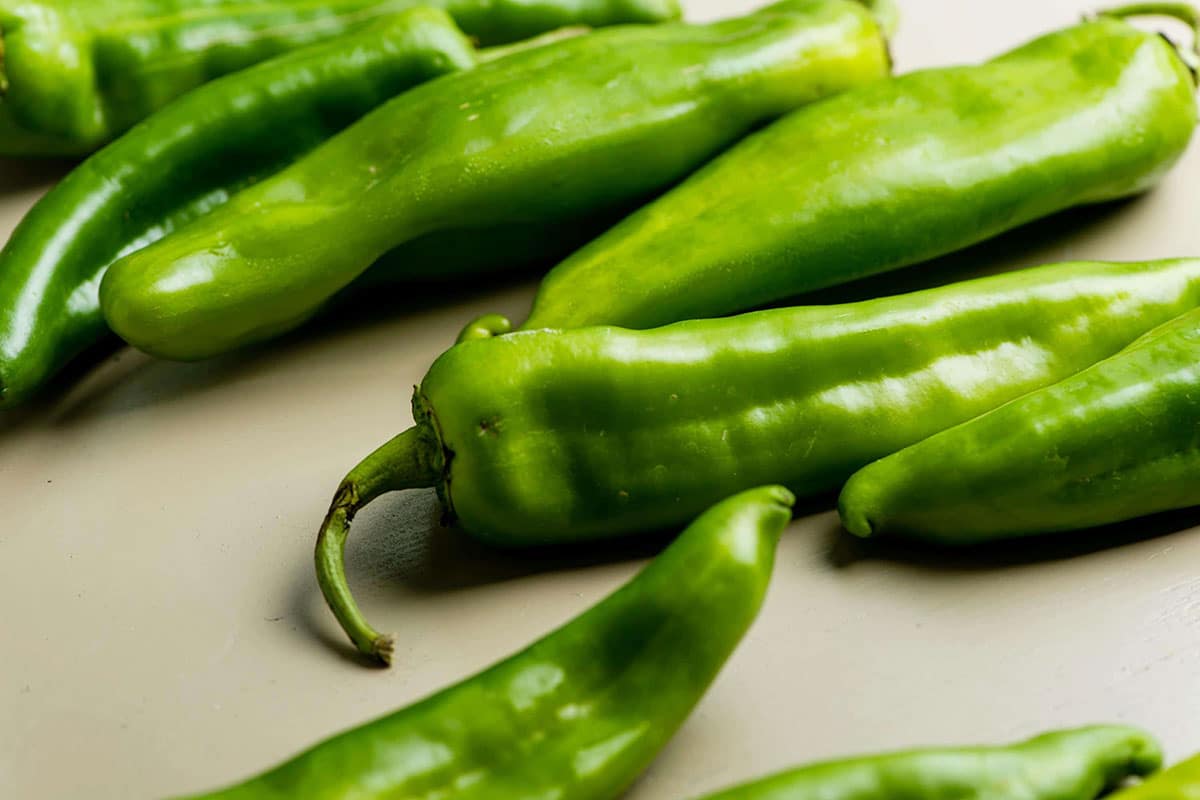
Pick Hatch chiles that feel firm and heavy. Avoid peppers with soft spots or wrinkles. Bright, shiny skin shows freshness. Check for any cuts or blemishes on the surface. Fresh peppers have a crisp snap when bent.
Identifying Ideal Ripeness
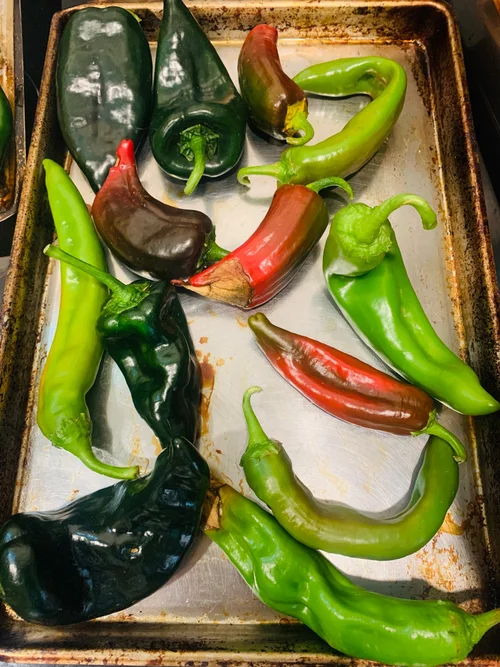
Green Hatch chiles are mild and crisp. Red ones offer a sweeter, richer taste. Some peppers show a mix of red and green, which means medium heat. Choose peppers based on your heat preference. Avoid overly dark or shriveled peppers; they are past their prime.

Credit: onehotoven.com
Preparing Chiles For Freezing
Preparing hatch chiles for freezing is a simple process that preserves their fresh flavor and texture. Proper preparation helps keep the chiles tasty and ready for cooking later. Clean and ready chiles freeze better and last longer.
Washing And Drying
Start by rinsing the chiles under cold water. This removes dirt and any residue. Use your hands to gently rub the skin. After washing, dry the chiles thoroughly with a clean towel. Moisture on chiles can cause ice crystals during freezing.
Removing Stems And Seeds
Cut off the stems carefully using a sharp knife. Slice the chile open lengthwise. Use a spoon to scrape out the seeds and white membranes. Removing seeds reduces bitterness and makes the chiles easier to use later. You can keep the chiles whole or cut them into strips or pieces.
Roasting For Extra Flavor
Roasting adds a smoky taste to hatch chiles. Place the cleaned chiles on a baking sheet or grill. Roast them until the skin blisters and blackens. Let the chiles cool, then peel off the charred skin. Roasted chiles freeze well and give a rich flavor to dishes.
Freezing Methods
Wash and dry hatch chiles thoroughly before freezing to prevent ice crystals. Slice or leave whole, then place in airtight bags to keep freshness. Freeze flat to save space and make thawing easier.
When you’re eager to savor the spicy goodness of Hatch chiles year-round, freezing them is a fantastic option. Each freezing method has its own perks, whether you want to maintain the chiles’ fresh flavor or save space in your freezer. Here’s how you can effectively freeze Hatch chiles using various techniques.Flash Freezing Technique
Flash freezing is a quick and easy way to preserve Hatch chiles without them sticking together. Simply spread the roasted chiles in a single layer on a baking sheet. Place the sheet in your freezer for a few hours until the chiles are firm. This method ensures that each chile can be removed individually, making it convenient when you’re cooking.Using Freezer Bags
Freezer bags are a handy solution if you’re looking to save space. Once the chiles are flash frozen, transfer them into high-quality freezer bags. Remove as much air as possible to prevent freezer burn, which helps maintain the chiles’ flavor and texture. Label the bags with the date and variety of chiles for easy identification later.Vacuum Sealing Options
Vacuum sealing is perfect for those who want to lock in the freshness of Hatch chiles. After flash freezing, place the chiles in vacuum seal bags. Use a vacuum sealer to remove the air and seal the bag tightly. This method can extend the shelf life of the chiles significantly, making it worth the investment if you freeze chiles often. Each technique offers a unique benefit, so consider what works best for your kitchen habits. Do you prefer the flexibility of single chile portions, or the compactness of vacuum-sealed bags? Whatever you choose, you’re sure to enjoy the vibrant taste of Hatch chiles long after the season has passed.Storing Frozen Hatch Chiles
Storing your frozen Hatch chiles properly is key to keeping their fresh flavor and vibrant heat intact. Without the right storage techniques, they can lose taste or develop freezer burn, which spoils your cooking experience. A little care now saves you from wasting those precious chiles later.
Labeling And Dating
Always label your frozen Hatch chiles with the date you froze them. This simple step helps you track freshness and avoid using old, less flavorful peppers. Use a permanent marker on freezer bags or containers to make the date clear and easy to spot.
Have you ever found a bag of frozen veggies from years ago and wondered if they’re still good? Don’t let that happen to your chiles. Clear labeling keeps your freezer organized and your meals tasting their best.
Ideal Freezer Conditions
Keep your freezer at a steady 0°F (-18°C) or lower for best results. Fluctuating temperatures cause frost buildup and can damage the texture of your chiles. Avoid placing the chiles near the freezer door where temperature changes happen frequently.
Use airtight freezer bags or containers to prevent moisture loss and freezer burn. Press out as much air as possible before sealing. This little effort can make a big difference in preserving the quality of your frozen Hatch chiles.
Shelf Life Expectations
Frozen Hatch chiles maintain their best quality for about 6 to 12 months. After this period, they start to lose flavor and texture but remain safe to eat if kept frozen continuously. Planning your meals around this timeframe ensures you enjoy peak freshness.
Think about how often you cook with Hatch chiles. Can you use your stash within a year? If not, consider freezing smaller batches to maintain optimal quality over time.
Thawing And Using Frozen Chiles
Thawing and using frozen Hatch chiles properly can make a huge difference in flavor and texture. If you rush the process or skip important steps, your chiles might turn soggy or lose their vibrant taste. But handled right, frozen Hatch chiles can bring the bright, smoky heat of fresh ones to your dishes anytime you want.
Best Thawing Practices
Start by moving the frozen chiles to the refrigerator for several hours or overnight. This slow thawing helps keep their texture intact and prevents sogginess.
If you’re short on time, place the chiles in a sealed plastic bag and submerge them in cold water for 20-30 minutes. Avoid microwaving as it can cook parts of the chile unevenly, ruining the texture.
Once thawed, pat the chiles dry with paper towels before using. This simple step reduces excess moisture and helps your dishes avoid becoming watery.
Cooking Ideas With Frozen Chiles
Frozen Hatch chiles work great in many recipes where fresh chiles shine. Try adding them to scrambled eggs or omelets for a spicy breakfast twist.
Roast or sauté thawed chiles to bring out their smoky flavor, then toss them into stews, chili, or enchiladas. They also blend perfectly into sauces and salsas, giving your dishes a nice kick without the hassle of fresh prep.
Ever thought about stuffing Hatch chiles? Use thawed ones as a vessel for cheese, beans, or meat, then bake until bubbly. This turns simple frozen ingredients into a meal that impresses guests or brightens weeknight dinners.
Credit: themom100.com
Tips For Maintaining Fresh Flavor
Maintaining the fresh flavor of Hatch chiles after freezing requires some care. The goal is to keep their natural taste, texture, and heat intact. Proper techniques help keep your chiles tasting just like fresh.
Simple steps make a big difference in preserving the rich, smoky flavor Hatch chiles are known for. Follow these tips to enjoy their unique taste long after freezing.
Avoiding Freezer Burn
Freezer burn ruins flavor and texture. It happens when air reaches the chile’s surface.
- Use airtight bags or containers. Remove as much air as possible before sealing.
- Consider vacuum sealing for best results.
- Label and date your packages to use them within 6 months.
- Store at a steady, low temperature to prevent thaw and refreeze cycles.
Preserving Texture And Heat
Texture and heat can fade if chiles are not handled well before freezing.
- Roast and peel the chiles before freezing to lock in flavor.
- Cool chiles completely to avoid ice crystals forming.
- Freeze in small portions to thaw only what you need.
- Keep chiles whole or sliced to maintain texture better than pureed.
Frequently Asked Questions
How Long Can You Freeze Hatch Chiles?
Hatch chiles can be frozen for up to 6 months. Proper storage in airtight containers prevents freezer burn and maintains flavor. Label and date the packages to track freshness and ensure optimal taste when used later.
Should You Roast Hatch Chiles Before Freezing?
Yes, roasting Hatch chiles before freezing enhances their flavor. Roasting adds a smoky taste and softens the skin, making peeling easier. Cool, peel, and then freeze to preserve the best texture and aroma for future recipes.
How Do You Prepare Hatch Chiles For Freezing?
Wash and dry Hatch chiles thoroughly before freezing. Remove stems and seeds for a milder flavor. You can freeze them whole, sliced, or roasted, depending on your cooking needs. Use airtight bags or containers to avoid freezer burn.
Can Frozen Hatch Chiles Be Used Directly In Cooking?
Yes, frozen Hatch chiles can be added directly to dishes. No need to thaw; just chop or use them as is. They retain flavor and texture well when cooked from frozen, making meal prep quick and easy.
Conclusion
Freezing Hatch chiles keeps their flavor fresh for months. Clean and dry chiles before freezing to avoid ice buildup. Slice or roast them to save time later. Store in airtight bags to prevent freezer burn. Use frozen chiles in soups, stews, or sauces.
They add a spicy kick without extra effort. Freezing Hatch chiles saves money and reduces waste. Enjoy their taste all year, not just in season. Simple steps make your cooking easier and tastier. Give freezing a try and enjoy Hatch chiles anytime.

Hi, I’m Daniel Brooks—a food lover and kitchen gear enthusiast. I enjoy testing cookware, utensils, and gadgets to see what really works in everyday cooking. At PlugChef.com, I share honest reviews, comparisons, and simple guides to help you choose the best tools for a safer, smarter, and more enjoyable kitchen.
Related posts:
 What Type of Cooking Utensils are Safe: Expert Picks
 What Innovations Could Blenders Make: Unleashing Future Tech
 Smart Strategies to Organize a Small Kitchen: Maximize Space
 How to Organize a Kitchen Cabinet: Expert Tips & Tricks
 How to Organize Kitchen Drawers: Expert Tips and Tricks
 How to Organize a Corner Kitchen Cupboard: Expert Tips

