
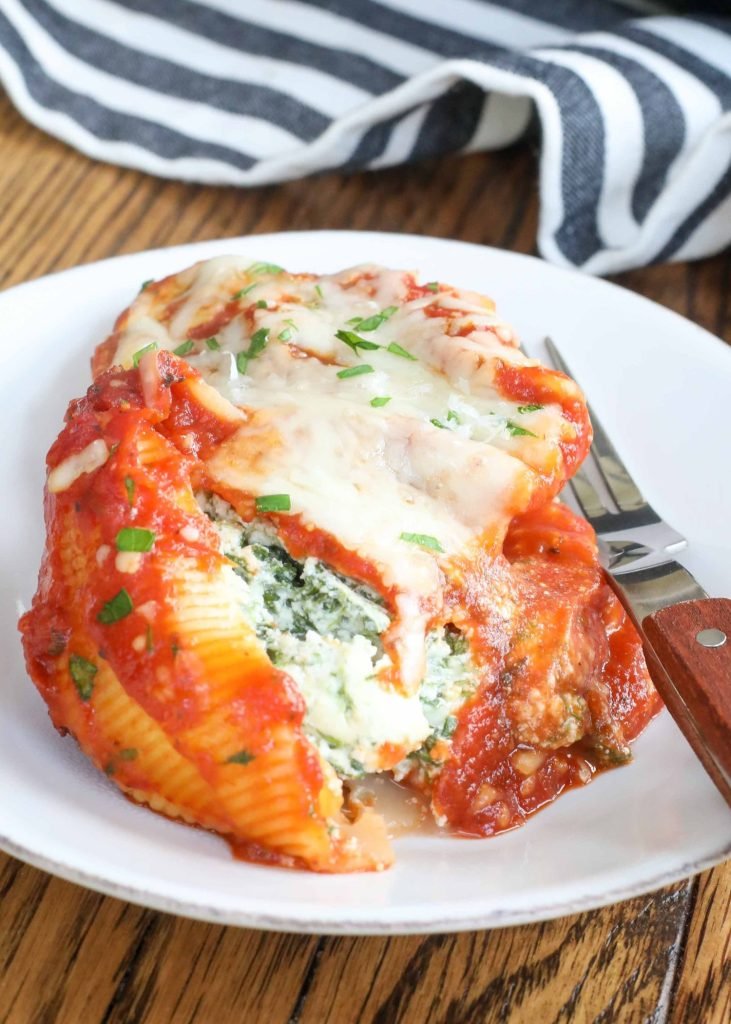
Are you looking for a simple, delicious meal that feels homemade but saves you time? Stuffed shells with frozen spinach might just be your new go-to dish.
Imagine tender pasta shells filled with creamy, flavorful spinach and cheese, baked to perfection. Using frozen spinach makes this recipe easy and affordable, without sacrificing taste. Keep reading, and you’ll discover how to make this comforting meal step-by-step — perfect for busy weeknights or when you want to impress without the stress.
Your dinner just got a whole lot better.
Choosing The Right Pasta Shells
Choosing the right pasta shells is a crucial step in making stuffed shells with frozen spinach. The pasta acts as the vessel for your filling, so picking the right size and type affects both the taste and texture of your dish. Have you ever struggled with shells that fall apart or don’t hold enough filling? Getting this part right can transform your meal from ordinary to memorable.
Types Of Shells To Use
Look for large pasta shells labeled as “jumbo shells” at the store. These are perfect because they hold plenty of spinach and cheese without breaking. Medium or small shells won’t give you the same stuffing capacity, which might leave you frustrated when filling them.
Some brands offer shells made from whole wheat or gluten-free options. If you have dietary preferences, these can work well, but be mindful that they may cook differently or have a firmer texture. You might want to test a few brands to find your favorite.
Tips For Cooking Shells Perfectly
Start by boiling salted water and adding a splash of olive oil to prevent sticking. Cook the shells until they’re just tender but still firm—al dente is the goal here because they’ll cook more in the oven. Overcooked shells turn mushy and tear easily when stuffed.
Drain the shells carefully and rinse them under cold water immediately. This stops the cooking process and keeps them from sticking together. Lay them on a baking sheet with a little drizzle of oil if you’re not stuffing them right away.
Have you tried pre-cooking the shells the night before? This trick saves time on busy days and lets you focus on the filling and sauce. Just make sure to cover them well in the fridge so they don’t dry out.
Preparing Frozen Spinach
Preparing frozen spinach properly is key for delicious stuffed shells. It ensures the spinach is tender and free of excess water. This step improves the texture and flavor of your filling. Taking time to prepare frozen spinach well makes your dish taste fresh and vibrant.
Thawing And Draining Techniques
Start by thawing the spinach completely. Place it in a bowl at room temperature or use the microwave for quick thawing. Avoid cooking the spinach at this stage; just melt the ice crystals.
After thawing, draining is very important. Spinach holds a lot of water that can make your filling watery. Use a clean kitchen towel or cheesecloth to squeeze out all the liquid. Press firmly to remove as much moisture as possible.
- Thaw spinach in a bowl or microwave.
- Wrap spinach in a towel or cheesecloth.
- Squeeze tightly to remove water.
- Repeat if spinach still feels wet.
Enhancing Spinach Flavor
Frozen spinach can be bland without seasoning. Cook it lightly with garlic or onion for extra taste. Use a bit of olive oil or butter to add richness.
Season the spinach with salt and pepper. A pinch of nutmeg also works well to lift the flavor. Avoid overcooking, as this can make the spinach mushy.
| Flavor Boost | Tips |
|---|---|
| Garlic | Minced, sautéed lightly |
| Onion | Finely chopped, cooked soft |
| Olive Oil or Butter | Small amount for richness |
| Nutmeg | Pinch for warmth and depth |
Making The Cheese Filling
Mix ricotta, mozzarella, and Parmesan cheeses for a creamy filling. Blend in thawed, drained spinach for added flavor. Season with salt, pepper, and nutmeg to enhance the taste.
Making the perfect cheese filling is the heart of a great stuffed shell dish. It’s where the creaminess meets the tang, creating a delightful blend that pairs beautifully with the tender pasta and savory sauce. Whether you’re a seasoned cook or a kitchen novice, crafting this filling can be both simple and rewarding. Let’s dive into the essential ingredients and mixing techniques to achieve a creamy texture that will have everyone asking for seconds.Essential Cheese Ingredients
Creating a delicious cheese filling starts with choosing the right ingredients. You will need:- Ricotta Cheese:The base of the filling, offering a smooth texture and mild flavor.
- Mozzarella Cheese:Adds a stretchy, gooey quality that everyone loves.
- Parmesan Cheese:Provides a sharp, salty kick that enhances the overall flavor.
Mixing For Creamy Texture
To achieve a creamy texture, mixing the cheeses thoroughly is key. Combine them in a large bowl to ensure even distribution. A fork or a spatula works best for this task. Add a beaten egg to help bind the mixture. Season with salt, pepper, and a pinch of nutmeg for warmth. These additions elevate the filling from good to great, creating layers of flavor that complement the shells perfectly. As you mix, think about the consistency. Is it smooth and cohesive? If not, a splash of milk can help achieve the desired creaminess. Remember, the filling should be spreadable but not runny. Have you ever found yourself scraping every last bit from the bowl because it was just that good? That’s the goal here—creating a filling so irresistible, you can’t help but savor every bite.Stuffing The Shells
Stuffing the shells is a key part of making delicious stuffed shells with frozen spinach. The filling must be creamy and flavorful. It should fill each shell without spilling over. Proper stuffing makes every bite tasty and satisfying.
Filling Tips And Tricks
- Thaw and squeeze frozen spinach well to remove extra water.
- Mix ricotta, mozzarella, and Parmesan cheese for rich flavor.
- Add a beaten egg to help the filling hold together.
- Season with salt, pepper, and garlic powder for extra taste.
- Use a spoon or small scoop to fill shells evenly and neatly.
Avoiding Common Mistakes
- Do not overfill shells; they may burst while baking.
- Make sure spinach is fully drained to avoid watery filling.
- Don’t skip seasoning; bland filling makes the dish less tasty.
- Fill shells gently to avoid breaking them.
- Pre-cook shells just until al dente to prevent mushy texture.
Choosing The Sauce
Choosing the right sauce for stuffed shells with frozen spinach shapes the entire dish. The sauce sets the flavor tone and influences the texture. A rich, creamy sauce offers comfort. A tangy tomato sauce adds brightness. Knowing your options helps create the perfect meal.
Marinara Vs Alfredo
Marinara sauce brings a fresh, zesty tomato flavor. It is light and slightly sweet. The acidity cuts through the richness of the cheese and spinach filling. This sauce keeps the dish bright and fresh.
Alfredo sauce is creamy and buttery. It adds a smooth, rich texture. The cheese and cream blend with the spinach filling for a decadent taste. Alfredo gives a comforting, indulgent feel to the shells.
Both sauces pair well, but the choice depends on mood and taste preferences. Marinara offers a lighter option. Alfredo provides a richer experience.
Homemade Vs Store-bought
Homemade sauces offer control over ingredients and flavors. You can adjust seasoning and thickness easily. Fresh herbs, garlic, and quality tomatoes or cream enhance taste. Making sauce from scratch adds a personal touch.
Store-bought sauces save time and effort. They come in many varieties, ready to use. Some brands use quality ingredients and balanced flavors. Check labels for added sugar or preservatives.
Choosing between homemade and store-bought depends on time and preference. Homemade sauce adds freshness. Store-bought sauce offers convenience and consistency.
Baking The Dish
Baking stuffed shells with frozen spinach is where all the flavors come together and the dish transforms into a comforting meal. The right oven settings and timing ensure the cheese melts perfectly and the shells cook through without drying out. Paying attention to covering and uncovering during baking can make a big difference in texture and presentation.
Oven Settings And Time
Set your oven to 375°F (190°C) for even baking. This temperature allows the cheese inside the shells to melt slowly while warming the spinach filling thoroughly.
Baking usually takes about 25 to 30 minutes. However, if your oven runs hot or you use a glass baking dish, check a few minutes earlier to avoid overcooking.
Try preheating the oven fully before placing the dish inside. I once skipped this step and ended up with unevenly baked shells, where some parts were still cold.
Covering And Uncovering Tips
Cover your dish with foil during the first part of baking to keep moisture locked in. This prevents the shells from drying out and keeps the spinach filling juicy.
Remove the foil in the last 5 to 10 minutes to let the cheese on top turn golden and bubbly. This step adds a beautiful finish and a bit of crunch to the dish.
Have you noticed how skipping this step leaves your cheese pale and rubbery? It’s a small detail that changes your meal’s appeal significantly.
Serving Suggestions
Stuffed shells with frozen spinach make a delicious and filling meal. Serving them right can make your dining experience even better. Pairing the shells with the right sides and garnishes can create a balanced and colorful plate. These suggestions help bring out the best flavors and textures.
Side Dishes To Pair
- Garlic bread or crusty Italian bread
- Simple green salad with lemon vinaigrette
- Steamed or roasted vegetables like broccoli or carrots
- Caesar salad for a creamy, tangy contrast
- Light tomato soup as a warm starter
- Roasted potatoes with herbs for a hearty addition
Garnishing Ideas
- Fresh basil leaves for a bright, herbal touch
- Grated Parmesan cheese for extra savory flavor
- Red pepper flakes for a gentle heat kick
- Chopped parsley to add color and freshness
- A drizzle of extra virgin olive oil for richness
- Toasted pine nuts for a crunchy texture
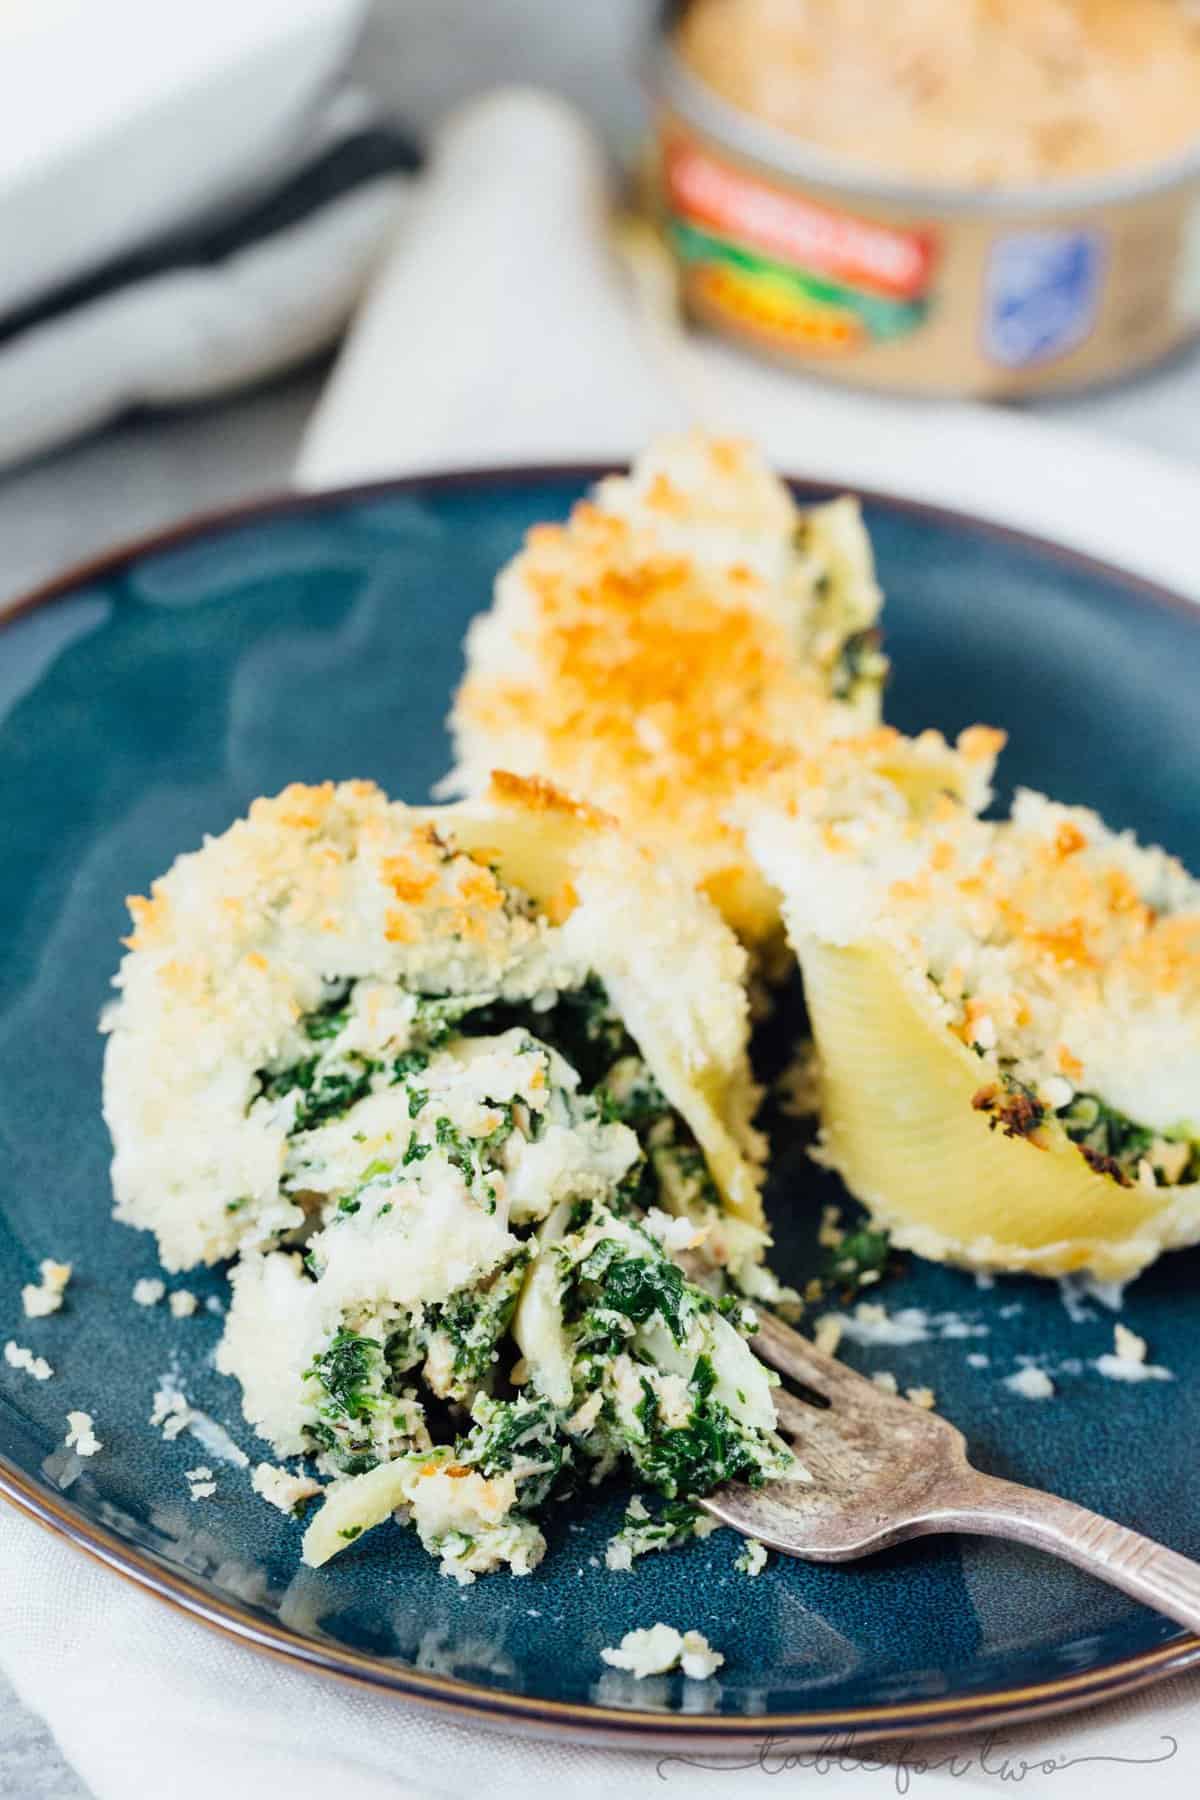
Credit: www.tablefortwoblog.com
Storing And Reheating
Knowing how to store and reheat stuffed shells with frozen spinach keeps the meal fresh and tasty. Proper storage stops the shells from drying out or spoiling. Reheating the dish the right way brings back the creamy texture and rich flavors. This section guides you through easy steps to keep your meal delicious.
Best Storage Practices
Allow the stuffed shells to cool to room temperature before storing. Place them in an airtight container to keep moisture in. Use plastic wrap or foil to cover tightly if you use a baking dish. Store the shells in the refrigerator for up to 3 days.
For longer storage, freeze the shells. Wrap them well with plastic wrap and foil or use a freezer-safe container. Label the package with the date. Frozen stuffed shells stay good for up to 2 months.
Reheating Without Drying
Reheat stuffed shells gently to keep them moist. Use a microwave-safe dish covered with a lid or plastic wrap. Heat in short bursts, stirring or checking after each. Add a splash of water or sauce before heating to keep moisture.
Oven reheating works well too. Cover the dish with foil to trap steam. Heat at 350°F (175°C) for 20-25 minutes or until warmed through. Remove the foil in the last 5 minutes to brown the top slightly if desired.
Customizing Your Stuffed Shells
Customizing your stuffed shells with frozen spinach opens up a world of flavors and textures. You can make this dish truly your own by mixing in ingredients that suit your taste and nutritional needs. It’s about turning a simple recipe into a personalized meal that excites your palate every time.
Adding Protein Options
Think beyond just cheese for your stuffed shells. Adding protein can make your dish more filling and balanced. You might try cooked ground beef, Italian sausage, or shredded chicken for a meaty twist.
If you prefer a vegetarian protein, beans like cannellini or chickpeas work well inside the shells. You can also mix in ricotta with some crumbled tofu for a lighter protein boost. What protein will make your stuffed shells the perfect meal for you?
Incorporating Extra Veggies
Frozen spinach is a great start, but why stop there? Adding more vegetables can add color, nutrition, and crunch. Try finely chopped mushrooms, bell peppers, or zucchini mixed into the filling.
Roasted vegetables like eggplant or butternut squash can add a sweet, caramelized flavor. Don’t forget herbs like basil or parsley—they freshen up the dish in a simple way. Which veggies will you add to make your stuffed shells stand out?

Credit: www.inspirededibles.ca
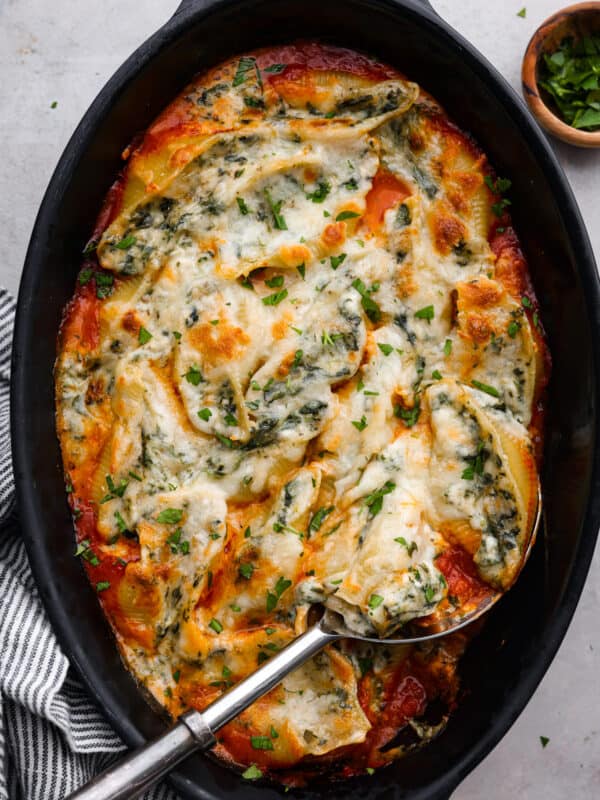
Credit: therecipecritic.com
Frequently Asked Questions
Can I Use Frozen Spinach In Stuffed Shells?
Yes, frozen spinach works well in stuffed shells. It’s convenient and retains nutrients. Just thaw and drain it before mixing to avoid excess moisture.
How To Prevent Stuffed Shells From Drying Out?
Cover stuffed shells with marinara sauce and foil while baking. This keeps shells moist and flavorful. Also, bake at moderate temperature for even cooking.
Can Stuffed Shells With Frozen Spinach Be Made Ahead?
Absolutely, you can prepare stuffed shells in advance. Assemble them, cover tightly, and refrigerate for up to 24 hours. Bake fresh when ready to serve.
What Cheese Is Best For Stuffed Shells Filling?
Ricotta cheese is traditional and creamy for stuffing shells. Combine it with mozzarella and Parmesan for richer flavor and texture.
Conclusion
Stuffed shells with frozen spinach make a simple, tasty meal. They save time and bring fresh flavors to your table. This recipe fits busy days or quiet dinners alike. You can enjoy healthy greens in a creamy, cheesy shell. Try this dish to add variety and comfort to your meals.
Cooking does not need to be hard or slow. A few ingredients can create a warm, filling dinner. Give this recipe a chance—you might make it often.

Hi, I’m Daniel Brooks—a food lover and kitchen gear enthusiast. I enjoy testing cookware, utensils, and gadgets to see what really works in everyday cooking. At PlugChef.com, I share honest reviews, comparisons, and simple guides to help you choose the best tools for a safer, smarter, and more enjoyable kitchen.
Related posts:
 What Type of Cooking Utensils are Safe: Expert Picks
 What Innovations Could Blenders Make: Unleashing Future Tech
 Smart Strategies to Organize a Small Kitchen: Maximize Space
 How to Organize a Kitchen Cabinet: Expert Tips & Tricks
 How to Organize Kitchen Drawers: Expert Tips and Tricks
 How to Organize a Corner Kitchen Cupboard: Expert Tips

