
Craving a dessert that’s rich, chocolatey, and simple to make? You’re in the right place.
This Mississippi Mud Pie easy recipe is exactly what you need to satisfy your sweet tooth without spending hours in the kitchen. Imagine a creamy, gooey pie that melts in your mouth with every bite. Ready to impress your family or treat yourself?
Keep reading, and you’ll discover just how effortless it is to create this delicious classic at home.
Ingredients For Mississippi Mud Pie
Getting the ingredients right is the first step to making a Mississippi Mud Pie that everyone will love. This dessert is all about rich, chocolatey flavors combined with creamy textures. Knowing which ingredients to use—and which you can skip or swap—helps you customize your pie without losing its classic charm.
Essential Ingredients
- Chocolate:Use both cocoa powder and melted chocolate to get that deep, fudgy taste. I’ve found that semi-sweet chocolate chips work best for a balanced sweetness.
- Butter:Unsalted butter adds richness and moisture. Make sure it’s softened so it blends smoothly with the other ingredients.
- Sugar:Granulated sugar is standard, but a bit of brown sugar can enhance the flavor with a subtle caramel note.
- Eggs:They give the pie structure and a creamy texture. Fresh eggs make a noticeable difference in taste and consistency.
- Vanilla Extract:Just a teaspoon amplifies the chocolate’s flavor and adds a warm, inviting aroma.
- Graham Cracker Crust:The base should be crunchy and slightly sweet, providing a perfect contrast to the gooey filling.
- Heavy Cream or Whipped Topping:This adds a light finish and balances the richness of the chocolate layers.
Have you ever wondered why some pies feel too dense or too sweet? The balance of these core ingredients is key to hitting that perfect texture and flavor every time.
Optional Add-ins
- Chopped Nuts:Pecans or walnuts add a satisfying crunch. I like to toast them lightly first for extra flavor.
- Espresso Powder:Just a pinch can intensify the chocolate flavor without making it taste like coffee.
- Marshmallows:Adding mini marshmallows on top before baking creates a gooey, toasty layer reminiscent of a campfire treat.
- Peanut Butter:Swirling in peanut butter can add a salty twist that pairs surprisingly well with the chocolate.
- Sea Salt:Sprinkling a little sea salt on top enhances the sweetness and adds complexity.
Which optional ingredient would you try first to make your Mississippi Mud Pie truly yours? Small changes can make a big difference, so don’t hesitate to experiment.
Step-by-step Preparation
Preparing a Mississippi Mud Pie is simple and fun. Follow these clear steps to create a delicious dessert that everyone will love. Each part of the process is easy to follow. Take your time to enjoy the baking experience and get perfect results.
Making The Crust
The crust forms the base of the pie and gives it a crunchy texture. Start by crushing chocolate cookies or graham crackers into fine crumbs. Mix the crumbs with melted butter until the mixture feels like wet sand.
Press this mixture evenly into the bottom of a pie pan. Make sure the crust is firm and covers the entire base. Place the pan in the fridge to chill while preparing the filling.
Preparing The Filling
The filling is rich and creamy, making the pie so tasty. Melt chocolate and butter together until smooth. Stir in sugar and eggs, mixing well to combine.
Pour this chocolate mixture over the chilled crust. Spread it evenly for a smooth layer. Top the filling with mini marshmallows to add softness and sweetness.
Baking Instructions
Preheat the oven to the right temperature before baking. Place the pie on the middle rack to ensure even cooking. Bake until the marshmallows turn golden brown and the filling sets.
Remove the pie from the oven and let it cool completely. Chill in the fridge for a few hours before serving. This step helps the pie firm up and taste better.
Tips For Perfect Texture
Creating the perfect Mississippi Mud Pie involves more than just following a recipe. The texture plays a crucial role in achieving that delightful experience. Here are some tips to ensure your pie has the perfect texture every time.
Achieving The Right Consistency
The filling should be smooth and creamy. Ensure all ingredients blend well. Use room temperature ingredients for an even mix. This helps in achieving a consistent texture. Melt the chocolate gently. This prevents any lumps from forming. Stir continuously while melting.
The crust must be firm and crumbly. Crush the cookies finely. Mix thoroughly with melted butter. Press firmly into the pie dish. This ensures the crust holds together well.
Avoiding Common Mistakes
Avoid overcooking the filling. It should be set but still soft. Overcooking makes it hard and grainy. Keep an eye on the baking time.
Be cautious with the amount of liquid. Too much can make the filling runny. Measure precisely for best results.
Do not skip chilling the pie. This step is vital for setting the texture. Chill for at least two hours before serving.

Credit: www.erynwhalenonline.com
Serving Suggestions
Serving Mississippi Mud Pie offers a wonderful chance to impress guests or enjoy a special treat. Thoughtful presentation and suitable drink pairings enhance the rich, chocolatey flavors. Small touches make each serving feel more inviting and delicious.
Presentation Ideas
- Serve slices on simple white plates to highlight the dark pie.
- Add a dollop of whipped cream on top for a creamy contrast.
- Sprinkle crushed nuts or chocolate shavings for texture and color.
- Use fresh berries like raspberries or strawberries for a tart balance.
- Drizzle caramel or chocolate sauce artistically over each slice.
- Chill the pie before serving to keep clean, sharp slices.
- Garnish with a mint leaf for a pop of green and freshness.
Pairing With Drinks
- A cold glass of milk complements the pie’s richness perfectly.
- Strong coffee or espresso cuts through the sweetness well.
- Hot chocolate creates a double chocolate indulgence experience.
- Sweet dessert wines like port or sherry enhance the flavors.
- A mild black tea offers a subtle contrast without overpowering.
- For adults, a dark stout beer adds deep, roasted notes.
- Chilled sparkling water refreshes the palate between bites.
Variations To Try
Mississippi Mud Pie is a rich and delicious dessert loved by many. It invites creativity with many ways to change its taste. Trying variations keeps the classic treat exciting and fresh. These ideas help you enjoy the pie in new, tasty ways.
Nutty Additions
Adding nuts gives the pie a crunchy texture and a nutty flavor. Use chopped pecans, walnuts, or almonds. Toasting the nuts before adding them brings out more aroma. Sprinkle nuts on top or mix them into the filling. This adds a nice contrast to the creamy chocolate.
Fruit Infusions
Fresh or dried fruits brighten up the rich chocolate taste. Chopped strawberries, raspberries, or cherries work well. Spread fruit pieces between layers or mix them in the batter. Dried fruits like cranberries or raisins add a chewy texture. These fruity touches add color and a bit of tartness.
Diet-friendly Options
For a lighter version, try sugar substitutes or less sugar. Use low-fat milk or cream instead of full-fat versions. Gluten-free crusts can make the pie suitable for more diets. Vegan options include coconut oil and plant-based cream. These changes keep the pie tasty but healthier.

Credit: food52.com
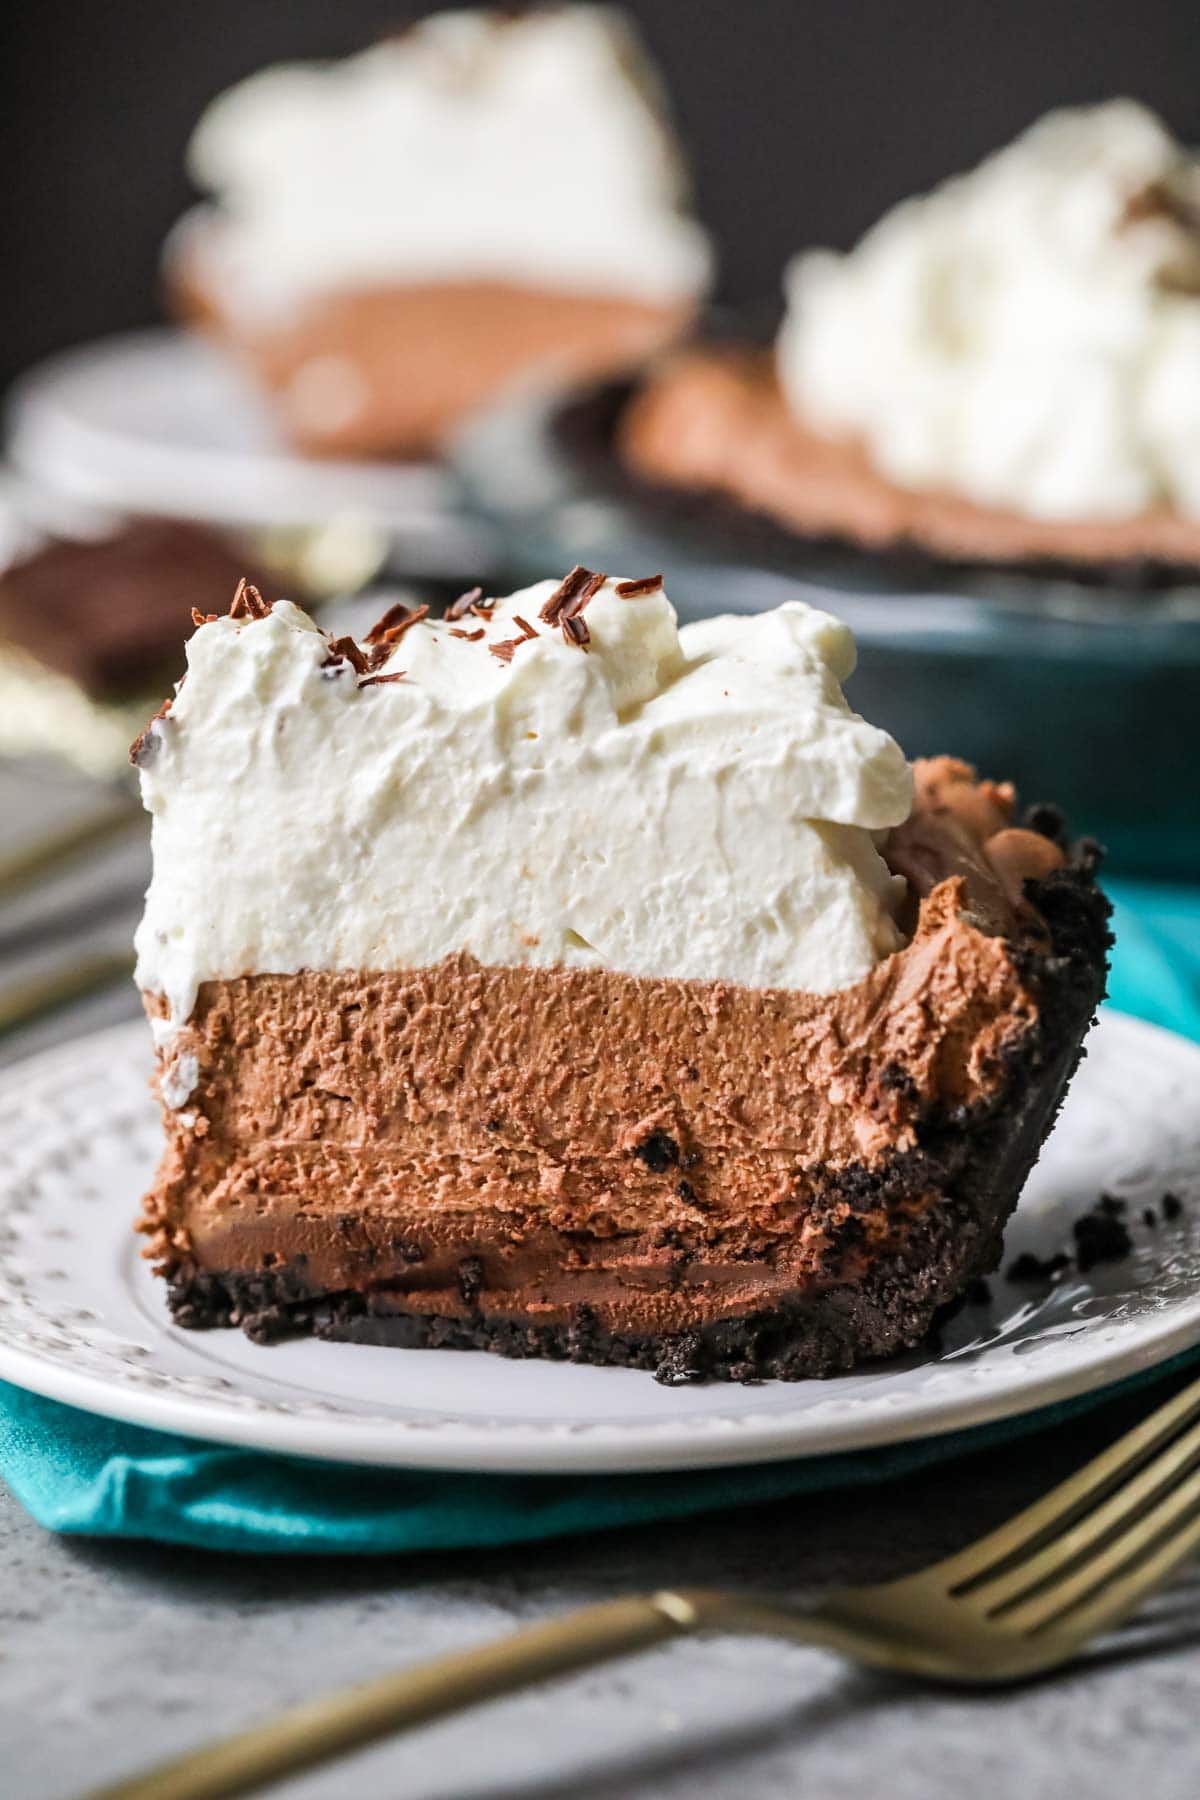
Credit: sugarspunrun.com
Frequently Asked Questions
What Ingredients Make Mississippi Mud Pie Easy?
Mississippi Mud Pie uses simple ingredients like chocolate, butter, sugar, eggs, and cream. These common pantry items make the recipe quick and accessible. Minimal preparation and no-bake steps add to its ease, perfect for beginner bakers and chocolate lovers wanting a rich dessert.
How Long Does It Take To Make Mississippi Mud Pie?
This easy recipe takes about 30 minutes to prepare and 2 hours to chill. No baking is needed, which saves time. Overall, it’s a quick dessert option that fits well into busy schedules or last-minute gatherings.
Can I Make Mississippi Mud Pie Ahead Of Time?
Yes, you can prepare Mississippi Mud Pie a day ahead. Chilling it overnight helps the flavors blend and the texture set perfectly. Store it covered in the refrigerator to keep it fresh and delicious for serving later.
Is Mississippi Mud Pie Gluten-free Or Adaptable?
Traditional Mississippi Mud Pie contains a crust made from cookies or graham crackers, which may have gluten. To make it gluten-free, use gluten-free cookies or a nut-based crust. This adaptation keeps the pie delicious and suitable for gluten-sensitive diets.
Conclusion
This Mississippi Mud Pie easy recipe brings joy to any table. Rich chocolate and creamy layers make it a favorite. You need only simple ingredients and little time. Perfect for family dinners or casual gatherings. Everyone will ask for seconds, guaranteed.
Try this recipe and enjoy a sweet treat today. Baking has never been so simple and delicious. Give it a go and taste the magic yourself.

Hi, I’m Daniel Brooks—a food lover and kitchen gear enthusiast. I enjoy testing cookware, utensils, and gadgets to see what really works in everyday cooking. At PlugChef.com, I share honest reviews, comparisons, and simple guides to help you choose the best tools for a safer, smarter, and more enjoyable kitchen.
Related posts:
 What Type of Cooking Utensils are Safe: Expert Picks
 What Innovations Could Blenders Make: Unleashing Future Tech
 Smart Strategies to Organize a Small Kitchen: Maximize Space
 How to Organize a Kitchen Cabinet: Expert Tips & Tricks
 How to Organize Kitchen Drawers: Expert Tips and Tricks
 How to Organize a Corner Kitchen Cupboard: Expert Tips

