How to Use Space above Kitchen Cabinets for Creative Storage Solutions
The narrow gap above kitchen cabinets is one of the easiest overlooked places to add usable storage, display, or functional systems. Whether your kitchen has a 4-inch reveal or a 12-inch soffit, thoughtful planning turns that dead zone into organized overflow for seasonal items, seldom-used cookware, decorative displays, or pantry overflow. This guide shows practical measurements, safety checks, DIY and renter-friendly installs, styling tips, and product examples so you can pick the right solution and avoid common mistakes.
Start with a quick plan: measure, weight, and access
- Measure twice. Record the vertical clearance between the cabinet crown and the ceiling, the depth of the cabinet tops, and the cabinet run length. Typical clearances are 2–12 inches; different solutions work at different heights.
- Determine what you’ll store. Light decorative items and empty baskets require very little support; glassware, heavy pots, or canned goods require stronger shelving and secure anchoring.
- Check access. Will you need a step stool or a rolling ladder? If items will be retrieved frequently, prioritize easy-access containers and lighter objects.
- Note obstacles: vent hoods, soffits, ducts, or crown molding affect installation choices and clearance for ventilation.
In practice, a common mistake is fitting heavy boxes or large quantities of canned food into shallow, unsupported shelves. If you plan to store weighty items, plan for rigid supports anchored to studs or use freestanding units designed for heavy loads.
Safety and durability considerations
- Load-bearing: cabinets are not designed to support external weight above them. If a shelf mounts into wall studs, it will be far stronger than one attached only to drywall or cabinet trim. Studs are typically 16 inches on center — check with a stud finder.
- Fire and heat: avoid storing flammable items (aerosols, paper products, certain oils) directly above ranges or cooking appliances. For safety guidance about kitchen fire risks and proper clearance, consult the National Fire Protection Association NFPA.
- Dust and pests: open storage attracts dust and, depending on your climate, occasional pests. Use sealed bins for food or seasonally rotated supplies and inspect annually.
- Building codes and homeowner associations: some custom alterations (permanent shelving, soffit changes) may require permits or HOA approval. For safe food handling and storage practices, local extension services provide reliable advice, such as at the University extension network extension.umn.edu.
Ideas by storage type — choose what fits your clearance
- Very shallow gaps (2–4 in): Use trim-mounted rails, low-profile hooks, or narrow decorative items. Magnetic knife bars or spice magnet sheets can live here if the depth allows.
- Shallow gaps (4–8 in): Pick flat baskets, narrow decorative boxes, plate racks laid on their sides, or a row of labeled jars for rarely used spices. Keep weight light.
- Moderate gaps (8–12 in): Add under-cabinet baskets, stackable shelf risers that sit on the cabinet top, or low-profile floating shelves anchored to studs.
- Deep gaps (>12 in or if you have a built-up soffit): Install full-width floating shelves, a shallow cabinet run (custom or prefabricated), or enclosed boxes with doors to hide clutter.
Examples of functional uses:
- Seasonal platters and holiday serving ware (in labeled cloth-covered boxes).
- Oversized cookbooks, decorative bowls, or vases.
- Extra napkins, paper goods, or multiplex pantry overflow in sealed containers.
- Display rotated collections (glassware, cookbooks) on a single shelf to avoid dust buildup.
Renter-friendly solutions (no drilling or reversible)
- Command-style hooks and strips for lightweight frames or thin rails. Use only on smooth, clean surfaces and follow the weight limits on the package.
- Freestanding baskets or decorative trunks sized to fit above cabinets — easy to slide in and out.
- Tension rods placed front-to-back can stop items from slipping; use in pairs for stability.
- Over-the-cabinet-door organizers hung on cabinet doors (if your cabinet architecture allows). These are temporary and removable.
A practical tip: in tight rental kitchens, use matching lidded bins so the area looks intentional and is easy to tuck away when moving.
Installing permanent or semi-permanent shelving — step-by-step
- Sketch the run with exact measurements: length, depth, and clearance.
- Mark stud locations with a stud finder and mark them on the wall behind the cabinets.
- Choose materials: 3/4" hardwood or plywood with a hardwood face is sturdy for shelving; MDF is fine for painted displays but heavier when loaded.
- Install cleats: screw a ledger or cleat into studs along the back wall and front into the cabinet face or into the adjacent cabinet end panels. Use screws long enough to penetrate studs (typically 2.5"–3.5" depending on trim).
- Place the shelf board on the cleats and fasten from the top into the cleat or use concealed brackets.
- Add trim to close gaps and paint or stain to match cabinetry.
Trade-offs: visible brackets and trim create a finished look but add labor and cost; a simple top-mounted shelf is faster but less refined.
Materials, tools, and approximate costs
- Materials: shelving boards (pine, birch ply, hardwood), L-brackets, cleats, screws, paint/stain, baskets or clear bins.
- Basic tools: measuring tape, pencil, stud finder, level, drill/driver, countersink bit, clamps.
- Typical cost bands: inexpensive solutions (bins, baskets, over-door organizers) $10–$40 per item; mid-range shelving kits or quality risers $30–$150; custom shelving and trim work can start around $150 and vary with materials and labor.
Styling and keeping it tidy
- Group by function: display items (decor), practical but infrequent (seasonal platters), and overflow pantry should each have a designated zone.
- Use uniform bins and labels for a cohesive look. Clear acrylic boxes are great for visibility; woven baskets hide contents but collect dust more.
- Limit display depth: leave a small reveal in front so dusting is easier and top-placed items aren’t bumped when opening doors.
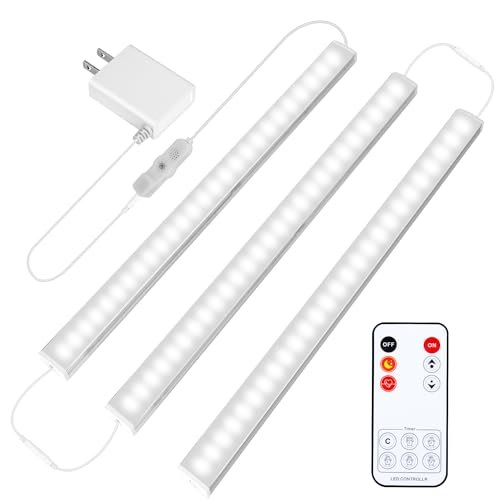
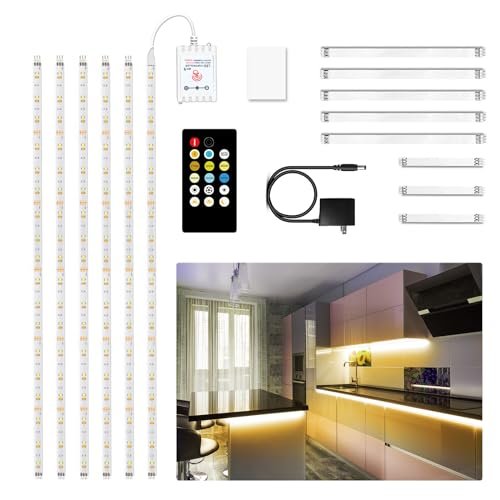
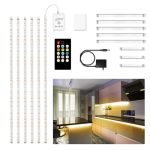
- Lighting: add battery LED puck lights or adhesive warm LED strips that are rated for kitchen use to avoid rewiring. They make the space look intentional and improve access.
In practice: rotate stored items seasonally and do a quick dust-and-inventory sweep twice a year to avoid forgotten, expired items.
Quick DIY projects you can do this weekend
- Under-shelf hanging baskets: clamp or screw a thin board across the cabinet tops and hang baskets underneath for napkins and linens.
- Vertical dividers: cut thin plywood dividers and mount them to the cabinet tops with half-lap joints or L-brackets to store baking sheets and cutting boards upright.
- Built-in box with doors: build a shallow box the full length of the cabinets, install small doors with concealed hinges, and paint to match cabinets for a seamless look.
Always pre-drill and use screw sizes appropriate for your materials; when in doubt, anchor into studs.
Recommended organizers and hardware (examples)
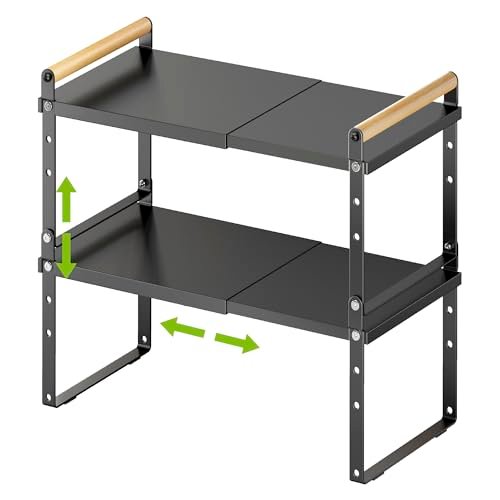
 Example: adjustable stackable shelf for spices and small items.
 Stainless steel adjustable rack for cookware and lids.
 Over-the-door organizer for cutting boards and baking sheets.
 Under-shelf hanging baskets for small pantry items.
 Bamboo stackable shelves for an eco-friendly look.
 Compact spice organizer for easy reach.
 Adhesive stick-on organizer for light storage.
 Stackable cabinet shelves to boost vertical capacity.
 Adhesive lid organizer to reclaim door space.
 Compact under-shelf basket for narrow gaps.
These examples show a range from temporary adhesive organizers to stackable shelving and under-shelf baskets. Match the product type to your clearance and weight needs.
Maintenance checklist
- Monthly: quick dust and wipe; check adhesive organizers for peeling or sagging.
- Twice-yearly: inspect load-bearing shelves for screw tightness and signs of sag; rotate stored food items and check expiration dates.
- Every 3–5 years: reassess usage. Kitchens change; convert display space to storage or vice versa as needs evolve.
Frequently asked questions
Q: Can I store food above cabinets? A: Yes, but use sealed containers and avoid humid or warm spots. Do not store perishable items there. For food-safety guidance specific to storage, consider recommendations from local extension services such as extension.umn.edu.
Q: Will adding shelves above cabinets damage my cabinets? A: Not if installed properly. Avoid applying heavy loads to cabinet trim alone; anchor shelves to studs or to a built, independent support. A common mistake is screwing only into thin trim, which can pull loose over time.
Q: How do I keep the look tidy? A: Use matching storage bins and label fronts, keep the number of decorative items small, and balance color/texture. Conceal messy overflow in baskets with lids.
Q: Are adhesive organizers reliable long-term? A: Adhesives work well for light items and smooth surfaces if installed per instructions and allowed proper cure time. They are not recommended for heavy loads or frequently moved objects.
Conclusion
Space above kitchen cabinets is flexible real estate: it can become stylish display, functional overflow, or hidden storage depending on your clearance, needs, and willingness to install semi-permanent supports. Plan carefully—measure, consider weight and safety, and pick renter-friendly or permanent solutions that match your lifestyle. Start small with a couple of labeled bins or a stackable shelf, test access and dusting habits, then scale up once you know what works.
Ready to reclaim that space? Measure your clearance and pick one low-effort solution to install this weekend — you’ll gain immediate storage and a more organized kitchen.
Tools checklist (what you'll likely need)
- Measuring tape, pencil, and level — for accurate layout.
- Stud finder and drill/driver — required for anchored shelves.
- 1/8" and 3/16" drill bits and countersink — for pilot holes and neat screw heads.
- 2–3 clamps — hold shelf boards while fastening.
- Screws: #8 or #10 wood screws, lengths 2.5"–3.5" to reach studs.
- Sandpaper, paint or stain, and caulk — for a finished look. Estimated time: simple bin-and-label setup (30–60 minutes); install a floating shelf across studs (2–4 hours); built-in boxed cabinet with doors (weekend project or longer).
When to call a pro
- You find wiring, ductwork, or plumbing in the soffit area when opening the wall.
- Your planned load is heavy (full canned goods, cast iron) and you need engineered supports.
- You want seamless built-ins matched to existing cabinetry and will require cut, paint, and hinge routing. A qualified carpenter or cabinetmaker will advise on structural fixes and build to match finish details.
Budget-friendly shopping list (starter)
- 2–3 uniform lidded bins (clear or woven) — $20–$60 total.
- One stackable shelf riser or under-shelf basket — $15–$50.
- Adhesive LED light strip (battery-powered) — $15–$40.
- Labels (waterproof) and a marker — $5–$15.
Final reminder on style vs. function Prioritize function first: if you’ll reach for an item weekly, make it easy to access. Use the topmost space for seasonal or decorative items. Achieve style cohesion with matching bins, a consistent color palette, and minimal visible clutter — that transforms "extra storage" into a polished design feature.
Next step (one concrete action) Measure the clearance above one cabinet run right now, and buy one stackable shelf or two matching lidded bins. Install them this weekend and evaluate access and dusting — you’ll quickly learn whether to expand the solution across the kitchen.
Ready to get started? Take that first measurement and reclaim usable space above your cabinets today.

I’m Abby Lu, a passionate home cook who loves simplifying everyday meals. At PlugChef.com, I share product reviews and cooking guides to help you find the best tools for your kitchen.
Similar Posts