
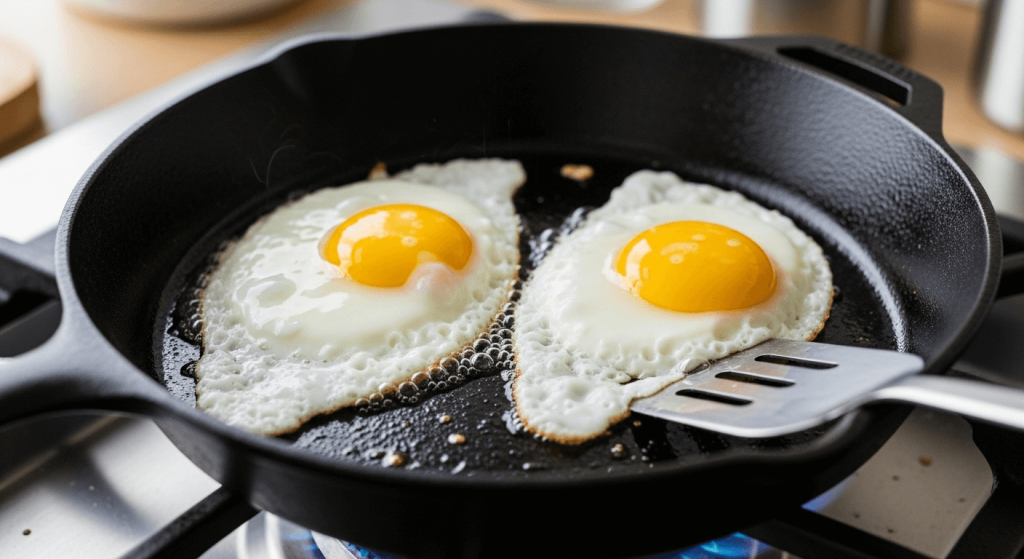
If you love cooking eggs, you’ve probably tried many pans, but have you ever cooked eggs on cast iron? Using a cast iron skillet can change the way your eggs taste and feel.
Imagine perfectly cooked eggs with a rich, golden edge and a soft center every time you cook. It’s easier than you think, and once you learn the simple tricks, your eggs will never be the same. Ready to discover how your cast iron skillet can make your breakfast better than ever?
Keep reading, and you’ll find out everything you need to know.
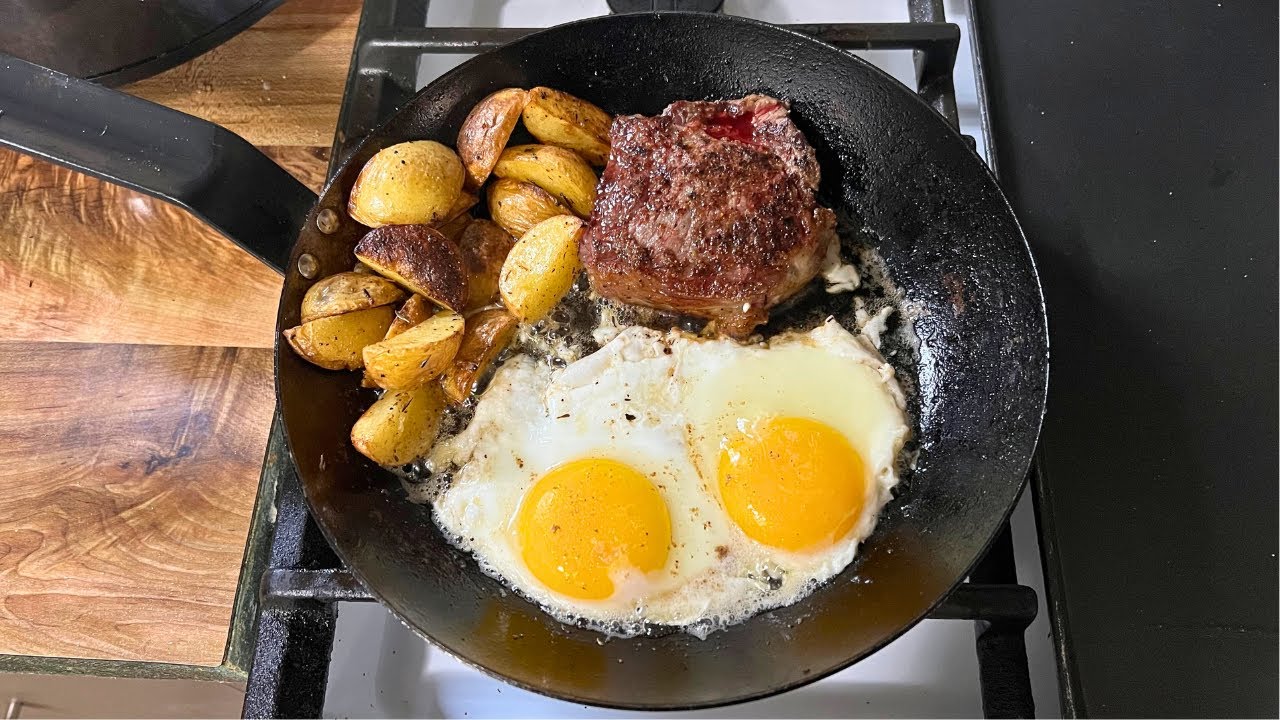
Credit: www.youtube.com
Choosing The Right Cast Iron Pan
Choosing the right cast iron pan is key for cooking perfect eggs. The right pan helps eggs cook evenly and makes flipping easy. It also affects how your eggs taste and look. Picking a pan that fits your needs improves your cooking experience. Two main points to consider are the pan’s size and shape, and how well it is seasoned and maintained.
Size And Shape Options
Cast iron pans come in many sizes and shapes. Smaller pans, around 8 inches, work well for one or two eggs. Larger pans, 10 to 12 inches, are better for cooking for a family or making omelets. The shape matters too. A pan with low sides makes flipping eggs easier. Deep pans hold more food but can be harder to flip eggs in.
- Small pans (8 inches) for quick, single servings
- Medium pans (10 inches) for most cooking needs
- Large pans (12 inches or more) for groups and big meals
- Low-sided pans for easy egg flipping
- Deeper pans for cooking more food at once
Seasoning And Maintenance Basics
Seasoning means coating your pan with oil and heating it. This creates a natural non-stick surface. A well-seasoned pan prevents eggs from sticking. It also protects the pan from rust. After cooking, clean the pan with warm water and a soft brush. Avoid soap or harsh scrubbers. Dry the pan fully and add a light layer of oil before storing. Regular care keeps your pan smooth and ready for perfect eggs every time.

Image: Cast Iron Pan
Shop Best Cast Iron Pan from Amazon
Preparing Your Pan For Cooking
Preparing your cast iron pan properly sets the stage for perfectly cooked eggs. A well-prepped pan prevents sticking and helps you achieve that ideal texture and flavor. Taking a few extra moments to clean and oil your pan will make your cooking experience smoother and more enjoyable.
Proper Cleaning Techniques
Start by rinsing your cast iron pan with warm water right after cooking. Avoid using soap, as it can strip away the seasoning that builds up over time. Instead, scrub gently with a non-abrasive sponge or brush to remove food residue.
If bits are stuck, sprinkle coarse salt into the pan and scrub with a paper towel or cloth—this acts like a natural abrasive without damaging the surface. Once clean, dry your pan thoroughly with a towel or by placing it on low heat for a minute to evaporate any remaining moisture. Moisture left behind can cause rust, which you definitely want to avoid.
Applying Oil For Non-stick Surface
After cleaning and drying, apply a thin layer of oil to your pan’s surface while it’s still warm. Use oils with a high smoke point like flaxseed, grapeseed, or vegetable oil for best results. Pour a small amount onto a paper towel and rub it evenly across the entire cooking surface, including the sides.
Too much oil can create sticky spots, so less is definitely more here. Heating the oiled pan on medium heat for a few minutes helps the oil bond to the metal, enhancing the non-stick surface. Have you noticed how a well-oiled pan transforms your eggs from a potential mess into a smooth, easy flip?
Selecting The Best Eggs
Choosing the right eggs can make a huge difference when cooking on a cast iron skillet. The texture, flavor, and how they interact with your pan all depend on the eggs you pick. Paying attention to freshness and the type of eggs can elevate your breakfast from ordinary to memorable.
Freshness And Quality Tips
Fresh eggs taste better and hold together nicely in a hot cast iron pan. To check freshness, place your egg in a bowl of water: if it sinks and lies flat, it’s fresh; if it stands upright or floats, it’s older and best avoided.
Buy eggs from trusted sources or local farms when possible. They tend to be fresher and have richer yolks. Also, look for eggs with clean, uncracked shells as damaged shells can let bacteria in and affect cooking quality.
Types Of Eggs To Use
Different eggs bring unique qualities to your skillet. Regular white or brown eggs are convenient and widely available. However, pasture-raised or organic eggs usually have a deeper flavor and more vibrant yolks that enhance your dish.
Consider trying duck or quail eggs for a richer taste and creamier texture. These eggs can be pricier but add a special touch to your cast iron eggs. Have you ever noticed how the yolk color can change the look of your plate? That’s the kind of detail that makes your meal stand out.
Cooking Techniques For Perfect Eggs
Cooking eggs in a cast iron skillet brings out rich flavors and perfect textures. Using the right techniques helps avoid sticking and ensures even cooking. Cast iron holds heat well, giving eggs a nice finish. Follow simple tips for frying, scrambling, or making omelets to get the best results every time.
Frying Eggs Without Sticking
Preheat the cast iron on medium heat for a few minutes. Add a small amount of oil or butter to coat the surface. Let the fat heat until it shimmers. Crack the eggs gently into the pan. Cook slowly to prevent sticking and tearing. Use a spatula to loosen edges before flipping or serving. Avoid high heat; it can burn the eggs and damage the pan’s seasoning.
Scrambled Eggs Tips
Beat eggs with a pinch of salt before cooking. Heat the skillet over low to medium heat and add butter. Pour the eggs in and let them sit without stirring for a few seconds. Stir gently with a spatula, moving eggs from edges to center. Cook slowly for soft, creamy curds. Remove from heat just before fully set, as eggs continue to cook off the pan.
Making Omelets In Cast Iron
Start with a well-seasoned and heated pan. Use butter or oil to coat the skillet evenly. Pour beaten eggs and tilt the pan to spread them out. Let the eggs cook undisturbed until the edges set. Add fillings like cheese, vegetables, or meat on one side. Fold the omelet carefully with a spatula. Cook briefly more to melt fillings, then slide onto a plate.
Common Mistakes To Avoid
Using too much heat can cause eggs to stick and burn on cast iron. Skipping proper seasoning or oiling often leads to sticking problems. Avoid cracking eggs directly on the pan to keep shells out of your food.
Cooking eggs on a cast iron skillet can be rewarding. But many make common mistakes that affect the results. Understanding these pitfalls will help you cook perfect eggs. Let’s explore some frequent errors and how to avoid them.
Overheating The Pan
Overheating a cast iron pan can burn eggs quickly. Cast iron retains heat well. Preheat the pan on low or medium heat. This prevents burning and sticking. A hot pan can make eggs rubbery. It is crucial to maintain moderate heat.
Skipping Seasoning Steps
Seasoning your cast iron is essential for non-stick cooking. Skipping this step can cause eggs to stick. Proper seasoning creates a natural non-stick layer. After cooking, clean and dry the pan well. Then apply a thin layer of oil. This keeps the pan seasoned and ready for the next use.

Credit: jawnsicooked.com
Cleaning And Caring After Cooking
Cleaning and caring for your cast iron skillet after cooking eggs helps keep it in great condition. Proper care prevents rust and keeps the surface smooth. This care also enhances the seasoning, making cooking easier each time.
Removing Residue Safely
Let the skillet cool slightly but clean it while still warm. Use a soft sponge or brush to remove stuck egg bits. Avoid soap or strong detergents that can damage the seasoning.
For tough residue, pour a little coarse salt into the pan. Scrub gently with a cloth or paper towel. Rinse with warm water and dry immediately with a towel.
Never soak your cast iron in water. It can cause rust and ruin the pan’s surface.
Re-seasoning Tips For Longevity
After cleaning, apply a thin layer of vegetable oil or melted shortening. Use a paper towel to spread it evenly over the entire skillet, inside and out.
Place the skillet upside down in an oven preheated to 375°F (190°C). Bake for one hour to strengthen the seasoning.
Let the pan cool in the oven before storing it. This process builds a strong, non-stick surface that lasts for years.
Enhancing Flavor With Cast Iron
Cooking eggs on cast iron does more than just prevent sticking—it actually boosts their flavor in ways you might not expect. The heat retention and even cooking surface of cast iron allow the eggs to develop a rich, golden crust that adds depth to every bite. Small choices in fats and seasonings can further elevate your eggs from simple to sensational.
Using Butter Vs Oil
Butter adds a creamy, slightly nutty taste that complements eggs perfectly. It also helps create a beautiful, golden-brown edge when heated just right in your cast iron skillet. On the other hand, oils like olive or avocado offer a cleaner, lighter flavor and higher smoke points, which can be better if you prefer cooking eggs at higher temperatures.
Try melting butter in your skillet first and watch how it foams before adding eggs—that’s when the magic happens. Have you noticed how eggs cooked in butter seem to have a richer mouthfeel? If you want a subtle flavor boost, butter is your go-to, but oil gives you versatility and a lighter finish.
Adding Herbs And Spices
Fresh herbs like chives, parsley, or thyme bring a burst of freshness that contrasts beautifully with the warm, rich taste of cast iron-cooked eggs. Sprinkle them on just before serving to keep their flavor bright and vibrant. Dried spices such as smoked paprika, black pepper, or even a pinch of cumin can add unexpected layers of flavor that wake up your taste buds.
I once added a dash of smoked paprika to my eggs cooked in cast iron and found it gave a subtle smoky hint without overpowering the natural egg flavor. What herbs or spices do you enjoy with your eggs? Experimenting with different combinations can turn a simple breakfast into a personalized flavor experience.
Frequently Asked Questions
How Do I Cook Eggs On A Cast Iron Skillet?
Preheat your cast iron skillet on medium-low heat. Add a small amount of oil or butter. Crack eggs gently and cook until whites set. Avoid high heat to prevent sticking. Season and serve immediately for best taste and texture.
What’s The Best Oil For Cooking Eggs On Cast Iron?
Use oils with high smoke points like avocado, canola, or vegetable oil. Butter adds flavor but burns faster. A well-seasoned cast iron pan also requires less oil. Using the right oil prevents sticking and ensures evenly cooked eggs.
How Do I Prevent Eggs From Sticking To Cast Iron?
Ensure your cast iron is well-seasoned and heated properly. Use enough oil or butter before adding eggs. Cook on medium-low heat to avoid sticking. Avoid moving eggs too soon; let them set first for easy release.
Can I Cook Scrambled Eggs In Cast Iron Pans?
Yes, scrambled eggs cook well in cast iron. Use medium-low heat and plenty of butter or oil. Stir gently and frequently to avoid sticking. The pan’s heat retention helps cook eggs evenly and maintain a creamy texture.
Conclusion
Cooking eggs on cast iron gives great flavor and texture. The pan heats evenly, helping eggs cook well. Remember to season your skillet for easy cooking. Use medium heat to avoid sticking or burning. With practice, your eggs will turn out perfect every time.
Simple steps bring delicious results. Give it a try and enjoy tasty, well-cooked eggs from your cast iron pan.

Hi, I’m Daniel Brooks—a food lover and kitchen gear enthusiast. I enjoy testing cookware, utensils, and gadgets to see what really works in everyday cooking. At PlugChef.com, I share honest reviews, comparisons, and simple guides to help you choose the best tools for a safer, smarter, and more enjoyable kitchen.
Related posts:
 What Type of Cooking Utensils are Safe: Expert Picks
 What Innovations Could Blenders Make: Unleashing Future Tech
 Smart Strategies to Organize a Small Kitchen: Maximize Space
 How to Organize a Kitchen Cabinet: Expert Tips & Tricks
 How to Organize Kitchen Drawers: Expert Tips and Tricks
 How to Organize a Corner Kitchen Cupboard: Expert Tips

