Under Counter Washer Dryer in Kitchen: Space-Saving Laundry Solutions Unveiled
Why Choose an Under-Counter Washer Dryer?
Modern kitchens often double as laundry zones, especially in apartments, tiny homes, or accessory dwelling units where a dedicated laundry room isn’t feasible. An under‑counter washer dryer fits beneath a standard countertop, preserving floor space while delivering full wash‑and‑dry cycles. In practice, homeowners report regaining up to 4 sq ft of usable kitchen area and eliminating the need to shuttle baskets between floors.
Beyond square footage, these units streamline routines. A single load can wash and dry without manual transfer, reducing handling time by roughly 30 % compared with separate appliances. For renters or those who move frequently, many models are ventless, meaning no external ductwork is required—just a power outlet and a drain connection.
How Under-Counter Units Fit Into Kitchen Design
Installing an under‑counter laundry pair requires careful measurement of cabinet height, depth, and clearance. Most models are 24 inches wide and sit between 33‑36 inches tall, matching standard base cabinet dimensions. Verify that the cabinet door or drawer can swing open without hitting the appliance; some designs use a toe‑kick cutout or a removable panel for access.
When planning placement, consider proximity to plumbing. A cold‑water inlet and a drain hose are essential; many ventless models include a built‑in pump that can push water up to a sink drain, offering flexibility if the nearest drain isn’t directly below. Electrical requirements typically call for a dedicated 120 V, 15‑amp circuit—check your panel capacity before purchase.
In practice, a common mistake is overlooking ventilation clearance at the rear. Even ventless units need a few inches of airspace for heat dissipation; blocking this space can trigger overheating alerts and lengthen cycle times.
Types: Ventless vs Vented Options
Ventless designs dominate the under‑counter market because they avoid the need for an exterior wall or roof penetration. Two main technologies exist:
- Condenser dryers – Air is heated, moisture condenses on a cool surface, and water is drained away.
- Heat‑pump dryers – Refrigerant cycles extract moisture more efficiently, using up to 50 % less energy than conventional condenser models.
Vented under‑counter units are rare but appear in some European imports; they require a 4‑inch duct to the outside, which often necessitates cabinet modification and may not satisfy building codes in multi‑unit dwellings.
Key Features to Consider
| Feature | Why It Matters | Typical Range |
|---|---|---|
| Drum capacity | Determines load size; 2‑3 cu ft handles 12‑15 lb loads suitable for couples or small families. | 2.0‑3.5 cu ft |
| Dimensions | Must fit under counter; verify height with countertop overhang. | 33‑36 in H × 24 in W × 24‑26 in D |
| Energy efficiency | ENERGY STAR‑certified models save on utility bills; look for the blue label. | Varies; heat‑pump dryers often exceed 3.0 CEF |
| Steam care | Reduces wrinkles, sanitizes fabrics, and helps with allergen removal. | Available on many mid‑tier models |
| Smart connectivity | Wi‑Fi enables remote start, cycle alerts, and usage tracking via apps. | Optional on premium units |
| Noise level | Important for open‑plan living; quieter models run below 48 dB during spin. | 42‑52 dB |
| Cycle variety | More cycles let you tailor washes to delicates, sportswear, or bulky items. | 6‑16 cycles |
When evaluating a unit, prioritize the features that match your laundry habits. For example, if you frequently wash baby clothes, steam care and a gentle cycle are worthwhile; if you aim to cut electricity bills, a heat‑pump dryer delivers the best long‑term savings.
Installation and Clearance Requirements
- Measure the cavity – Height, width, and depth must accommodate the appliance plus at least ½ inch clearance on each side for airflow.
- Check connections – Ensure a cold‑water line with shut‑off valve, a compatible drain hose (often ¾‑inch), and a grounded outlet within 6 feet.
- Level the unit – Use adjustable feet; an unlevel machine can cause excessive vibration and wear.
- Ventilation gap – Leave 2‑3 inches at the rear for condenser or heat‑pump exhaust; do not seal the back panel flush against the wall.
- Test run – Run a short wash cycle before loading laundry to verify drainage and that no leaks appear.
In practice, many homeowners hire a plumber for the water hookup and an electrician for the circuit, especially if the kitchen lacks a dedicated laundry outlet. The total installation cost typically ranges from $150‑$350 beyond the appliance price.
Maintenance and Longevity Tips
Regular upkeep extends the life of an under‑counter pair and maintains efficiency:
- Clean the lint filter after every drying cycle—ventless units collect lint in a condenser chamber that needs monthly rinsing.
- Wipe the door gasket weekly to prevent mold buildup; a mild vinegar solution works well.
- Descale the heat exchanger (if applicable) every 6‑12 months using a manufacturer‑approved solution.
- Inspect hoses annually for cracks or bulges; replace immediately if wear is spotted.
- Leave the door ajar when not in use to allow interior drying and reduce odors.
A common oversight is neglecting the drain pump filter; clogged pumps trigger error codes and can cause water to linger in the drum, leading to mildew.
Cost vs Benefit Analysis
| Aspect | Under‑Counter Unit | Traditional Side‑by‑Side |
|---|---|---|
| Up‑front cost | $800‑$1,600 (compact combo) | $1,200‑$2,500 (separate) |
| Installation | May need plumbing/electrical tweaks | Usually simpler if laundry room exists |
| Space saved | 3‑5 sq ft floor area | None (requires dedicated room) |
| Energy use | Comparable to full‑size when ENERGY STAR; heat‑pump models 20‑40 % lower | Varies; older top‑load washers less efficient |
| Resale impact | Attractive to buyers of small homes/rentals | Neutral unless laundry room is a selling point |
For households under 1,000 sq ft, the space savings often outweigh the modest premium in purchase price. Over a five‑year horizon, reduced utility bills from an ENERGY STAR heat‑pump dryer can recoup $200‑$400, depending on local rates.
Popular Models (2024‑2026 Overview)
| Model | Type | Capacity (cu ft) | Key Features | Approx. Price |
|---|---|---|---|---|
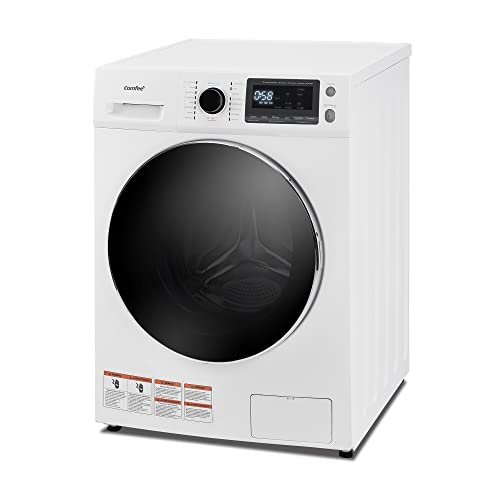
| COMFEE’ 24" Washer/Dryer Combo | Ventless condenser | 2.7 | Steam care, overnight dry, full‑automatic | $899 |
| Midea 24‑Inch Combo | Ventless condenser | 2.7 | 16 cycles, ventless, 1400 RPM spin | $949 |
| LG WKEX200HWA Compact 2‑in‑1 | Ventless heat‑pump | 2.3 | Wi‑Fi, Turbosteam, Energy Star, wrinkle‑free | $1,299 |
| GE Profile PFQ97HSPSS | Ventless heat‑pump | 2.5 | UltraFresh vent system, sanitize cycle, smart diagnostics | $1,399 |
| Bosch Serie 6 WAK24268IN | Ventless condenser | 2.4 | EcoSilence drive, varioPerfect, anti‑vibration sidewall | $1,129 |
All dimensions are roughly 24 in wide; verify exact height with your cabinet clearance.
When selecting, measure your cabinet interior first, then compare the model’s spec sheet. If you anticipate heavy loads (e.g., bedding), opt for the larger 3.0 cu ft units, though they may require a taller cabinet or a custom toe‑kick cutout.
Frequently Asked Questions
What Are The Benefits Of An Under Counter Washer Dryer?
An under‑counter washer dryer saves floor space, integrates with kitchen cabinetry, and eliminates the need for a separate laundry room. It offers convenience for small homes, apartments, or accessory dwelling units while providing full wash‑and‑dry cycles in one footprint.
How Does A Ventless Washer Dryer Work?
Ventless models use either a condenser or a heat‑pump system to remove moisture. Air is heated, moisture is captured on a cool surface or via refrigerant cycles, and the water is drained through a hose. No external duct is required, making installation simpler in tight spaces.
Is Steam Care Important In Washer Dryers?
Steam care penetrates fabrics to loosen stains, reduce wrinkles, and sanitize items by killing bacteria and allergens. It is especially beneficial for delicates, baby clothes, and households with sensitivities, though it adds modest cycle time and energy use.
Can I Use A Washer Dryer In An RV?
Many portable washer dryer combos are designed for RV use. They are compact, ventless, and operate on standard 120 V power with a sink‑compatible drain. Always verify the vehicle’s weight limits and water tank capacity before installation.
How To Protect My Washer Dryer Countertop?
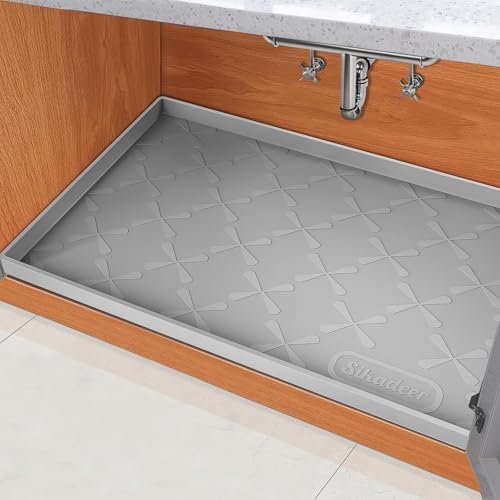
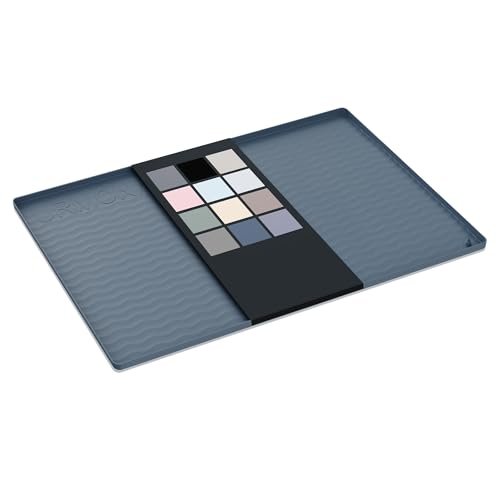
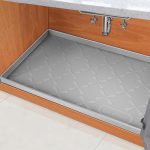
Place a silicone or rubber protector mat beneath the unit to guard against scratches, spills, and vibration. Mats with a non‑slip surface keep the appliance steady during spin cycles and are easy to clean with mild soap.
Conclusion
Choosing an under‑counter washer dryer for your kitchen transforms unused cabinet space into a functional laundry zone. By measuring carefully, selecting a ventless or heat‑pump model that matches your capacity and feature needs, and following proper installation and maintenance steps, you gain both convenience and valuable square footage. Modern options from brands like COMFEE’, Midea, LG, GE, and Bosch offer ENERGY STAR ratings, steam care, and smart controls, ensuring that even compact kitchens can enjoy efficient, quiet, and effective laundry performance. Before purchasing, confirm your cabinet dimensions and utility connections to avoid costly modifications later.
Take the next step by sketching your cabinet layout, noting water and drain locations, and then comparing the specs of the models listed above. With the right fit, your kitchen will gain a seamless laundry solution that keeps your living space tidy and efficient.
Installation Checklist
Before you bring the unit home, verify the rough opening measures at least 24 in wide, 33‑36 in high, and 24‑26 in deep; subtract a half‑inch clearance on each side for airflow. Shut off the cold‑water line and attach a flexible hose with a ¾‑inch fitting to the inlet valve, then route the drain hose to a standpipe or sink tailpiece that can handle a pump‑out flow. Confirm the receptacle is a dedicated 120 V, 15‑amp circuit—most combos draw under 12 amps, but check the nameplate rating. For added peace of mind while you work, keep a basic first aid kit handy (vintage military aid set) in case of minor scrapes.
- Measure the cavity twice; note any protruding pipes or wiring.
- Level the appliance using the adjustable feet; a bubble level ensures <0.5° tilt.
- Leave a 2‑3 inch gap at the rear for condenser or heat‑pump exhaust.
- Run a short test cycle with no laundry to verify drainage and leak‑free connections.
Further Resources
If you need guidance on water‑proofing the cabinet base, explore sealing techniques that protect against occasional splashes (marine kit contents list). For tips on organizing laundry supplies in tight spaces, look at compact storage ideas that pair well with under‑counter units (empty kit container). When planning electrical upgrades, consult load‑calculation worksheets to avoid overloading circuits (DOT vehicle kit rules). Should you encounter a minor leak, quick‑fix tape can buy time until a permanent repair (angler safety kit). Finally, consider a routine maintenance schedule that includes monthly lint‑filter cleaning and quarterly hose inspections.
References
For official efficiency standards, see the ENERGY STAR appliance program (energy star). To understand ventless drying technology, review the U.S. Department of Energy’s overview of heat‑pump dryers (doe heat pump).

Hi, I’m Daniel Brooks—a food lover and kitchen gear enthusiast. I enjoy testing cookware, utensils, and gadgets to see what really works in everyday cooking. At PlugChef.com, I share honest reviews, comparisons, and simple guides to help you choose the best tools for a safer, smarter, and more enjoyable kitchen.
Similar Posts