
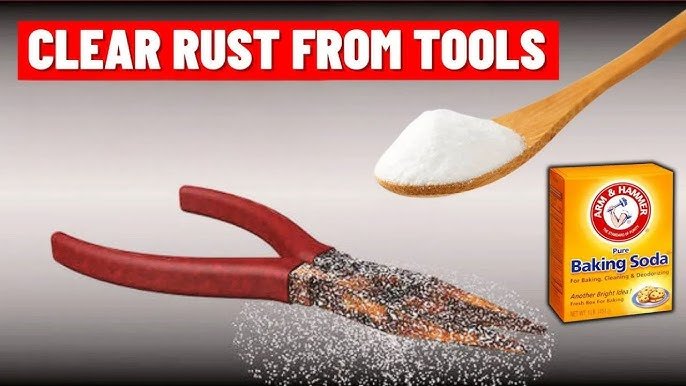
Are you tired of seeing your trusted tools lose their shine and efficiency due to rust? It’s frustrating to watch them deteriorate, knowing you spent hard-earned money on them.
But what if there was a simple, effective solution that you probably already have in your kitchen? Imagine restoring your tools to their former glory with something as basic as baking soda. You’re about to discover a game-changing method that will save you money, time, and effort.
No need for expensive rust removers or harsh chemicals. With this easy technique, you can transform your rusty tools and extend their life. So, are you ready to breathe new life into your old tools? Let’s dive into the step-by-step process that will have you wondering why you didn’t try this sooner.
Materials Needed
Gather baking soda, water, a small brush, and a cloth to remove rust from tools effectively. Mix soda with water, apply with a brush, and scrub gently. Wipe clean with a cloth for refreshed tools.
When it comes to removing rust from your tools, having the right materials on hand is crucial. Baking soda is a fantastic household item that can help you restore your tools to their former glory. It’s affordable, readily available, and most importantly, effective. Before you dive into the process, gather the necessary materials to ensure a smooth and efficient rust-removal journey.Gathering Basic Supplies
First, let’s talk about the essentials you’ll need. Baking soda is your primary rust-removal agent. Make sure you have enough to cover the rusted areas of your tools. You’ll also need water to mix with the baking soda, forming a paste. The paste should be thick enough to stick to the tools. A small bowl will be handy to mix your baking soda paste. An old or disposable bowl works best since it might get a bit messy. Cleaning brushes are useful for scrubbing the rust off. An old toothbrush or a small wire brush can work wonders in reaching those tricky spots. Protective gloves are a must to protect your hands from any sharp edges and to keep them clean during the process. Finally, keep some rags or paper towels nearby. They’ll help you wipe away the rust residue and dry the tools after cleaning.Choosing The Right Tools
Not all tools are created equal, and neither are rust-removal techniques. Identify which tools require immediate attention. Are your pliers rusted or is it your favorite wrench? For smaller, delicate tools like screwdrivers, use a toothbrush for gentle scrubbing. It’s effective without being too harsh. Larger tools with extensive rust might need a sturdier brush. A wire brush can help remove stubborn rust spots. Think about where you’ll be working. A well-ventilated area is ideal, especially if your tools are heavily rusted. The residue can be quite dusty. Consider setting up an old towel or newspaper to catch any debris. It saves time on cleanup and keeps your workspace tidy. Do you have any tools with wooden handles? Be cautious when applying the paste to avoid soaking the wood. Excess moisture can damage it. By selecting the right tools and preparing adequately, you can make the rust removal process both efficient and satisfying. Have you ever wondered how satisfying it is to see your tools shine like new again? With the right materials, you’re just steps away from experiencing that satisfaction.:max_bytes(150000):strip_icc()/homemade-rust-remover-recipes-1387936_FINAL-6c6543826627420ba5152b7ad0ea67c7.png)
Credit: www.thespruce.com
Preparing The Tools
Before using baking soda to remove rust, prepare the tools properly. Proper preparation ensures effective rust removal. Follow these simple steps for optimal results.
Initial Cleaning Steps
Start by wiping down the tools with a dry cloth. This removes loose dirt and debris. Use a wire brush for stubborn grime. Focus on areas with visible rust. Clean tools thoroughly before moving to the next step.
Assessing The Rust Level
After cleaning, examine the rust severity on each tool. Light rust appears as a thin layer. Deep rust shows pitting and damage. Knowing the rust level helps tailor the treatment process. For heavy rust, more baking soda may be needed.
Identifying rust levels ensures the best care for your tools. This step guides the baking soda application and soaking time. Proper assessment prevents overuse of resources.
Creating The Baking Soda Paste
Creating the perfect baking soda paste is an essential step in your quest to banish rust from your tools. You might wonder why baking soda? This humble kitchen staple is surprisingly effective at tackling rust due to its mild abrasiveness and alkaline nature. Whether you’ve stumbled upon a rusty wrench or want to restore your garden shears, crafting a baking soda paste can be a simple yet powerful solution.
Mixing Ingredients
Start by gathering your materials. You’ll need baking soda, water, and a mixing bowl. You might have these ingredients sitting in your kitchen pantry right now. Place a few tablespoons of baking soda into the bowl. This amount can vary based on the size and number of tools you plan to treat.
Next, slowly add water to the baking soda, stirring as you go. Use a spoon or a spatula for this task. It’s easy to underestimate the power of patience here; adding water gradually ensures the paste doesn’t become too runny. It’s the secret ingredient to achieving the perfect paste.
Achieving The Right Consistency
Getting the consistency right is crucial. Your paste should resemble thick toothpaste—easy to spread but firm enough to stay put. If it’s too watery, add a little more baking soda. If it’s too thick, a few more drops of water will do the trick.
Remember, the paste needs to cling onto the tool’s surface, allowing the baking soda to work its magic on the rust. Have you ever tried spreading peanut butter on bread? You don’t want it sliding off, right? It’s the same principle with the paste.
Once you’ve achieved the ideal consistency, you’re ready to apply it to your rust-covered tools. Imagine the satisfaction of seeing your tools gleam like new again. Are you excited to see the transformation? You should be, because with just a little effort, you’re about to witness a remarkable change.
Applying The Paste
Spread the baking soda paste onto the rusty tool. Cover all rusty areas. Let it sit for 30 minutes.
Applying the paste is a crucial step in removing rust from your tools using baking soda. This simple yet effective method allows you to tackle even stubborn rust spots. You might be surprised at how easy it is to transform your rusty tools into gleaming, like-new items. Consider this: have you ever wondered if there’s a secret ingredient hidden in your pantry that can save your favorite screwdriver or wrench? Baking soda might just be that magic solution.Covering Rusted Areas
Start by mixing baking soda with a bit of water to create a thick paste. Think of it as creating a spreadable mixture that clings to the rust, ready to work its magic. Apply the paste generously over the rusted areas of your tool. Don’t be shy; the more coverage, the better. You want the paste to fully envelop the rusted spots.Ensuring Even Application
Use a brush or an old toothbrush for applying the paste evenly. This ensures that every inch of rust is covered. You don’t want to leave any part untouched; rust can be persistent and will hide in crevices. Have you ever tried painting a wall and noticed streaks from uneven application? The same principle applies here: the more even the coverage, the more effective the rust removal. Remember, your tools deserve the same care you would give to anything valuable. With precision and patience, you’ll see the transformation. These steps might seem simple, but they can make a significant difference. Have you ever thought about how small actions can lead to big results? Your tools will thank you, and you’ll appreciate the outcome.Letting The Paste Sit
Apply a paste of baking soda and water to rusty areas. Let it sit for an hour. This softens the rust, making it easier to scrub away.
Removing rust from tools with baking soda is a simple yet effective method that can save your cherished items from the trash pile. A crucial step in this process is letting the baking soda paste sit on the rusted areas. This waiting period is when the magic happens, as the paste works to break down and loosen the rust particles. But how long should you let it sit? What should you be looking for during this time? Let’s dive deeper into these questions.Optimal Duration
The optimal duration for letting the baking soda paste sit is typically around 15 to 30 minutes. This timeframe allows the paste to penetrate the rust without drying out completely. If the rust is particularly stubborn, you might consider extending this period slightly. However, be cautious; leaving the paste on for too long may dry it out, reducing its effectiveness. Have you tried leaving it on longer? Did you notice any difference?Checking Progress
While the paste is sitting, take a moment to check its progress. Every 10 minutes or so, gently scrape a small section to see if the rust is loosening. This helps you gauge whether the paste is doing its job effectively. If you notice the rust coming off easily, it might be time to start scrubbing. However, if it’s still stubborn, give it a few more minutes. Feel free to adjust the timing based on your observations. Have you ever been surprised by how quickly or slowly it worked? The key is to stay engaged with the process and be flexible with your approach. Removing rust can be a satisfying experience when you see your tools transform right before your eyes. What will you do with your newly restored tools once they’re free of rust?Scrubbing Away Rust
After applying baking soda to your rusty tools, it’s time to scrub. This step is crucial for removing rust. It ensures your tools regain their shine and functionality. Use the right tools and techniques to make the process effective.
Using A Scrub Brush
Choose a scrub brush with stiff bristles. It should not damage your tools. Gently scrub the rusted areas with the brush. Use circular motions for better results. Pay attention to corners and crevices. These spots often hide rust. Keep scrubbing until rust flakes off.
Rinsing And Wiping
After scrubbing, rinse the tools with clean water. This helps remove leftover baking soda and rust particles. Use a clean cloth to wipe the tools dry. Ensure no moisture remains. Moisture can lead to more rust. Your tools should now appear cleaner and rust-free.
Drying And Storing Tools
After you remove rust from your tools using baking soda, drying and storing them properly is essential. Ensuring tools are moisture-free prevents rust from coming back. Proper storage can extend the life of your tools.
Proper Drying Techniques
After cleaning, rinse your tools with clean water. Use a clean, dry cloth to wipe them. Ensure every part is dry. Pay extra attention to joints and crevices. You can use a hairdryer on low heat for faster drying. Air drying in a warm, dry place is also effective. Avoid leaving them in damp areas.
Storage Tips To Prevent Future Rust
Store tools in a dry, cool place. Use a toolbox or a wall rack. Ensure they are off the ground. Consider silica gel packets for extra moisture protection. Regularly check and oil metal parts. A light coat of oil can prevent rust. Keep your storage area clean and organized. This makes it easy to spot any issues early.
Alternative Methods
Rust can damage your favorite tools, but you can fix it. Baking soda is popular for removing rust, but there are other ways. These alternative methods offer effective solutions using common household items.
Using Vinegar And Baking Soda
Vinegar is a powerful rust remover. Mix it with baking soda for a stronger solution. First, soak the rusty tool in vinegar for a few hours. This softens the rust. Then, sprinkle baking soda on the tool. The mixture foams, loosening rust further. Scrub with a brush to remove remaining rust. Rinse the tool with water and dry it thoroughly.
Lemon Juice Options
Lemon juice works well for rust removal. It contains citric acid, which dissolves rust. Use it with salt for better results. Sprinkle salt on the rusty area. Pour lemon juice over the salt. Let it sit for a few hours. The acid breaks down the rust. Scrub the tool with a brush. Rinse with water and dry completely. Lemon juice is a natural choice with a fresh scent.
Maintaining Rust-free Tools
Cleaning tools with baking soda is simple. Mix baking soda with water to form a paste. Apply it to the rusty area and let it sit. Scrub gently with a brush, then rinse and dry. Rust vanishes, leaving tools looking fresh.
Easy maintenance for long-lasting tools.
Keeping your tools rust-free is essential for their longevity and effectiveness. Rust can deteriorate metal, making your tools less reliable and more prone to breaking. Regular maintenance ensures your tools remain in excellent working condition. It might seem like a chore, but maintaining rust-free tools is simpler than you think.Regular Maintenance Practices
Regularly cleaning your tools can drastically reduce the chances of rust forming. After each use, wipe them down with a dry cloth to remove any moisture or debris. Occasionally, give your tools a thorough scrub with a mixture of baking soda and water. It’s a quick and effective way to keep them shining. Just remember to dry them thoroughly afterward. Storing your tools in a dry place is crucial. Consider using silica gel packets or a dehumidifier in your tool storage area to keep moisture at bay.Protective Coatings
Applying a protective coating can be a game-changer for rust prevention. You can use simple solutions like mineral oil or specialized rust-preventive sprays. A light coating after cleaning will act as a barrier between your tools and the elements. It’s like giving your tools a shield against rust. Have you ever accidentally left your tools outside, only to find them covered in rust? Protective coatings can save you from that headache. Next time, a quick wipe with oil could save you hours of scrubbing later. Taking these small steps can save you time and money in the long run. Would you rather spend a few minutes now or hours scrubbing away rust later? The choice is yours.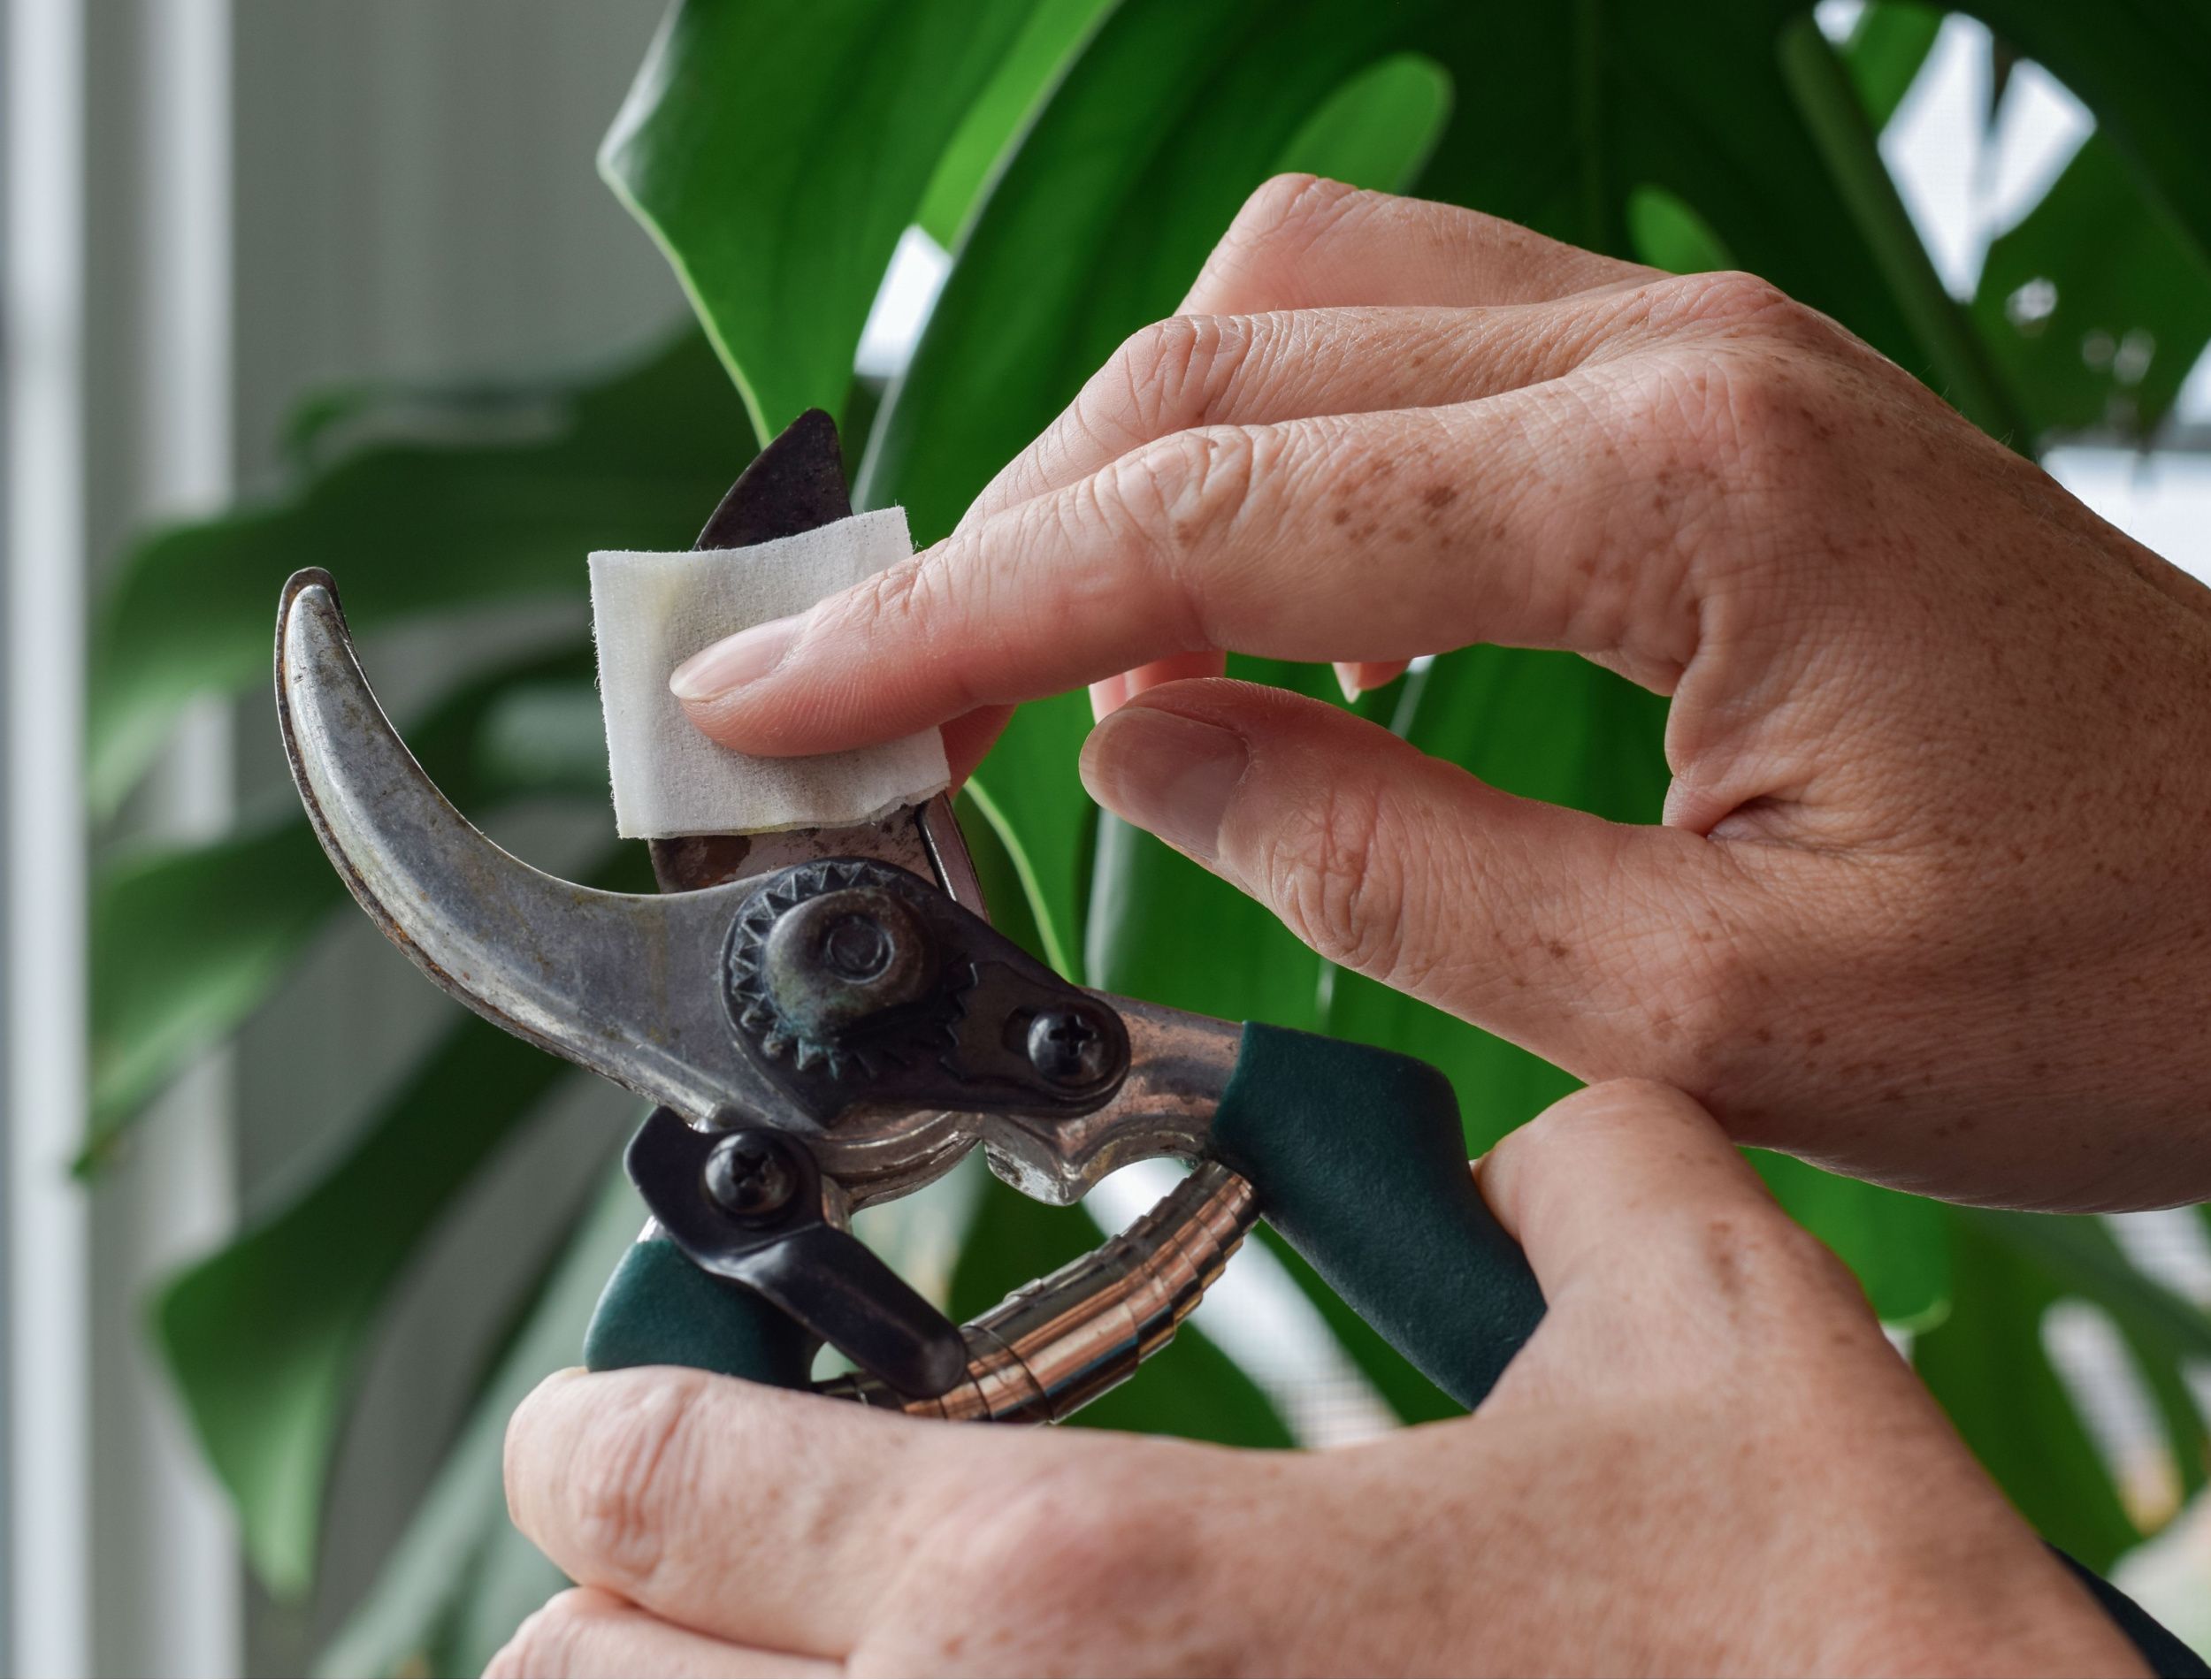
Credit: www.backyardboss.net

Credit: www.instructables.com
Frequently Asked Questions
Is Vinegar Or Baking Soda Better For Rust?
Vinegar works better for rust removal. Its acetic acid effectively dissolves rust. Baking soda is milder and better for light rust. For tough rust, soak the item in vinegar, then scrub.
Does Baking Soda Remove Rust From Tools?
Yes, baking soda can remove rust from tools. Make a paste with water and baking soda. Apply it to the rusted area. Let it sit for a few minutes. Gently scrub with a brush or steel wool. Rinse and dry the tool thoroughly for effective results.
What Is The Best Homemade Rust Remover?
Mix white vinegar and baking soda to create an effective rust remover. Apply the paste to rusty areas and scrub. This homemade solution is affordable and environmentally friendly. Let the mixture sit for a few minutes before rinsing for best results.
How Long To Leave Baking Soda To Remove Rust?
Leave baking soda on rust for 15-20 minutes. Scrub with a brush to remove rust effectively. Rinse thoroughly after scrubbing to ensure all residue is gone. Repeat if necessary for stubborn rust spots. Baking soda is a natural, safe option for rust removal.
Conclusion
Removing rust with baking soda is simple and effective. Gather your tools and supplies first. Mix baking soda with water to form a paste. Apply the paste to the rusty areas on the tools. Let it sit for a while.
Scrub gently using a brush or cloth. Rinse with water and dry thoroughly. Your tools will look cleaner and last longer. This easy method saves time and money. Regular maintenance prevents future rust. Keep your tools in good condition. Try this method and enjoy rust-free tools.

I’m Abby Lu, a passionate home cook who loves simplifying everyday meals. At PlugChef.com, I share product reviews and cooking guides to help you find the best tools for your kitchen.
Related posts:
 What Type of Cooking Utensils are Safe: Expert Picks
 What Innovations Could Blenders Make: Unleashing Future Tech
 Smart Strategies to Organize a Small Kitchen: Maximize Space
 How to Organize a Kitchen Cabinet: Expert Tips & Tricks
 How to Organize Kitchen Drawers: Expert Tips and Tricks
 How to Organize a Corner Kitchen Cupboard: Expert Tips

