
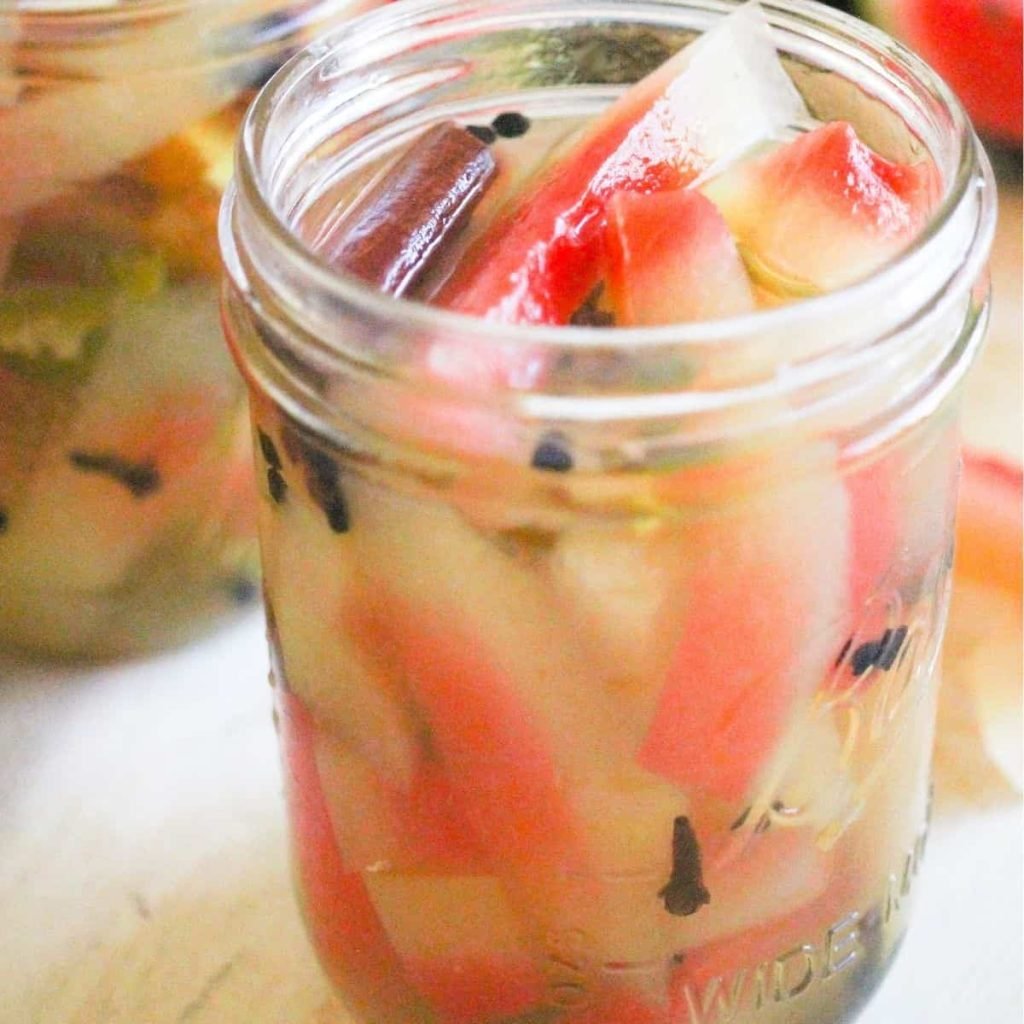
Are you looking for a fun and tasty way to use every part of your watermelon? Sweet pickled watermelon rind is a surprising treat that turns what many consider scraps into a delicious snack.
This recipe is simple, refreshing, and perfect for adding a unique twist to your kitchen. Keep reading, and you’ll discover how easy it is to make sweet pickled watermelon rind that will impress your friends and satisfy your sweet tooth.
Ready to try something new and exciting? Let’s dive in!
Credit: kouzounaskitchen.com
Ingredients Needed
Gathering the right ingredients is key to making sweet pickled watermelon rind that bursts with flavor. Each component plays a specific role, balancing sweetness, tanginess, and spice to transform what many consider waste into a delightful treat. Let’s look closely at what you’ll need to bring this recipe to life.
Fresh Watermelon Rind
The star of this recipe is the fresh watermelon rind. Choose a watermelon that’s ripe and juicy; the rind should be firm and thick enough to hold its shape after pickling.
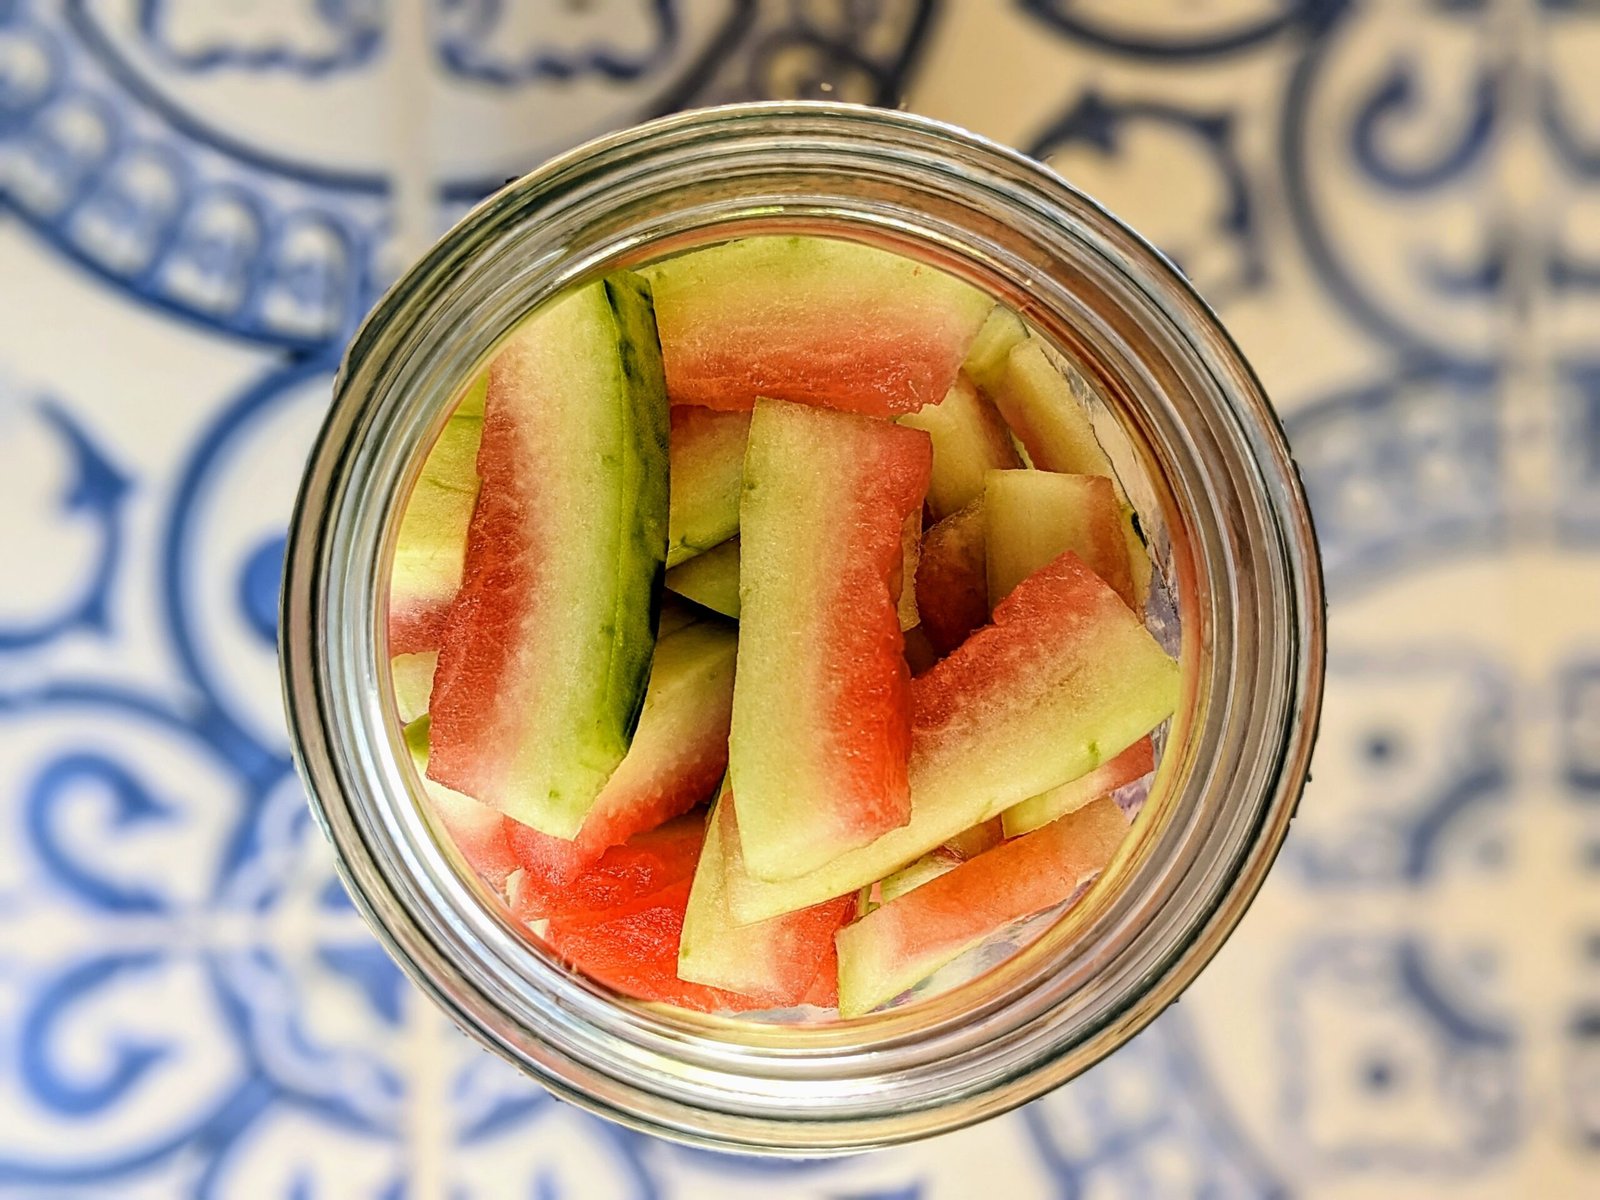
Peel off the green outer skin, leaving just the white part and a hint of the pink flesh. This white layer absorbs the sweet and tangy flavors beautifully and stays crisp after pickling.
Sugar And Vinegar
Sugar and vinegar create the perfect balance between sweet and sour in your pickled watermelon rind. Use granulated sugar for a clean, sweet taste that complements the natural mildness of the rind.
Apple cider vinegar or white vinegar works well for acidity. They provide the tang needed to preserve the rind and add brightness to every bite. Adjusting the sugar-to-vinegar ratio lets you control how sweet or tart your pickles become.
Spices And Flavorings
Spices give your pickled watermelon rind its distinctive kick. Common choices include cinnamon sticks, cloves, and allspice berries, which add warmth and depth.
Don’t overlook a pinch of salt to balance flavors and enhance sweetness. Some people like to add ginger slices or a few peppercorns for a subtle zing, making the jar more interesting with every taste.
Credit: bestcleaneating.com
Preparing The Watermelon Rind
Preparing the watermelon rind is the first key step in making sweet pickled watermelon rind. The rind must be clean and properly cut to absorb the pickling flavors well. Proper preparation ensures the rind becomes tender and tasty after pickling.
Peeling And Cutting Techniques
Start by cutting the watermelon into manageable sections. Use a sharp knife to separate the rind from the red flesh. Cut the rind into small, even pieces to ensure uniform pickling. Consistent size helps the rind absorb syrup evenly.
Removing The Green Skin
The green outer skin is tough and bitter. Remove it carefully with a vegetable peeler or knife. Only the white part of the rind should remain for pickling. This part soaks up the sweet and spicy flavors best.
Soaking The Rind
After cutting, soak the rind pieces in cold water. This step helps to remove any leftover bitterness. Soak for at least a few hours or overnight in the fridge. Change the water once or twice to keep it fresh.
Making The Pickling Syrup
Combine sugar, vinegar, and water in a pot to create the sweet pickling syrup. Heat gently until sugar dissolves completely. This simple syrup forms the base for flavorful pickled watermelon rind.
Making the pickling syrup is a key step in sweet pickled watermelon rind. It determines the overall flavor. A good syrup is both sweet and tangy. This balance is crucial for a delicious taste. Let’s dive into the essentials of creating the perfect syrup.Balancing Sweet And Tangy
Striking the right balance is essential. Use equal parts sugar and vinegar. This combination provides sweetness and a tangy kick. Adjust sugar to suit your taste preference. Too much sugar can overpower the tanginess. Keep tasting as you go.Choosing The Right Vinegar
Vinegar choice impacts the syrup’s flavor. Apple cider vinegar is a great option. It adds a mild sweetness. White vinegar offers a sharper taste. Choose based on your flavor preference. Experiment with different kinds for variety.Adding Spices For Flavor
Spices elevate the syrup’s complexity. Cinnamon sticks and cloves are popular choices. They add warmth and depth to the syrup. Consider mustard seeds for an extra kick. Use whole spices for a subtle infusion. Adjust the spices to your liking.Pickling Process
The pickling process transforms ordinary watermelon rind into a delightful sweet treat with a perfect balance of tangy and sugary flavors. It’s a simple, hands-on method that anyone can try at home, even if you’re new to pickling. Understanding each step helps you control the taste and texture, making sure your pickled watermelon rind turns out just right.
Combining Rind And Syrup
Start by cutting the watermelon rind into small, bite-sized pieces. You want to remove the outer green skin but keep some of the white part for crunch. Next, prepare the syrup by mixing sugar, vinegar, and spices like cinnamon or cloves in a bowl.
Pour the syrup over the rind pieces in a large container. Stir everything gently to coat the rind evenly. This step is crucial because the rind needs to soak up the flavors before cooking.
Cooking And Simmering
Transfer the rind and syrup mixture to a pot and bring it to a boil. Once boiling, reduce the heat and let it simmer gently. This allows the rind to soften while absorbing the syrup’s sweetness and tang.
Keep an eye on the pot and stir occasionally to prevent sticking. You’ll notice the syrup thickens and the rind turns translucent — signs that your pickles are coming to life. How long you simmer affects the texture, so taste as you go to find your favorite consistency.
Cooling And Storing
After simmering, remove the pot from the heat and let it cool completely. Cooling helps the flavors meld together and the syrup to thicken further. Don’t rush this step; patience pays off with richer taste.
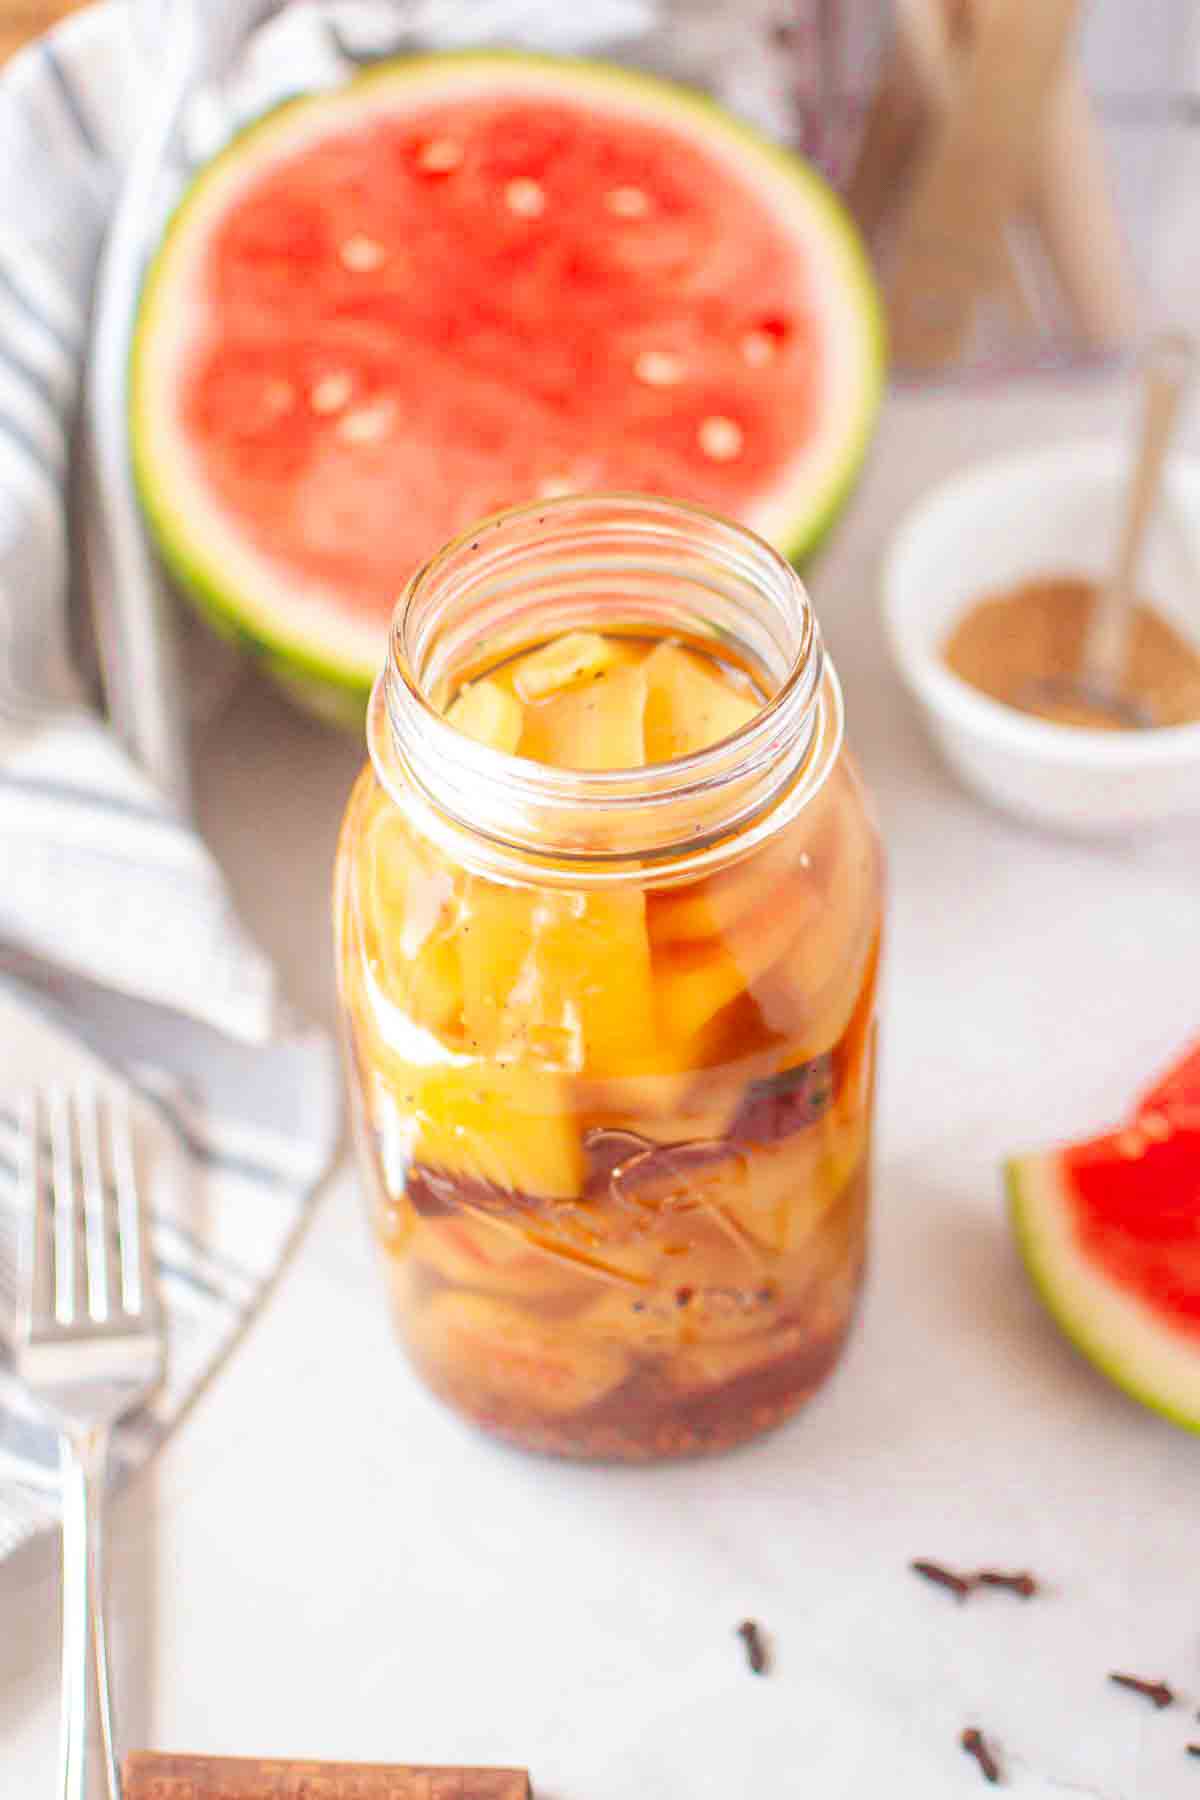
Once cool, transfer your pickled watermelon rind into clean jars. Store them in the fridge where they will keep for several weeks. Have you tried tasting your pickles after a day, then after a week? The difference in flavor is worth the wait.
Serving Suggestions
Sweet pickled watermelon rind offers a unique burst of flavor to many dishes. Its crisp texture and tangy sweetness make it versatile. Here are some tasty ways to serve it and enjoy its special taste.
As A Side Dish
Serve sweet pickled watermelon rind alongside grilled meats or barbecue. It cuts through rich flavors with its bright, refreshing taste. Place it on a small plate for an easy, colorful side. It also pairs well with fried foods to add balance.
In Salads And Sandwiches
Chop the pickled rind and toss it into green salads. It adds a crunchy, sweet contrast to leafy vegetables. Use it in sandwiches for a tangy twist. Try it with turkey or ham for a fresh flavor boost.
Creative Recipe Ideas
- Mix chopped rind into a potato salad for a sweet crunch.
- Add it to coleslaw to brighten the dish.
- Use it as a topping for tacos to add unexpected sweetness.
- Blend it into a chutney or relish for grilled fish.
- Serve alongside cheese boards as a sweet, tangy bite.
Tips For Perfect Pickled Rind
Perfecting sweet pickled watermelon rind requires attention to detail. Small changes in storage, shelf life, and flavors can greatly improve the final taste and texture. These tips help keep the pickled rind fresh and delicious for longer.
Storage Best Practices
Store pickled watermelon rind in clean, airtight jars. Use glass containers for the best results. Keep the jars in a cool, dark place away from direct sunlight. Refrigeration after opening is crucial to maintain freshness. Always use a clean spoon when serving to avoid contamination.
Extending Shelf Life
Use fresh watermelon rind and sterilize jars before filling. Ensure the pickling liquid covers the rind completely. Seal jars tightly to prevent air entry. Store unopened jars in a cool area to preserve flavor. Refrigerate after opening and consume within a few weeks for best taste.
Adjusting Sweetness And Spice
Balance sugar and vinegar to suit your taste. Add more sugar for a sweeter pickle or reduce for tartness. Adjust spices like cinnamon, cloves, or ginger to control heat and aroma. Test small batches to find your preferred flavor. Remember, flavors deepen after a few days of pickling.

Credit: www.yahoo.com
Frequently Asked Questions
What Ingredients Are Needed For Sweet Pickled Watermelon Rind?
You need watermelon rind, sugar, vinegar, water, and spices like cinnamon or cloves. These create a sweet, tangy flavor perfect for pickling.
How Long Does Sweet Pickled Watermelon Rind Last?
When stored properly in a sealed jar, it lasts up to 3 months in the refrigerator. Always check for spoilage before consuming.
Can I Use Any Watermelon Rind For Pickling?
Yes, but use only the firm white part. Remove the green outer skin and red flesh for best results.
What Are The Best Uses For Pickled Watermelon Rind?
It’s great as a tangy side dish, salad topping, or snack. It adds a unique sweet and sour flavor to meals.
Conclusion
Sweet pickled watermelon rind adds a fresh twist to meals. This recipe is simple and uses everyday ingredients. You can enjoy it as a snack or side dish. It keeps well in the fridge for weeks. Try it once, and you might want to make it again.
Perfect for those who like sweet and tangy flavors. Give your kitchen a fun, new recipe to try. Cooking can be easy and tasty at the same time. Enjoy the unique taste of pickled watermelon rind today!

Hi, I’m Daniel Brooks—a food lover and kitchen gear enthusiast. I enjoy testing cookware, utensils, and gadgets to see what really works in everyday cooking. At PlugChef.com, I share honest reviews, comparisons, and simple guides to help you choose the best tools for a safer, smarter, and more enjoyable kitchen.
Related posts:
 What Type of Cooking Utensils are Safe: Expert Picks
 What Innovations Could Blenders Make: Unleashing Future Tech
 Smart Strategies to Organize a Small Kitchen: Maximize Space
 How to Organize a Kitchen Cabinet: Expert Tips & Tricks
 How to Organize Kitchen Drawers: Expert Tips and Tricks
 How to Organize a Corner Kitchen Cupboard: Expert Tips

