

You just finished a holiday roast, Sunday pot roast, or weeknight meatloaf dinner, and you’re left with a half-batch of rich, savory homemade gravy. Throwing it out feels like a waste, but you’re not sure if it’ll taste the same after being frozen. The good news? You absolutely can freeze homemade gravy to preserve its flavor and texture for future meals — you just need to follow a few simple, research-backed steps to avoid common pitfalls like graininess, separation, or blandness. This guide covers everything you need to know, from which gravies freeze best to how to fix texture issues after thawing, so you can enjoy restaurant-quality gravy anytime without the hassle of making it from scratch.
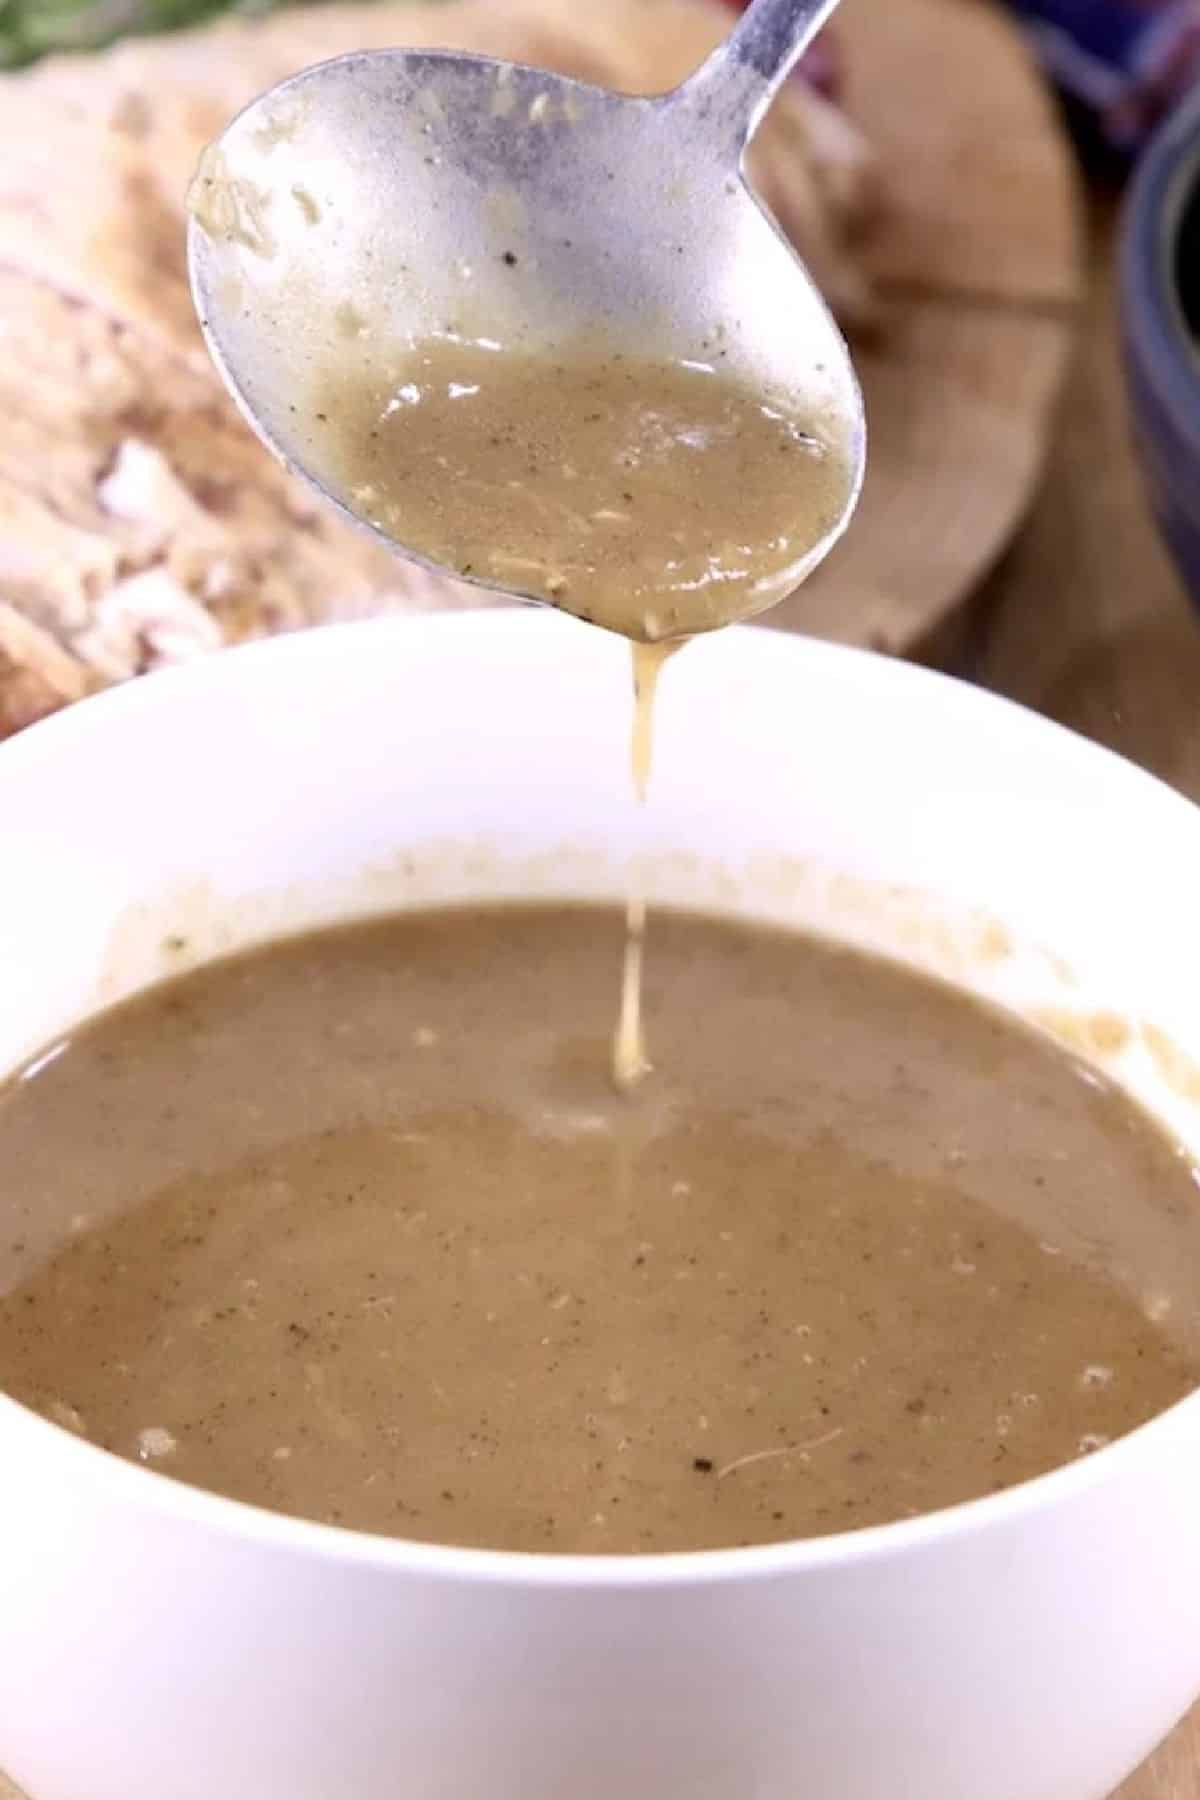 Freshly made gravy, ready to serve alongside roasted meats, mashed potatoes, or stuffing.
Credit: www.missinthekitchen.com
Freshly made gravy, ready to serve alongside roasted meats, mashed potatoes, or stuffing.
Credit: www.missinthekitchen.com
What Types of Homemade Gravy Freeze Best?
Not all gravies hold up equally well to freezing, and knowing which varieties to freeze (and which to skip) will save you from disappointing texture or flavor down the line. The main factor that determines freeze-thaw success is the gravy’s base and thickening agent.
Broth and Meat Dripping Gravies
Gravies made from pan drippings, beef, turkey, chicken, or pork stock are the best candidates for freezing. Their natural fat content stabilizes the emulsion, preventing separation and graininess during the freeze-thaw cycle. These gravies also hold their savory, umami flavor far better than lighter varieties. University of Minnesota Extension’s freezing guide confirms that broth-based gravies hold up far better to freezing than dairy-heavy varieties, as their higher fat content helps protect the emulsion during the freeze-thaw cycle.
Cream and Dairy-Based Gravies
Cream, milk, or half-and-half-based gravies (like classic Southern sausage gravy or milk gravy for biscuits) can be frozen, but they often separate or develop a slightly grainy texture after thawing. This is because dairy fat solidifies at freezer temperatures, breaking the smooth emulsion. If you plan to freeze dairy gravy, omit any fresh cream or milk additions until after reheating, when you can stir in a splash to restore smoothness.
Gluten-Free and Specialty Gravies
Gravies thickened with cornstarch or arrowroot freeze exceptionally well, as these starches hold their structure better than many gluten-free flour blends, which can turn gummy or rubbery after thawing. If you’re using a gluten-free flour blend, add an extra ½ tsp of thickener per cup of gravy before freezing to compensate for slight texture changes.
Food Safety Guidelines for Freezing Gravy
Freezing gravy safely is just as important as preserving its flavor, as improper handling can lead to foodborne illness. Follow these evidence-based rules to keep your gravy safe to eat.
Proper Cooling Steps
Never put hot or warm gravy directly into the freezer: it will raise the internal temperature of your freezer, putting other stored foods at risk of spoilage. Let gravy cool at room temperature for no longer than 2 hours (the maximum time food can safely sit in the 40°F–140°F "danger zone" for bacterial growth). To speed up cooling, stir the gravy occasionally, or place the pot in a shallow ice bath, stirring every 10 minutes. A common mistake home cooks make is covering the pot while it cools, which traps heat and extends the time it spends in the danger zone — leave the lid off or ajar while cooling.
Safe Freezer Storage Durations
For best quality, freeze homemade gravy for no more than 3 months. While gravy remains safe to eat indefinitely if kept at a consistent 0°F, its flavor and texture will gradually decline after 3 months, with increased risk of freezer burn. Always label storage containers with the date and type of gravy to avoid confusion.
Thawing Safety Rules
Never thaw gravy on the countertop at room temperature, as this puts it in the danger zone for hours. Only use one of three safe thawing methods: overnight in the refrigerator, in a sealed bag submerged in cold water (change the water every 30 minutes), or in the microwave using the defrost setting (only if you plan to reheat and eat it immediately). For official guidance on safe cooling, thawing, and reheating temperatures to avoid foodborne illness, refer to the official USDA food safety guidelines.
If you’re cooking with young children in the home, secure lower cabinets with child-safe cabinet latches to prevent access to hot cookware and spills while you handle hot gravy.
Step-by-Step Guide to Freezing Homemade Gravy
Follow these simple, tested steps to freeze gravy that tastes almost as good as freshly made when you reheat it.
Cool Completely Before Packaging
As noted above, let your gravy cool to room temperature (below 70°F) before transferring it to storage containers. If you’re in a hurry, you can speed up cooling by dividing the gravy into smaller, shallow pans, which increase surface area and reduce cooling time.
Portion for Easy Use
Divide large batches of gravy into single-use portions to avoid thawing more than you need. For most households, ½-cup portions are perfect for a side dish for 2 people, while 1-cup portions work for a family of 4. For smaller uses like adding flavor to soups or deglazing pans, freeze gravy in ice cube trays for 2-tbsp individual portions.
Choose the Right Storage Containers
Airtight, freezer-safe containers are the best option for preventing freezer burn and off-flavors. Options include:
- Heavy-duty plastic freezer containers with locking lids
- Freezer-safe glass mason jars (leave 1 inch of headspace for expansion)
- Heavy-duty freezer bags (squeeze out as much air as possible before sealing) Avoid using regular plastic containers or thin bags, as they let in air and lead to freezer burn.
Leave Headspace for Expansion
Gravy expands 10–15% as it freezes, so leave at least ½ inch of space between the top of the gravy and the lid of your container. If you’re using freezer bags, lay them flat in the freezer to save space and speed up thawing time.
Before filling ice cube trays with gravy, scrub them thoroughly with a heavy-duty kitchen brush to remove any leftover food residue that could alter flavor.
Best Thawing and Reheating Methods
How you thaw and reheat frozen gravy will make or break its texture and flavor. Follow these steps for perfect results every time.
Overnight Fridge Thawing (Best Method)
Transfer your frozen gravy from the freezer to the refrigerator 8–12 hours before you plan to use it. This slow, low-temperature thawing method preserves the gravy’s emulsion and prevents separation. If you portioned your gravy into small bags or containers, they’ll thaw even faster.
Cold Water Bath Thawing (Fast Method)
If you forgot to thaw your gravy in the fridge, submerge the sealed bag in a bowl of cold water. Change the water every 30 minutes to keep it cold, and plan for 1–2 hours of thawing time for a 1-cup portion. Never use warm or hot water, as this will bring the gravy into the bacterial danger zone.
Microwave Thawing (Last Resort)
Only use the microwave if you plan to reheat and eat the gravy immediately. Use the defrost setting, and stir every 30 seconds to avoid hot spots and uneven thawing. Microwaved gravy is more likely to separate, so be prepared to whisk it vigorously while reheating.
Reheating for Perfect Texture
Pour thawed gravy into a small saucepan and heat over low-medium heat, stirring constantly with a whisk to prevent sticking and break up any clumps. If the gravy is too thick, stir in a splash of low-sodium broth or water. If it’s separated or grainy, whisk vigorously for 1–2 minutes until smooth. For dairy-based gravies, add a splash of heavy cream or milk at the end of reheating to restore richness. Always bring gravy to a rolling boil (165°F internal temperature) before serving to ensure food safety.
Once you’ve served your reheated gravy, a sturdy dish brush makes quick work of any stuck-on starch and meat residue from your saucepan.
How to Fix Common Gravy Freezing Issues
Even with perfect storage, you may run into minor texture or flavor issues after thawing. These easy fixes will restore your gravy to its freshly made state:
Separated or Grainy Texture
If your gravy looks oily or has small lumps after thawing, don’t panic — it’s still safe to eat. Whisk it vigorously over low heat for 1–2 minutes to re-emulsify the mixture. If it remains grainy, stir in a teaspoon of cornstarch slurry (1 tsp cornstarch mixed with 1 tsp cold water) and simmer for 1 minute to thicken and smooth it out. For dairy gravies, a splash of heavy cream will also help restore a silky texture.
Watery or Thin Gravy
If your gravy is too thin after thawing, make a slurry of 1 tsp flour or cornstarch mixed with 1 tsp cold water, and stir it in gradually while simmering over low heat. Continue stirring until the gravy reaches your desired consistency. Avoid adding too much thickener at once, as this can make the gravy gummy.
Bland or Dull Flavor
Freezing can slightly mute the savory, umami flavor of gravy. To brighten it up, stir in a dash of Worcestershire sauce, soy sauce, a pinch of flaky sea salt, fresh herbs (like thyme or rosemary), or a splash of reserved pan drippings if you have them on hand. Taste and adjust seasoning as needed before serving.
A common mistake is re-freezing thawed gravy, which breaks down its emulsion further and increases the risk of spoilage. If you have leftover thawed gravy, store it in the refrigerator for 3–4 days and reheat only once.
Alternative Gravy Storage Methods
If you don’t have space in your freezer, or you plan to use your gravy within a week, these alternative storage methods work just as well:
Refrigeration
Store leftover gravy in an airtight container in the coldest part of your refrigerator (usually the back shelf, not the door) for 3–4 days. Reheat gently on the stove over low heat, stirring often to prevent separation. Avoid microwaving gravy for long periods, as this can cause it to curdle or become watery.
Store cooled gravy in airtight containers to avoid absorbing odors from other fridge items; if you’re a renter who can’t drill into cabinets, no-drill cabinet locks let you secure storage out of kids’ reach without damaging surfaces.
Vacuum Sealing
If you have a vacuum sealer, this is the best option for extending gravy’s shelf life. Vacuum sealing removes all air from the storage bag, slowing oxidation and bacterial growth. Vacuum-sealed gravy will stay fresh in the refrigerator for 1–2 weeks, and in the freezer for 4–6 months, with no risk of freezer burn. This method also locks in the gravy’s rich aroma and flavor far better than standard airtight containers.
Ice Cube Trays for Portioning
Pour leftover gravy into standard ice cube trays and freeze until solid. Once frozen, transfer the cubes to a heavy-duty freezer bag for long-term storage. This method is perfect for small, single-use portions: pop 1–2 cubes into a soup, stew, or pan sauce for an instant boost of savory flavor, no full batch of gravy required. It’s also a great way to reduce food waste, as you only thaw exactly what you need for a meal.
If you’re prepping large batches of gravy for meal prep, keep curious kids safe with adjustable kitchen safety locks on lower cabinet doors to prevent them from accessing hot cookware or sharp tools while you work.
Meal Prep and Leftover Gravy Ideas
Frozen gravy isn’t just for serving alongside roasted meat and mashed potatoes. It’s a versatile kitchen staple that can cut down on cooking time for weeknight meals:
- Add a gravy cube to a pot of rice or quinoa for instant savory flavor
- Stir thawed gravy into mashed potatoes for extra richness
- Use it as a base for pot roast or short rib sauce
- Mix it into soup or stew for added depth
- Drizzle it over roasted vegetables for a flavorful side dish
After making a batch of homemade gravy, scrub pots and pans with a kitchen cleaning brush set to lift stuck-on starch and drippings without scratching non-stick surfaces.
 Step-by-step visual guide to properly storing gravy for long-term freezer storage.
Credit: www.youtube.com
Step-by-step visual guide to properly storing gravy for long-term freezer storage.
Credit: www.youtube.com
Frequently Asked Questions About Freezing Homemade Gravy
Can homemade gravy be frozen safely?
Yes, homemade gravy is completely safe to freeze as long as you follow proper food safety rules: cool it completely before storing, use airtight containers, freeze for no more than 3 months for best quality, and reheat to 165°F before serving.
How do I freeze homemade gravy properly?
Cool the gravy fully to room temperature, portion it into single-use sizes, leave ½ inch of headspace in airtight freezer-safe containers or bags, squeeze out excess air, label with the date and type of gravy, and freeze for up to 3 months.
Will freezing change the texture of homemade gravy?
Freezing may cause slight separation or graininess, especially in dairy-based gravies. This is normal and can be easily fixed by whisking vigorously while reheating, and adding a splash of cream or a small amount of cornstarch slurry if needed. Proper storage minimizes texture changes.
How long can homemade gravy stay frozen?
For best quality, freeze gravy for no more than 3 months. It will remain safe to eat longer if kept at a consistent 0°F, but its flavor and texture will gradually decline. Always label containers with the freezing date to track freshness.
Can you freeze gravy with meat chunks or giblets?
Yes, but it’s best to strain out large chunks before freezing, as they can become soggy and release extra liquid when thawed, altering the gravy’s texture. If you want to keep the chunks, chop them finely before adding to the gravy before freezing, and note that you may need to adjust the consistency when reheating.
Can you re-freeze gravy that’s already been thawed?
It’s not recommended, as repeated freeze-thaw cycles break down the gravy’s emulsion, leading to severe separation, graininess, and increased risk of bacterial growth if not handled properly. If you have leftover thawed gravy, store it in the fridge for 3–4 days and reheat only once.
Conclusion
Freezing homemade gravy is a simple, effective way to cut down on food waste, save time on weeknight meals, and have rich, savory sauce ready whenever you need it. The key to success is choosing the right type of gravy, cooling it properly before freezing, portioning it into single-use sizes, and reheating it gently with a whisk to restore its smooth texture. Even if your gravy separates or turns a little bland after thawing, these easy fixes will have it tasting freshly made in minutes.
For more easy kitchen hacks to cut down on cooking time and reduce food waste, check out our full library of kitchen tips and tricks.
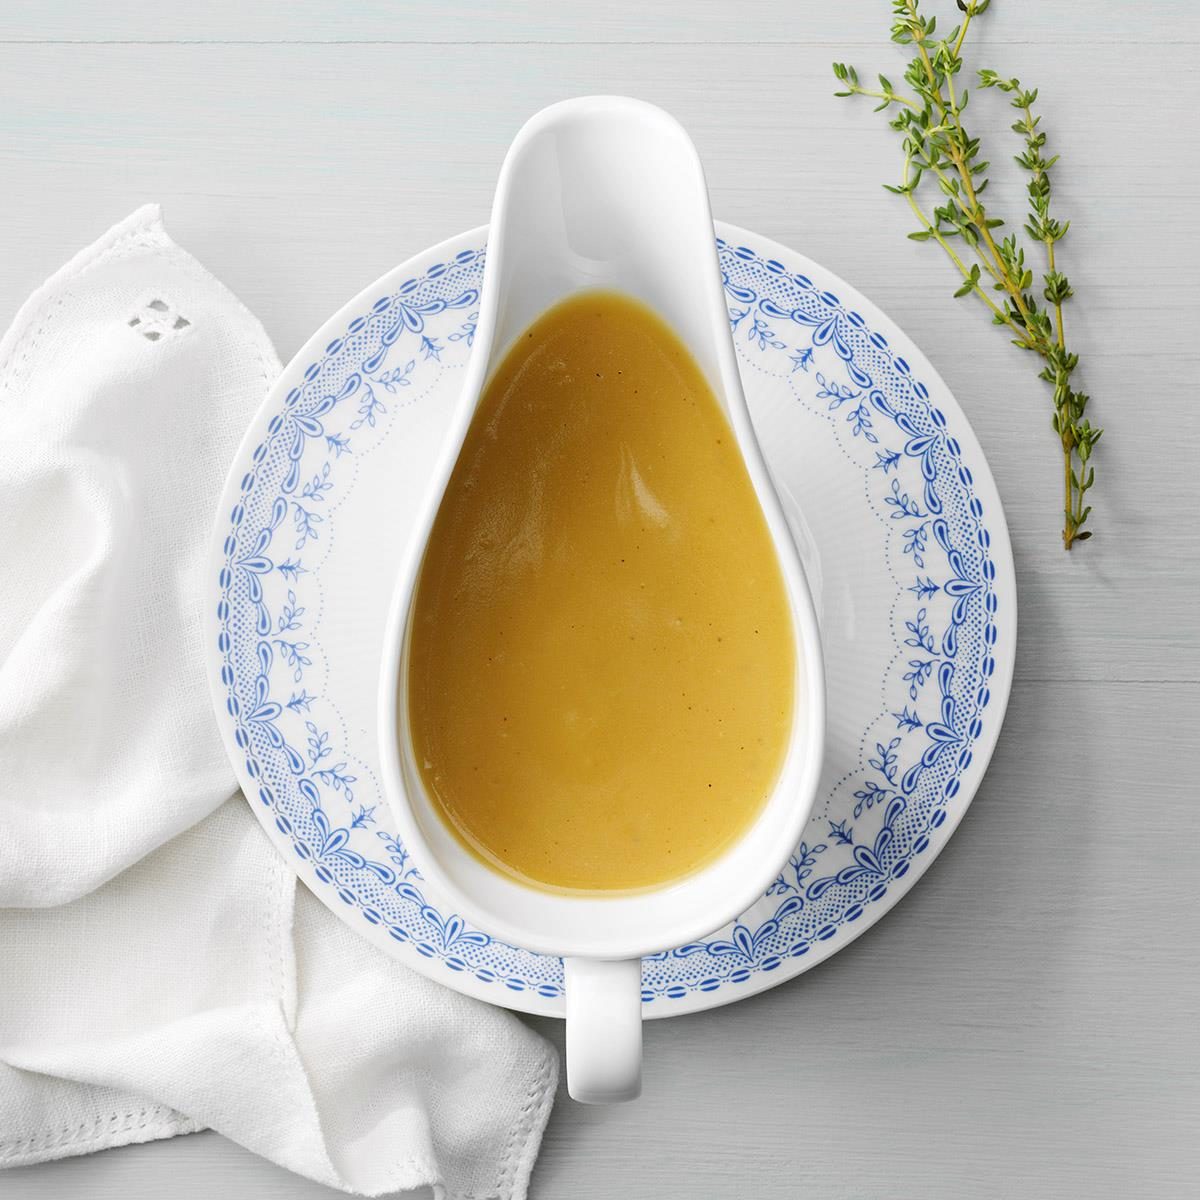 Individual gravy portions frozen flat for quick thawing and minimal waste.
Credit: www.tasteofhome.com Next time you have leftover gravy after a holiday feast or weeknight dinner, you won’t have to choose between tossing it and settling for a subpar version later — these proven, food-safe steps will keep it tasting just as rich and savory as the day you made it.
Individual gravy portions frozen flat for quick thawing and minimal waste.
Credit: www.tasteofhome.com Next time you have leftover gravy after a holiday feast or weeknight dinner, you won’t have to choose between tossing it and settling for a subpar version later — these proven, food-safe steps will keep it tasting just as rich and savory as the day you made it.

I’m Abby Lu, a passionate home cook who loves simplifying everyday meals. At PlugChef.com, I share product reviews and cooking guides to help you find the best tools for your kitchen.
Related posts:
 Seville Expandable Cabinet And Pantry Organizer: Space Savior
 Glideware Pull Out Cabinet Organizer for Pots & Pans: Space Saver
 Small 3-Tier Shelf Organizer: Maximize Space Effortlessly
 Trader Joe’S Spicy Lentil Wrap: Delicious, Healthy, and Quick Meal!
 Easy Way to Peel Pumpkin: Quick Tips for Effortless Prep
 How Long Do Grapes Last: Ultimate Freshness Guide Revealed

