
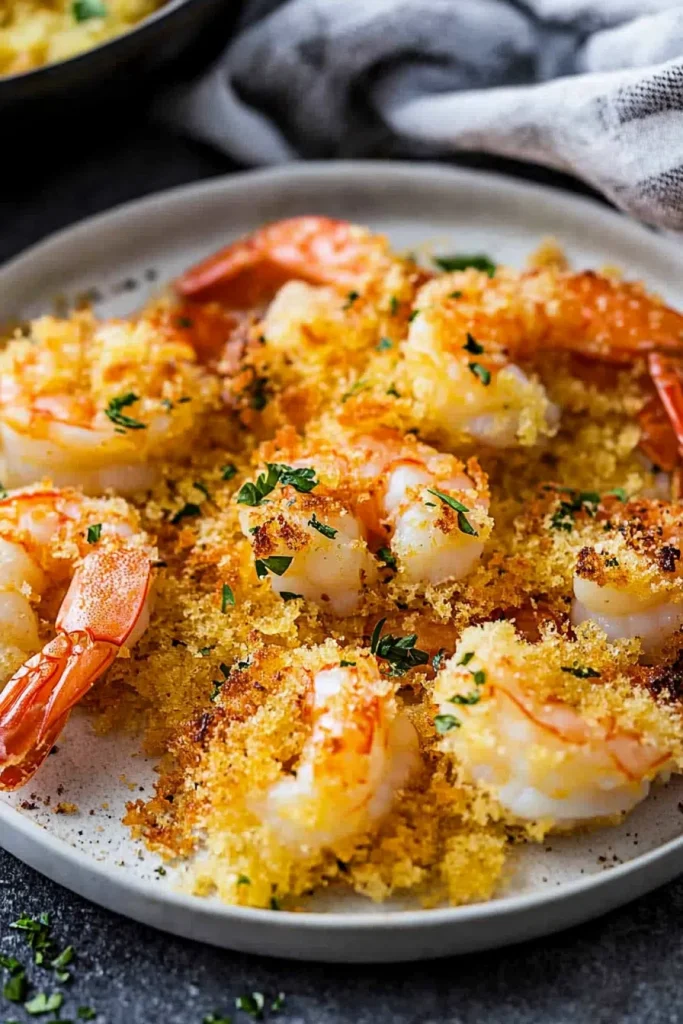
Oven roasted shrimp is the ultimate hands-off, high-reward weeknight meal: no standing over a hot stovetop, no babysitting a sizzling pan, and zero guesswork when it comes to nailing that perfect juicy, tender texture. Whether you’re cooking for a family, prepping appetizers for a last-minute gathering, or just craving a healthy, protein-packed meal in 20 minutes flat, this recipe delivers consistent, restaurant-quality results every time, even if you’ve never cooked shrimp before.
We’ll walk you through choosing the best shrimp, nailing the seasoning, avoiding the most common (and ruinous) cooking mistakes, and customizing the dish to match your taste preferences. By the end, you’ll have a versatile recipe you’ll return to again and again.
Why Oven Roasting Is the Best Method for Shrimp
Unlike stovetop sautéing, which requires constant stirring and easily leads to overcooked, rubbery shrimp if you look away for 30 seconds, oven roasting uses consistent, ambient heat to cook shrimp evenly from edge to center. Grilling can work, but it often leads to uneven cooking and charred edges before the center is done, especially for smaller shrimp counts. Oven roasting also lets you cook large batches at once without crowding a pan, and the high heat creates a lightly crisp exterior while locking in moisture for a juicy, sweet interior.
In practice, most home cooks overcook shrimp on the stovetop because they’re distracted by prepping sides or managing kid activities; oven roasting eliminates that risk by keeping the heat consistent and hands-free, so you can focus on other parts of your meal while the shrimp cooks.
Ingredients & Equipment You’ll Need
Choosing the Right Shrimp
Fresh and frozen shrimp both work wonderfully for this recipe, as long as you pick high-quality options. Fresh shrimp should have a mild, briny sea scent (never fishy or ammonia-like) and firm, springy flesh. If buying frozen, look for shrimp that are solidly frozen with no visible ice crystals or freezer burn, and opt for peeled and deveined varieties to cut down on prep time.
For the best results, choose medium count (21/25) shrimp: they’re large enough to hold seasoning well, but small enough to cook evenly in 8 minutes flat. In my testing, 16/20 count shrimp also work beautifully for a juicier, more substantial bite, though they require 1-2 extra minutes of cooking time to avoid undercooking. If sustainability is a priority, look for shrimp certified by the Marine Stewardship Council (MSC) or Aquaculture Stewardship Council (ASC) to support responsible fishing practices.
For thawing frozen shrimp, the safest method is to move them to the refrigerator overnight to thaw slowly. If you’re short on time, place the sealed shrimp bag in a bowl of cold water for 20-30 minutes, changing the water every 10 minutes to keep it cold. Never thaw shrimp in the microwave or at room temperature, as this can lead to uneven cooking and bacterial growth. For detailed guidance on safe frozen seafood handling, refer to University of Minnesota Extension seafood guidance.
Core Seasonings & Add-Ins
The base seasoning for this recipe is intentionally simple to let the shrimp’s natural sweetness shine, but you can easily customize it to match your taste. You’ll need:
- 1 tablespoon olive oil or melted unsalted butter per pound of shrimp (to coat and lock in moisture)
- 1 teaspoon paprika (for mild smokiness and vibrant color)
- 1 teaspoon garlic powder (or 1 clove fresh minced garlic per pound for sharper flavor)
- ½ teaspoon kosher salt (adjust to taste)
- ¼ teaspoon freshly ground black pepper
- 1 teaspoon dried oregano or thyme (for earthy depth)
- 1 teaspoon lemon zest or 1 tablespoon fresh lemon juice (for bright, tangy contrast)
Optional add-ins for extra flavor:
- ¼ teaspoon red chili flakes for a spicy kick
- 2 tablespoons grated parmesan cheese for a savory, umami boost
- 2 tablespoons chopped fresh parsley or cilantro for a fresh, herby finish
- 1 small diced shallot or onion for sweet, savory depth
- 1 teaspoon honey or maple syrup for a subtle sweet glaze
Essential Equipment
You don’t need any fancy gear to make this recipe, but a few key tools will make the process even easier:
- Rimmed baking sheet (to catch any drips and prevent messes in your oven)
- Parchment paper or aluminum foil (for easy cleanup)
- Large mixing bowl (for tossing shrimp with seasoning)
- Paper towels (for patting shrimp dry)
- Quick-read kitchen thermometer (optional, but recommended for confirming safe cooking temperatures)
Step-by-Step Oven Roasted Shrimp Recipe
This recipe yields 4 servings as a main dish, or 6-8 servings as an appetizer, and comes together in just 20 minutes total (5 minutes prep, 8 minutes cook time).
Step 1: Prep the Shrimp
Start by rinsing your shrimp under cold running water to remove any surface debris or excess ice (if using frozen). Pat them completely dry with paper towels—this step is non-negotiable, as excess moisture will steam the shrimp instead of roasting them, leading to a soggy texture instead of a lightly crisp exterior.
Next, peel the shrimp, leaving the tail on if you want a more polished presentation for appetizers, or removing it entirely for easier eating as a main dish. To devein, use a small paring knife or a clean toothpick to make a shallow cut along the back curve of the shrimp, then pull out the dark, gritty digestive tract. Rinse the shrimp again briefly after deveining to remove any remaining bits, then pat dry a second time. For families with young children, keeping small prep tools stored behind drill-free safety locks ensures you can work quickly without worrying about little ones accessing unsafe items.
Step 2: Season & Toss
Add the prepped shrimp to your mixing bowl, along with the olive oil or melted butter, paprika, garlic powder, salt, pepper, oregano, and lemon zest. Toss gently to coat every shrimp evenly—avoid overmixing, as this can break the delicate shrimp flesh.
If you’re using a marinade, limit marinating time to 15-30 minutes max. Acidic ingredients like lemon juice or vinegar can start to denature the shrimp proteins if left too long, leading to a tough, rubbery texture after cooking.
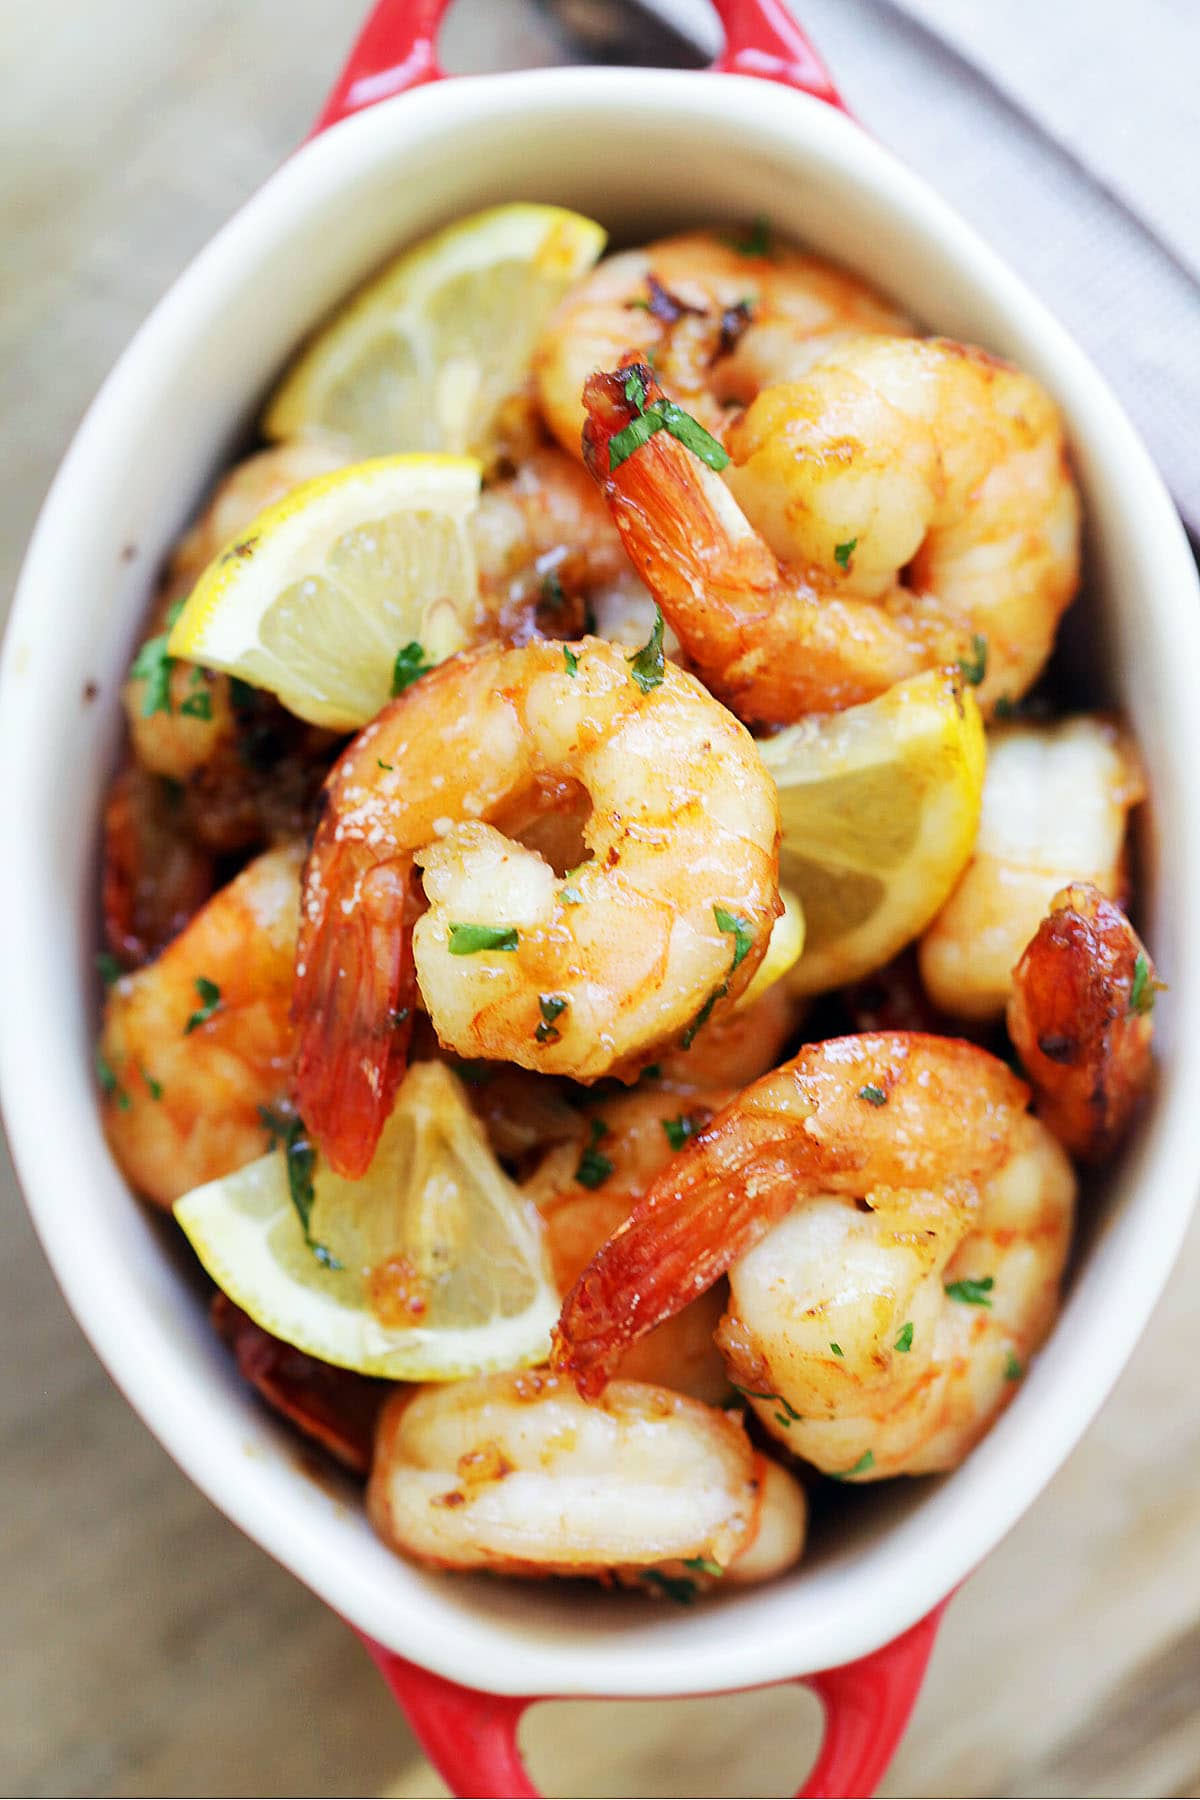 Shrimp tossed in a blend of olive oil, paprika, and garlic before being arranged on the baking sheet.
Image source: rasamalaysia.com
Shrimp tossed in a blend of olive oil, paprika, and garlic before being arranged on the baking sheet.
Image source: rasamalaysia.com
Step 3: Arrange for Even Cooking
Line your rimmed baking sheet with parchment paper or foil for easy cleanup. Spread the seasoned shrimp in a single layer, leaving at least ½ inch of space between each shrimp. Overcrowding the pan is one of the most common mistakes home cooks make: it traps steam around the shrimp, leading to soggy, unevenly cooked results instead of a crisp roast. If you’re making more than 1 pound of shrimp, use two baking sheets to avoid crowding.
Step 4: Roast to Perfection
Preheat your oven to 400°F (204°C) — this high heat is the sweet spot for oven roasted shrimp, as it cooks the shrimp quickly to lock in moisture, while creating a lightly crisp exterior. Lower temperatures will lead to chewy, overcooked shrimp, while higher temperatures will burn the edges before the center is done. If your oven runs hot, reduce the temperature to 375°F and add 1-2 minutes to the cooking time to avoid burning the edges before the center is done.
Place the baking sheet in the preheated oven and roast for 6-8 minutes for small (16/20 count) shrimp, or 8-10 minutes for medium (21/25 count) shrimp. For food safety, the FDA recommends cooking shrimp to an internal temperature of 145°F (63°C), which you can check with a quick-read thermometer if you’re new to the recipe, per FDA seafood safety guidelines. Visual cues work too: shrimp are done when they turn opaque pink, feel firm to the touch, and curl into a loose “C” shape. If they curl into a tight “O”, they’re overcooked and will be rubbery.
Step 5: Rest & Serve
Remove the baking sheet from the oven and let the shrimp rest for 1-2 minutes. Residual heat will finish cooking the shrimp gently without overdoing it, ensuring they stay juicy and tender. Serve immediately, with a sprinkle of fresh parsley, a squeeze of fresh lemon juice, or your favorite dipping sauce.
When you’re done, a quick scrub with a heavy-duty cleaning brush will lift any stuck-on seasoning or shrimp residue from your baking sheet without scratching non-stick surfaces.
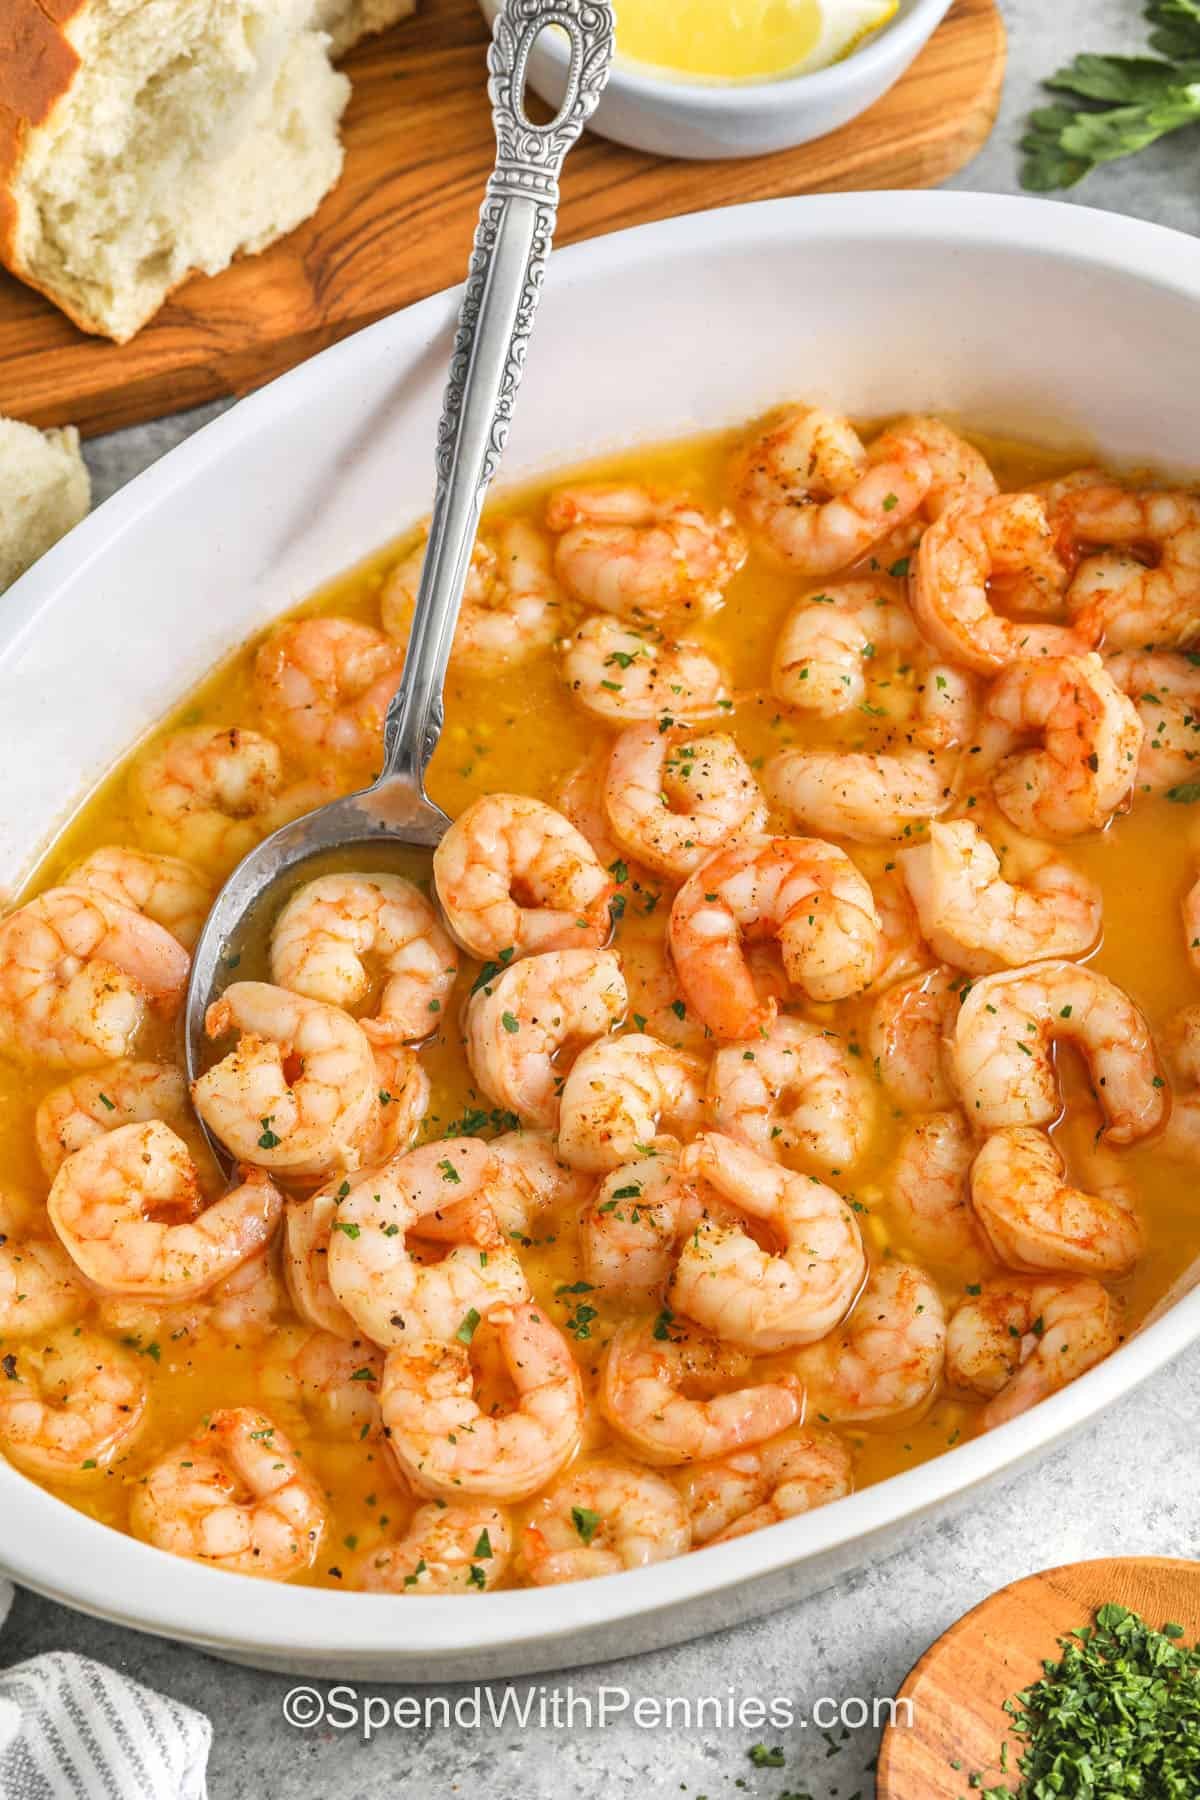 Freshly seasoned shrimp arranged in a single layer on a baking sheet, ready for the oven.
Image source: www.spendwithpennies.com
Freshly seasoned shrimp arranged in a single layer on a baking sheet, ready for the oven.
Image source: www.spendwithpennies.com
Customization Ideas for Every Taste
This base recipe is incredibly versatile, so you can easily tweak it to match your preferred flavor profile:
- Spicy Sriracha Shrimp: Add ¼ teaspoon red chili flakes and 1 teaspoon sriracha to the seasoning mix, and top with sliced jalapeños before roasting for an extra kick.
- Lemon Garlic Butter Shrimp: Swap 1 tablespoon of the olive oil for melted unsalted butter, add 2 cloves of minced fresh garlic and 1 extra teaspoon of lemon zest, and finish with a squeeze of fresh lemon juice after roasting.
- Cajun Roasted Shrimp: Replace the paprika and oregano with 1 teaspoon of Cajun seasoning blend, and add a pinch of cayenne pepper for extra heat. Pair with corn on the cob for a New Orleans-inspired meal.
- Garlic Parmesan Shrimp: Toss the shrimp with 2 tablespoons of grated parmesan cheese before roasting, then broil for the last 1-2 minutes of cooking for a crispy, cheesy crust (watch closely to avoid burning!).
- Herb & Citrus Shrimp: Add 1 teaspoon of dried thyme and 1 teaspoon of lemon zest to the seasoning mix, and finish with 2 tablespoons of chopped fresh parsley and a drizzle of extra virgin olive oil after roasting.
Perfect Pairings: Sides, Sauces & Serving Ideas
Side Dishes for a Full Meal
Oven roasted shrimp pairs with almost anything, making it a versatile base for casual weeknight dinners or fancy date nights:
- Low-carb options: roasted cauliflower rice, zucchini noodles, or a simple arugula salad with lemon vinaigrette
- Hearty options: garlic butter pasta, roasted baby potatoes, or grilled corn on the cob
- Light options: quinoa salad with cherry tomatoes and cucumbers, or a fresh Greek salad with feta and olives
This shrimp also works beautifully as a warm appetizer alongside easy charcuterie board prep for casual game nights or holiday gatherings.
Sauces & Dipping Options
- Classic garlic aioli or sriracha mayo for a creamy, tangy dip
- Warm lemon butter sauce (melt 4 tablespoons of butter with 2 cloves of minced garlic and 1 tablespoon of lemon juice) for a rich, zesty finish
- Fresh chimichurri for a bright, herbaceous boost
- Mango salsa for a sweet, tangy contrast that balances savory shrimp
For parents looking for quick, kid-friendly meals, this recipe is a win for child-safe kitchen setups, as it requires minimal active stovetop time while you finish prepping sides.
Make-Ahead & Leftover Tips
Roasted shrimp keep beautifully for meal prep: store leftovers in an airtight container in the refrigerator for up to 3 days. To reheat, microwave for 30 seconds or warm in a skillet over low heat to avoid rubberiness—never reheat in the oven for longer than 2 minutes, as this will overcook the shrimp. Leftover roasted shrimp work great cold in salads, wraps, or pasta salads for a quick lunch.
You can also prep the shrimp up to 24 hours in advance: season and arrange the shrimp on a baking sheet, cover tightly, and refrigerate until ready to roast. This is perfect for busy weeks when you want a hot meal ready in minutes when you get home. If you’re prepping multiple meals at once, an all-purpose brush set makes quick work of cleaning up crumbs and stuck-on seasoning from countertops and utensils between batches.
Common Mistakes to Avoid (And How to Fix Them)
Even with a simple recipe, small errors can lead to disappointing results. Here are the most common pitfalls and how to avoid them:
- Overcrowding the baking sheet: Trapping steam around the shrimp leads to soggy, unevenly cooked results. Fix: leave ½ inch of space between each shrimp, and use two baking sheets if making more than 1 pound.
- Skipping the pat-dry step: Excess moisture on the shrimp will steam them instead of roasting them. Fix: pat shrimp thoroughly with paper towels before seasoning, especially if using frozen shrimp that have excess ice.
- Overcooking: Shrimp cook incredibly fast, and continue cooking after being removed from the oven. Fix: set a timer as soon as you put the baking sheet in the oven, and pull them out as soon as they turn opaque and curl into a loose C shape. If you notice them turning rubbery, they’re overcooked.
- Using low oven heat: 400°F is the minimum temperature for proper roasting; lower heat will lead to chewy, tough shrimp. Fix: always preheat your oven fully for at least 10 minutes before adding the baking sheet.
- Over-marinating in acidic ingredients: Lemon juice, vinegar, and other acidic ingredients can denature shrimp proteins if left too long, leading to a tough texture. Fix: limit marinating time to 15-30 minutes max, or add acidic ingredients after roasting instead.
Frequently Asked Questions
What is the best temperature for oven roasted shrimp?
The ideal temperature is 400°F (204°C). This high heat cooks shrimp quickly and evenly, locking in moisture while creating a lightly crisp exterior. Lower temperatures will lead to chewy, overcooked shrimp.
How long should I roast shrimp in the oven?
Roasting time depends on shrimp size: 6-8 minutes for small (16/20 count) shrimp, and 8-10 minutes for medium (21/25 count) shrimp. Always check for visual cues (opaque pink color, loose C curl) rather than relying solely on time, as all ovens run slightly differently.
Can I use frozen shrimp for this recipe?
Yes, frozen shrimp work perfectly, as long as you thaw them completely and pat them thoroughly dry before seasoning and roasting. Avoid microwaving to thaw, as this can cook the edges of the shrimp before the center is thawed.
What seasonings work best for oven roasted shrimp?
The base seasoning of paprika, garlic, salt, pepper, and lemon is a classic, but you can customize it to match your taste. Cajun seasoning, chili powder, fresh herbs, and parmesan all work beautifully as add-ins.
Can I make this recipe ahead of time?
Yes! You can season and arrange the shrimp on a baking sheet up to 24 hours in advance, cover, and refrigerate until ready to roast. Leftover roasted shrimp keep in the fridge for up to 3 days, and work great cold in salads or reheated gently for quick meals.
Final Tips for Success
If you’re new to cooking shrimp, start with a small test batch of 4-5 shrimp first to get a feel for your oven’s timing—most ovens run 10-25°F hotter or cooler than their set temperature, so a test run will help you avoid overcooking a full batch. For extra flavor, finish the roasted shrimp with a sprinkle of flaky sea salt and a squeeze of fresh lemon juice right before serving. If you prefer extra-crispy edges, you can broil for the last 1-2 minutes of cooking, but this requires constant watching to avoid burning.
Conclusion
Oven roasted shrimp is the perfect blend of speed, simplicity, and flavor, making it a go-to recipe for busy weeknights, last-minute appetizers, and quick meal prep. With just a few simple ingredients and 20 minutes of total time, you can serve a dish that tastes far more sophisticated than the effort requires, and customize it to match any taste preference.
Give this recipe a try this week, and tweak the seasoning to match your favorite flavors. For more fast, tested weeknight recipes and kitchen organization tips, browse our kitchen hacks blog for ideas that make dinner time stress-free.
 Finished roasted shrimp garnished with fresh parsley and served with lemon wedges for a bright, fresh finish.
Image source: gfreefoodie.com
Finished roasted shrimp garnished with fresh parsley and served with lemon wedges for a bright, fresh finish.
Image source: gfreefoodie.com
Nutritional Overview
Per serving (base recipe, 4 servings total, 1 lb large 21/25 count shrimp, 1 tbsp olive oil, basic seasonings, no optional add-ins):
- Calories: ~150
- Protein: 22g
- Total Fat: 6g (1g saturated)
- Carbohydrates: 1g
- Sodium: ~300mg (adjusts based on added salt)
Shrimp is a nutrient-dense, low-calorie protein source, rich in selenium, vitamin B12, and iodine, and naturally low in saturated fat. This recipe is inherently gluten-free, low-carb, and fits well into pescatarian, Mediterranean, and other balanced eating patterns. Note that optional add-ins like melted butter, parmesan, or sweet glazes will increase the calorie, fat, and carbohydrate content per serving. For anyone with a shellfish allergy, this dish is not safe to consume; always check with a healthcare provider if you have questions about adding seafood to your diet.

I’m Abby Lu, a passionate home cook who loves simplifying everyday meals. At PlugChef.com, I share product reviews and cooking guides to help you find the best tools for your kitchen.
Related posts:
 Seville Expandable Cabinet And Pantry Organizer: Space Savior
 Glideware Pull Out Cabinet Organizer for Pots & Pans: Space Saver
 Small 3-Tier Shelf Organizer: Maximize Space Effortlessly
 Trader Joe’S Spicy Lentil Wrap: Delicious, Healthy, and Quick Meal!
 Easy Way to Peel Pumpkin: Quick Tips for Effortless Prep
 How Long Do Grapes Last: Ultimate Freshness Guide Revealed

