
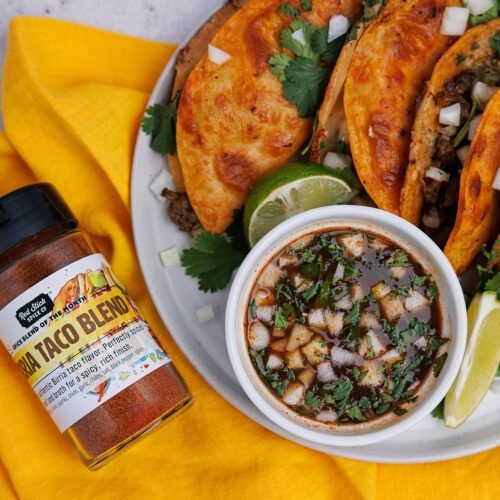
Craving the deep, smoky, savory flavor of traditional Jalisco-style birria tacos but don’t have 3+ hours to spend tending a stovetop braise? Your Instant Pot is the secret weapon you need. After testing this recipe dozens of times for weeknight dinners and casual family gatherings, we’ve nailed the balance of fall-apart tender beef, richly spiced consommé for dipping, and crispy, flavor-soaked tortillas—all in under 2 hours of total cook time, with minimal active effort. Unlike slower cooking methods, the Instant Pot’s high-pressure environment breaks down tough collagen in beef chuck roast in a fraction of the time, locking in chili flavor and producing a consommé so rich you’ll want to sip it straight from the cup. Whether you’re new to birria or a seasoned taco lover, this recipe delivers authentic, restaurant-quality results without the all-day hassle.
Why Instant Pot Birria Beats Traditional Stovetop Methods
Traditional birria recipes call for a 3–4 hour slow braise on the stovetop or in a Dutch oven, with frequent checks to adjust heat and top up liquid. The Instant Pot eliminates that guesswork: its sealed, high-pressure environment cooks chuck roast 3x faster than conventional braising, while the trapped steam infuses every bite of meat with the full depth of your chili spice blend. The result is consistently tender, juicy beef every time, no babysitting required. For home cooks short on time but big on flavor, this method is a total game-changer.
What You’ll Need for Perfect Instant Pot Birria Tacos
The beauty of birria lies in its simple, whole ingredients that come together to create complex, layered flavor. We’ve tested this ingredient list to balance authenticity, accessibility, and ease of prep—no hard-to-find specialty items required.
Meat
- 3 lb boneless beef chuck roast, trimmed of excess silver skin and fat: Chuck is the ideal cut for birria, as its high collagen content melts into gelatin during pressure cooking, creating juicy, fall-apart meat and a naturally rich, velvety consommé. For a more traditional, indulgent version, swap 1 lb of chuck for bone-in short ribs, or use goat meat for an authentic Jalisco-style birria.
- Prep note: Scrubbing onions, garlic, and tomatoes for your sauce is fast with a reliable kitchen cleaning brush.
Birria Sauce & Cooking Liquid
- 4 dried guajillo chiles, stems and seeds removed: Mild, smoky, and bright red, these form the base of the sauce’s signature color and subtle heat.
- 2 dried ancho chiles, stems and seeds removed: Sweet, earthy, and slightly fruity, these add depth and balance the guajillo’s brightness.
- 1 tbsp ground cumin, 1 tsp dried Mexican oregano, 1 pinch ground cloves, 1 small cinnamon stick: These warm spices are non-negotiable for authentic birria flavor; the cinnamon adds a subtle, background sweetness that cuts through the chili’s richness.
- 4 cloves fresh garlic, 1 medium white onion (quartered), 2 tbsp tomato paste, 1 tbsp apple cider vinegar: These aromatics and acidity balancers round out the sauce, preventing it from tasting one-note.
- 3 cups low-sodium beef broth: Enough to keep the meat submerged during cooking, without over-salting the final consommé.
- 2 bay leaves: For subtle herbal aroma.
Taco Assembly & Toppings
- 12 6-inch 100% corn tortillas: For the most authentic texture and flavor; flour tortillas work as a substitute if preferred.
- 1 cup shredded Oaxaca or Monterey Jack cheese: Mild, meltable cheese that adds a creamy, rich layer to each taco.
- Toppings: Diced white onion, chopped fresh cilantro, lime wedges, sliced avocado (optional), and extra warm consommé for dipping.
Step-by-Step Instant Pot Birria Taco Recipe
Follow these detailed, tested steps to avoid common birria mistakes (like bitter sauce or dry meat) and get perfect results every time.
1. Prep the Chili Sauce Base
Start by toasting the dried guajillo and ancho chiles in a dry skillet over medium heat for 1–2 minutes per side, until fragrant and slightly puffed. Be careful not to burn them, as burnt chiles will make your sauce bitter. Transfer the toasted chiles to a bowl, cover with boiling water, and soak for 15 minutes until fully pliable. While the chiles soak, pat the chuck roast dry with paper towels (this is critical for a good sear later—wet meat will steam instead of browning) and season generously with salt and pepper on all sides. Drain the soaked chiles, then add them to a high-speed blender along with the garlic, onion, tomato paste, cumin, oregano, cloves, cinnamon stick, apple cider vinegar, and 1 cup of beef broth. Blend on high for 60 seconds until completely smooth, with no visible chili flecks. Set the sauce aside.
2. Sear the Meat for Deep Flavor
Set your Instant Pot to sauté mode and heat 1 tbsp of neutral oil (like canola or avocado) until it shimmers. Working in batches to avoid overcrowding the pot, sear the seasoned chuck roast for 2–3 minutes per side, until deep golden brown on all sides. Remove the seared meat and set it aside on a clean plate. Pro tip: Don’t skip the sear! The Maillard reaction that occurs when you brown the meat creates complex, savory flavor that you can’t get from pressure cooking alone.
3. Pressure Cook the Birria
Pour the reserved blended chili sauce into the Instant Pot, scraping the bottom of the pot to loosen any browned bits stuck to the bottom (this prevents burn errors during pressure cooking). Add the remaining 2 cups of beef broth and the bay leaves, stirring to combine. Return the seared chuck roast to the pot, turning to coat it fully in the sauce. Seal the Instant Pot lid, set the valve to “sealing”, and cook on high pressure for 75 minutes for a 3 lb roast. For smaller 1–2 lb cuts, reduce cook time to 60 minutes. This cook time ensures the collagen in the chuck fully breaks down into gelatin, creating juicy, tender meat and a rich consommé, while keeping the meat from drying out. According to USDA food safety guidelines, beef roast reaches a safe minimum internal temperature of 145°F during this cook time, with a 3-minute rest period after cooking.
4. Shred the Meat and Make Consommé
Once the pressure cook time is complete, let the pressure release naturally for 15 minutes, then turn the valve to “venting” to release any remaining steam. Open the lid and transfer the cooked chuck to a large bowl, using two forks to shred it into bite-sized pieces. Reserve all the cooking liquid in the Instant Pot. Strain the cooking liquid through a fine-mesh sieve or cheesecloth to remove any solids (onion, garlic, spices, etc.), then skim off any excess fat that rises to the top of the strained liquid—this is your consommé. For extra richness, you can reserve the skimmed fat to fry your tortillas in later.
5. Assemble and Serve the Tacos
To get the signature crispy, flavor-soaked birria tacos, warm the corn tortillas in a dry skillet over medium heat for 10 seconds per side, until pliable. Dip both sides of each tortilla into the warm consommé, then place it in a hot skillet with a thin layer of the reserved beef fat (or oil) for 30–45 seconds per side, until crispy at the edges. Layer each tortilla with a sprinkle of shredded Oaxaca cheese, top with 2–3 oz of shredded birria meat, and garnish with diced white onion, chopped cilantro, a squeeze of lime, and optional sliced avocado. Serve with small cups of warm consommé for dipping—this is the classic, non-negotiable way to enjoy birria tacos, as the broth adds an extra layer of savory flavor and moisture to every bite.
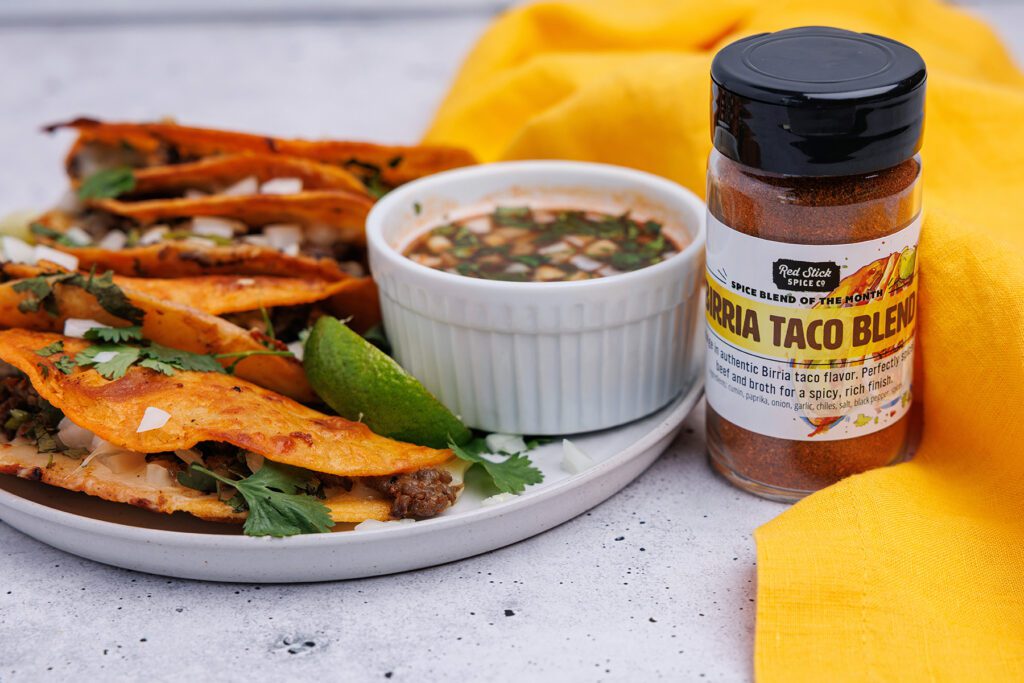 Freshly assembled birria tacos dipped in savory consommé, ready to serve
Image source: blog.redstickspice.com
Freshly assembled birria tacos dipped in savory consommé, ready to serve
Image source: blog.redstickspice.com
Pro Tips for Juicy, Flavor-Packed Birria Every Time
These tested tricks will help you avoid common birria pitfalls and get restaurant-quality results at home:
- Don’t skip the sear: Browning the meat before pressure cooking creates deep, savory flavor that is impossible to replicate with just pressure cooking alone. If you’re short on time, you can skip the chile toasting step, but the sear is non-negotiable for good flavor.
- Toast your chiles even if you’re in a hurry: Toasting dried chiles for just 1–2 minutes in a dry skillet releases their essential oils and deepens their smoky flavor, no extra time or ingredients required.
- Adjust spice level easily: For mild birria, remove all seeds and membranes from the dried chiles before soaking. For extra heat, add 1–2 dried chipotle chiles to the blender with the sauce ingredients, or stir in a diced fresh jalapeño during the sauté step.
- Make the sauce ahead: You can blend the chili sauce and store it in an airtight container in the fridge for up to 5 days, or freeze it for up to 3 months. Pre-making the sauce cuts down on active prep time on the day you cook, and lets the flavors meld for an even richer final dish.
- Don’t overcook the meat: 75 minutes is perfect for a 3 lb chuck roast. If you use a smaller cut or a mix of meats, reduce cook time to 60 minutes to avoid dry, stringy meat.
- Save leftover consommé: It’s perfect as a base for pozole, ramen, or even as a savory broth for cooking rice. It will keep in the fridge for up to 4 days, or frozen for 3 months.
- For easy cleanup after cooking, a soap-dispensing dish brush makes scrubbing the Instant Pot insert and blender jar quick and mess-free.
- To keep leftover birria meat and consommé fresh and safe, store them in separate airtight containers in the fridge for up to 4 days. If you have young kids in the home, add no-drill cabinet locks to your fridge and pantry storage areas to prevent unsupervised access to leftovers or raw meat.
- When serving warm consommé for dipping, use small, stable cups and place child-safe cabinet latches on lower cabinet drawers to keep hot liquids out of reach of curious children.
- Blending the soaked chiles and aromatics is easy with a standard blender, and a sturdy veggie scrubbing brush makes quick work of cleaning tomatoes, onions, and garlic before adding them to the mix.
- If you’re putting together a full taco night spread, use these simple cheese cutting tips to portion Oaxaca cheese into perfectly sized, easy-to-handle slices for your tacos.
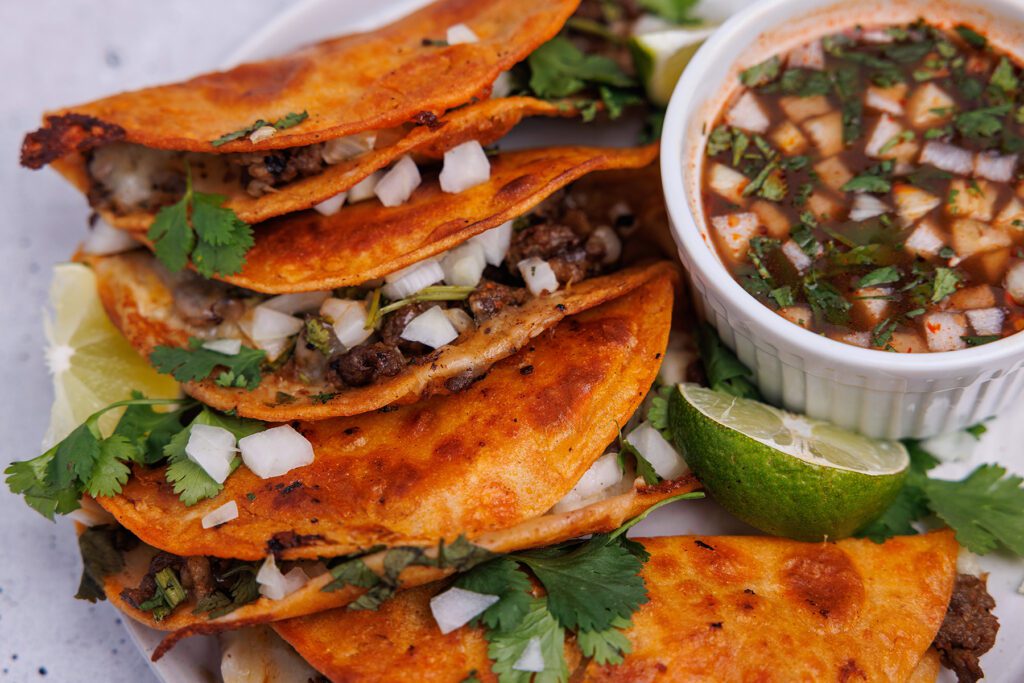 Tender shredded beef birria simmering in its rich, spiced cooking broth
Image source: blog.redstickspice.com
Tender shredded beef birria simmering in its rich, spiced cooking broth
Image source: blog.redstickspice.com
Frequently Asked Questions
We’ve answered the most common questions we get about making birria tacos in an Instant Pot, so you can avoid common mistakes and get perfect results every time.
What is the best cut of meat for birria tacos?
Boneless beef chuck roast is the best all-around cut for Instant Pot birria. Its high collagen content melts into gelatin during pressure cooking, creating juicy, fall-apart meat and a naturally rich, velvety consommé. For a more indulgent, fatty flavor, swap 1 lb of chuck for bone-in short ribs, or use goat meat for a traditional Jalisco-style birria. Avoid lean cuts like sirloin, as they will dry out during pressure cooking.
How long does birria take in an Instant Pot?
Total cook time for this recipe is roughly 1 hour 45 minutes from start to finish: 15 minutes for active prep (toasting chiles, searing meat), 75 minutes of high-pressure cooking, and 15 minutes of natural pressure release. This is 2–3 hours faster than traditional stovetop birria, which requires 3–4 hours of slow braising.
Can I use dried chiles for birria sauce?
Yes, dried guajillo and ancho chiles are the gold standard for authentic birria sauce. They provide the signature smoky, mild heat and deep red color that defines the dish. If you can’t find dried guajillo chiles, you can substitute with 2 additional dried ancho chiles, or add 1 tsp of smoked paprika for a similar smoky flavor.
Can I make birria sauce ahead of time?
Absolutely. You can blend the chili sauce up to 5 days in advance and store it in an airtight container in the fridge, or freeze it for up to 3 months. Pre-making the sauce not only cuts down on active cook time on the day you make the tacos, but it also lets the flavors meld and deepen, resulting in an even richer final dish.
Why is my birria sauce bitter?
Bitter birria sauce is almost always caused by one of two mistakes: burning the dried chiles while toasting them, or blending in the chile stems and seeds (which contain bitter compounds). If your sauce tastes bitter after blending, skim any burnt bits from the surface, stir in a pinch of brown sugar to balance the bitterness, and adjust salt and vinegar to taste.
Can I use frozen chuck roast for this recipe?
Yes, you can use frozen chuck roast, but you will need to add 10–15 minutes to the pressure cook time to account for the time it takes for the meat to come to pressure. For best results, thaw the roast in the fridge overnight before cooking, as this ensures even cooking and better flavor absorption from the sauce.
 Crispy, golden birria tacos garnished with onion, cilantro, and lime
Image source: parade.com
Crispy, golden birria tacos garnished with onion, cilantro, and lime
Image source: parade.com
Final Thoughts
Instant Pot birria tacos deliver all the rich, complex flavor of traditional slow-braised birria in a fraction of the time, making them perfect for busy weeknights, last-minute dinner parties, or meal prep for the week ahead. The fall-apart tender beef, spiced consommé for dipping, and crispy, flavor-soaked tortillas make this dish a guaranteed crowd-pleaser, even for taco lovers who have never tried birria before. Leftover birria meat and consommé taste even better the next day, as the flavors have more time to meld—so don’t be afraid to double the recipe if you want extra for lunch the next day. If you’re looking for more quick, tested weeknight recipes to add to your rotation, browse our full library of home-cook-approved meals on our main blog page. Grab your Instant Pot, toss in some chuck roast and dried chiles, and get ready to make the best birria tacos you’ve ever had—no all-day cooking required.

I’m Abby Lu, a passionate home cook who loves simplifying everyday meals. At PlugChef.com, I share product reviews and cooking guides to help you find the best tools for your kitchen.
Related posts:
 How to Make a Fruit Basket for a Gift: Easy DIY Guide
 Do You Need a Basket? Essential Guide for Air Fryers
 What Blenders Do Tropical Smoothie Use: Expert Insights
Stainless Steel Vs White Kitchen Appliances: Ultimate Showdown
What Blenders Do Tropical Smoothie Use: Expert Insights
Stainless Steel Vs White Kitchen Appliances: Ultimate Showdown
 Kitchen Appliances for Wedding Registry: Must-Have Essentials
 Top 10 Best Non-Toxic Cooking Utensils – Safe & Durable Choices for Healthy Homes

