

If you’ve ever pulled a sad, rubbery egg with a stuck yolk out of a flimsy non-stick pan, you know how frustrating inconsistent breakfasts can be. Cast iron skillets fix that problem for good: their superior heat retention creates restaurant-worthy crispy edges, tender whites, and perfectly cooked yolks, all without the chemical coatings of modern non-stick pans that degrade at high heat. Whether you prefer sunny-side up eggs with runny yolks, fluffy scrambled eggs, or extra-crispy fried eggs, this guide covers every step, from picking the right pan to troubleshooting common mistakes, so you get consistent, delicious results every time. No more guesswork, no more stuck eggs—just perfect breakfasts, every morning.
Unlike flimsy non-stick pans that degrade after a few years, a well-cared-for cast iron skillet will last decades, making it a budget-friendly kitchen workhorse for years to come.
Why Cast Iron Is the Ultimate Pan for Perfect Eggs
Cast iron’s unique properties make it far better for egg cooking than almost any other cookware on the market. Its thick, dense construction retains heat evenly, eliminating the hot spots that cause eggs to cook unevenly in thin stainless steel or aluminum pans. When properly seasoned, it develops a natural non-stick surface that improves with every use, no harmful PFOA or PTFE chemicals required. It also transitions seamlessly from stovetop to oven, making it perfect for one-pan egg dishes like frittatas. If you’ve had bad experiences with cast iron and eggs in the past, it’s almost always due to insufficient preheating or worn seasoning—both of which are easy to fix with the steps below.
Choosing the Right Cast Iron Skillet for Egg Cooking
Not all cast iron skillets are created equal for egg cooking, and picking the right one for your needs will make the process far easier.
Size and Shape Considerations
Skillet size directly impacts how many eggs you can cook at once without overcrowding:
- 8-inch skillets are ideal for 1–2 eggs, perfect for solo diners or single servings.
- 10-inch skillets are the most versatile, fitting 2–4 eggs for couples or small families.
- 12-inch skillets work best for family meals, breakfast for a crowd, or one-pan frittatas.
Shape matters too: low-sloped sides (standard frying skillet shape) make flipping fried eggs and stirring scrambled eggs easy, while deeper, high-sided skillets are better for baked egg dishes, shakshuka, or egg scrambles with lots of add-ins. Preseasoned skillets are a great pick for beginners, as they’re ready to use out of the box, while bare cast iron pans require an initial seasoning layer before they’ll release eggs easily.
Seasoning and Maintenance for Non-Stick Performance
Seasoning is the process of bonding thin layers of polymerized oil to the cast iron surface, creating a smooth, non-stick coating that improves with every use. For new, bare cast iron pans, do an initial seasoning before cooking eggs: wash the pan with warm water and a sturdy cleaning brush to remove factory coatings, dry completely, coat the entire surface (inside and out) with a thin layer of high-smoke-point oil (flaxseed, grapeseed, or vegetable oil work best), wipe off all excess oil, and bake upside down at 450°F (232°C) for 1 hour, with a foil-lined baking sheet on the rack below to catch drips. Let cool completely in the oven before use.
For regular maintenance, avoid steel wool or harsh scrubbers that strip seasoning, and note that modern mild dish soap does not contain the lye that damaged old seasoning—contrary to outdated advice, a small amount of dish soap is safe to use for cleaning. For evidence-based cast iron care guidance, the University of Minnesota Extension recommends using high-smoke-point oils for seasoning to create a durable, non-stick coating that lasts for years.
Prepping Your Skillet for Flawless, Non-Stick Eggs
Proper prep is the difference between perfectly cooked eggs and a stuck, messy disaster. Follow these two steps every time for consistent results.
Proper Preheating Technique
Preheating is non-negotiable for non-stick eggs, as it expands the metal and fills microscopic pores in the seasoning to create a smooth cooking surface. Place your skillet on the burner, turn to medium heat, and let it preheat for 3–5 minutes (longer for electric or induction stoves) until the entire surface is evenly warm. Test the heat by flicking 2–3 drops of water onto the surface: if the droplets sizzle and skate across the pan (the Leidenfrost effect), it’s ready. If they sit and bubble, it’s not hot enough; if they evaporate instantly, turn the heat down slightly. Move the pan around slightly while preheating to eliminate hot spots, a common cause of unevenly cooked eggs.
Choosing the Right Cooking Fat
The fat you use impacts flavor, smoke point, and non-stick performance:
- For high-heat cooking (to get crispy edges), use oils with a high smoke point (400°F or higher): avocado oil (520°F), grapeseed oil (420°F), refined canola oil (400°F), or ghee (450°F).
- For lower-heat cooking or extra richness, use regular butter (note that it has a lower smoke point of 300°F, so it will burn if the pan is too hot).
- Avoid extra virgin olive oil for egg cooking, as its low smoke point (325°F) will burn at the temperatures needed for crispy edges, leaving a bitter taste.
Pro tip: add a small pat of butter to your preheated high-smoke-point oil right before adding eggs for extra richness and a golden crust, without risking burnt butter.
Cooking Every Egg Style Perfectly in Cast Iron
Cast iron’s even heat retention makes it ideal for every egg preparation, from runny sunny-side up to fluffy scrambled eggs. Follow these step-by-step guides for perfect results every time.
Sunny-Side Up Eggs (Runny Yolk, Crispy Edges)
- Preheat your skillet to medium heat, add 1 tsp of high-smoke-point oil or ½ tbsp butter, and swirl to coat the entire surface.
- Crack eggs gently into the pan, keeping them 1 inch apart so they don’t steam each other.
- Cook for 2–3 minutes, until the whites are fully set and opaque, and the edges are golden and crispy.
- For extra crispy edges, baste the tops with hot fat 2–3 times using a spoon, or cover the pan for 30 seconds to set the top of the whites without flipping.
- Season with flaky sea salt and black pepper immediately after removing from the pan.
A common mistake is moving the eggs too soon, which breaks the yolk and prevents crispy edges from forming.
Over Easy and Over Hard Eggs (Flipped, Yolk Control)
- Follow the first 3 steps for sunny-side up eggs, cooking for 2 minutes until the bottom edges are crispy and the whites are mostly set.
- Use a thin, flexible spatula to slide under the egg, then flip gently by lifting the pan slightly and flicking your wrist.
- For over easy: cook 30–60 seconds more, until the yolk is still runny when pierced.
- For over hard: cook 1–2 minutes more, until the yolk is fully firm.
Pro tip: crack eggs into a small ramekin first before pouring them into the pan to avoid shell fragments, and if the egg sticks when you try to flip, it’s not ready—wait another 30 seconds.
Fluffy Cast Iron Scrambled Eggs
- Preheat your skillet to low-medium heat (lower than for fried eggs to prevent curdling).
- Add 1 tbsp of butter and swirl to coat the surface.
- Whisk 2–3 eggs in a bowl with a pinch of salt and 1 tsp of milk or cream (optional, for extra fluffiness).
- Pour the egg mixture into the pan, let it sit for 30 seconds until the edges start to set.
- Use a heatproof spatula to gently push the eggs from the edges to the center, folding them over every 30 seconds, until they’re softly set but still slightly runny (they’ll continue cooking from residual heat).
- Remove from heat immediately, and top with chives, cheese, or other add-ins if desired.
A common mistake is cooking on high heat, which makes eggs rubbery and dry, or stirring constantly, which creates small, tough curds instead of large, soft ones.
Extra-Crispy Fried Eggs (All-Around Crunch)
For eggs with crispy edges on all sides, not just the bottom:
- Preheat your skillet to medium-high heat.
- Add 1–2 tbsp of high-smoke-point oil, enough to cover the bottom of the pan in a thin layer.
- Once the oil is shimmering, add eggs and cook undisturbed for 3–4 minutes, until the edges are deeply golden and crispy all around.
- Baste the tops with hot oil 2–3 times to set the whites, then flip and cook 10 seconds if you prefer fully set yolks.
You can add a pinch of paprika or garlic powder to the oil while preheating to infuse the crispy crust with extra flavor.
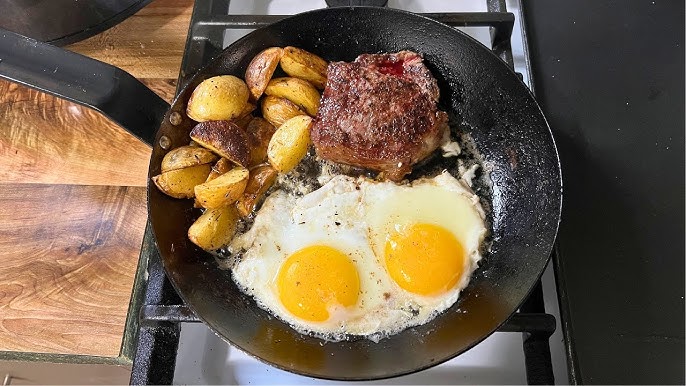 Fresh fried eggs with crispy lacy edges cooking in a well-seasoned cast iron skillet
Image source: www.youtube.com
Fresh fried eggs with crispy lacy edges cooking in a well-seasoned cast iron skillet
Image source: www.youtube.com
Troubleshooting Common Cast Iron Egg Cooking Issues
Even experienced cooks run into issues with cast iron and eggs occasionally. Here’s how to fix the most common problems:
Eggs Sticking to the Skillet
This is almost always caused by insufficient preheating, worn seasoning, or too much fat. First, confirm your pan is properly preheated using the water droplet test. Use only enough fat to coat the pan in a thin layer—excess fat will cause eggs to fry instead of sear, leading to sogginess and sticking. If sticking persists, do a quick stovetop re-seasoning: heat the pan on medium, add a drop of oil, wipe it around the entire surface, let it smoke for 5 minutes, wipe off excess, and let cool.
Eggs Burning Before Whites Set
This is caused by heat that’s too high, or hot spots in the pan. Turn the heat down to medium, and preheat for longer to allow heat to distribute evenly across the entire surface. If you have an infrared thermometer, aim for a surface temperature of 325–375°F for fried eggs.
Soggy, Uncrisped Edges
Soggy edges happen when the pan is overcrowded, heat is too low, or you’re using too much fat. Cook 1–2 eggs at a time (eggs need space to fry, not steam), increase heat slightly to crisp edges faster, and use only a thin layer of fat. If you’re making a large batch, keep finished eggs warm in a 200°F oven while you cook the rest.
Rust Spots on the Skillet
Rust forms when the pan is left wet or stored in a damp place. Scrub off rust with a heavy-duty scrub brush, dry the pan completely on low heat for 2–3 minutes, wipe with a thin layer of oil, and store in a dry place. For tough rust, use a professional-grade cleaning tool to scrub the surface without damaging the seasoning.
Flavor Boosters and Customization Ideas
Cast iron’s heat retention makes it perfect for infusing eggs with deep, rich flavor, beyond just plain salt and pepper.
Simple Seasoning and Toppings
For a quick flavor upgrade, top cooked eggs with flaky sea salt (Maldon works especially well for crunch), smoked paprika for a smoky kick, grated Parmesan for umami, or a dash of hot sauce or sriracha for heat. Season eggs immediately after removing them from the pan, while they’re still hot, so the seasoning sticks.
Add-Ins for Hearty One-Pan Meals
Cast iron is ideal for one-pan breakfasts: sauté diced bell peppers, onions, or mushrooms in the pan before adding eggs for a veggie-packed meal, or add cooked bacon, sausage, or crumbled tofu for extra protein. For a frittata, add cooked veggies and cheese to the pan, pour in beaten eggs, and bake at 375°F for 15–20 minutes until set. The skillet’s even heat ensures the frittata cooks perfectly all the way through, no raw center. If you have childproof cabinet locks to keep little ones out of spice cabinets, label your custom spice blends for quick access during busy mornings.
Herb and Spice Pairings
Fresh herbs like chives, parsley, cilantro, or dill add bright, fresh contrast to the richness of cast iron-cooked eggs—add them at the end of cooking to preserve their vibrant flavor. Dried herbs like thyme, oregano, or cumin work best when added to the hot fat before cooking, so their flavor infuses the oil and sears into the egg crust. For a unique twist, add a pinch of turmeric for a golden hue and earthy flavor, or a dash of cinnamon for warm, subtle sweetness.
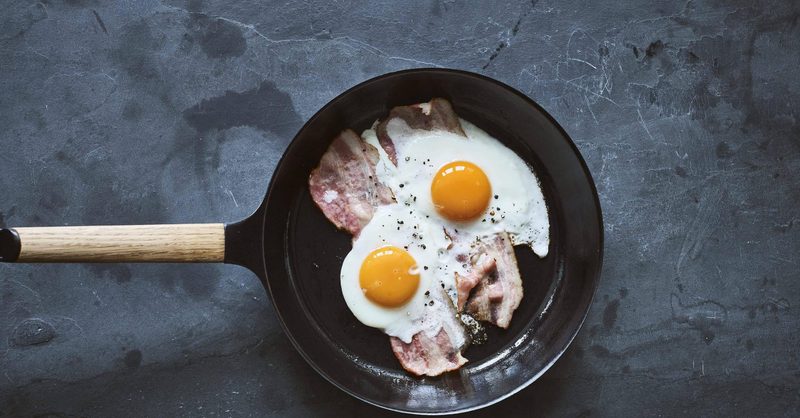 Sunny-side up eggs with runny golden yolks and crispy edges paired with crispy bacon in a cast iron pan
Credit: www.vermicular.us
Sunny-side up eggs with runny golden yolks and crispy edges paired with crispy bacon in a cast iron pan
Credit: www.vermicular.us
Cleaning and Long-Term Care for Your Cast Iron Skillet
Proper care will keep your skillet non-stick and rust-free for decades, so you never have to replace it.
Post-Cooking Cleaning Steps
Clean your skillet while it’s still warm (not hot) to make the process easier:
- Wipe out excess food and fat with a paper towel.
- If there’s stuck-on egg residue, pour 1 cup of hot water into the pan and let sit for 5 minutes, then scrub with a non-abrasive versatile brush set to avoid scratching the seasoning.
- Rinse with warm water, dry immediately with a clean towel, then place on low heat for 2–3 minutes to evaporate any remaining moisture.
- Wipe the entire surface (inside and out) with a tiny drop of high-smoke-point oil to prevent rust.
- Store in a dry place, not stacked with other pans that can scratch the seasoning.
When and How to Re-Season Your Skillet
Re-season your pan when you notice food sticking consistently, the surface looks dull or rusty, or eggs have a metallic taste. For minor touch-ups, do a stovetop re-season: heat the pan on medium, add a drop of oil, wipe it around the entire surface, let it smoke for 5 minutes, wipe off excess, and let cool. For a full re-seasoning, follow the initial seasoning steps outlined earlier, baking the pan at 450°F for 1 hour.
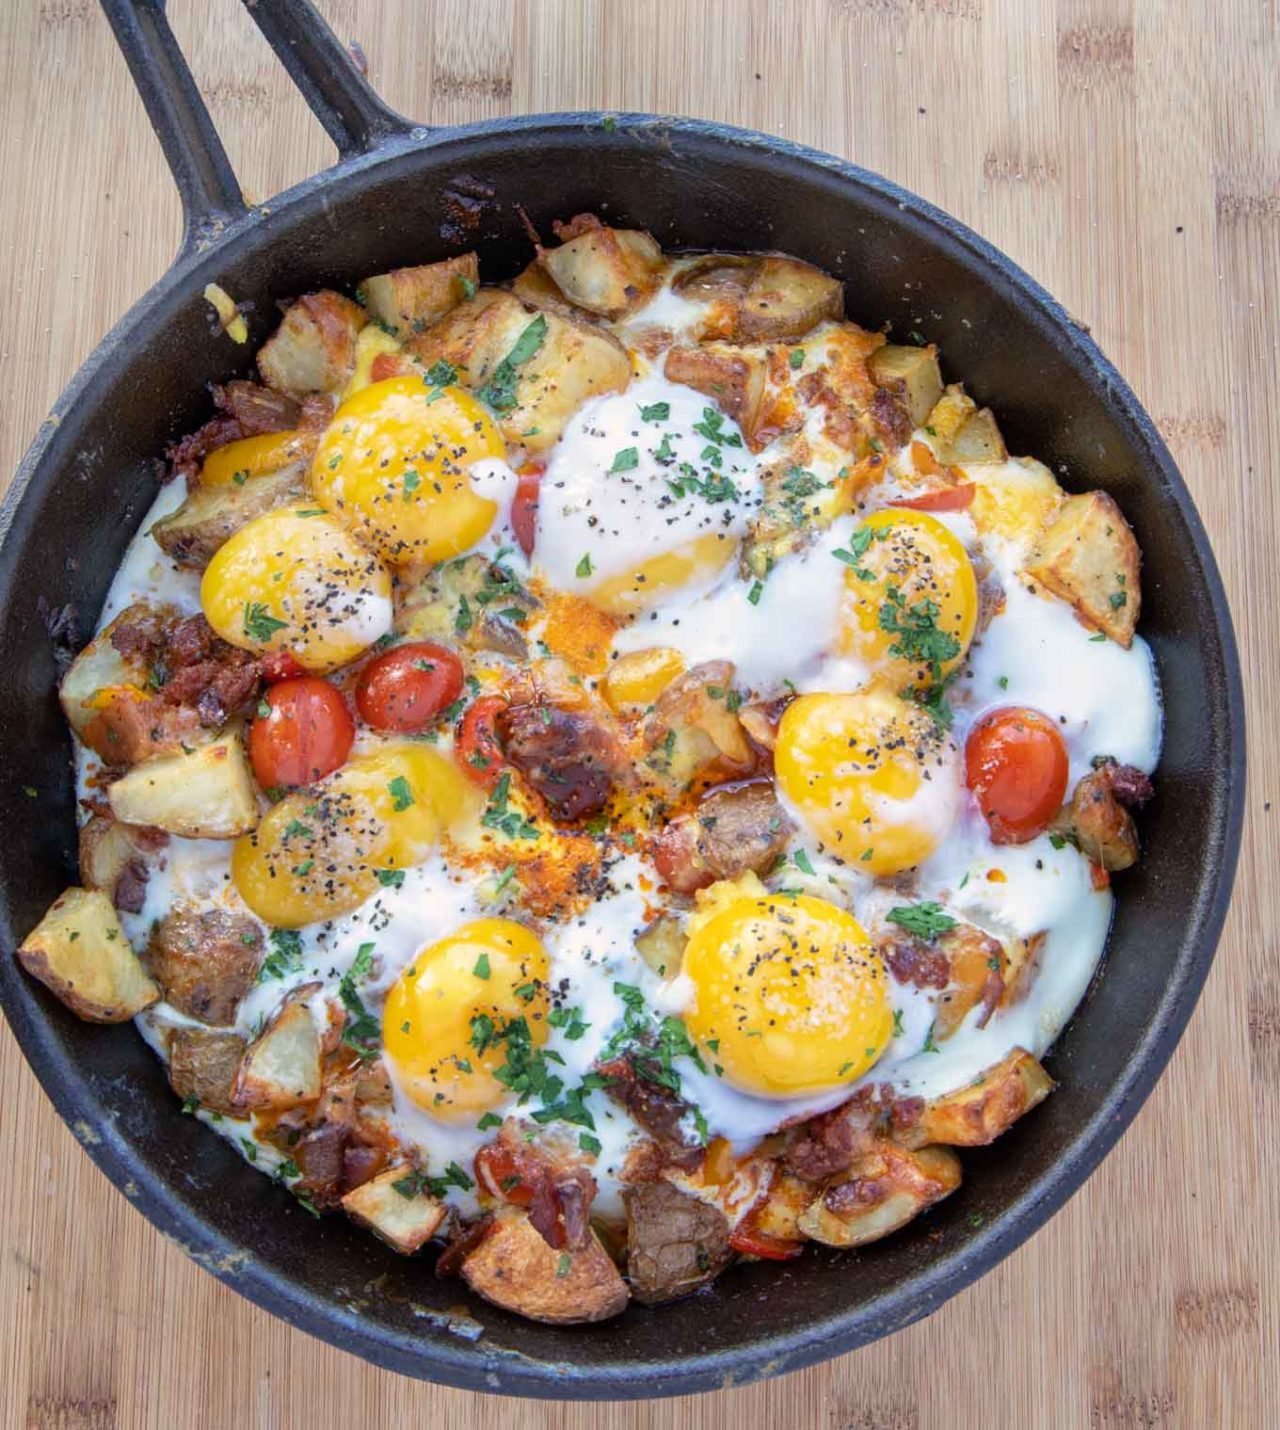 Hearty one-pan cast iron skillet breakfast with fried eggs, crispy bacon, and sautéed vegetables
Credit: www.askchefdennis.com
Hearty one-pan cast iron skillet breakfast with fried eggs, crispy bacon, and sautéed vegetables
Credit: www.askchefdennis.com
Frequently Asked Questions
Do I need to season my cast iron skillet before cooking eggs for the first time?
If your skillet is raw (not factory preseasoned), yes—seasoning creates the polymerized oil layer that makes eggs non-stick. A bare cast iron pan will cause eggs to stick immediately, no matter how much fat you use. Factory preseasoned skillets are ready to use out of the box, but an extra seasoning layer will improve performance even more.
Can I cook eggs in cast iron on induction or electric stoves?
Absolutely. Cast iron works on all stove types, including induction, electric, and gas. For induction and electric stoves, preheating may take 1–2 minutes longer than gas, so adjust your preheat time accordingly. The water droplet test works the same on all stove types to confirm even heat distribution.
Why are my eggs sticking to the skillet even after seasoning?
This is almost always caused by insufficient preheating, too much fat, or worn-down seasoning. First, confirm your pan is preheated for 3–5 minutes and passes the water test. Use only enough fat to coat the pan in a thin layer, as excess fat will cause eggs to fry instead of sear. If sticking persists, do a quick stovetop re-seasoning as outlined above.
What’s the best oil for cooking eggs in cast iron?
Use oils with a high smoke point (400°F or higher) to avoid burning and damaging the skillet’s seasoning. Top choices include avocado oil (520°F smoke point), grapeseed oil (420°F), refined canola oil (400°F), and ghee (450°F). Avoid extra virgin olive oil, which has a low smoke point (325°F) and will burn at the temperatures needed for crispy egg edges.
Is it safe to cook eggs in cast iron if I have iron sensitivity?
Cast iron leaches small amounts of dietary iron into food during cooking, which is safe for most people and can even help those with mild iron deficiency. Per FDA cookware safety guidance, the amount of iron transferred to eggs is negligible and poses no health risk for the general population. If you have a diagnosed iron overload condition like hemochromatosis, consult your doctor before using cast iron regularly for cooking.
Conclusion
Cooking eggs in a cast iron skillet isn’t just a trendy cooking hack—it’s a timeless technique that delivers consistently better flavor, texture, and results than almost any other cookware. From the crispy, golden edges of a fried egg to the soft, fluffy curds of scrambled eggs, cast iron’s superior heat retention and natural non-stick surface (when properly seasoned and preheated) make it the only pan you need for perfect eggs every time.
The key to success is simple: preheat your pan properly, use the right fat for your cooking style, and follow basic maintenance steps to keep your skillet in top condition. Don’t be discouraged if your first few tries don’t go perfectly—cast iron has a small learning curve, but once you get the hang of it, you’ll never go back to flimsy non-stick pans.
Ready to upgrade your breakfast routine? Grab your cast iron skillet, preheat it, and crack your first egg—your taste buds will thank you. For more cast iron cooking tips and kitchen hacks, check out our blog for weekly guides to making the most of your cookware.

I’m Abby Lu, a passionate home cook who loves simplifying everyday meals. At PlugChef.com, I share product reviews and cooking guides to help you find the best tools for your kitchen.
Related posts:
 How to Make a Fruit Basket for a Gift: Easy DIY Guide
 Do You Need a Basket? Essential Guide for Air Fryers
 What Blenders Do Tropical Smoothie Use: Expert Insights
Stainless Steel Vs White Kitchen Appliances: Ultimate Showdown
What Blenders Do Tropical Smoothie Use: Expert Insights
Stainless Steel Vs White Kitchen Appliances: Ultimate Showdown
 Kitchen Appliances for Wedding Registry: Must-Have Essentials
 Top 10 Best Non-Toxic Cooking Utensils – Safe & Durable Choices for Healthy Homes

