
There’s nothing worse than biting into a hard, sour plum after looking forward to that perfect burst of sweet, juicy flavor. Whether you’re shopping for fruit at the grocery store, harvesting from a backyard tree, or ripening a bag of underripe plums at home, knowing exactly when a plum is ripe eliminates the guesswork and guarantees delicious results every time.
This guide covers science-backed ripeness signs, variety-specific timelines, pro picking tips, and storage hacks to help you enjoy plums at their absolute peak, no prior gardening experience required.
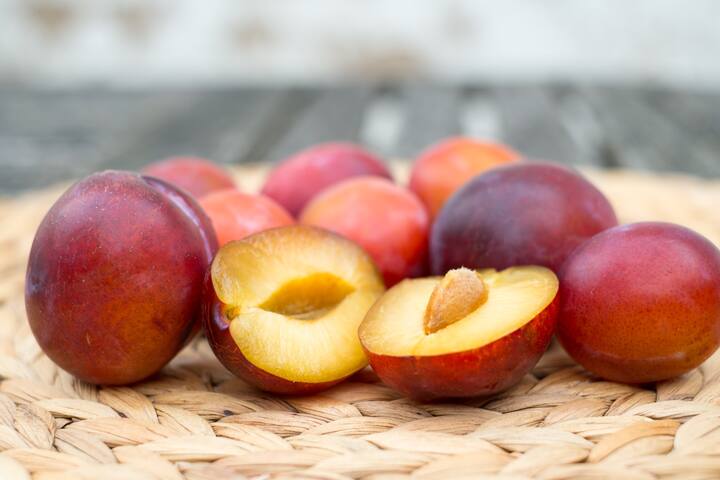 Left: underripe firm green plum; right: ripe deep purple soft plum
Credit: normecgroup.com
Left: underripe firm green plum; right: ripe deep purple soft plum
Credit: normecgroup.com
Core Signs a Plum Is Perfectly Ripe (No Guesswork Required)
Ripeness signs fall into three consistent categories, regardless of plum variety: color, texture, and aroma. While color is a helpful starting point, it’s not always reliable on its own — pairing all three checks will never lead you wrong.
Color Cues by Variety
Plum color shifts as the fruit matures and its natural sugars develop, but the target ripe color varies widely by type:
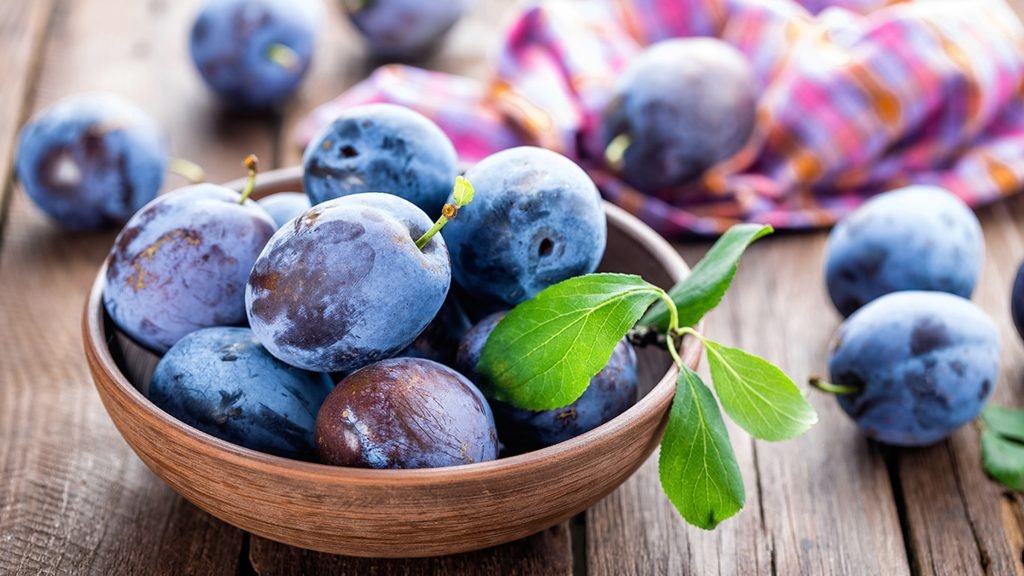
- European plums (like Stanley or Mount Royal) turn deep indigo to blue-black when ripe
- Japanese plums (Santa Rosa, Methley) shift to vibrant crimson, gold, or bicolored purple
- Greengages stay pale lime-green with soft golden blushes even when fully ripe, so never rule them out for being green
- Damsons develop a deep blue-purple skin with a slight dusty bloom
- Mirabelle plums turn bright golden yellow when ready to eat
Avoid plums with large patches of green skin, as these are almost always underripe and will lack sweetness.
The Gentle Firmness Test
Texture is the most reliable ripeness indicator across all varieties. Hold the plum in the palm of your hand and press gently on the equator of the fruit (the widest part, not the stem end):
- A ripe plum will yield slightly under pressure, with a soft, springy feel, but no mushy spots
- Firm, rock-hard plums need 1–3 more days at room temperature to ripen
- Plums that feel squishy, leak juice when pressed, or have soft, sunken spots are overripe and best used for cooking immediately
If you’re harvesting from a home tree, a ripe plum will also twist off the branch with a gentle quarter-turn, no pulling required.
Sweet Aroma Check
Ripe plums release a distinct honeyed, floral scent near the stem end. Lean in close and take a small sniff:
- A strong, sweet, fruity aroma means the plum is ready to eat
- No detectable scent means the plum is still underripe
- Sour, fermented, or yeasty smells indicate overripe or rotting fruit, which should be discarded
A common mistake many shoppers make is assuming a pretty, colorful plum is ripe — in practice, the smell test catches more underripe fruit than any other check, especially for varieties with misleading color.
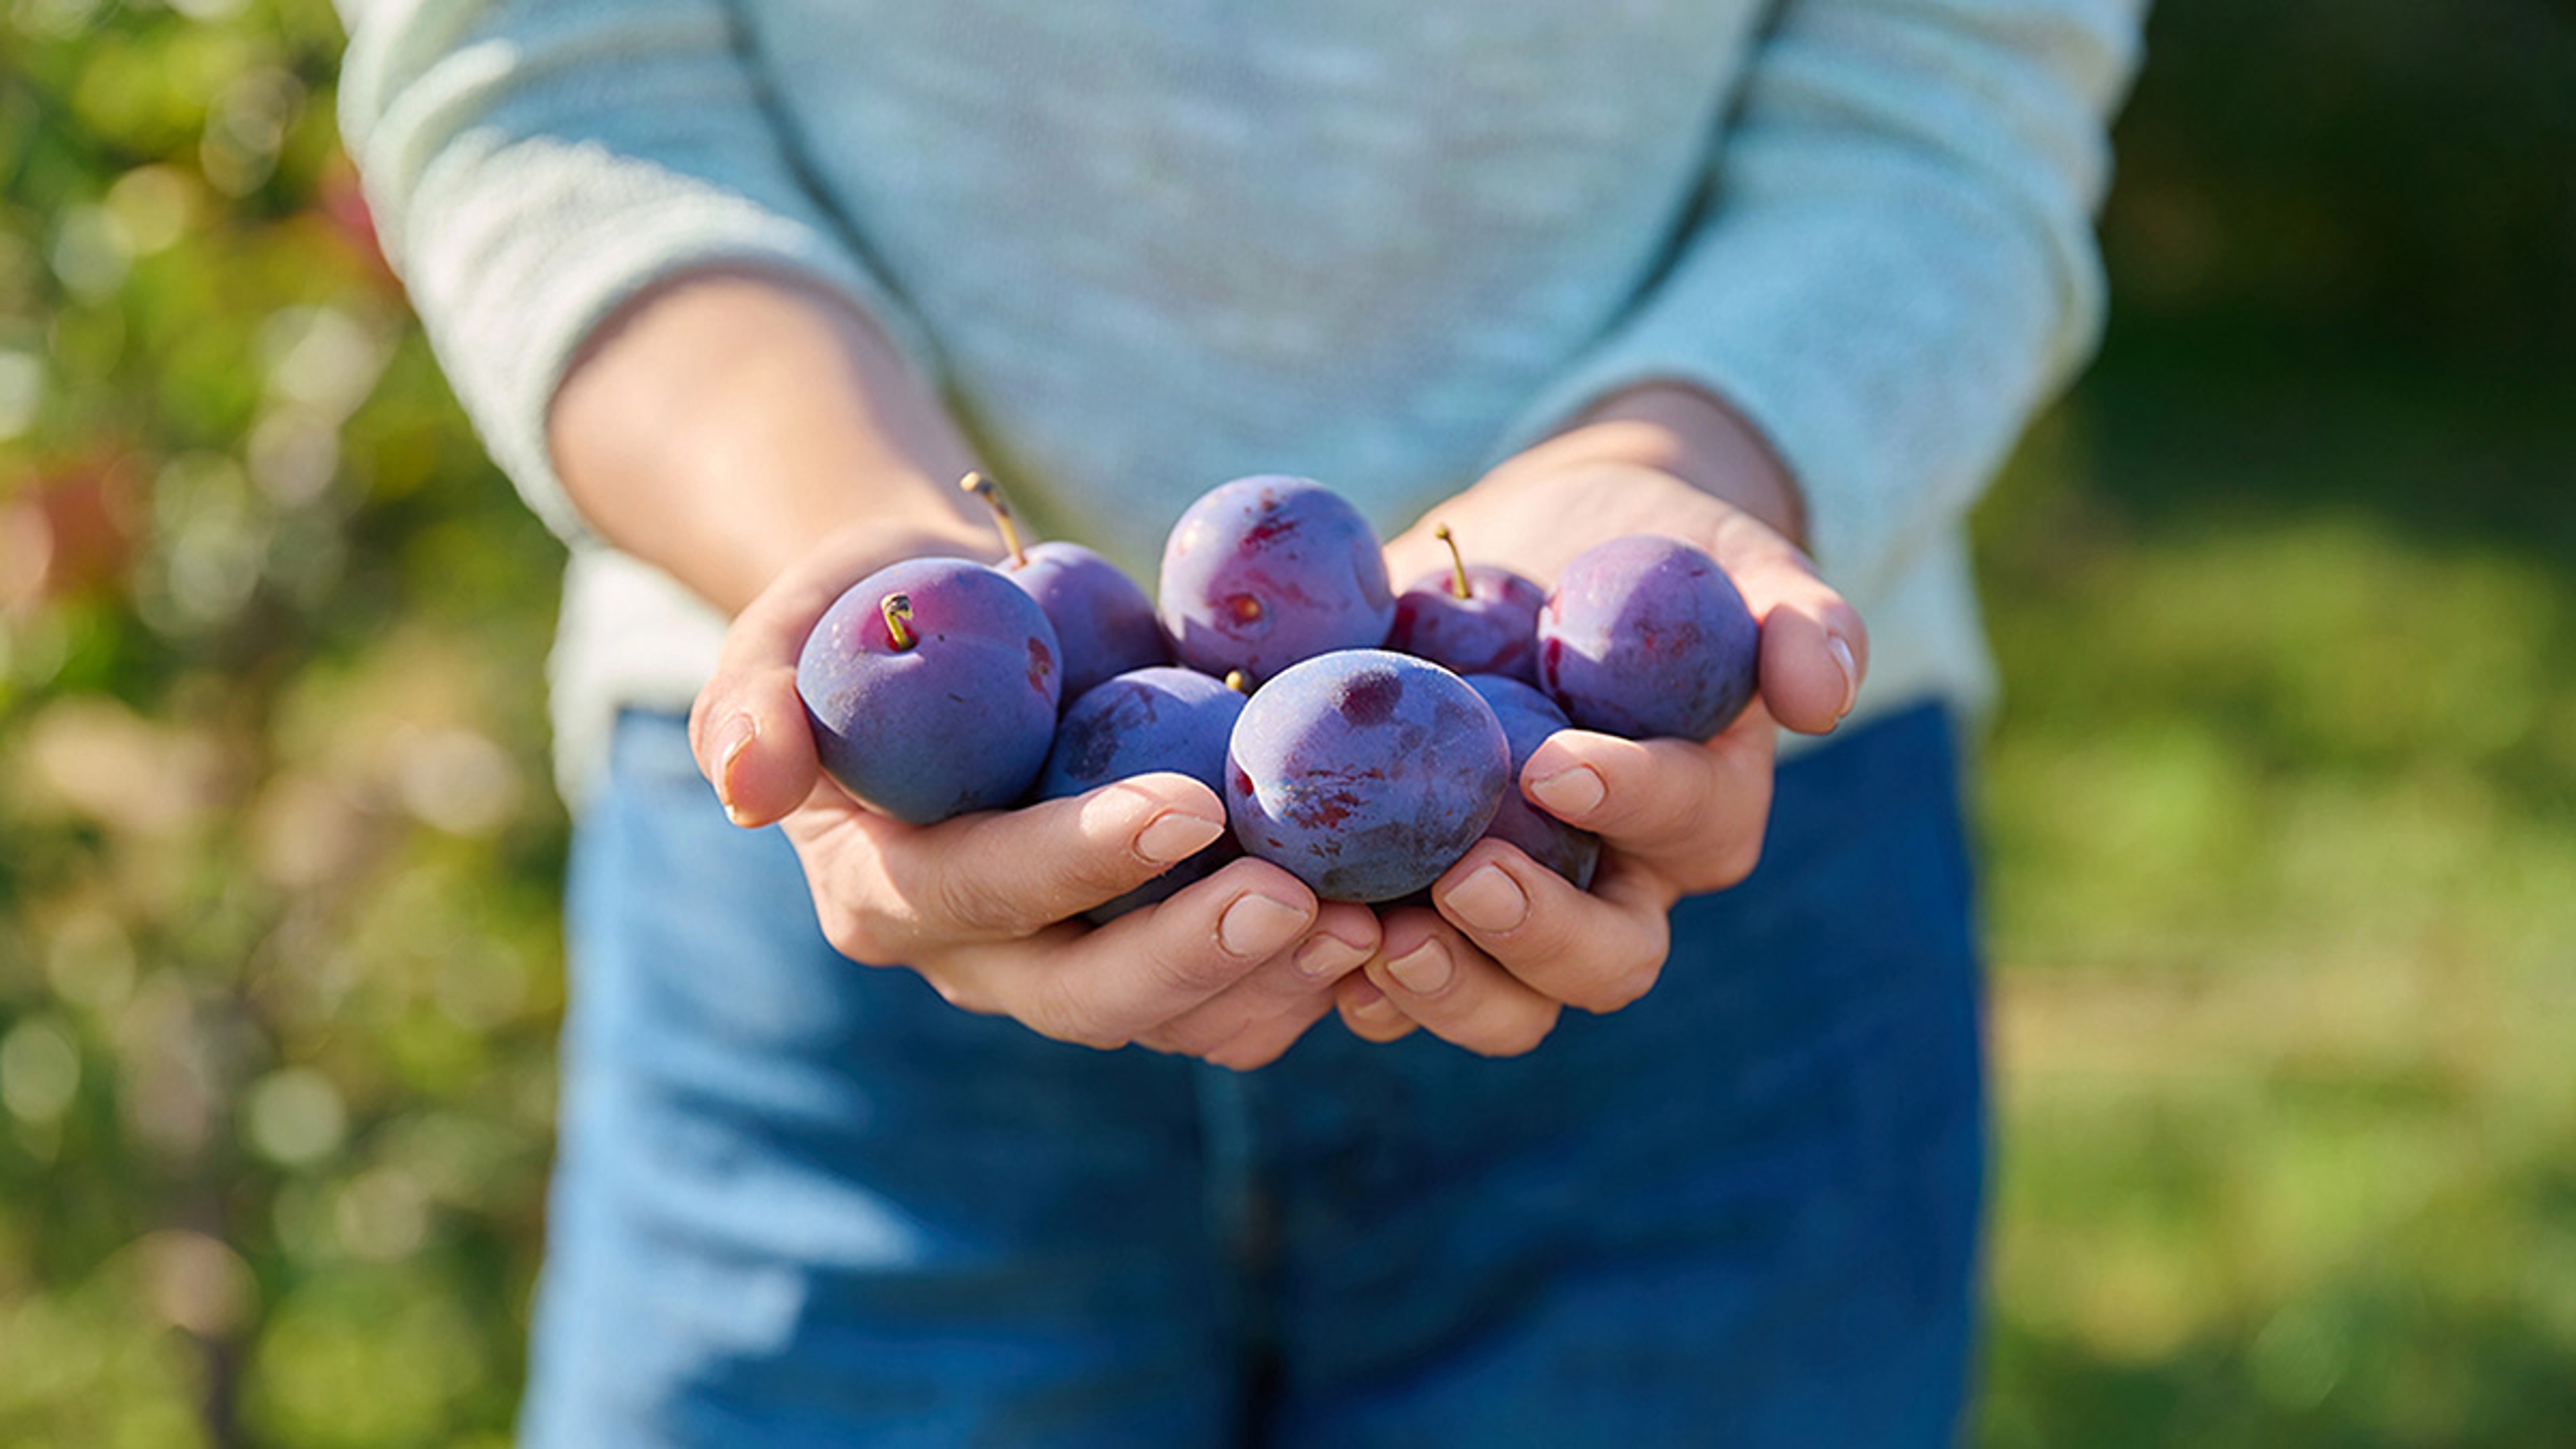 Notice the slight give of the ripe plum on the right vs the firm unripe plum on the left
Credit: www.harryanddavid.com
Notice the slight give of the ripe plum on the right vs the firm unripe plum on the left
Credit: www.harryanddavid.com
Quick Reference: Plum Variety Ripeness Cheat Sheet
Use this table to quickly identify when your favorite plum variety is ready to eat or harvest:
| Plum Variety | Ripe Color | Ideal Firmness | Best Use |
|---|---|---|---|
| European (Stanley, Mount Royal) | Deep indigo to blue-black | Slight give when pressed at equator | Fresh eating, jam, drying |
| Japanese (Santa Rosa, Methley) | Vibrant crimson, gold, or purple | Firm with subtle give | Fresh eating, grilling, baking |
| Greengage | Pale lime-green with golden blushes | Tender, no hard spots | Fresh eating, desserts, tarts |
| Damson | Deep blue-purple | Slightly firm | Jam, preserves, cooking |
| Mirabelle | Golden yellow | Soft, juicy | Fresh eating, fruit preserves, wine |
Ripening Timelines for Homegrown Plums
If you grow your own plums, timing your harvest is just as important as identifying ripeness signs. Picking too early leaves you with sour, starchy fruit, while waiting too long leads to mushy, pest-ridden plums that spoil quickly.
Seasonal Windows by Variety
Most plum varieties follow predictable seasonal ripening patterns, though exact dates shift year to year:
- Early Japanese plums: ripe in early to mid-July (USDA zones 5–9)
- European plums: ripe in mid-August to early September
- Late varieties (Damsons, Greengages): ripe in late September to early October
- Mirabelle plums: ripe in late August to mid-September in most regions
For region-specific ripening timelines tailored to your USDA hardiness zone, the University of Minnesota Extension’s plum growing guide provides detailed, research-backed data to help you plan your harvest.
How Local Climate Shifts Harvest Dates
Weather in the 2–3 weeks before harvest has an outsized impact on plum flavor and ripeness speed:
- Consistent warm days (75–85°F / 24–29°C) speed up sugar development and can ripen plums 1–2 weeks earlier than average
- Excess rain within 2 weeks of harvest dilutes natural sugars, leading to bland, watery fruit even if the plums look ripe
- Late spring frosts that kill blossoms will delay harvest by 2–3 weeks, and may reduce overall yield
- Unusually cool summer temperatures can leave plums hard and low in sweetness even when their color is fully developed
Tracking local weather patterns and adjusting your harvest schedule accordingly will help you catch plums at their sweetest, even in unpredictable growing conditions.
When Natural Fruit Drop Signals Peak Ripeness
One of the most reliable natural signs that your plums are ready to pick is when 10–15% of the fruit on the tree drops on its own. Ripe plums naturally detach from the branch when they reach peak sugar content, so this drop is a clear signal that the remaining fruit is ready to harvest. Be sure to pick up dropped plums within 24 hours, as fruit that sits on the ground will ferment quickly and attract pests.
 Plums on the branch showing early color change, 1-2 weeks from full ripeness
Credit: www.reddit.com
Plums on the branch showing early color change, 1-2 weeks from full ripeness
Credit: www.reddit.com
How to Pick Perfect Ripe Plums at the Grocery Store
Most store-bought plums are picked slightly underripe to survive shipping and handling, so they’ll continue to ripen after you bring them home. Use these tips to pick the best options at the store:
What to Avoid on the Shelf
Skip plums with any of these red flags, as they will never ripen properly:
- Large patches of green skin, especially near the stem
- Cracks, cuts, or soft, sunken spots
- Wrinkled or shriveled skin, which indicates age and moisture loss
- Mold or fuzz around the stem end
The 3-Step In-Store Ripeness Test
If you’re unsure whether a plum is ready to eat now or needs a few days to ripen, run through this quick check:
- Press test: Gently press the equator of the plum — if it yields slightly, it’s ready to eat now; if it’s rock hard, it needs 2–3 days at room temperature
- Smell test: A sweet, fruity aroma near the stem means it’s ripe; no scent means it needs more time
- Stem check: Look for a small gap between the stem and the fruit — this indicates the plum has naturally detached from the branch and is fully mature
Safe Harvesting Techniques for Homegrown Plums
If you’re picking plums from your own tree, proper handling will keep your fruit bruise-free and extend its shelf life:
Gentle Handling to Prevent Bruising
Plums have thin, delicate skin that bruises easily, and even small bruises speed up spoilage and mealy texture. Twist ripe plums gently with a quarter-turn to detach them from the branch — never pull or yank, as this tears the stem and leaves an open wound that lets in rot-causing bacteria. Handle each plum as if it’s ready to eat immediately to avoid damaging the skin.
Tools to Protect High-Branch Fruit
For plums growing out of easy reach, use these tools to harvest without damaging the fruit or tree:
- Padded picking baskets or soft cloth bags to collect fruit without bruising
- Long-handled fruit pickers with soft, rubberized heads to grasp fruit without squeezing
- Sharp, clean pruning shears to cut stems ½ inch above the fruit if plums cling stubbornly, avoiding tears to the fruit skin
Store your padded picking basket in a kitchen drawer secured with no-drill drawer locks to keep it out of reach of toddlers.
Post-Harvest Sorting to Extend Freshness
As soon as you bring your harvest inside, sort through the plums and remove any that are damaged, bruised, or have soft spots. Damaged plums release ethylene gas as they spoil, which will cause the rest of your harvest to ripen (and rot) much faster. Use a soft-bristled cleaning brush to gently wipe off any field dirt from homegrown plums before storing them.
Storing and Ripening Plums After Pick or Purchase
How you handle plums after picking or buying will make or break their flavor and shelf life:
Room Temperature Ripening Hacks
If your plums are underripe, store them at room temperature (65–70°F / 18–21°C) away from direct sunlight, and check them daily for softness and aroma. To speed up ripening by 1–2 days, place plums in a paper bag with a ripe banana or apple — these fruits release high levels of ethylene gas, which triggers faster ripening. Keep plums in a single layer while ripening, as piling them causes pressure bruising.
Cold Storage for Ripe Plums
Once plums are fully ripe, move them to the refrigerator to slow further ripening and extend their shelf life. Store them in the crisper drawer at 32–40°F (0–4°C) in a perforated plastic bag or ventilated container to prevent moisture buildup, which causes mold. Keep plums away from strong-smelling foods like onions, garlic, and fish, as they absorb odors easily. Ripe plums will last 3–5 days in the fridge. If you have young children, secure your fridge and lower kitchen shelves with childproof cabinet locks to keep small hands away from hard plum pits and choking hazards.
Freezing Plums for Long-Term Use
If you have more plums than you can eat fresh, freezing is a great way to preserve their flavor for 6–8 months. Pit and slice plums into even wedges, spread them in a single layer on a baking sheet to freeze solid, then transfer to an airtight freezer bag. Frozen plums are perfect for smoothies, baked goods, and sauces.
Common Plum Ripening Mistakes to Skip
Even experienced plum lovers make these common errors that ruin flavor and texture:
- Refrigerating underripe plums: Cold temperatures halt ethylene production, so plums chilled before they’re fully ripe will never develop their full sweetness and will stay hard forever. Always ripen plums at room temperature first.
- Relying only on color: As noted earlier, Greengage plums stay green when ripe, and some Japanese varieties may have green shoulders even when fully mature. Always pair color checks with firmness and smell tests.
- Piling plums during ripening: Stacking plums puts pressure on the bottom fruit, causing bruises and rot that spread quickly. Keep them in a single layer in a basket or on a countertop.
- Ignoring small bruises: Even tiny, barely visible bruises will spread and turn the entire plum mealy and sour within 1–2 days. Use bruised plums immediately for cooking or jam, rather than eating them raw.
- Waiting too long to harvest dropped fruit: Plums that fall from the tree and sit on the ground for more than 24 hours will ferment and develop off-flavors. Only use plums that were dropped within the last few hours, and only if they are undamaged.
Pro Tips for Peak Plum Flavor
These expert tricks will help you get the most out of every plum you pick or buy:
Speed Up Ripening for Underripe Fruit
If you need plums to ripen faster than the standard 1–3 days, place them in a paper bag with a ripe banana and leave them in a warm, sunny spot (like a windowsill) — this combination of ethylene gas and warmth can cut ripening time in half. Check them every 12 hours, as they can go from underripe to overripe very quickly with this method.
Choose the Right Ripeness for Your Recipe
Not all plums need to be perfectly soft for eating raw:
- Firm, slightly underripe plums hold their shape best for grilling, baking, and savory dishes
- Perfectly ripe, soft plums are ideal for fresh eating, salads, and desserts
- Overripe, mushy plums are perfect for jams, sauces, and smoothies, where their extra sweetness shines
Safe Handling of Homegrown Plums
If you grow plums at home, always wash them thoroughly before eating to remove pesticide residue, dirt, or debris, following FDA produce safety guidelines for raw fruit consumption. Wait at least 3 days after the last pesticide application before harvesting to avoid residue on the fruit skin.
Serving and Prep Tips
For a polished presentation, you can engrave a wooden cutting board to display your fresh plum harvest for guests. After prepping plums for jam or baking, a kitchen scrub brush set makes quick work of sticky fruit residue on countertops and cutting boards. Avoid storing plums near pungent foods like onions or garlic, which can taint their delicate flavor — a heavy-duty scrubbing tool can help remove any absorbed odors from pantry surfaces if needed.
Frequently Asked Questions
Do plums continue to ripen after being picked?
Yes, plums are climacteric fruit, meaning they continue to ripen after harvest as they produce ethylene gas. Store underripe plums at room temperature (65–70°F / 18–21°C) and they will soften and develop sweetness over 1–3 days. Never refrigerate underripe plums, as cold temperatures halt the ripening process entirely.
Why are my plums hard even when fully colored?
Color is only one ripeness indicator, and some varieties (like Greengages) stay green even when fully ripe. Cold weather, excess rain, or early picking can also leave plums hard and low in sugar even when their color is fully developed. Use the gentle press and smell test to confirm ripeness, rather than relying on color alone.
Can I eat a plum that’s still green?
It depends on the variety: Greengage plums are fully ripe and sweet when pale green, but other varieties with green skin are almost always underripe and will taste sour and starchy. If you’re unsure, run the press and smell test to confirm.
How long do plums take to ripen at room temperature?
Underripe plums typically take 1–3 days to ripen at standard room temperature. Plums that are very firm with almost no color change may take up to 5 days, while plums that are already soft and mostly colored may be ready to eat in 1 day. Using a paper bag with a ripe banana or apple can cut this time in half.
When is a plum too ripe to eat?
Plums are too ripe to eat raw if they are mushy, leak juice when pressed, have a fermented or sour smell, or have soft, sunken spots. These plums are still safe to use for jam, sauce, or baking, but will not have the sweet, juicy texture ideal for fresh eating.
Conclusion
Ripeness comes down to three simple, reliable checks: color matched to your plum’s variety, a gentle press that yields slightly without bruising, and a sweet, floral aroma near the stem. Whether you’re shopping at the grocery store, harvesting from your backyard tree, or ripening a bag of underripe plums at home, these tips will help you skip sour, hard plums and enjoy juicy, sweet flavor every time. Peak plum season only lasts 6–8 weeks each year, so grab a basket, test these signs, and enjoy the best of summer’s stone fruit while it lasts!

I’m Abby Lu, a passionate home cook who loves simplifying everyday meals. At PlugChef.com, I share product reviews and cooking guides to help you find the best tools for your kitchen.
Related posts:
 How to Make a Fruit Basket for a Gift: Easy DIY Guide
 Do You Need a Basket? Essential Guide for Air Fryers
 What Blenders Do Tropical Smoothie Use: Expert Insights
Stainless Steel Vs White Kitchen Appliances: Ultimate Showdown
What Blenders Do Tropical Smoothie Use: Expert Insights
Stainless Steel Vs White Kitchen Appliances: Ultimate Showdown
 Kitchen Appliances for Wedding Registry: Must-Have Essentials
 Top 10 Best Non-Toxic Cooking Utensils – Safe & Durable Choices for Healthy Homes

