
Whether you’re saving egg shells to boost calcium in your garden compost, craft holiday mosaics, or add a nutrient-rich twist to baked goods and pet food, proper cleaning is the first step to safe, usable results. Unwashed egg shells can harbor Salmonella enteritidis, a bacteria that causes food poisoning, and may carry dirt, debris, or absorb odors from your fridge that ruin end-use projects. This guide walks through proven, food-safe cleaning methods, tool recommendations, and storage tips to get your egg shells sparkling, intact, and ready for any project, with guidance aligned to current food safety standards from the FDA and University of Minnesota Extension.
Why Proper Egg Shell Cleaning Is Non-Negotiable
Skipping the cleaning step puts you at risk of foodborne illness and ruins the quality of your finished projects, no matter your intended use for the shells.
Food Safety Risks of Unwashed Shells
Per FDA egg safety guidelines, Salmonella enteritidis can survive on egg shell surfaces even after standard refrigerator storage, and can transfer to egg contents or other surfaces if shells are cracked during handling. Even if you don’t plan to eat the shells directly, unwashed shells can cross-contaminate other foods in your kitchen if stored near produce or ready-to-eat items. Egg shells are also highly porous: per University of Minnesota Extension egg safety guidance, they are 95% calcium carbonate, meaning they absorb odors and bacteria from their environment quickly if left unwashed.
Benefits Across Culinary, Gardening, and Craft Use Cases
Properly cleaned shells deliver better results no matter your end use:
- Culinary: Washed shells can be ground into a fine powder to add calcium to baked goods, smoothies, or pet food toppers, with no off-flavors from residual egg residue or fridge odors.
- Gardening: Clean, dry shells break down faster in compost piles and don’t introduce bacteria that could harm beneficial soil microbes.
- Crafts: Spotless shells hold paint, glue, and decorative elements better, and won’t develop mold or bad odors when stored for project use.
 Soft natural bristle brushes lift dirt without scratching the porous egg shell surface
Credit: lisalapaso.com
Soft natural bristle brushes lift dirt without scratching the porous egg shell surface
Credit: lisalapaso.com
Pre-Cleaning Prep: Set Yourself Up for Success
Taking 2 minutes to prep your shells before washing will make the cleaning process faster and reduce the risk of breakage:
- Separate shells from eggs immediately after cracking, and discard any shells with cracks, punctures, or residual egg membrane stuck to the interior.
- Sort shells by intended use: set aside shells you plan to use for culinary or pet use separately from those for gardening or crafts, as culinary use requires stricter sanitization.
- If you’re working with a large batch of shells, you can store them in a sealed container in the fridge for up to 2 days before cleaning to avoid odors spreading to other foods. If you’re cracking eggs directly into a cast iron skillet for breakfast, you can skip the separate sorting step and clean shells immediately after cooking, then reuse them for cast iron egg cooking projects later.
Essential Tools and Safe Cleaning Agents
Using the right tools and non-toxic solutions protects the shell’s structure and keeps it safe for all use cases.
Choosing the Right Scrubbing Tools
Abusive scrubbing is the top cause of cracked, unusable egg shells, so opt for soft, non-abrasive tools:
- A soft natural-bristle brush (like a clean toothbrush or produce brush) is ideal for scrubbing stuck-on residue without scratching the porous calcium carbonate surface.
- Microfiber cloths work well for wiping light dirt off intact whole shells.
- Avoid steel wool, rough sponges, or stiff-bristle brushes, which can create micro-abrasions where bacteria can hide and weaken the shell structure. As a pro tip, the same soft-bristle brush you use for egg shells works wonders for gentle enamel cookware cleaning without scratching delicate surfaces, making it a versatile addition to your kitchen tool kit.
Non-Toxic Cleaning Solutions for Every Use Case
Stick to mild, food-safe solutions to avoid leaving harmful residues on shells you plan to use for eating or pet care:
- For light dirt: Cool or warm running water is sufficient for most shells.
- For stubborn stains or odors: Diluted white vinegar (1 part vinegar to 4 parts water) or a baking soda paste (1 part baking soda to 2 parts water) lifts residue without damaging the shell. Avoid bleach, harsh dish soap, or industrial cleaners, which can leave toxic residues and weaken the calcium carbonate structure.
- For culinary use: You can add a food-safe sanitizer like a diluted hydrogen peroxide solution (3% hydrogen peroxide mixed 1:1 with water) for an extra layer of safety, per University of Minnesota Extension egg safety guidance.
Step-by-Step Cleaning Methods for Every Purpose
Different use cases require slightly different cleaning protocols to balance safety and shell integrity.
Standard Cleaning for Gardening and Craft Use
This method works for shells you’ll use for compost, mosaics, or other non-culinary projects:
- Rinse shells under cool running water to remove loose dirt and debris.
- Gently scrub the inside and outside of the shell with a soft-bristle brush to remove stuck-on egg membrane or residue.
- For shells with stubborn stains, soak in diluted vinegar or baking soda solution for 5-10 minutes, then scrub again.
- Rinse thoroughly under running water to remove all cleaning solution residue.
Sanitized Cleaning for Culinary and Pet Use
If you plan to use shells for human or pet consumption, follow this extra step to kill surface bacteria:
- Follow the standard cleaning steps above first.
- Submerge cleaned shells in a pot of boiling water for 1 minute, or soak in a diluted hydrogen peroxide solution (1:1 ratio with 3% hydrogen peroxide) for 2 minutes.
- Rinse thoroughly under running water to remove all sanitizer residue.
- Proceed to drying steps immediately to avoid bacterial growth. In practice, this extra sanitization step takes less than 5 minutes total, and eliminates nearly all surface Salmonella risk when done correctly, per FDA egg safety guidelines.
Tackling Stubborn Stains and Residue
For shells with dark, stuck-on egg membrane or fridge stains:
- Soak in warm (not hot) soapy water for no more than 2 minutes, then scrub with an old soft toothbrush to lift residue. Hot water will cook the membrane onto the shell, making it far harder to remove.
- For discoloration from refrigerated storage, soak in a solution of 1 part lemon juice to 4 parts water for 5 minutes, then scrub and rinse. A common mistake is soaking shells for 20+ minutes to remove stains, which softens the calcium carbonate structure and causes shells to crumble when you crush them for compost or grind them for culinary use. Limit all soaking times to 10 minutes maximum for best results.
Drying and Long-Term Storage Best Practices
Drying shells completely before storage is critical to prevent mold, bad odors, and bacterial growth:
- Air drying: Spread shells in a single layer on a clean kitchen towel in a warm, dry, well-ventilated area. This takes 1-2 hours for small batches, and is the most energy-efficient option.
- Oven drying: For faster results, place shells on a baking sheet in a preheated oven at 200°F (93°C) for 10 minutes. Turn off the oven and let shells cool completely in the closed oven to avoid cracking from sudden temperature changes.
Once fully dry, store shells based on your intended use:
- Culinary/pet use: Grind shells into a fine powder using a clean coffee grinder or mortar and pestle, then store in an airtight container in a cool, dark pantry for up to 6 months.
- Gardening/craft use: Store whole or crushed shells in an airtight, light-proof glass jar or resealable plastic bag in a cool, dry spot for up to 1 year. The same quick-rinse technique you use for pre-washing dishes applies here, and can help cut down on excess water use during shell cleaning. For more efficient kitchen habits, check out our efficient kitchen rinsing guide. Cleaned egg shells make a great calcium-rich addition to holiday baking projects like crust toppers or garnish for festive desserts, and will stay fresh for months when stored properly.
A 5-10 minute vinegar soak breaks down stuck-on residue and neutralizes surface bacteria
Credit: www.lemon8-app.com
Common Cleaning Mistakes to Avoid
Even small errors can ruin your shells or create health risks. Keep these pitfalls in mind:
- Over-soaking weakens shell structure: Soaking shells for longer than 10 minutes softens the calcium carbonate outer layer, making shells prone to cracking during handling or drying. Extended soaking also allows water to seep into the porous shell interior, creating a breeding ground for bacteria if shells aren’t dried thoroughly.
- Harsh chemicals leave harmful residue: Bleach, industrial degreasers, and scented dish soaps can leave toxic residues on shells that are impossible to fully rinse off, even with thorough washing. These residues are dangerous if shells are used for culinary or pet use, and can also damage craft projects by discoloring the shell surface.
- Improper handling causes cracks and contamination: Dropping, squeezing, or stacking wet shells during cleaning can cause cracks that let bacteria inside the shell. Handle shells gently at every step, and avoid using cracked shells for any use case, as they are impossible to fully sanitize.
- Using hot water for cleaning: Hot water cooks the thin inner membrane onto the shell surface, making it far harder to remove stuck-on residue. Always use cool or warm (not hot) water for all cleaning steps.
Troubleshooting Persistent Issues
Even with proper technique, you may run into occasional issues with your egg shells:
- Persistent odor after cleaning: If shells still smell like raw egg after washing and drying, they likely have residual membrane stuck to the interior. Soak in diluted vinegar for 5 minutes, scrub the inside of the shell thoroughly, then re-dry. If the odor remains, discard the shells—they are not safe for culinary use.
- Mold growth on stored shells: This is almost always caused by inadequate drying before storage. Discard any moldy shells, and ensure all shells are completely dry to the touch before storing in the future.
- Shells break during grinding: If shells crumble when you try to grind them for culinary use, they were likely over-soaked or dried at too high a temperature. Adjust your soaking and drying times for future batches. For other safe ways to prepare eggs for meals, check out our safe egg prep guides for step-by-step instructions.
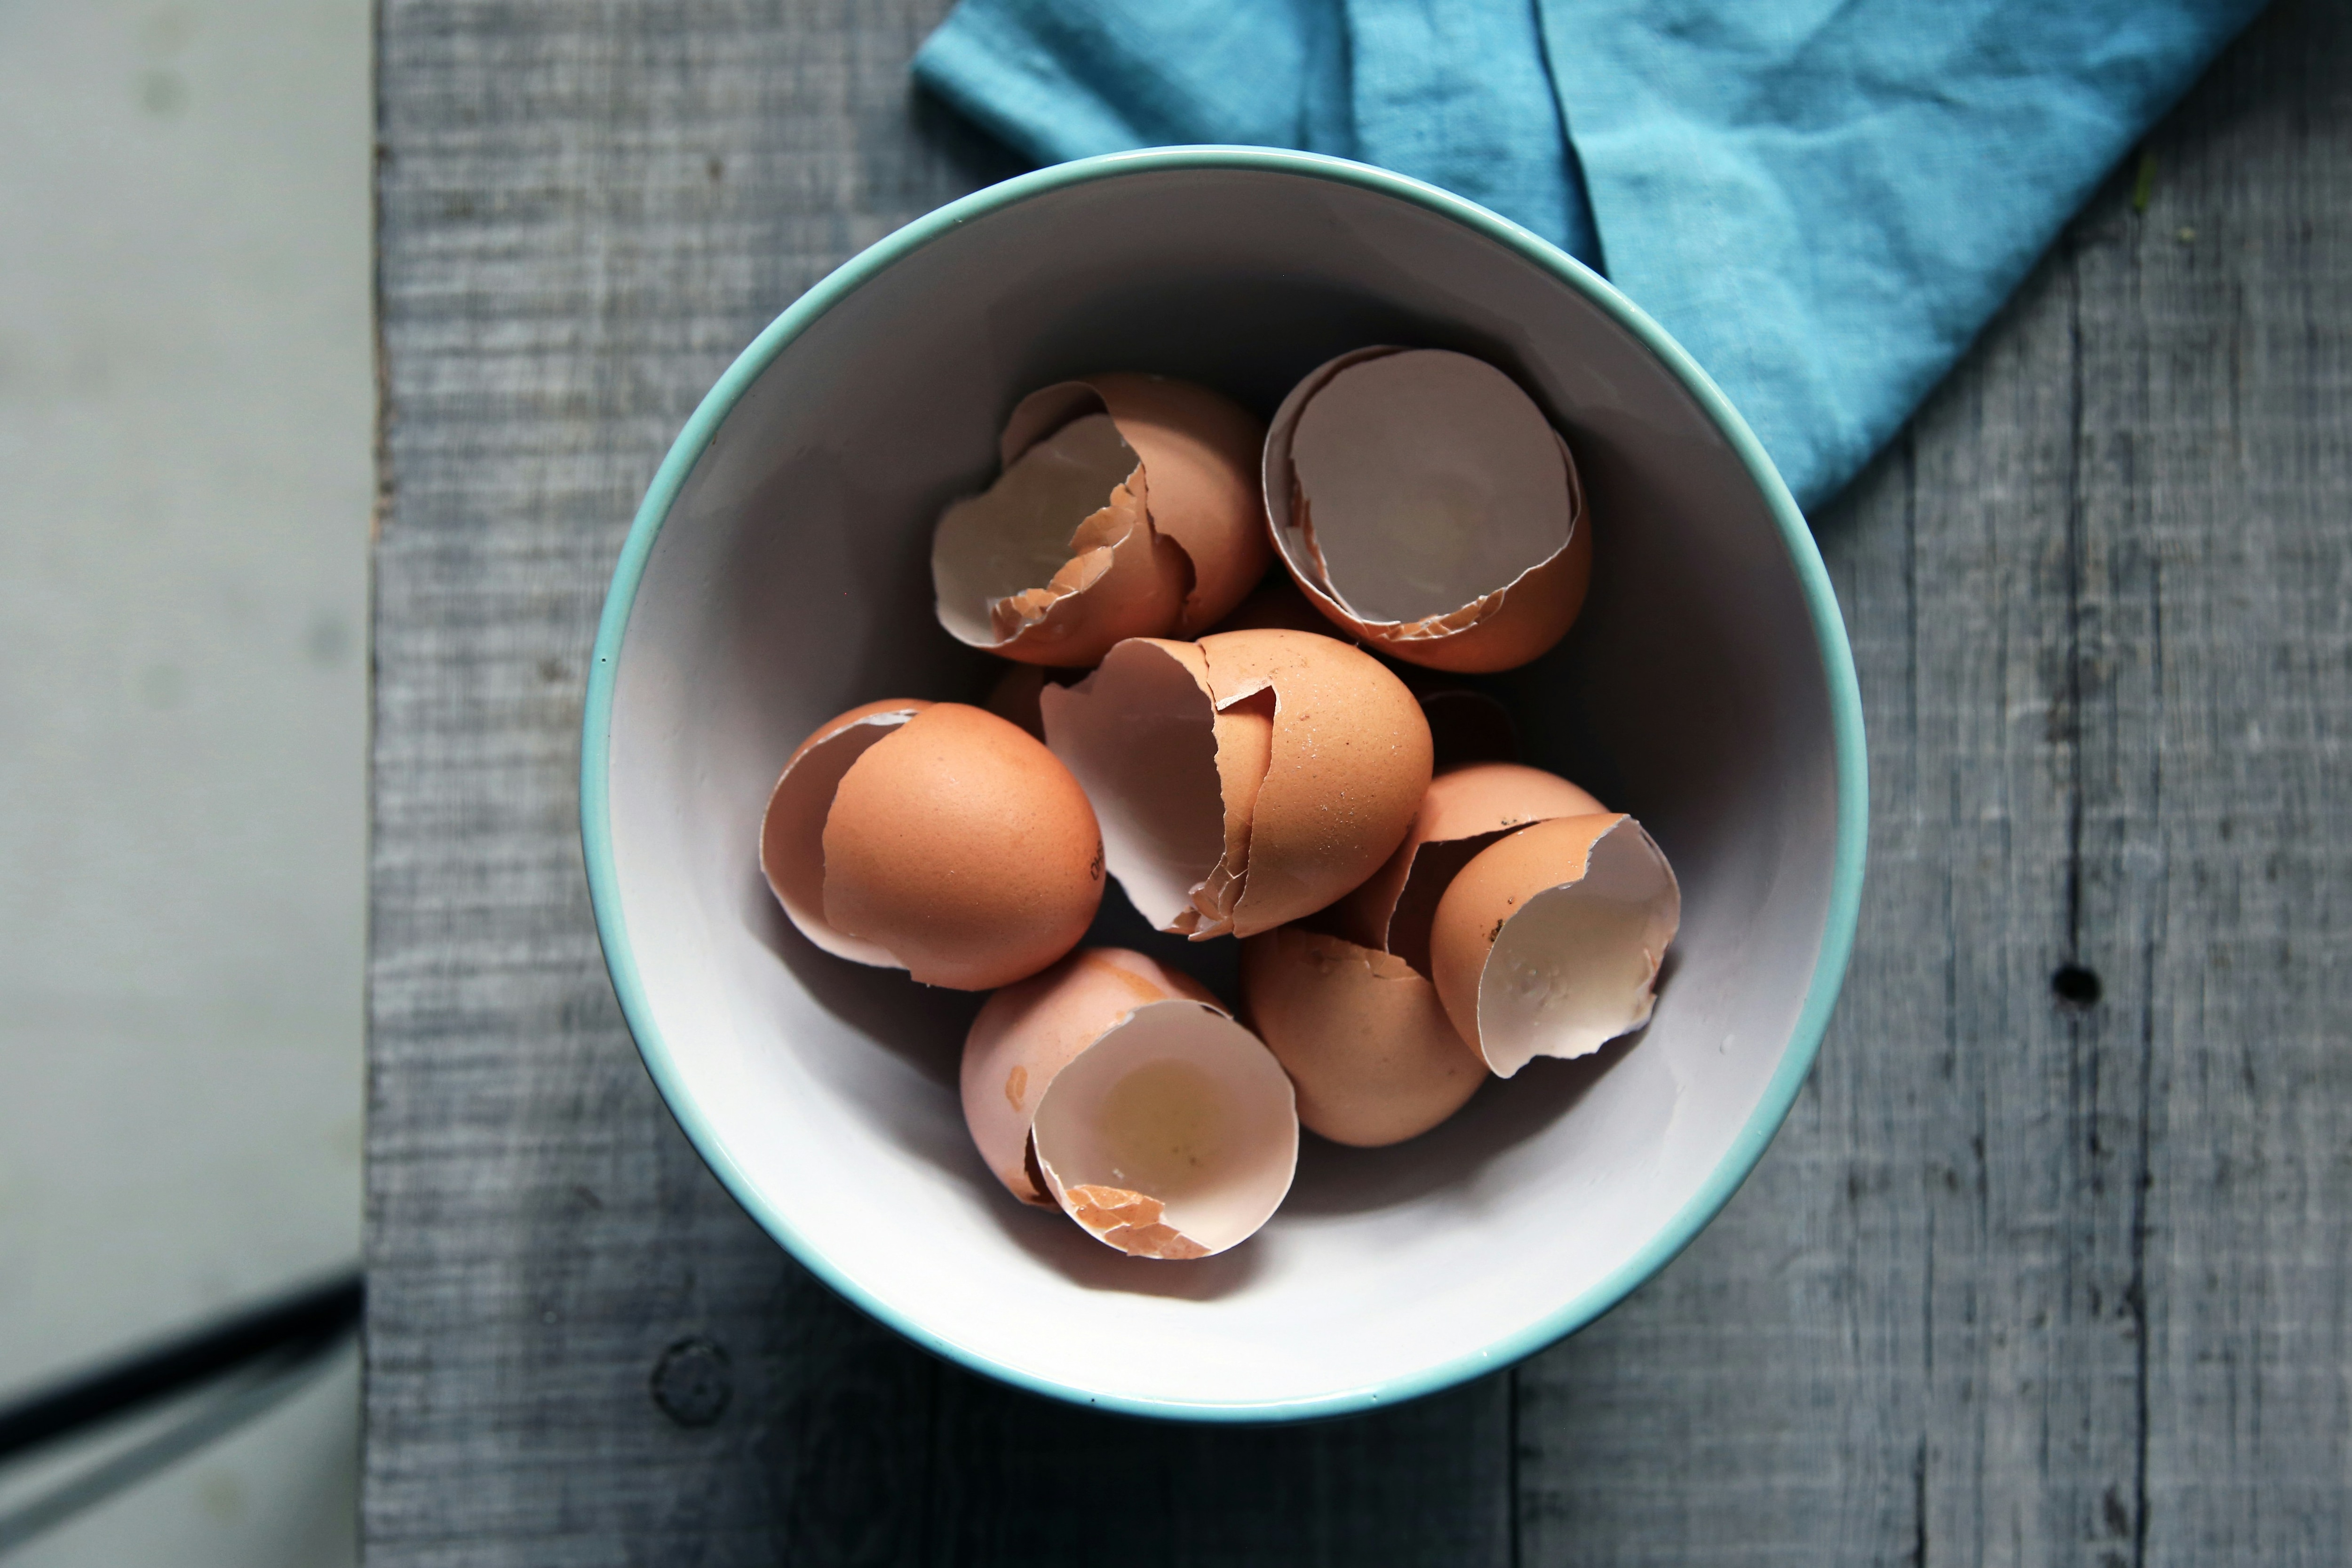 Airtight, light-blocking storage prevents moisture absorption and keeps shells fresh for up to 6 months
Credit: www.ndtv.com
Airtight, light-blocking storage prevents moisture absorption and keeps shells fresh for up to 6 months
Credit: www.ndtv.com
Frequently Asked Questions
How Do You Clean Eggshells Safely?
To clean eggshells safely, start by prepping them to discard any cracked or damaged shells. Rinse under cool running water, gently scrub with a soft-bristle brush to remove residue, and for culinary use, sanitize by boiling for 1 minute or soaking in diluted hydrogen peroxide for 2 minutes. Always dry shells completely before storing or using to prevent bacterial growth.
Can I Use Vinegar To Clean Eggshells?
Yes, diluted white vinegar is a safe, effective cleaning agent for egg shells. Mix 1 part white vinegar with 4 parts water, soak shells for 5-10 minutes to lift stains and neutralize bacteria, then rinse thoroughly under running water to remove all vinegar residue. Avoid using full-strength vinegar, as it can weaken the shell surface over time.
Why Should Eggshells Be Cleaned Before Use?
Cleaning egg shells removes surface dirt, Salmonella bacteria, residual egg membrane, and fridge odors that can ruin end-use projects. For culinary use, cleaning eliminates the risk of foodborne illness. For gardening and crafts, clean shells break down faster in compost, hold paint and adhesives better, and won’t develop mold or bad odors during storage.
What Is The Best Way To Dry Cleaned Eggshells?
Air drying is the best method for most home users: spread shells in a single layer on a clean kitchen towel in a warm, dry, well-ventilated area for 1-2 hours until completely dry to the touch. If you’re short on time, oven drying at 200°F (93°C) for 10 minutes works well, but avoid high temperatures which can make shells brittle. Never store shells that are even slightly damp, as moisture will cause mold growth within days.
Conclusion
Cleaning egg shells is a quick, low-effort task that makes a huge difference in safety and usability, no matter if you’re using them for cooking, gardening, or crafts. Stick to soft tools, mild cleaning solutions, and proper drying and storage to keep your shells intact, odor-free, and safe for any project. Avoid over-soaking, harsh chemicals, and improper handling to get the best results every time. If you’re looking for creative ways to use your cleaned egg shells in the kitchen, explore our library of creative egg recipes for inspiration.

Hi, I’m Daniel Brooks—a food lover and kitchen gear enthusiast. I enjoy testing cookware, utensils, and gadgets to see what really works in everyday cooking. At PlugChef.com, I share honest reviews, comparisons, and simple guides to help you choose the best tools for a safer, smarter, and more enjoyable kitchen.
Related posts:
 How to Make a Fruit Basket for a Gift: Easy DIY Guide
 Do You Need a Basket? Essential Guide for Air Fryers
 How to Adjust Syrup Dispenser Pressure: Expert Tips
 Kitchen Cabinets With Black Appliances: Trendy Design Tips
 White Kitchen And Stainless Steel Appliances: A Perfect Duo
 Kitchen Colors With White Cabinets And White Appliances: Vibrant Ideas

