

If you’ve just bought a spiral sliced ham, you probably want it to taste perfect when it hits your table. But heating it the wrong way can leave your ham dry or unevenly warmed.
Don’t worry—this guide will show you simple, foolproof steps to heat your spiral sliced ham so it stays juicy and full of flavor. Keep reading to discover easy tips that will make your next meal shine and impress everyone at your table.
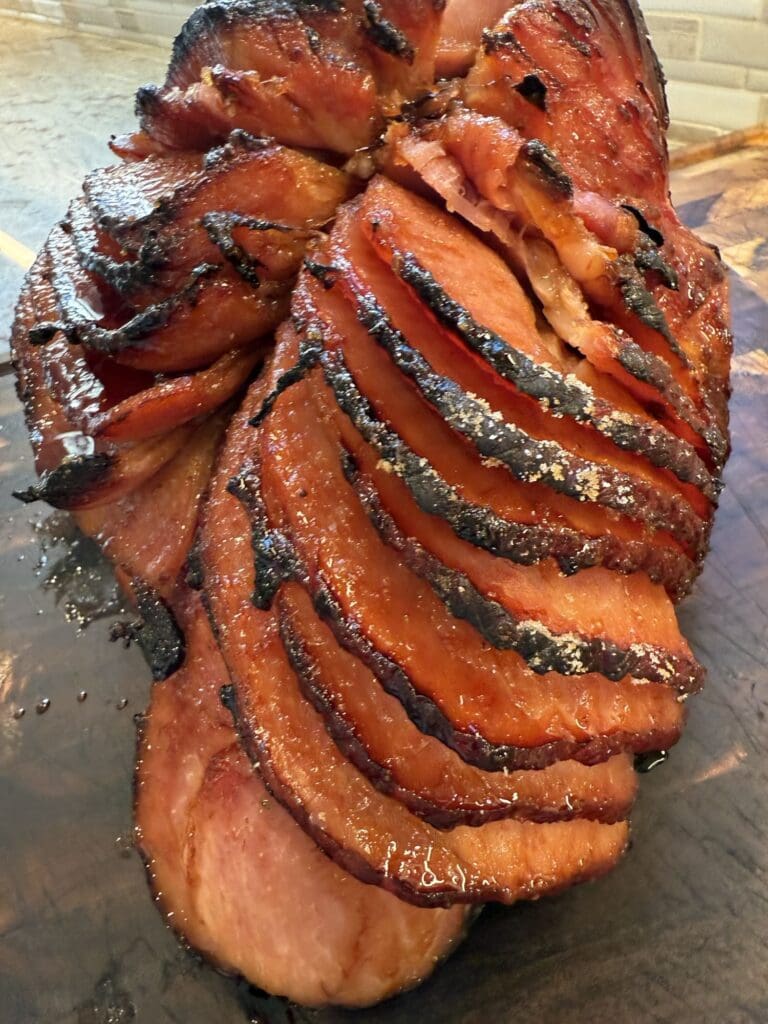
Credit: aldentediva.com
Choosing The Right Ham
Choosing the right spiral sliced ham sets the stage for a delicious meal. Different types offer unique flavors and textures. Knowing these options helps pick the perfect ham for your occasion.
Types Of Spiral Sliced Ham
Spiral sliced hams come in various types, each with its own taste and preparation style. Some common types include:
- Bone-in Ham:Retains moisture and flavor. Slices easily along the bone.
- Boneless Ham:Easier to carve and serve. Slightly less juicy than bone-in.
- Smoked Ham:Has a rich, smoky flavor. Adds depth to your meal.
- Honey-Glazed Ham:Sweet and savory. Often pre-glazed for convenience.
Pre-packaged Vs Fresh Ham
Pre-packaged spiral sliced hams are ready to heat and serve. They save time and offer consistent quality. Many come pre-glazed or flavored.
Fresh hams need more preparation. They allow control over seasoning and glaze. Fresh options may taste fresher and less processed.
Both types heat well. Choose based on your time, taste preferences, and meal plan.
Preparation Before Heating
Before you heat your spiral sliced ham, taking a few careful preparation steps can make a big difference in flavor and texture. Proper preparation ensures even heating and helps you avoid common pitfalls like drying out the meat. Let’s look at what you need to do before you even turn on the oven.
Removing Packaging
Start by carefully removing all packaging from the ham. Most spiral sliced hams come wrapped in plastic or sealed in a vacuum bag. Leaving this on during heating can cause uneven cooking or even melting of plastic, which is unsafe.
Check for any metal clips or ties holding the ham in place and remove them. These can damage your oven or cause sparks. Also, keep the ham on its original tray or place it in a roasting pan to catch any juices that might leak during heating.
Thawing Frozen Ham
If your ham is frozen, thaw it completely before heating. This step is crucial to ensure the ham heats evenly and stays juicy. Thawing in the refrigerator is the safest method; plan for about 4-6 hours per pound.
In a pinch, you can thaw the ham in cold water, but make sure it’s in a leak-proof bag and change the water every 30 minutes. Never try to heat or cook a frozen ham directly, as the outside may overcook while the inside remains cold.
Have you ever rushed heating a frozen ham and ended up with uneven slices? Taking your time with thawing pays off in better taste and texture every time.
Oven Heating Techniques
Preparing a spiral sliced ham in the oven can enhance its flavors. This method ensures even heating and a juicy outcome. It’s important to follow the right steps for the best results. Let’s explore the essential oven heating techniques below.
Optimal Temperature Settings
Set your oven to 275°F (135°C) for slow, even heating. This temperature helps preserve the ham’s moisture and flavor. Preheat the oven before placing the ham inside.
Covering And Wrapping Tips
Wrap the ham in aluminum foil for even heat distribution. This prevents the edges from drying out. Ensure the foil covers the ham completely, sealing in moisture. Use a shallow roasting pan to hold the wrapped ham.
Heating Time Guidelines
Allow 10 minutes per pound for heating. For a 10-pound ham, plan for about 1 hour and 40 minutes. Check the ham’s internal temperature with a meat thermometer. It should reach 140°F (60°C) for safe consumption.
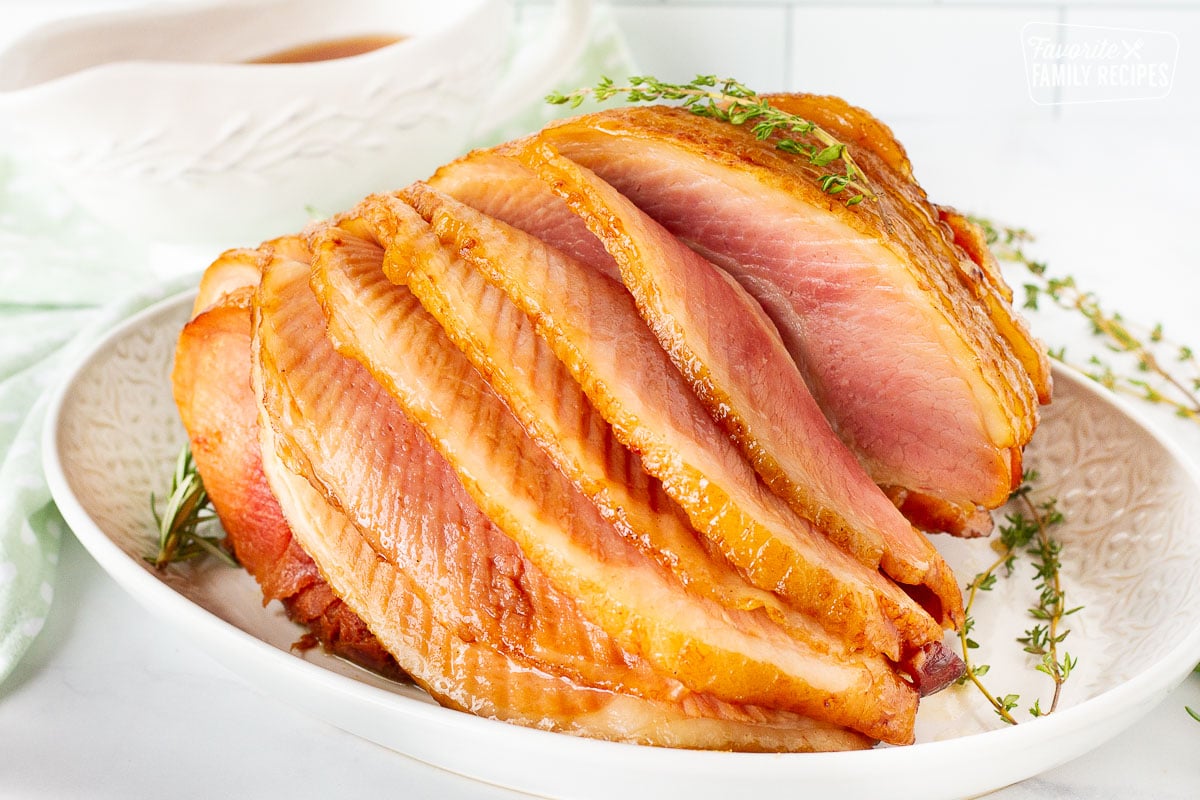
Credit: www.favfamilyrecipes.com
Microwave Heating Tips
Heating spiral sliced ham in the microwave is a quick and convenient way to enjoy a warm meal without waiting for the oven. However, microwaving can sometimes lead to uneven heating or a dry texture if not done carefully. These microwave heating tips will help you keep your ham juicy and delicious every time.
Safe Microwave Settings
Set your microwave to medium or medium-high power rather than full power. High heat can cause the edges to overcook while the center remains cold. A lower setting allows the ham to heat evenly and retain moisture.
Heat the ham in short intervals, around 1 to 2 minutes each, checking the temperature in between. This prevents overheating and lets you control the heat better.
Using Microwave-safe Covers
Cover your ham with a microwave-safe lid or microwave-safe plastic wrap to trap steam. This steam keeps the ham moist during heating and prevents it from drying out.
Make sure the cover is vented slightly to allow steam to escape safely. This avoids pressure buildup that could cause splattering or uneven cooking.
Avoiding Dryness
Adding a splash of water, broth, or even a drizzle of glaze over the ham before microwaving helps maintain juiciness. The liquid turns into steam and keeps the meat tender.
Rest the ham for a few minutes after microwaving. This lets the heat distribute evenly, making every slice warm and soft rather than dry or tough.
Using A Slow Cooker
Using a slow cooker to heat your spiral sliced ham is a smart choice if you want to keep it juicy and tender without much fuss. This method allows the ham to warm evenly and soak up any flavors you add. Plus, it frees up your oven and stove for other dishes, making it perfect for busy days or holiday meals.
Setting Time And Temperature
Set your slow cooker to low heat to gently warm the ham without drying it out. A good rule of thumb is to heat the ham for about 4 to 5 hours, depending on its size. Avoid the temptation to crank the temperature; high heat can toughen the meat and ruin its texture.
Keep the lid on during cooking to trap moisture and heat. Resist the urge to check too often, as opening the lid releases heat and extends cooking time. Have you noticed how patience can make a big difference in tenderness?
Adding Moisture For Tenderness
Adding liquid to your slow cooker is essential to keep the ham moist. Use water, broth, apple juice, or even a mix of pineapple juice and brown sugar for a sweet glaze effect. The liquid should cover the bottom of the cooker but not submerge the ham completely.
Consider placing a layer of sliced onions or fruit under the ham to add flavor and help keep it elevated from the liquid. This simple step prevents the ham from sitting in too much liquid, which can make the bottom soggy. What flavors could you experiment with to make your ham uniquely yours?
Glazing And Flavor Enhancements
Glazing transforms a spiral sliced ham into a flavorful masterpiece. It adds a sweet, tangy, or spicy touch that enhances the ham’s natural taste. Glazes create a shiny, caramelized finish that looks great on any table. Simple ingredients can create rich, delicious flavors that everyone will enjoy.
Best Glaze Recipes
- Brown Sugar and Mustard:Mix brown sugar, Dijon mustard, and a splash of apple cider vinegar for a sweet and tangy glaze.
- Honey and Pineapple:Combine honey, pineapple juice, and a pinch of ground cloves for a tropical twist.
- Maple and Cinnamon:Blend pure maple syrup with ground cinnamon and a little orange juice for warmth and sweetness.
- Cherry and Balsamic:Use cherry preserves, balsamic vinegar, and a dash of black pepper for a fruity, rich flavor.
When To Apply Glaze
Apply glaze during the last 20 to 30 minutes of baking. This timing helps the glaze caramelize without burning. Brush the glaze over the ham every 10 minutes to build layers of flavor. Avoid glazing too early to prevent burning sugars. Let the ham rest briefly after baking to let flavors settle.
Serving And Storage
Serving and storing spiral sliced ham correctly makes all the difference in taste and safety. Knowing the right temperature to serve your ham ensures its flavors shine while keeping it juicy. Proper storage helps you enjoy leftovers without worrying about spoilage or loss of quality.
Ideal Serving Temperature
Spiral sliced ham tastes best when served warm, around 140°F (60°C). This temperature keeps the meat tender and enhances the glaze’s sweetness without drying it out.
Use a meat thermometer to check the temperature inside the thickest part of the ham. Avoid overheating, as it can cause the ham to become tough and lose its moisture.
Have you ever noticed how a slightly cooler ham can taste bland? That’s why reheating it gently and evenly matters.
Storing Leftovers Safely
After serving, cool the ham quickly to prevent bacteria growth. Wrap it tightly in aluminum foil or plastic wrap, or place it in an airtight container.
Store the ham in the refrigerator at or below 40°F (4°C). It will stay fresh for up to 3-5 days this way.
If you want to keep leftovers longer, slice the ham and freeze it in portions. Use freezer bags and press out excess air to avoid freezer burn. Frozen ham can last up to 2 months while maintaining good flavor.
Wondering how to reheat leftovers without losing moisture? Try reheating gently in the oven covered with foil or in a microwave on low power with a splash of water.
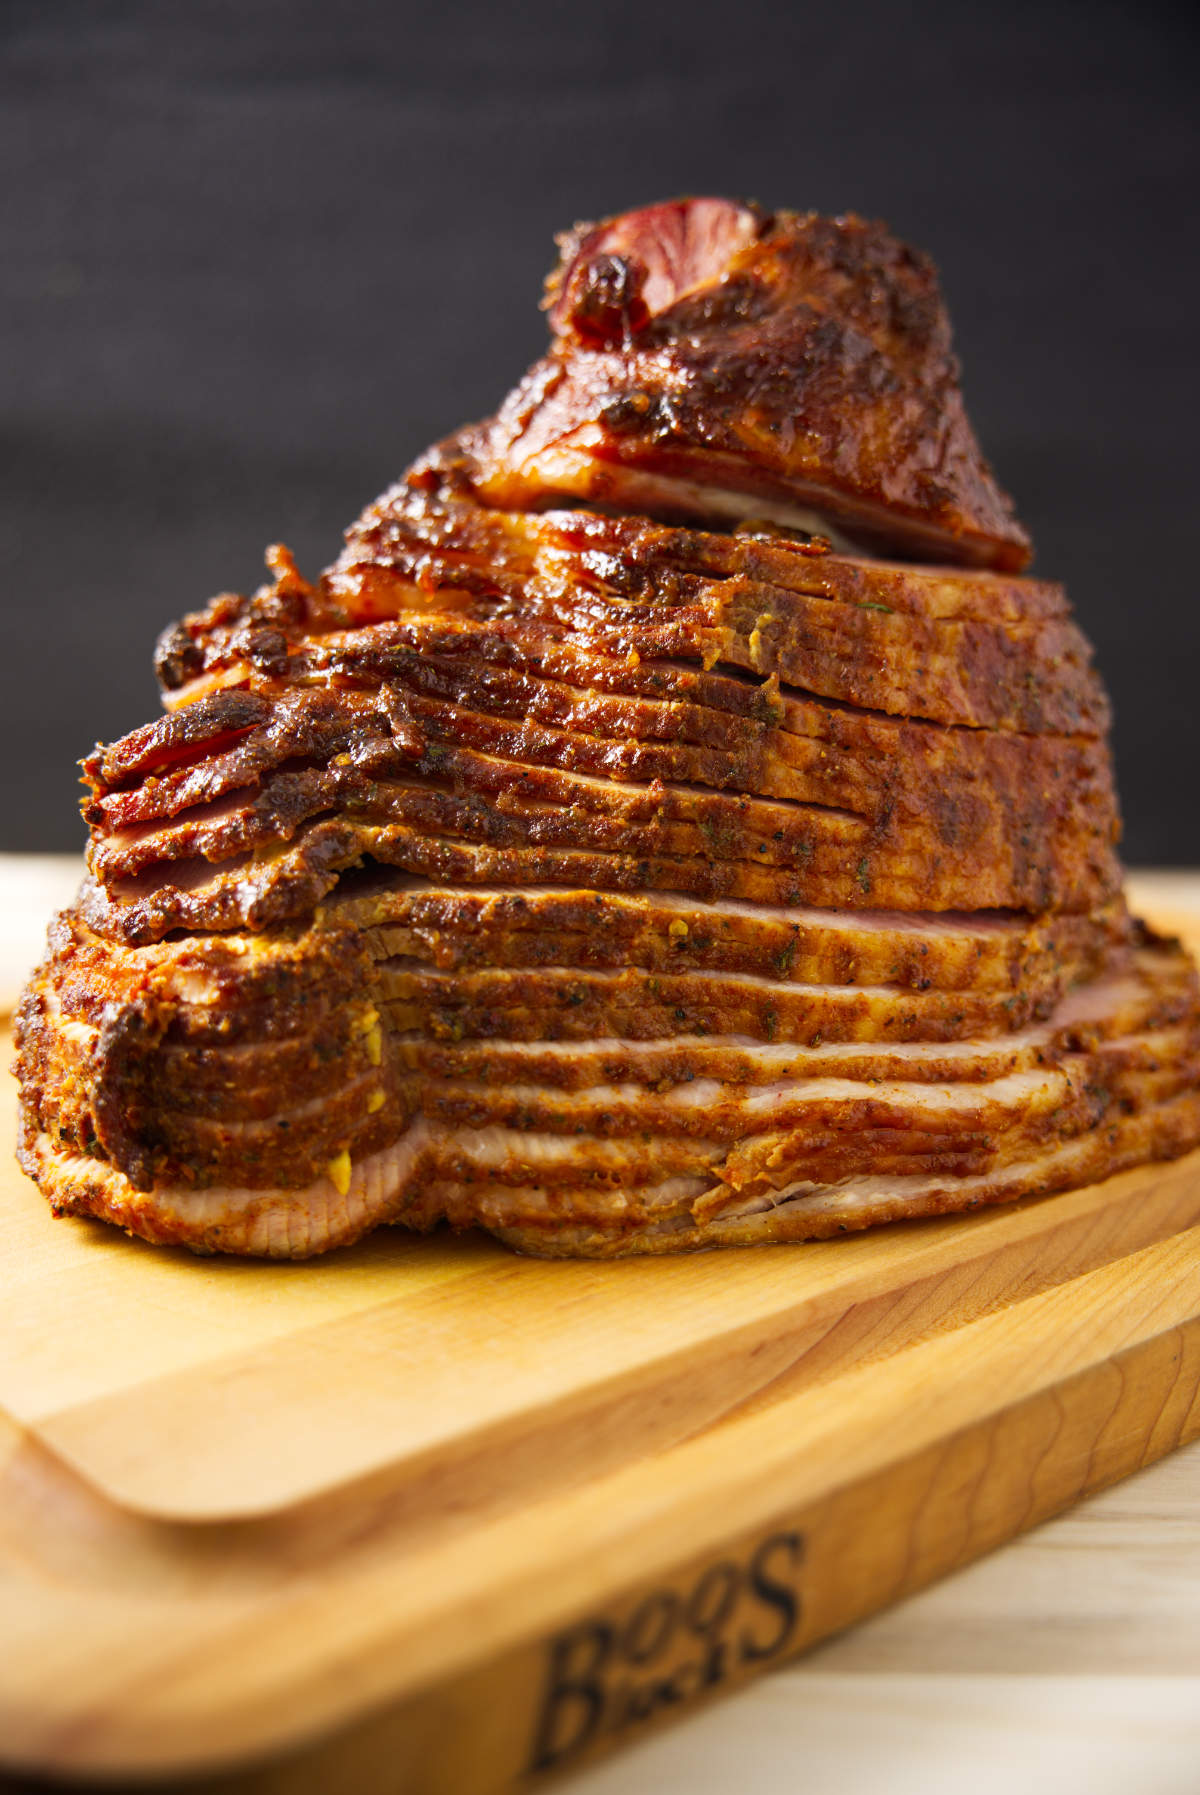
Credit: alicensetogrill.com
Frequently Asked Questions
How Long To Heat Spiral Sliced Ham In The Oven?
Heat spiral sliced ham at 275°F for 10-15 minutes per pound. Cover with foil to retain moisture. Check internal temperature to reach 140°F before serving.
Should I Add Water When Heating Spiral Sliced Ham?
Yes, adding a small amount of water or broth helps keep the ham moist. Place it in the baking pan to prevent drying out.
Can I Heat Spiral Sliced Ham In A Microwave?
Yes, but microwave heating can be uneven. Use medium power and heat in short intervals. Cover the ham to keep it moist.
Is It Necessary To Cover Ham While Heating?
Covering the ham with foil traps steam and prevents dryness. Remove foil in the last 10 minutes for a caramelized finish.
Conclusion
Spiral sliced ham heats quickly and stays juicy. Use low heat to avoid drying out the meat. Cover the ham with foil for even warming. Check the temperature to ensure it’s hot inside. Serve it fresh and enjoy every bite.
These simple steps help you get perfect results every time. Keep this guide handy for your next meal. Easy, tasty, and ready to share with family.

Hi, I’m Daniel Brooks—a food lover and kitchen gear enthusiast. I enjoy testing cookware, utensils, and gadgets to see what really works in everyday cooking. At PlugChef.com, I share honest reviews, comparisons, and simple guides to help you choose the best tools for a safer, smarter, and more enjoyable kitchen.
Related posts:
 What Type of Cooking Utensils are Safe: Expert Picks
 What Innovations Could Blenders Make: Unleashing Future Tech
 Smart Strategies to Organize a Small Kitchen: Maximize Space
 How to Organize a Kitchen Cabinet: Expert Tips & Tricks
 How to Organize Kitchen Drawers: Expert Tips and Tricks
 How to Organize a Corner Kitchen Cupboard: Expert Tips

