
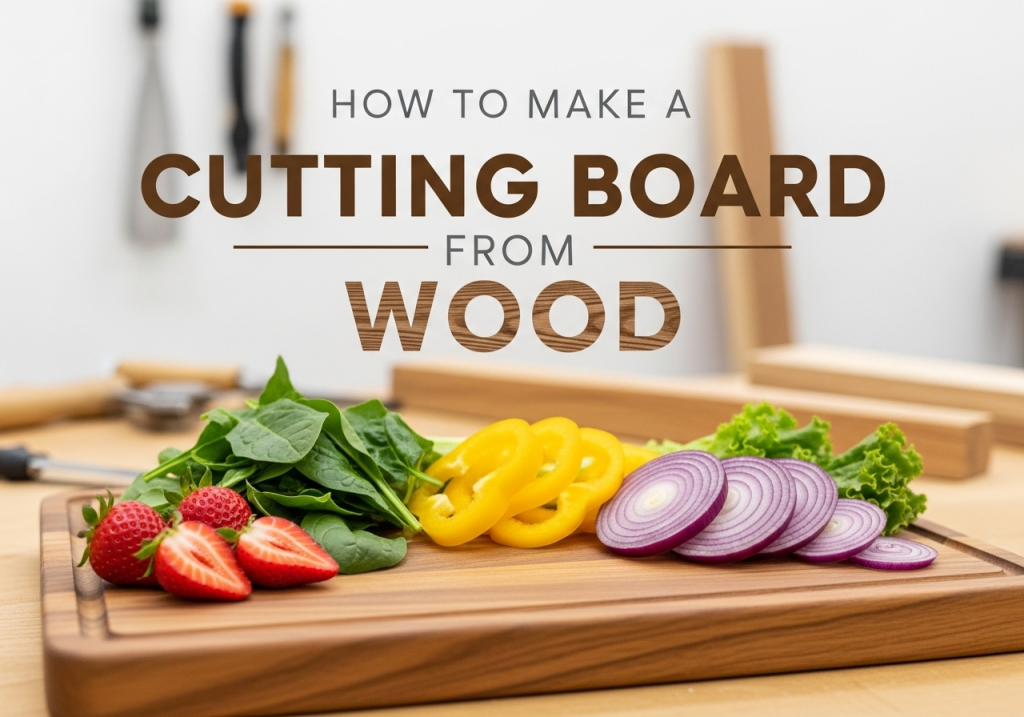
Building a custom wooden cutting board is one of the most rewarding beginner woodworking projects you can tackle. Unlike mass-produced plastic or cheap wood boards, a DIY version lets you customize the size, wood tone, and even add personal touches like a handle or decorative engraving to match your kitchen decor. It’s also far more cost-effective than premium handmade hardwood boards, and with proper care, your creation will last 10 to 15 years or more. You don’t need a fancy workshop or advanced tools to complete this project—just a few basic supplies and a free weekend. This guide walks you through every step, from selecting the right wood to oiling and maintaining your board for years of use.
Why Build Your Own Wooden Cutting Board?
Store-bought cutting boards often sacrifice quality for low cost, with thin wood that dents easily, harsh chemical finishes, or generic sizes that don’t fit your kitchen workflow. A homemade hardwood board solves all these problems: hardwood is gentle on knife edges, resists deep cuts and bacterial growth, and develops a rich patina over time that looks beautiful on any countertop. You can also tailor the dimensions to fit your specific needs—whether that’s a small 8×10 board for quick veggie chopping or a large 18×24 board for holiday meal prep. Unlike properly sanitized wood boards, plastic boards often harbor bacteria in deep scratches and need replacing every 1 to 2 years, making your DIY board both a more sustainable and practical choice.
 Oiled maple and walnut striped cutting board, ready for daily kitchen use.
Tools and Materials You’ll Need
You don’t need specialized equipment to build this board—most tools are available at any local hardware store, and many can be substituted with hand tools if you don’t have power options. We’ve broken down exactly what you need below, plus key items to avoid for food safety.
Required Materials
- 1-inch thick kiln-dried hardwood (hard maple, black walnut, cherry, or white oak are ideal; avoid softwoods like pine or pressure-treated lumber)
- Waterproof, food-safe wood glue (Titebond III is the standard for food contact projects)
- Food-safe finish (pure mineral oil, beeswax, or a pre-made board butter blend; avoid vegetable oils, polyurethane, or varnish, which can go rancid or flake into food)
- Sandpaper in 80, 120, and 220 grit (optional 320 grit for an ultra-smooth finish)
- Clean lint-free rags and paper towels for glue cleanup and oil application
Required Tools
- Saw (circular saw, miter saw, or handsaw for straight cuts)
- Tape measure and carpenter’s square for accurate measurements
- 2+ bar clamps or F-clamps for gluing
- Random orbital sander or sanding block for smoothing
- Drill with 1-inch spade bit (optional, for adding a carrying handle)
- Rubber mallet (optional, for snugging strips during dry fitting)
If you’re short on dedicated workspace, consider adding extra kitchen storage solutions to keep your tools organized while you work.
Step-by-Step Guide to Building Your Cutting Board
Follow these steps in order for a straight, gap-free board that will last for years. We’ve included common beginner mistakes to avoid and pro tips for a professional finish.
Step 1: Select and Prep Your Wood
The type of wood you choose will make or break the durability and safety of your board. Stick to kiln-dried hardwoods, which have low moisture content to prevent warping and cupping over time. Quarter-sawn or rift-sawn hardwoods are even more stable than plain-sawn options, as they expand and contract less with changes in humidity. Avoid boards with large knots, cracks, sapwood (which can bleed resin), or any signs of chemical treatment, especially if using reclaimed wood. If you’re using multiple wood types for a striped pattern, make sure they have similar moisture content to prevent uneven shrinking after gluing. This board is versatile enough for everything from chopping vegetables to prepping prepping soft cheeses for a charcuterie spread.
Step 2: Cut Wood to Final Dimensions
Start by cutting all your lumber to the final board length first (a standard size is 12 inches by 18 inches, but you can adjust to fit your space) to ensure all strips are uniform. Use a carpenter’s square to mark your cut lines, then cut the wood into 1 to 2 inch wide strips with your saw. For a classic striped pattern, cut equal-width strips of two contrasting wood tones (like maple and walnut) for a visually striking finish. If you want to add a carrying handle, drill a 1-inch hole centered on one short end strip now, before gluing, to ensure perfect alignment. Pro tip: take your time with cuts to keep edges straight—wobbly cuts will lead to visible gaps and uneven edges that are hard to fix later.
 Clamping glued wood strips to ensure a tight, gap-free bond during the 24-hour curing process.
Step 3: Dry Fit Your Strips
Before adding glue, lay all your cut strips side by side on a flat work surface in your desired pattern (striped, checkerboard, etc.). Check for gaps between strips, and tap any loose pieces with a rubber mallet to snug them into place. This dry fit step lets you catch uneven edges or pattern mistakes before you commit to glue, which saves you from having to scrape dried glue off errors later. If you’re making a complex pattern like chevron, mark the order of the strips with a pencil to keep them aligned during gluing. A common beginner mistake is skipping the dry fit, which leads to misaligned patterns and visible glue lines that require heavy sanding to fix.
Step 4: Glue and Clamp the Assembly
Apply a thin, even layer of food-safe wood glue to the edge of each strip—don’t over-apply, as excess glue will squeeze out and be difficult to sand away later. Press the strips together in your arranged order, making sure the top and bottom edges are flush across the entire board. Use at least two bar clamps, spaced 6 to 8 inches apart, to apply even pressure across the full surface. Tighten the clamps gradually, checking every few minutes to make sure the strips don’t shift out of alignment. Wipe away any squeezed-out glue immediately with a damp cloth—once glue dries, it becomes very hard to remove without sanding. Let the assembly cure for at least 24 hours (overnight is ideal) before removing clamps; 1 hour of drying time is only enough for the glue to set, not fully cure, which can lead to weak joints later.
Step 5: Flatten and Sand the Board
After removing the clamps, your board may have slight unevenness on the edges or surface. If you have a benchtop planer, run the board through it to create an even 1-inch thickness across the entire surface. If you don’t have a planer, use a hand plane or a sanding block with 80-grit sandpaper to flatten high spots and even out the edges. Once the board is flat, move to sanding: start with 80-grit sandpaper to remove any remaining glue residue, plane marks, or rough spots, then move to 120-grit to smooth the surface, and finish with 220-grit for a silky-smooth finish that’s gentle on knife edges. Always sand in the direction of the wood grain to avoid scratch marks. If you notice small gaps between strips after gluing, mix sawdust from the same wood type with a tiny bit of wood glue to make a natural filler, apply it to the gaps, let it dry, then sand smooth for a seamless look.
Step 6: Round Edges and Add Finishing Touches
Sharp edges can hurt your hands and are prone to cracking over time from regular use. Use 120-grit sandpaper first to round all four edges and corners, then smooth them with 220-grit to remove any remaining sharp spots. For a more consistent, polished edge, you can use a router with a round-over bit, though sanding works perfectly for a beginner project. If you didn’t drill a handle hole earlier, you can add one now with a 1-inch spade bit, centered on one short end, for easy carrying. For a personal touch, use a wood burning tool to add small designs, initials, or a pattern to the edge or surface. You can set your finished board on a protective protective kitchen rug to avoid scratching hardwood floors while the oil cures.
Step 7: Apply the Food-Safe Finish
Before applying oil, wipe the entire board with a dry cloth to remove all sanding dust. Apply a generous coat of food-safe mineral oil or board butter using a clean, lint-free cloth or paper towel, rubbing it into the wood in the direction of the grain. Make sure to cover all surfaces, including the edges and the handle hole if you added one. Let the oil soak into the wood for at least 1 hour, or overnight for best results, then wipe off any excess oil with a clean cloth. For extra protection and a richer finish, apply a second coat, let it soak, and wipe off excess. Per USDA food safety guidelines for cutting boards, only use finishes explicitly labeled food-safe, as porous wood can absorb unsafe chemicals into food. Avoid vegetable oils like olive or coconut oil, which go rancid quickly, and never use polyurethane, varnish, or non-food-safe tung oil, as these can flake off into food over time. It’s also perfect for slicing citrus for charcuterie boards or prepping ingredients for weeknight meals.
Pro Tips for a Professional-Looking Cutting Board
- Use contrasting wood tones (like maple and walnut) for a visually striking, custom look that matches your kitchen decor.
- Work in a dust-free area when gluing and finishing to avoid debris getting stuck in the glue or oil.
- Don’t skip the final 220-grit sanding pass—smooth wood is less likely to harbor bacteria and is gentler on your knife edges than rough, scratched surfaces.
- Use clamps with padded jaws to avoid denting the wood while applying pressure during gluing.
- If you want a more advanced, longer-lasting board, try an end-grain design for your next build—these boards are more knife-friendly and self-heal small cuts over time, but require more precise cutting and gluing skills.
- Good task lighting is critical for accurate cuts and sanding—install under-cabinet LED lighting above your work area if your current lighting is dim.
Caring for Your Homemade Cutting Board
Proper care will keep your board in top condition for over a decade. Follow these simple rules:
- Cleaning: After each use, wash the board with warm, soapy water and a soft sponge, then dry it immediately with a clean towel. Never soak the board in water or put it in the dishwasher—excess water causes the wood to swell, warp, or crack.
- Maintenance: Apply a thin coat of mineral oil or board butter every 3 to 4 weeks, or whenever the board looks dry or dull, to keep the wood conditioned and prevent cracking.
- Cross-contamination prevention: Designate one side of the board for raw meat, poultry, and seafood, and the other for produce, bread, and ready-to-eat foods to avoid bacterial spread. For heavy raw meat use, you can cut a shallow juice groove around the edge of the board during the design phase to catch drips.
- Repair: If the board develops deep cuts or gouges over time, sand it smooth with 220-grit sandpaper and reapply oil to restore its surface.
The University of Minnesota Extension’s wood care guidance recommends avoiding prolonged water exposure to prevent warping and bacterial growth in wood fibers. Store the board in a dry, cool spot, such as an under-sink storage ideas cabinet if you have extra space, away from direct heat or sunlight which can dry out the wood.
Frequently Asked Questions
What’s the best wood for a beginner DIY cutting board?
Hard maple, black walnut, and cherry are the top choices for first-time builders: they’re widely available at most hardware and lumber yards, durable enough to resist knife marks and warping, and non-toxic for food contact. Avoid softwoods like pine, fir, or cedar, which dent easily and have open grain that can harbor bacteria.
Can I make a cutting board without power tools?
Absolutely. You can use a handsaw to cut strips, a sanding block instead of an electric sander, and manual clamps. It will take a bit more time and effort, but the process is identical—just take extra care to make straight, even cuts for tight glue joints.
How long does a homemade wood cutting board last?
A well-made edge-grain hardwood cutting board will last 10 to 15 years with regular care and oiling. End-grain boards can last 20+ years, as their vertical grain structure resists knife marks and self-heals small cuts over time.
Can I use my homemade cutting board for raw meat?
Yes, but it’s best to designate one side of the board for raw proteins and the other for produce, bread, and ready-to-eat foods to avoid cross-contamination. You can also cut a shallow juice groove around the edge of the board during the design phase to catch drips from raw meat.
Why is my cutting board warping?
Warping is usually caused by uneven moisture content in the wood or excess water exposure during cleaning. To fix minor warping, sand the board flat and reapply oil to recondition the wood. To prevent warping in future builds, use kiln-dried hardwood, avoid soaking the board in water, and always dry it immediately after washing.
Conclusion
Building a custom wooden cutting board is a simple, rewarding project that results in a durable, food-safe kitchen tool tailored exactly to your needs. By following these steps carefully, prioritizing food-safe materials, and not rushing the drying and sanding stages, you’ll end up with a board that outperforms cheap mass-produced options and adds a personal, handcrafted touch to your kitchen. With proper care, your homemade board will stay smooth, functional, and beautiful for over a decade. If you also enjoy DIY framing projects, you can even use this durable board to make clean cuts for framing mat board without damaging your work surface.
Ready to take on more beginner-friendly kitchen DIY projects to upgrade your space? Our guide to building custom kitchen drawer organizers will help you keep your new cutting board and other kitchen tools neatly stored and easy to access.

I’m Abby Lu, a passionate home cook who loves simplifying everyday meals. At PlugChef.com, I share product reviews and cooking guides to help you find the best tools for your kitchen.
Related posts:
 How to Make a Fruit Basket for a Gift: Easy DIY Guide
 Do You Need a Basket? Essential Guide for Air Fryers
 How to Adjust Syrup Dispenser Pressure: Expert Tips
 Black Kitchen Cabinets With Stainless Steel Appliances: Chic Design
 White Kitchen With Stainless Steel Appliances: Timeless Elegance
 How to Sell Used Kitchen Appliances: Expert Tips

