
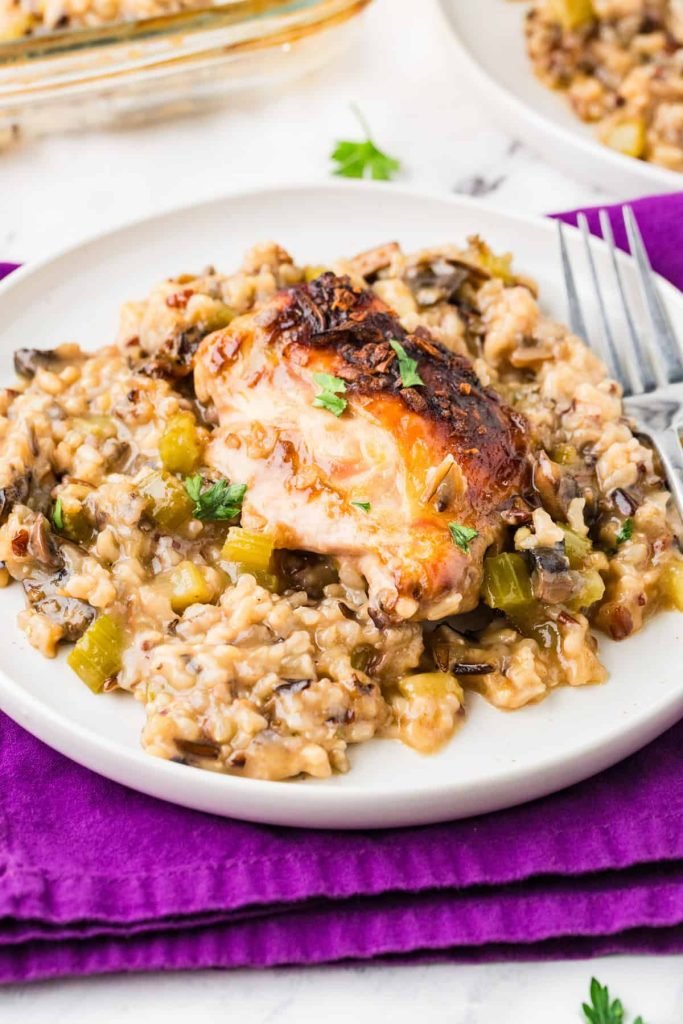
There’s nothing quite like a warm, savory bowl of chicken and wild rice dish to chase away the chill of a busy weeknight or bring a crowd together for a cozy family meal. This timeless comfort food staple balances nutty, chewy wild rice, tender juicy chicken, and savory aromatics in every bite, and it’s endlessly customizable to suit your taste and dietary needs. Unlike dry, bland takeout, this foolproof recipe delivers restaurant-quality flavor with minimal active prep time, and it works just as well for meal prep, potlucks, or casual weeknight dinners. Below, we’ll walk through every step to build the perfect batch, share pro tips to avoid common cooking mistakes, and offer variations to keep the dish fresh every time you make it.
Why This Chicken and Wild Rice Dish Is the Ultimate Comfort Food
Comfort food is defined by its ability to evoke warmth, nostalgia, and satisfaction, and this dish checks every box. The creamy, savory broth coats tender rice and chicken in every spoonful, while the subtle earthiness of wild rice adds a satisfying chew that sets it apart from standard white rice casseroles. It’s hearty enough to stand on its own as a main course, but light enough that you won’t feel weighed down after eating. Best of all, it’s a crowd-pleaser that works for picky kids, gluten-free guests, and anyone looking for a low-fuss meal that feels homemade. In fact, it’s a staple in Midwestern and North American home cooking, often served at family gatherings, holiday potlucks, and cold-weather weeknight dinners for its reliable, craveable flavor. For more on this, see our guide on chicken bacon ranch rice casserole.
What You’ll Need: Ingredients for a Flawless Batch
The quality of your ingredients will make or break this dish, so opt for fresh, high-quality components wherever possible. Each element plays a distinct role in building the dish’s signature flavor and texture.
Choosing the Best Chicken for Juicy, Tender Results
Boneless, skinless chicken thighs are the ideal choice for this recipe: their higher fat content keeps them moist during simmering, and their richer flavor stands up to the nutty wild rice better than lean chicken breasts. If you prefer white meat, opt for bone-in, skin-on chicken breasts, and brine them in a 1/4 cup kosher salt dissolved in 4 cups cold water for 30 minutes before cooking to lock in moisture. For a 30-minute shortcut, use shredded rotisserie chicken, adding it during the last 5 minutes of simmering just to warm through. Avoid pre-cut bagged chicken if possible, as it is often more expensive and can dry out faster than whole cuts you trim yourself.
Selecting High-Quality Wild Rice
Not all “wild rice” is created equal: true wild rice is an aquatic grain harvested from North American lakes and rivers, with a deep nutty flavor and chewy texture, while most store-bought “wild rice blends” are a mix of dyed white rice and small amounts of true wild rice. For the best flavor and nutritional profile, opt for 100% whole grain wild rice, which packs more protein and fiber than white rice varieties, per University of Minnesota Extension guidelines for home cooking. Rinse 1 cup of wild rice thoroughly in a fine-mesh sieve under cold running water for 1-2 minutes to remove dust and debris before cooking, and adjust your liquid ratio if using a blend (2.5 cups broth per 1 cup of blend, vs 3 cups for 100% wild rice).
Essential Aromatics, Vegetables, and Herbs
The vegetable base builds the dish’s savory, slightly sweet foundation:
- 1 medium yellow onion, diced
- 3 medium carrots, peeled and diced into 1/4-inch pieces
- 2 stalks celery, diced
- 3 cloves garlic, minced
- 1 cup cremini mushrooms, sliced (optional, for extra umami)
Fresh herbs are non-negotiable for bright, vibrant flavor: 2 sprigs fresh thyme and 1/4 cup chopped fresh parsley work best, though you can use 1 teaspoon dried thyme and 1 teaspoon dried parsley in a pinch (use 1/3 the amount of dried herbs compared to fresh, as they are more concentrated). Scrub carrots and celery with a sturdy kitchen cleaning scrub brush to remove any surface dirt before chopping into uniform pieces, so they cook evenly.
Spices, Seasonings, and Liquid Base
Low-sodium chicken broth is the best liquid base, as it lets you control the salt level of the dish without sacrificing savory flavor. For seasoning, you’ll need:
- 1 ½ teaspoons kosher salt (adjust to taste)
- ½ teaspoon freshly ground black pepper
- 2 bay leaves
- 1 teaspoon smoked paprika (optional, for subtle smoky depth)
- ½ teaspoon dried sage (optional, complements the nutty rice)
- ¼ cup heavy cream or half-and-half (optional, for extra creaminess)
Avoid pre-made seasoning blends, which often contain hidden sodium and fillers that mask the dish’s natural flavor.
Step-by-Step Preparation: From Raw Rice to Perfectly Cooked Grains
Cooking wild rice properly is the foundation of a great dish, as undercooked rice will be tough and chewy, while overcooked rice turns gummy and mushy. Follow these steps for perfectly tender, fluffy grains every time.
Rinsing and Pre-Soaking Wild Rice
As mentioned earlier, rinse wild rice thoroughly in a fine-mesh sieve under cold running water for 1-2 minutes to remove excess starch and surface debris. For faster, more even cooking, soak the rinsed rice in cold water for 30 minutes to 1 hour before cooking: this softens the tough outer hull of the grain, cutting cook time by 15-20 minutes and resulting in a more tender texture. If you’re short on time, you can skip soaking, but add 5-10 minutes to the total cooking time and check for doneness frequently. A common mistake many home cooks make is skipping the rinse, which leads to gummy, starchy rice that overpowers the other flavors in the dish.
Cooking Wild Rice: Stovetop, Rice Cooker, and Slow Cooker Methods
Choose the cooking method that fits your schedule and texture preference:
- Stovetop (best for control): Add 1 cup rinsed (and soaked, if using) wild rice and 3 cups low-sodium chicken broth to a medium saucepan. Bring to a rolling boil, then reduce heat to low, cover, and simmer for 45-60 minutes until grains split open and are tender but still have a slight chew. Do not stir during cooking, as this breaks the grains and makes the texture mushy. Drain any excess liquid immediately after cooking, then fluff gently with a fork.
- Rice Cooker (most hands-off): Add the rice and broth to your rice cooker, set to the white rice setting, and let cook. Check after 45 minutes, and add 5-10 minutes if the grains are still tough. Fluff before using.
- Slow Cooker (great for meal prep): Combine rice and broth in a slow cooker, and cook on low for 3-4 hours or high for 2-3 hours. Fluff before adding to the main dish.
Always ensure grains reach an internal temperature of 165°F for food safety, especially if you’ll be mixing them with raw chicken later.
Tips for Fluffy, Perfectly Textured Wild Rice
To avoid gummy rice, never stir the grains while they simmer, and drain any excess liquid as soon as they are done cooking. For extra flavor, toast the rinsed rice in a dry skillet for 2-3 minutes before cooking to bring out its nutty aroma. A small pat of butter or drizzle of olive oil stirred in after cooking helps separate the grains and adds richness.
Cooking the Chicken for Maximum Flavor and Juiciness
The chicken is the star of the dish, so taking the time to cook it properly will make the difference between a dry, bland meal and a rich, satisfying one. Always use a meat thermometer to confirm chicken reaches an internal temperature of 165°F, the safe minimum standard set by the USDA Food Safety and Inspection Service to destroy harmful bacteria like salmonella and E. coli.
Searing for Deep, Savory Flavor
Pat chicken thighs dry with paper towels before cooking: excess moisture will prevent the skin from crisping and browning properly. Heat 1 tablespoon of olive oil in a Dutch oven or heavy-bottomed pot over medium-high heat, then add the chicken skin-side down (if using skin-on thighs). Listen for a loud sizzle when you add the chicken — if you don’t hear it, the pan isn’t hot enough. Sear for 5-7 minutes without moving the chicken, until the skin is golden and crispy, then flip and sear the other side for 3-4 minutes. The chicken does not need to be cooked all the way through at this stage: it will finish cooking when simmered with the rice and broth. Remove the chicken from the pot and set aside on a clean plate.
Keeping Chicken Tender and Juicy
Overcooking is the most common cause of dry, tough chicken in this dish. Since the chicken will continue to cook when simmered with the hot broth, only sear it until it is just opaque around the edges and reaches an internal temperature of 155°F before removing it from the pot. If you’re using lean chicken breasts, brine them for 30 minutes in a solution of 1/4 cup kosher salt dissolved in 4 cups cold water before cooking to help them retain moisture. A common mistake is to overcook the chicken during the searing step, which leaves it dry by the time the dish is finished.
Flavor Boosters for the Chicken
For extra depth, season the chicken with a mix of ½ teaspoon smoked paprika, ¼ teaspoon garlic powder, and ¼ teaspoon dried thyme before searing. A simple marinade of 2 tablespoons lemon juice, 2 tablespoons olive oil, and 1 teaspoon dried rosemary, left on the chicken for 1 hour before cooking, adds a bright, zesty note that cuts through the dish’s richness.
Bringing It All Together: Combining, Simmering, and Finishing the Dish
Once your rice is cooked and chicken is seared, it’s time to combine all the elements into a cohesive, flavorful meal. The key here is layering flavors and simmering gently to let the ingredients meld together. If you have young children in your home, install child safety locks for cabinets to keep little ones away from hot cookware and sharp utensils while you work.
Layering Flavors for Depth
In the same Dutch oven or pot you used to sear the chicken, add the diced onion, celery, and carrots (and mushrooms, if using) to the leftover chicken fat. Sauté over medium heat for 5-7 minutes, stirring occasionally, until the vegetables are softened and the onion is translucent. Add the minced garlic and cook for 30 seconds more, until fragrant, being careful not to burn it (burnt garlic will add a bitter taste to the dish). Add the pre-cooked wild rice to the pot and stir to coat in the vegetable fat, toasting for 1-2 minutes to bring out its nutty flavor.
Simmering to Blend Flavors
Pour 3 cups of low-sodium chicken broth into the pot, scraping up any browned bits from the bottom of the pan to incorporate all that savory flavor. Add the bay leaves, thyme, and any other seasonings, then return the seared chicken (and any accumulated juices from the plate) to the pot. Bring the mixture to a gentle simmer, then reduce heat to low, cover, and simmer for 20-25 minutes until the chicken is cooked through (internal temperature of 165°F) and the rice is tender. Stir occasionally to prevent sticking, but avoid over-stirring, which can break up the rice and chicken.
Adjusting Consistency and Final Seasoning
Taste the dish before serving and adjust seasoning as needed: add more salt and pepper if the broth tastes flat, or a splash more broth if the mixture is too thick. For extra creaminess, stir in 1/4 cup of heavy cream or half-and-half during the last 5 minutes of simmering. Remove the bay leaves before serving, and fluff the rice gently with a fork to separate the grains.
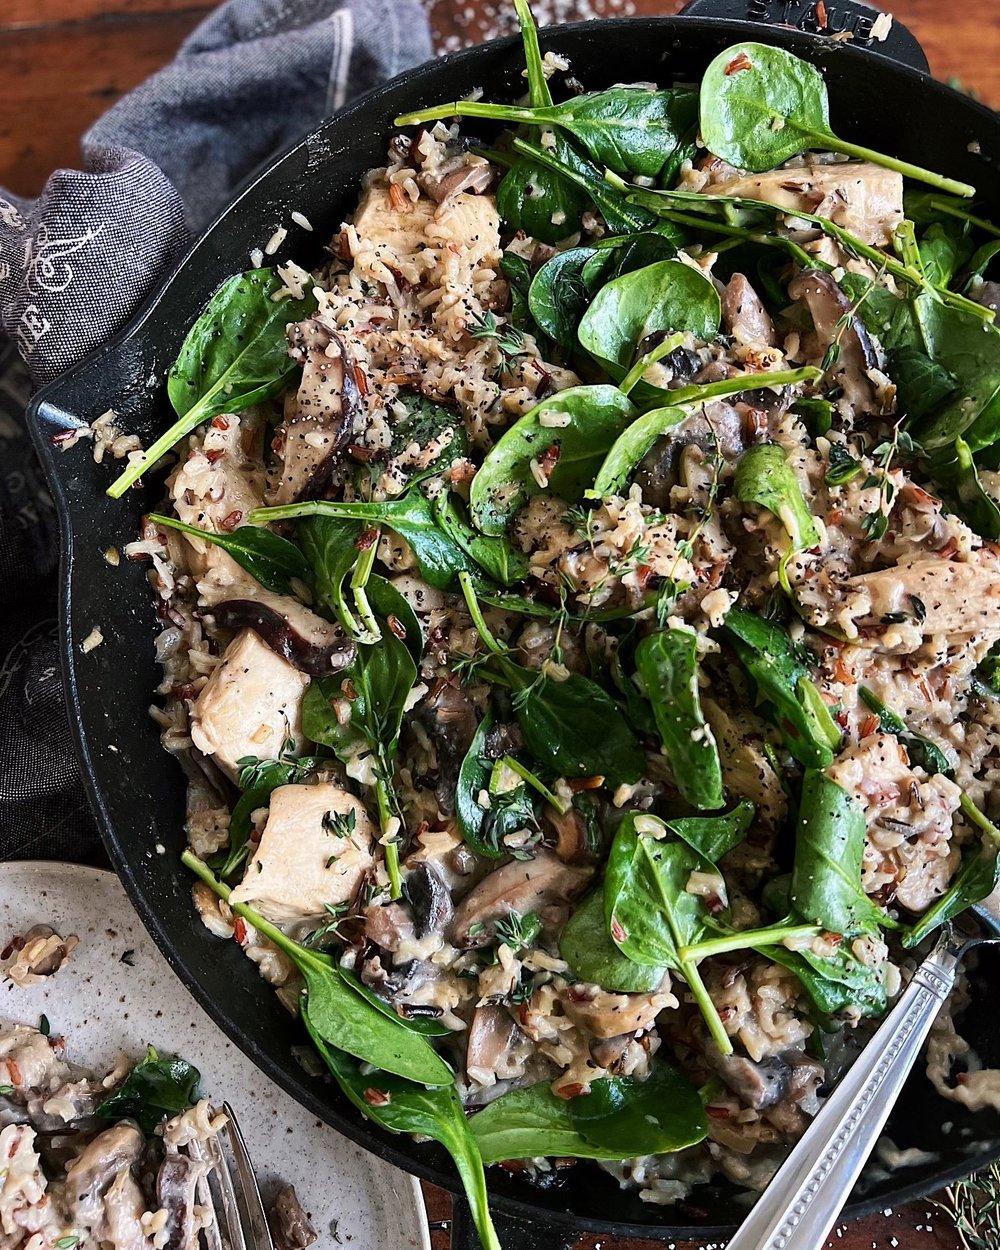 Creamy, golden baked chicken and wild rice casserole, ready to serve
Credit: www.danieladish.com
Creamy, golden baked chicken and wild rice casserole, ready to serve
Credit: www.danieladish.com
Serving Suggestions and Pairings
This dish is hearty enough to eat on its own, but the right sides and garnishes can take it to the next level.
Garnishes to Add Brightness and Crunch
Top each serving with one or more of these simple garnishes for extra flavor and texture:
- Freshly chopped parsley or chives, for a pop of green freshness
- Toasted sliced almonds or pecans, for a nutty crunch
- A squeeze of fresh lemon juice, to cut through the dish’s richness
- A dollop of sour cream or Greek yogurt, for extra creaminess
- Grated Parmesan cheese, for a savory, salty kick
- Thinly sliced green onions, for a mild sharpness
For a personal touch to your meal presentation, serve the dish on a custom engraved cutting board you’ve personalized with your family’s name or a fun design.
Perfect Side Dishes to Serve Alongside
Pair this dish with light, crisp sides to balance its rich, earthy flavor:
- Simple arugula salad with lemon vinaigrette
- Roasted Brussels sprouts or asparagus
- Steamed green beans with a pat of butter
- Crusty artisan bread roll, to soak up extra broth
Avoid heavy, creamy sides like mashed potatoes or mac and cheese, which will overwhelm the dish’s delicate flavor.
Storage and Reheating Leftovers
This dish stores beautifully for meal prep or leftovers. Store leftover chicken and wild rice in an airtight container in the refrigerator for up to 4 days, or freeze individual portions for up to 3 months. To reheat, warm gently on the stovetop over low heat, adding a splash of chicken broth or water to prevent the rice and chicken from drying out. Avoid microwaving on high, which can make the chicken tough and the rice gummy. After storing leftovers, a dish washing brush with handle makes quick work of scrubbing the Dutch oven or pot you used to cook the dish, saving you time on post-meal cleanup.
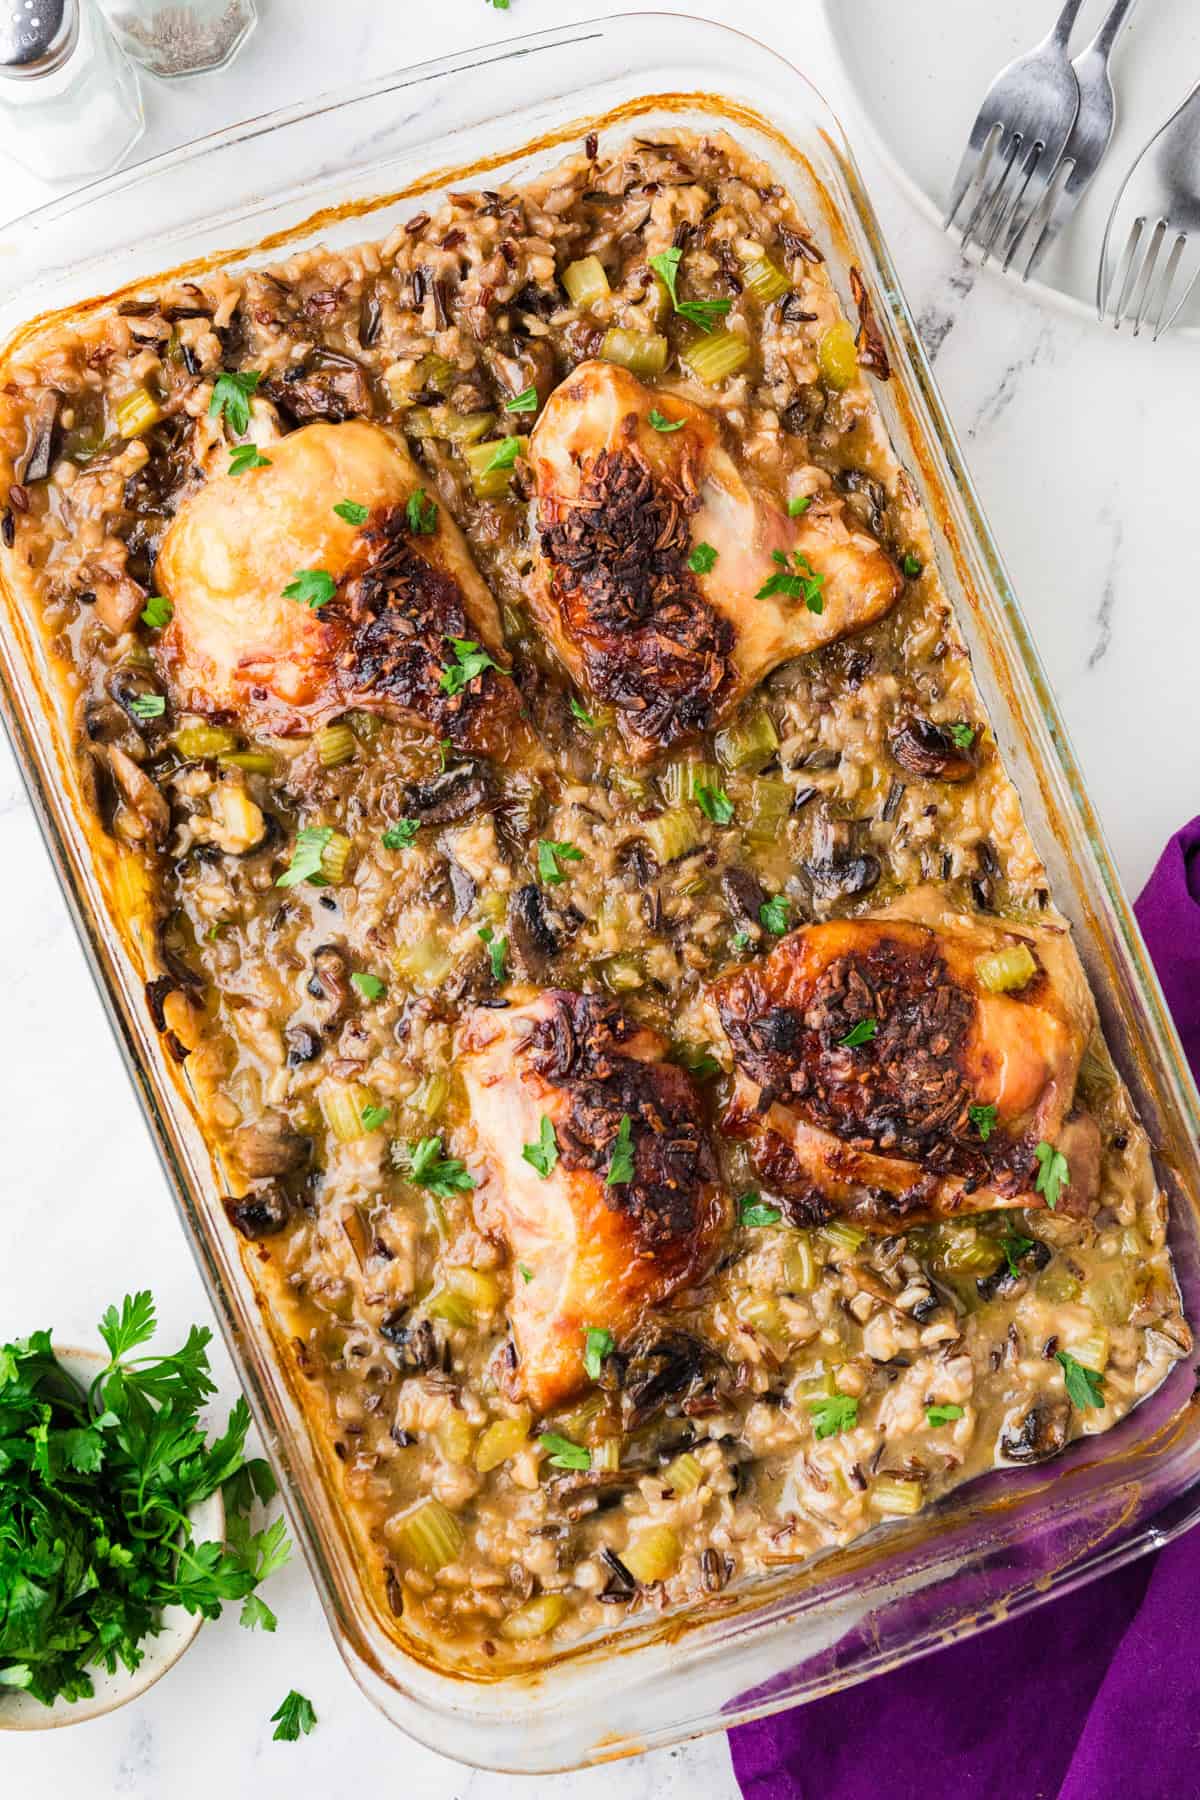 Fresh out of the oven, the crispy top layer adds a satisfying crunch to every bite
Credit: pipandebby.com
Fresh out of the oven, the crispy top layer adds a satisfying crunch to every bite
Credit: pipandebby.com
Delicious Variations to Try
One of the best things about this dish is how easy it is to customize to suit your taste, dietary needs, or what you have on hand. Try these popular variations to keep the meal fresh every time you make it.
Vegetable-Packed Version
Add extra veggies for a more nutrient-dense meal: diced bell peppers, sliced cremini mushrooms, or a handful of fresh spinach added during the last 5 minutes of simmering work perfectly. Roasted sweet potato cubes add a sweet, earthy contrast that pairs beautifully with the nutty wild rice. If you’re feeding picky eaters, finely dice the veggies so they blend in with the rice and chicken, or mix them into the dish after cooking so they stay crisp.
Protein Swaps and Additions
While chicken is the classic protein, you can easily swap it for other options: shredded turkey works as a near-identical substitute for a post-holiday meal, cubed smoked pork adds a rich, savory depth, and peeled deveined shrimp adds a light, fresh touch for a summer version. For a vegetarian option, omit the chicken and add a can of rinsed white beans or cubed firm tofu for protein, and use vegetable broth instead of chicken broth.
Spice and Flavor Twists
Adjust the spice level and flavor profile to match your preference:
- For a spicy kick, add ¼ teaspoon cayenne pepper or ½ teaspoon red pepper flakes during simmering.
- Swap smoked paprika for sweet paprika for a milder, sweeter flavor.
- Add 1 tablespoon of Dijon mustard to the broth for a tangy, zesty note.
- Use fresh rosemary instead of thyme for a piney, aromatic flavor that pairs well with roasted root vegetables.
A common mistake is adding too many competing spices: stick to 1-2 flavor additions per batch to avoid overwhelming the dish’s natural, savory taste.
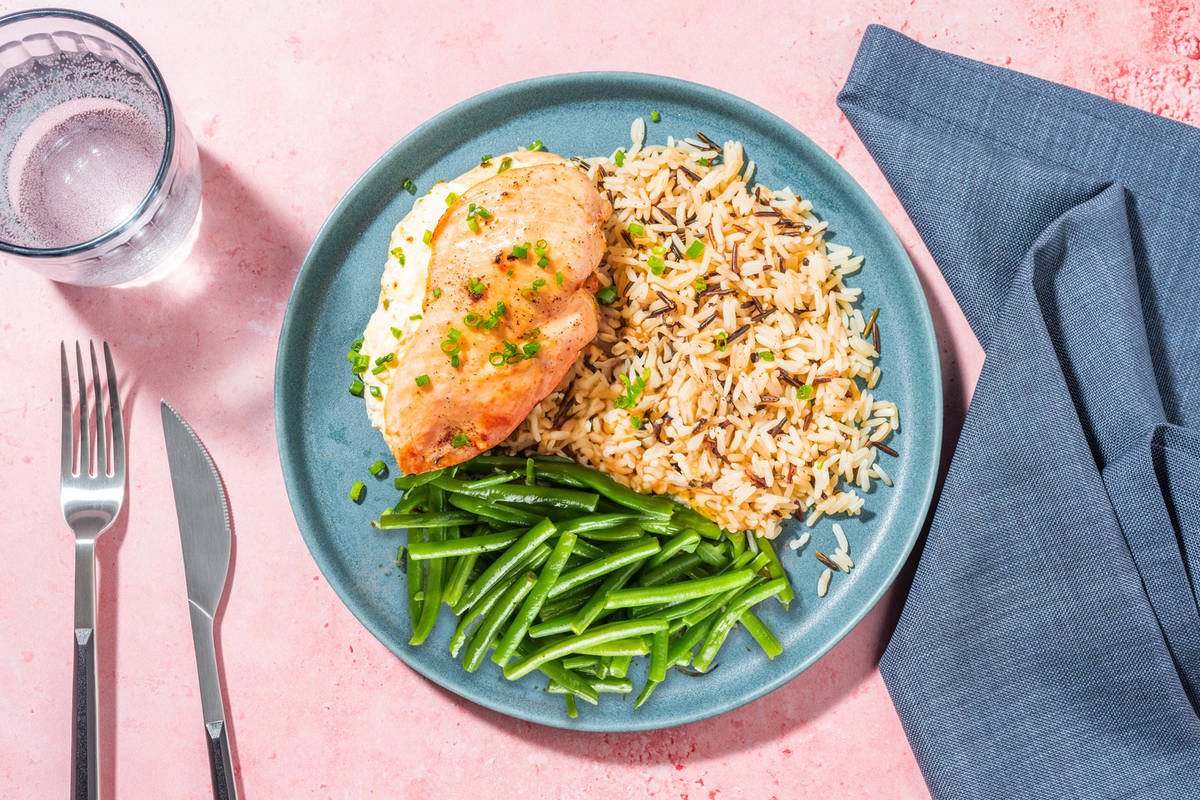 A single serving garnished with fresh thyme for a pop of color and brightness
Credit: www.hellofresh.ca
A single serving garnished with fresh thyme for a pop of color and brightness
Credit: www.hellofresh.ca
Frequently Asked Questions
Can I use instant or converted rice instead of wild rice?
While you can use instant white rice for a faster cook time, it lacks the nutty, chewy texture and higher protein and fiber content of true wild rice. If using a wild rice and white rice blend, adjust the liquid ratio to 2.5 cups of broth per 1 cup of blend, and reduce cooking time by 10-15 minutes to avoid mushy grains.
Why is my wild rice gummy or mushy?
Gummy rice is almost always caused by one of three mistakes: not rinsing the rice before cooking, stirring it too much while it simmers, or overcooking it. Always rinse wild rice thoroughly under cold water before use, avoid stirring during cooking, and drain any excess liquid immediately after the grains are tender. If you do end up with gummy rice, spread it in a thin layer on a baking sheet and let it sit uncovered for 10 minutes to dry out slightly before adding to the dish.
Can I make this dish ahead of time?
Yes, this dish reheats beautifully, making it perfect for meal prep. Prepare it up to 2 days in advance, store in an airtight container in the refrigerator, and reheat gently on the stovetop before serving. You can also freeze individual portions for up to 3 months for quick weeknight meals: just add a splash of broth when reheating to restore moisture.
Is this chicken and wild rice dish gluten-free?
Yes, this dish is naturally gluten-free as long as you use gluten-free chicken broth (some store-bought broths contain wheat-based thickeners) and ensure all seasonings are free of cross-contamination. Wild rice is a naturally gluten-free grain, so it’s a safe option for people with celiac disease or gluten sensitivities. If you’re cooking for someone with a severe gluten allergy, be sure to check all ingredient labels carefully.
Can I make this recipe in an Instant Pot?
Absolutely. To make this dish in an Instant Pot, sauté the aromatics and sear the chicken using the pot’s sauté function first, then add the pre-rinsed wild rice, broth, and seasonings. Seal the lid, set to high pressure for 20 minutes, then let the pressure release naturally for 10 minutes before fluffing the rice and serving. This method cuts total cook time by nearly 30 minutes, making it perfect for busy weeknights. If you’re short on time, use pre-cooked wild rice and reduce the pressure cook time to 5 minutes, just to warm the dish through.
Final Tips for Success
Before you start cooking, keep these quick pointers in mind to avoid common pitfalls:
- Don’t skip rinsing the wild rice: it removes excess starch that leads to gummy texture.
- Don’t overcook the chicken during searing: it will finish cooking when simmered with the broth.
- Taste and adjust seasoning at the end: low-sodium broth can vary in saltiness, so adjust to your preference.
- For extra creaminess without heavy cream, stir in 2 tablespoons of cream cheese during the last 5 minutes of cooking.
Conclusion
This chicken and wild rice dish is the perfect combination of hearty, savory, and easy to customize, making it a go-to comfort food for weeknights, potlucks, and family meals alike. With tender chicken, chewy nutty wild rice, and a flavorful broth, it’s a meal that feels indulgent without requiring hours of active cooking time. Whether you stick to the classic recipe or try one of the many variations we shared, this dish is sure to become a staple in your rotation. Ready to make this craveable comfort food your own? For more easy, tested weeknight recipes and kitchen hacks to simplify your cooking routine, browse our full blog library today.

I’m Abby Lu, a passionate home cook who loves simplifying everyday meals. At PlugChef.com, I share product reviews and cooking guides to help you find the best tools for your kitchen.
Related posts:
 How to Make a Fruit Basket for a Gift: Easy DIY Guide
 Do You Need a Basket? Essential Guide for Air Fryers
 What Blenders Do Tropical Smoothie Use: Expert Insights
Stainless Steel Vs White Kitchen Appliances: Ultimate Showdown
What Blenders Do Tropical Smoothie Use: Expert Insights
Stainless Steel Vs White Kitchen Appliances: Ultimate Showdown
 Kitchen Appliances for Wedding Registry: Must-Have Essentials
 Top 10 Best Non-Toxic Cooking Utensils – Safe & Durable Choices for Healthy Homes

