
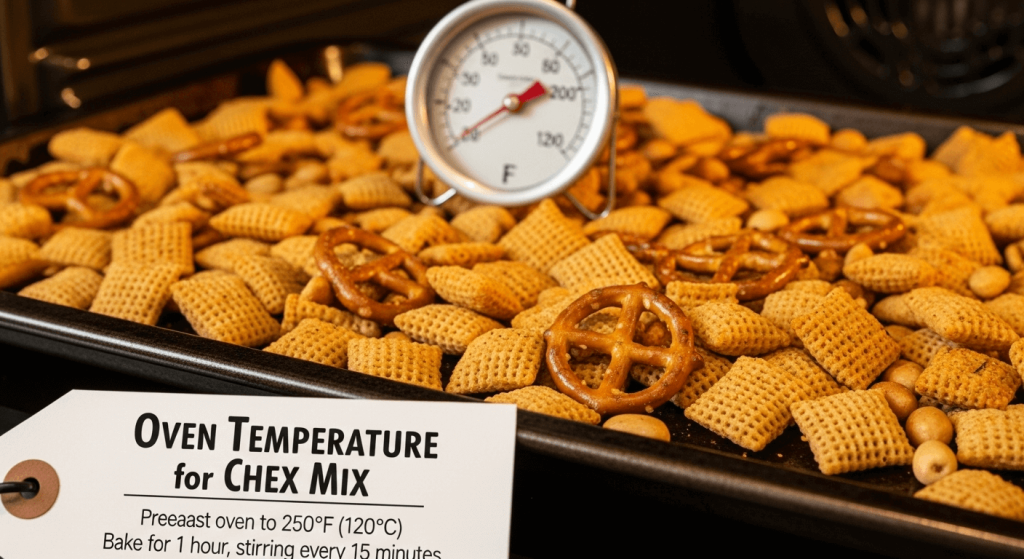
Chex Mix is the ultimate crowd-pleaser for game days, potlucks, holiday parties, and after-school snacks. But so many home bakers end up with batches that are burnt on the edges, soggy in the middle, or have uneven seasoning, all because they guessed the oven temperature. The good news? Nailing the perfect crispy batch doesn’t require fancy equipment or years of baking experience—just the right temperature, a few simple technique tweaks, and attention to a few key details. In this guide, we’ll break down exactly what temp to use, why it works, how to avoid common pitfalls, and how to store your batch for weeks of crunch.
 Freshly mixed Chex Mix spread in an even layer on a parchment-lined baking sheet, ready for the oven
The Science Behind the Perfect Chex Mix Oven Temp
Chex Mix has two distinct components: starchy cereal and pretzels, and fatty nuts and seeds, all coated in a butter-based seasoning blend. The right oven temperature balances two competing needs: evaporating residual moisture from the starchy ingredients to create crunch, and toasting the butter, seasonings, and nuts lightly to deepen flavor without burning.
Why Low and Slow Is Non-Negotiable
The butter and Worcestershire sauce coating on Chex Mix contains natural sugars that scorch at temperatures above 325°F, even if the cereal itself isn’t crispy yet. Low, steady heat (250°F to 275°F) gives those sugars time to toast lightly, deepening flavor without turning bitter, while slowly evaporating residual moisture from the cereal and pretzels for a consistent crunch all the way through. It also prevents nuts from burning on the outside while staying raw on the inside, a common issue with high-heat baking. In testing batches for family game days, we’ve found that 250°F works best for full-size baking sheets, while 275°F is ideal for smaller batches with extra cheese powder that can scorch at lower temps. Low and slow baking also aligns with USDA food safety guidelines for baked grain snacks, ensuring ingredients like nuts are heated evenly to safe temperatures without burning delicate seasonings.
The Sweet Spot: 250°F to 275°F (120°C to 135°C)
250°F is the gold standard for most batches, especially if you’re using a full 18×13-inch baking sheet loaded with mix. The extra 25 degrees of headroom above the minimum prevents temperature fluctuations in older ovens from dropping below the threshold needed to crisp the mix. 275°F works well for smaller batches (half a sheet or less) or mixes with delicate add-ins like dried fruit or cheese puffs that can burn at 250°F if baked for a full hour. Avoid temperatures above 300°F entirely unless you’re short on time: at that heat, you’ll need to stir every 10 minutes and watch closely for burning after 20 minutes, and even then, you risk uneven crispness.
Step-by-Step Oven-Baked Chex Mix
Here’s the exact process for homemade Chex Mix with a perfect crunch every time, with built-in checks to avoid common mistakes:
Prep Work Before Baking
Preheat your oven to 250°F (120°C) first—Chex Mix needs a consistent heat source from the start to crisp evenly. Line a 18×13-inch rimmed baking sheet with parchment paper or a silicone baking mat for easy cleanup; avoid dark non-stick sheets, which absorb more heat and can burn the bottom of the mix. A common mistake is piling the mix more than ½-inch deep on the sheet, which traps steam and leads to soggy spots instead of even crispness. If you’re making a double batch, use two sheets instead of overfilling one.
For the mix base, use 3 cups each of Corn Chex, Rice Chex, and Wheat Chex (or a single variety if you prefer), 1 cup pretzel twists, 1 cup bagel chips (broken into 1-inch pieces), and 1 cup unsalted mixed nuts (peanuts, almonds, and cashews work best for even toasting).
Baking Process & Timing
Melt ½ cup unsalted butter in a small saucepan or microwave-safe bowl, then stir in 2 tbsp Worcestershire sauce, 1 ½ tsp seasoned salt, ¾ tsp garlic powder, ½ tsp onion powder, and any optional spices (cayenne, smoked paprika, etc.). Pour the dry mix into a large 6-quart mixing bowl, pour the melted butter mixture over top, and toss gently but thoroughly until every piece is evenly coated.
Spread the mix in an even, single layer on the prepared baking sheet, then bake for 50 to 60 minutes, stirring every 15 minutes to rotate the pieces that were on the edges (which crisp faster) to the center, and vice versa. The mix is done when it feels dry and crisp to the touch, with no soft spots, and the nuts are lightly golden. If you’re adding cheese powder or other delicate seasonings, sprinkle them over the mix during the last 10 minutes of baking to prevent burning.
Cooling: The Final Critical Step
Many people skip this step and end up with soggy Chex Mix: spread the baked mix in an even layer on a clean baking sheet or wire rack to cool completely to room temperature, about 20 to 30 minutes. Carryover cooking will continue to crisp the mix as it cools, and cooling it in a single layer prevents steam from getting trapped and softening the pieces. Don’t store it while it’s even slightly warm—this is the #1 cause of post-bake sogginess.
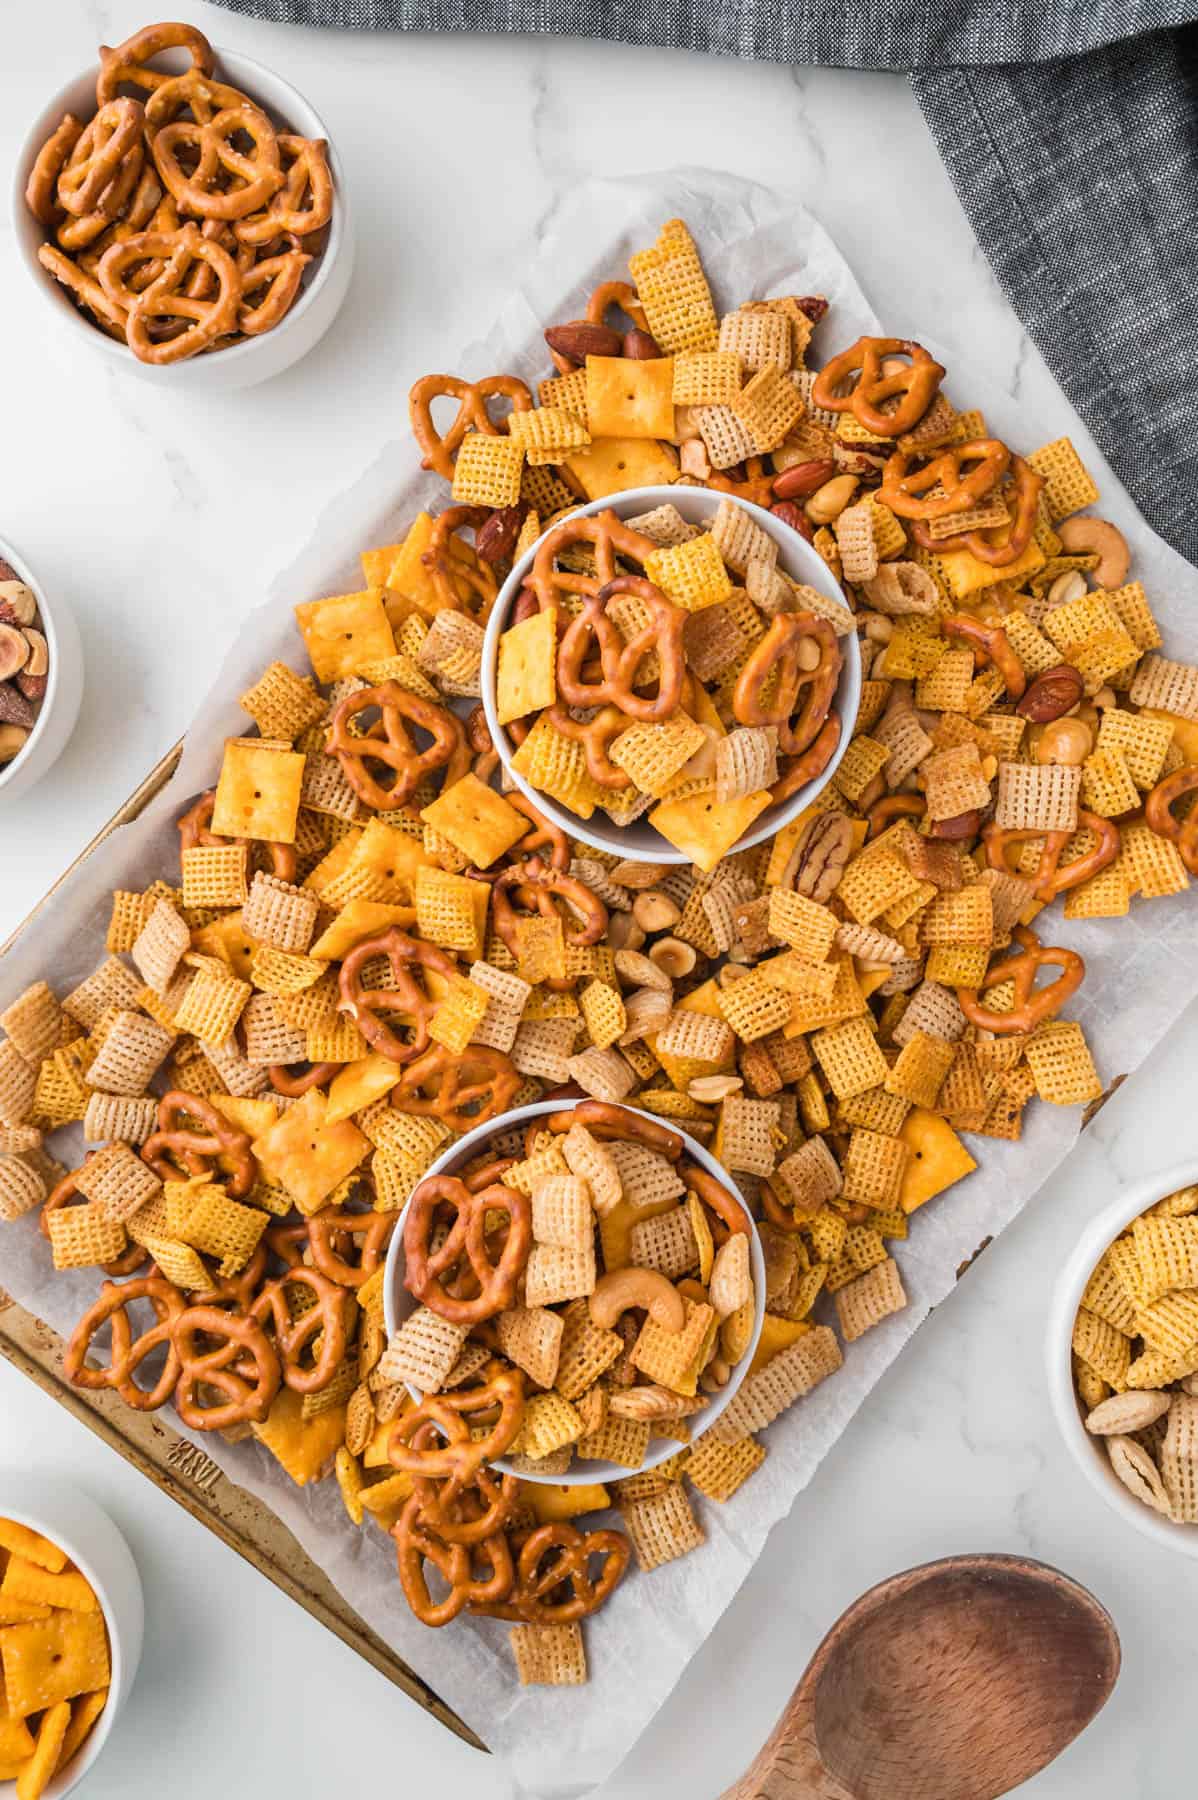 Finished golden Chex Mix fresh out of the oven, fully crisped and seasoned
Credit: houseofnasheats.com
Finished golden Chex Mix fresh out of the oven, fully crisped and seasoned
Credit: houseofnasheats.com
Essential Tools for Perfect Chex Mix
Making Chex Mix is simple, but the right tools eliminate common frustration:
- Rimmed 18×13-inch light-colored aluminum baking sheet: Distributes heat evenly without absorbing excess heat that can burn the bottom of the mix.
- Parchment paper or silicone baking mat: Makes cleanup effortless and prevents sticking.
- Large 6-quart mixing bowl: Gives you enough space to toss the mix thoroughly without spilling.
- Airtight glass or plastic storage containers: Keeps moisture out to preserve crispness for weeks.
Flavor Variations for Oven-Baked Chex Mix
One of the best things about Chex Mix is how customizable it is. Try these tested twists:
Spicy Kick Variations
Add 1 tsp cayenne pepper, 1 tsp chipotle powder, or 1 tbsp hot sauce to the melted butter mixture for a smoky, spicy batch. For extra heat, toss in ½ cup of spicy peanuts or wasabi peas during the last 5 minutes of baking. Pro tip: If you’re using hot sauce, reduce the Worcestershire sauce by 1 tsp to avoid making the mix too soggy.
Sweet & Savory Twists
Toss 1 cup of honey-roasted peanuts and ½ cup of dried cranberries into the dry mix for a sweet and salty balance. For a caramelized twist, drizzle 2 tbsp of maple syrup over the mix during the last 10 minutes of baking, then sprinkle with ¼ cup of brown sugar. Add ½ cup of shredded parmesan cheese to the butter mixture for a cheesy, umami-packed batch. Serve your homemade Chex Mix alongside a charcuterie board with properly prepped round cheese for charcuterie boards for an easy, impressive party spread.
Holiday & Party-Friendly Blends
Add 1 cup of candy-coated chocolate pieces or peppermint crunch morsels to the mix immediately after baking (they’ll melt if added earlier) for a festive holiday twist. For a savory party mix, add 1 cup of broken pretzel sticks and ½ cup of sesame sticks for extra crunch.
Is Homemade Chex Mix Healthier Than Store-Bought?
Prepping Chex Mix for baking sets the foundation for a crunchy, flavorful base that’s also easier to customize for dietary needs. Store-bought Chex Mix often contains excess sodium, preservatives, and artificial flavors to extend shelf life and cut costs. When you make it at home, you have full control over every ingredient: you can reduce the salt, swap butter for olive oil, add extra nuts for protein and healthy fats, and cut out refined carbs by using more whole-grain Chex and fewer pretzels. For a lighter, lower-sodium version, use low-sodium seasoned salt, reduce the butter by ¼ cup and replace it with olive oil, and add ½ cup of roasted chickpeas for extra fiber and protein. Homemade Chex Mix also has no added preservatives, so it’s a cleaner snack option for kids and adults alike.
Common Chex Mix Baking Mistakes (and How to Fix Them)
Even with the right temperature, small errors can ruin a batch. Here’s how to fix the most common issues:
Soggy, Soft Chex Mix
Sogginess is almost always caused by one of three issues: baking temperature too low, overfilling the baking sheet so steam can’t escape, or storing before cooling completely. To fix it: use an oven thermometer to confirm your oven’s actual temperature (many ovens run 25°F hotter or cooler than their setting), spread the mix in a single layer no deeper than ½ inch, stir every 15 minutes, and let it cool fully before storing. For homes with young children, install childproof drawer latches on oven drawers to prevent accidental burns while the oven is in use.
Burnt or Bitter Spots
Burnt mix is caused by oven temp above 300°F, dark baking sheets that absorb excess heat, or clumped seasoning that scorches. Fix it by sticking to the 250°F to 275°F range, using light-colored aluminum baking sheets instead of dark non-stick, and tossing the mix thoroughly before baking to avoid clumps of salt or spice that can burn. If you notice browning too fast after 30 minutes, lower the oven temp by 25°F and stir more frequently.
Uneven Seasoning
This happens when you don’t toss the mix thoroughly after adding the butter mixture, or add seasonings too early in the bake. Fix it by using a large enough bowl to toss the mix without spilling, and adding delicate seasonings like cheese powder or dried herbs during the last 10 minutes of baking to prevent them from burning off or clumping.
How to Store Chex Mix for Long-Lasting Crispness
Keeping Chex Mix crisp after baking depends on proper storage to block moisture and air. Following simple storage tips keeps your snack fresh for weeks, and these tips help maintain the ideal crunch and flavor of your homemade batch.
Cooling Before Storage
Let Chex Mix cool completely to room temperature before transferring it to a storage container. If you’re in a hurry, spread it in a single layer on a wire rack to speed up cooling, but don’t skip this step—warm mix traps steam, which will make it soggy within hours.
Best Containers and Conditions
Transfer the cooled mix to an airtight glass or plastic container with a tight-sealing lid, or a heavy-duty resealable plastic bag with as much air pressed out as possible. Store it in a cool, dark pantry away from direct sunlight or heat sources (like the oven or stove) to prevent the butter from going rancid. Avoid storing it in the refrigerator, which adds moisture and softens the cereal and pretzels. After baking, clean butter and seasoning splatters off your baking sheet with a heavy-duty cleaning brush for baked-on butter to avoid scratching non-stick surfaces. Properly stored, homemade Chex Mix stays fresh and crispy for 2 to 3 weeks.
How to Re-Crisp Stale Chex Mix
If your mix goes soft after a week or two, spread it in an even layer on a baking sheet and bake at 250°F for 10 to 15 minutes, stirring halfway through. Let it cool completely before storing again, and it’ll regain its original crunch.
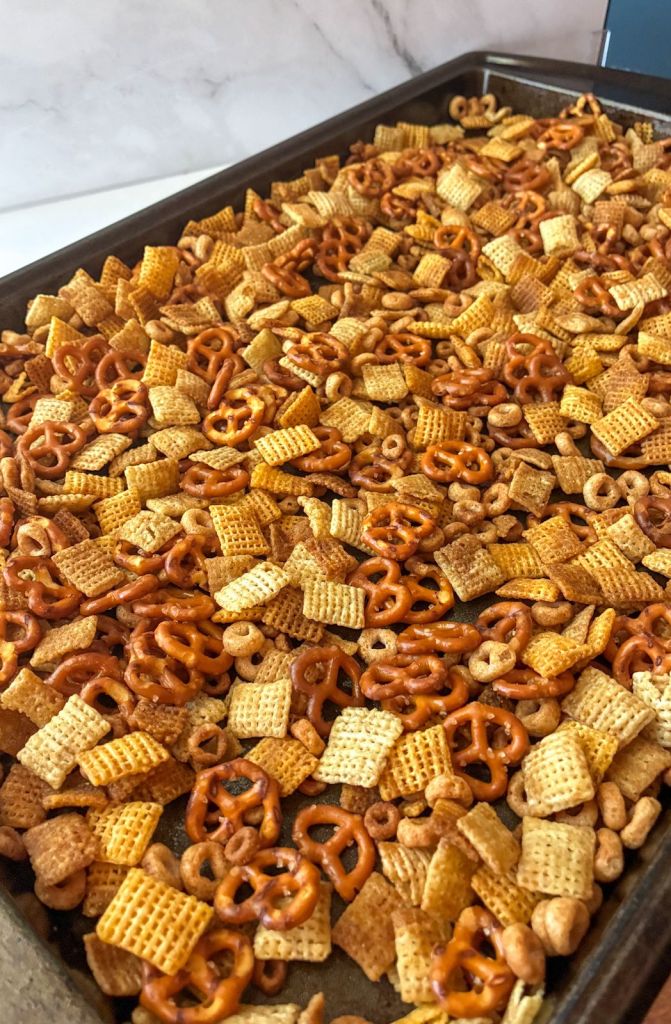 Cooled Chex Mix spread on a baking sheet to prevent sogginess before storage
Credit: oursliceofhome.com
Cooled Chex Mix spread on a baking sheet to prevent sogginess before storage
Credit: oursliceofhome.com
Frequently Asked Questions
What is the ideal oven temperature for Chex Mix?
The ideal oven temperature for Chex Mix is 250°F (120°C) for most batches. This low, steady heat allows the mix to toast evenly without burning the nuts, cereal, or seasoning. For smaller batches with delicate add-ins like cheese powder, 275°F (135°C) works well to crisp the mix in 45 to 50 minutes without scorching the seasonings. Baking at this temperature delivers perfectly crisped ingredients and enhances flavor.
How long should I bake Chex Mix at 250 degrees?
Bake Chex Mix at 250°F for 50 to 60 minutes, stirring every 15 minutes to rotate the pieces and ensure even toasting. The mix is done when it feels dry and crisp to the touch, with no soft spots. Let it cool completely on a wire rack before serving or storing for maximum crunch.
Can I bake Chex Mix at higher temperatures?
You can bake small batches at 300°F for 30 to 35 minutes if you’re short on time, but you’ll need to stir every 10 minutes and watch closely for burning after 20 minutes. High heat risks scorching the butter and seasonings before the mix is fully crispy, so it’s not recommended for larger batches or mixes with lots of delicate add-ins. Low and slow baking retains the mix’s signature crunch and flavor without drying it out.
Why is low heat recommended for Chex Mix?
Low heat prevents the natural sugars in butter and Worcestershire sauce from burning before the starchy cereal and pretzels have time to dry out and crisp. It also ensures nuts are toasted evenly without burning on the outside while staying raw inside, and gives seasonings time to adhere to the mix without scorching off. High heat can cause uneven cooking and burnt, bitter flavors that ruin the batch.
Can I use a convection oven for Chex Mix?
Yes, but lower the temperature by 25°F from your target (so 225°F for a 250°F standard bake) and reduce the bake time by 10 to 15 minutes. Convection ovens circulate hot air, which can cause the mix to burn faster if you use the standard temperature and time. Stir every 10 minutes to check for doneness.
Why is my Chex Mix soggy?
Sogginess is almost always caused by one of three issues: baking temperature too low, overfilling the baking sheet so steam can’t escape, or storing the mix before it’s fully cooled. Use an oven thermometer to confirm your oven’s actual temperature, spread the mix in a single layer no deeper than ½ inch, and let it cool completely to room temperature before storing.
How do you keep Chex Mix crispy?
Store it in an airtight container in a cool, dark pantry away from heat and moisture. Press as much air out of resealable bags as possible before sealing, and avoid storing it in the refrigerator, which adds humidity and softens the mix. Properly stored, it stays crispy for 2 to 3 weeks.
Can you re-crisp Chex Mix?
Yes. Spread stale or soft Chex Mix in an even layer on a baking sheet and bake at 250°F for 10 to 15 minutes, stirring halfway through. Let it cool completely before storing again, and it’ll regain its original crunch.
Conclusion
Nailing the perfect oven temperature for Chex Mix is the difference between a batch of burnt, soggy snack and a crispy, flavorful treat that’s perfect for any gathering. Stick to 250°F for most batches, stir every 15 minutes, and don’t skip the cooling step, and you’ll have a consistent batch every time. For more easy, crowd-pleasing snack and party recipes, browse our full snack blog for inspiration. If you’re prepping for a family party, keep little ones safe while you bake with no-drill child safety locks for your kitchen cabinets. Your snack will turn out crispy and delicious every time.

I’m Abby Lu, a passionate home cook who loves simplifying everyday meals. At PlugChef.com, I share product reviews and cooking guides to help you find the best tools for your kitchen.
Related posts:
 How to Make a Fruit Basket for a Gift: Easy DIY Guide
 Do You Need a Basket? Essential Guide for Air Fryers
 What Blenders Do Tropical Smoothie Use: Expert Insights
Stainless Steel Vs White Kitchen Appliances: Ultimate Showdown
What Blenders Do Tropical Smoothie Use: Expert Insights
Stainless Steel Vs White Kitchen Appliances: Ultimate Showdown
 Kitchen Appliances for Wedding Registry: Must-Have Essentials
 Top 10 Best Non-Toxic Cooking Utensils – Safe & Durable Choices for Healthy Homes

