
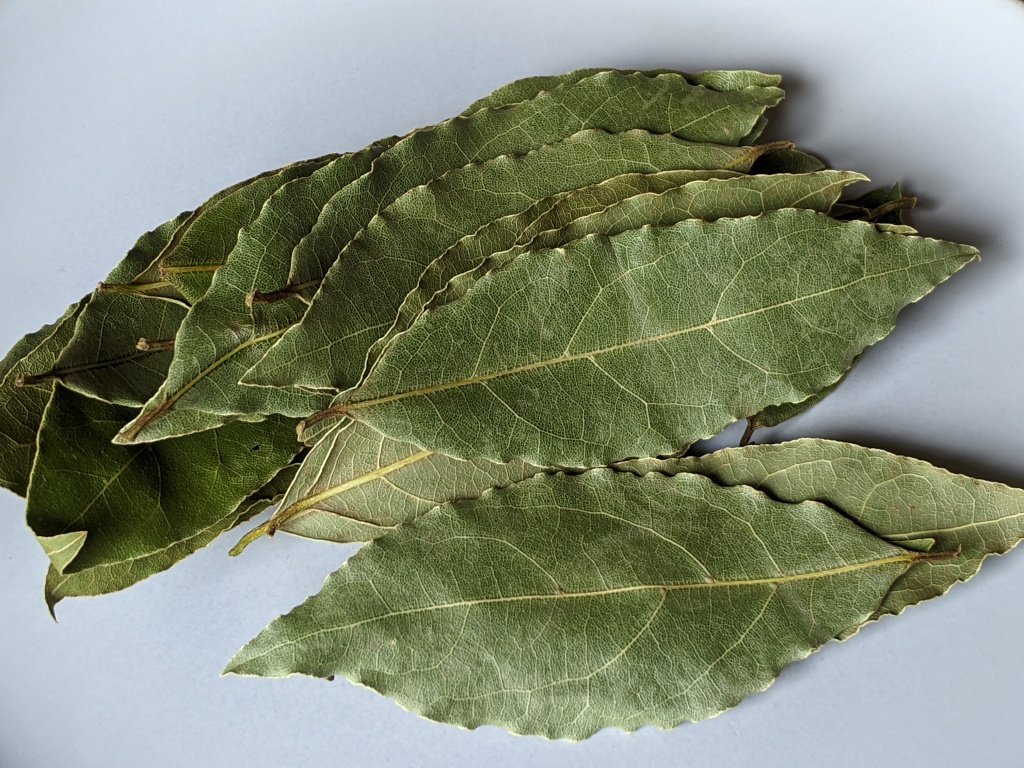
Have you ever wondered if you can freeze bay leaves to keep them fresh longer? If you love cooking with herbs, you know how important it is to have bay leaves ready whenever you need them.
But what’s the best way to store them so they don’t lose their flavor or spoil? You’ll discover the simple truth about freezing bay leaves and how it can save you time and money in the kitchen. Keep reading to find out the easy steps you can take to preserve your bay leaves perfectly.

Credit: galainthekitchen.com
Why Freeze Bay Leaves
Freezing bay leaves helps keep their fresh flavor longer. These leaves lose taste fast when left at room temperature. Freezing stops the leaves from drying out or becoming stale. It also prevents mold and insect damage. Storing bay leaves in the freezer keeps them ready for cooking anytime.
Benefits Of Freezing
- Keeps flavor fresh for many months
- Prevents mold and pests
- Maintains aroma better than drying
- Easy to store in small bags or containers
- Leaves stay flexible, not brittle
Comparing Preservation Methods
| Method | Flavor Retention | Texture | Storage Time | Ease of Use |
|---|---|---|---|---|
| Freezing | High | Flexible | 6-12 months | Simple, quick |
| Drying | Medium | Brittle | 3-6 months | Needs time and space |
| Room Temperature | Low | Soft but can spoil | 1-2 weeks | Easy but short-lasting |
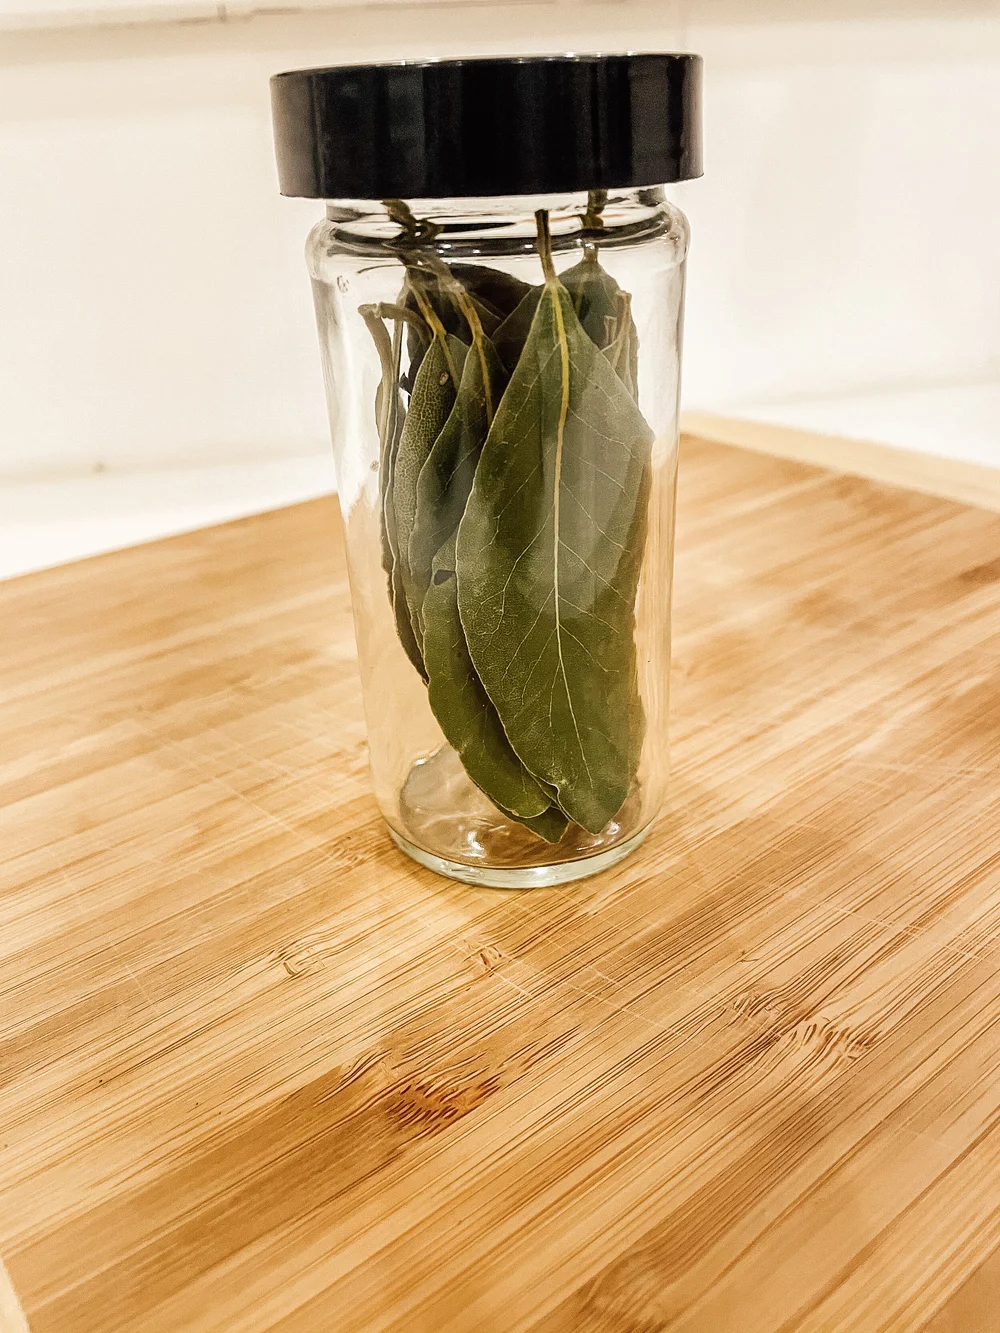
Credit: www.themorrowhouse.com
Preparing Bay Leaves For Freezing
Preparing bay leaves for freezing is a simple process that helps you keep their fresh flavor for months. Taking the right steps before freezing ensures the leaves don’t lose aroma or develop freezer burn. Let’s look at how to get your bay leaves ready to freeze effectively.
Selecting Fresh Leaves
Choose bay leaves that are vibrant green and free from spots or yellowing. Fresh leaves hold their flavor much better after freezing. If you pick leaves from your garden, select those that feel sturdy and not brittle.
Have you ever tasted a dish with old bay leaves? The flavor can be dull. Fresh leaves add a bright, herbal note to your recipes, so make sure you start with the best ones.
Cleaning And Drying Tips
Rinse the leaves gently under cool water to remove dust or dirt. Avoid soaking them, as excess moisture can cause ice crystals during freezing. After washing, pat the leaves dry with a clean towel.
Lay the leaves out on a paper towel or kitchen cloth in a single layer to air dry completely. This step prevents clumping and freezer burn later. You want the leaves to feel dry to the touch before packing them for freezing.
Freezing Techniques
Bay leaves add depth to many dishes, but fresh ones don’t last long. Freezing them is a smart way to preserve their aroma and flavor. Different freezing techniques can suit various needs and preferences. Let’s explore some effective methods to freeze bay leaves and maintain their quality.
Using Freezer Bags
Freezer bags are simple and effective for storing bay leaves. Start by washing and drying the leaves thoroughly. Place them in a single layer inside a freezer bag. Remove as much air as possible before sealing. This prevents freezer burn and keeps the leaves fresh. Label the bag with the date to track freshness. Store flat in the freezer for easy access.
Vacuum Sealing Options
Vacuum sealing removes air completely, extending the shelf life of bay leaves. Arrange the leaves in a vacuum-seal bag. Use a vacuum sealer to remove air and seal the bag tightly. This method preserves the flavor and aroma for months. It’s perfect for long-term storage and frequent cooks. Just grab a leaf whenever you need it.
Freezing In Ice Cubes
Freezing bay leaves in ice cubes is unique and convenient. Place a leaf in each compartment of an ice cube tray. Fill each compartment with water or broth. Freeze until solid, then transfer the cubes to a freezer bag. This method is great for soups and stews. Just toss in a cube for an instant flavor boost.
Storage Duration And Quality
Proper storage affects how long bay leaves stay fresh and flavorful. Freezing bay leaves helps keep their aroma and taste for months. Knowing how long they last frozen and spotting spoilage signs ensures best quality.
How Long Bay Leaves Last Frozen
Bay leaves can keep their best quality in the freezer for up to 6 months. Beyond this, their flavor starts to fade. For best results, store them in an airtight container or freezer bag. Removing excess air prevents freezer burn and moisture damage.
Signs Of Spoilage
Frozen bay leaves rarely spoil but can lose quality over time. Look for these signs:
- Loss of aroma or weak scent
- Color turning brown or dull
- Visible mold or spots
- Leaves feeling soft or crumbly
If any of these appear, it is best to discard the leaves. Using spoiled bay leaves can affect the taste of your dishes negatively.
Using Frozen Bay Leaves
Using frozen bay leaves is a smart way to keep their fresh flavor for a long time. Frozen leaves maintain their aroma better than dried ones. They are ready to use whenever you need them in your cooking.
Frozen bay leaves do not need much preparation. You can add them directly to soups, stews, or sauces. Their flavor infuses slowly, just like fresh leaves.
Thawing Methods
Thaw frozen bay leaves by placing them in the fridge for a few hours. This keeps the leaves fresh and prevents moisture buildup.
Another easy way is to leave the leaves at room temperature for 10 to 15 minutes. Avoid using a microwave to thaw, as it can change the flavor.
Cooking Tips With Frozen Leaves
- Add frozen bay leaves early in cooking. This helps release their full flavor.
- Use whole leaves and remove them before serving. They are tough to eat.
- Frozen leaves can be crushed before adding for stronger aroma.
- Store unused frozen leaves in an airtight container to keep freshness.
Common Mistakes To Avoid
Freezing bay leaves is a smart way to keep them fresh longer. Avoid common mistakes that reduce their quality. These errors can cause loss of flavor or spoilage. Learning what to avoid helps you get the best results from freezing.
Freezing Wet Leaves
Freezing bay leaves while wet causes ice crystals to form. These crystals damage the leaves’ texture and flavor. Always dry leaves completely before freezing. Use a clean towel or air dry them for a few hours. This keeps the leaves fresh and flavorful after thawing.
Inadequate Packaging
Poor packaging exposes bay leaves to air and moisture. This leads to freezer burn and loss of aroma. Use airtight containers or freezer bags to seal the leaves tightly. Remove as much air as possible from the bags. Proper packaging preserves the leaves’ quality for months.
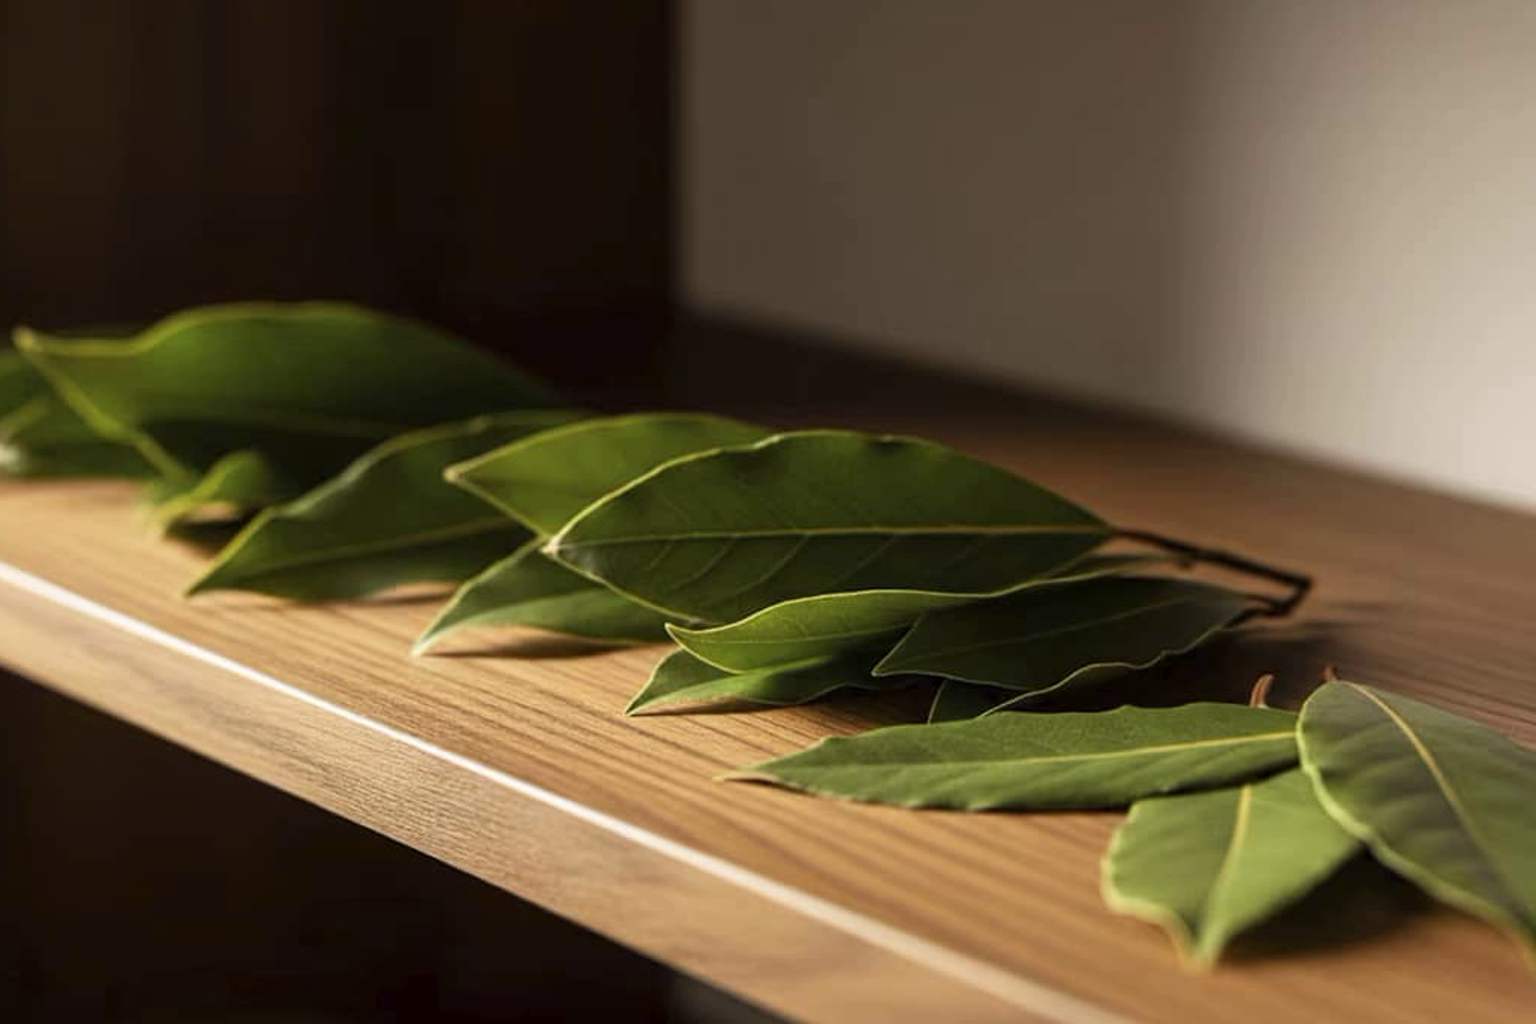
Credit: www.cmu.fr
Frequently Asked Questions
Can You Freeze Fresh Bay Leaves For Later Use?
Yes, you can freeze fresh bay leaves to preserve their flavor. Wrap them in a paper towel and place them in an airtight container or freezer bag. Freezing helps maintain their aroma and taste for several months without losing quality.
How Long Do Frozen Bay Leaves Last?
Frozen bay leaves can last up to 6 months while maintaining good flavor. After this period, their aroma and potency may begin to fade. For best taste, use them within this timeframe.
Do Frozen Bay Leaves Retain Their Flavor?
Yes, frozen bay leaves retain most of their flavor and aroma. Freezing helps preserve their essential oils, keeping them fresh for cooking. However, they may slightly lose potency if stored for too long.
Should You Dry Bay Leaves Before Freezing?
Drying bay leaves before freezing is optional but recommended. Dry leaves freeze better, preventing moisture buildup and spoilage. Drying enhances shelf life and keeps leaves flavorful when frozen.
Conclusion
Freezing bay leaves keeps them fresh and flavorful longer. It stops leaves from losing taste or aroma over time. You just need a simple freezer-safe bag or container. Take out what you need, and leave the rest frozen. This method saves money and reduces waste.
It’s an easy way to keep your kitchen stocked. Try freezing bay leaves for your next cooking adventure. You’ll enjoy fresh herbs without frequent trips to the store.

Hi, I’m Daniel Brooks—a food lover and kitchen gear enthusiast. I enjoy testing cookware, utensils, and gadgets to see what really works in everyday cooking. At PlugChef.com, I share honest reviews, comparisons, and simple guides to help you choose the best tools for a safer, smarter, and more enjoyable kitchen.
Related posts:
 What Type of Cooking Utensils are Safe: Expert Picks
 What Innovations Could Blenders Make: Unleashing Future Tech
 Smart Strategies to Organize a Small Kitchen: Maximize Space
 How to Organize a Kitchen Cabinet: Expert Tips & Tricks
 How to Organize Kitchen Drawers: Expert Tips and Tricks
 How to Organize a Corner Kitchen Cupboard: Expert Tips

