
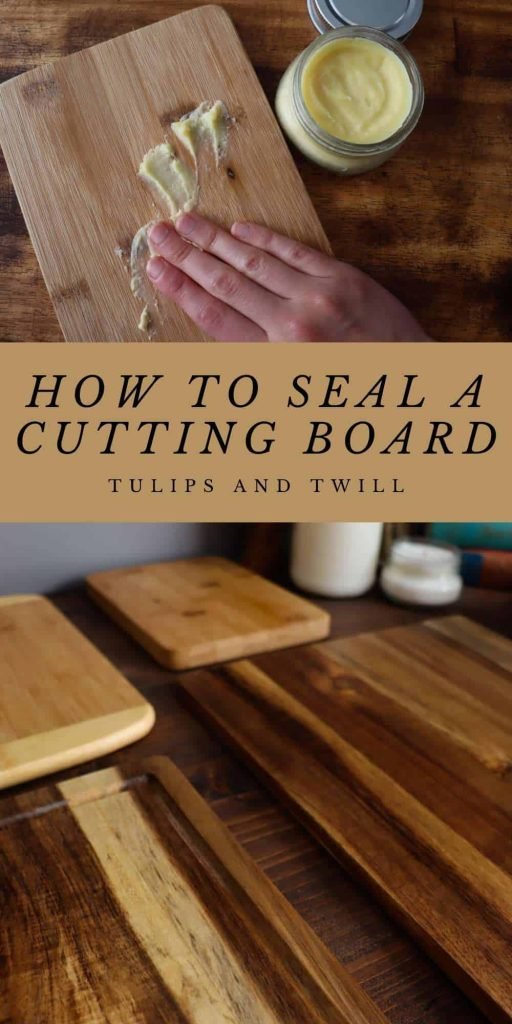
A properly sealed wood cutting board looks great, resists stains and odors, and lasts for years. This guide gives clear, actionable steps for choosing the right sealant, preparing the board, applying finishes, and maintaining the surface so your board stays hygienic and durable. In practice, a few careful steps now will save hours of repair or replacement later.
Quick overview: what sealing does and why it matters
Sealing penetrates and/or coats the wood so moisture and food debris don’t soak in. That reduces warping, cracking, staining and bacterial harboring. For boards you use every day, sealing plus routine maintenance is the difference between a short-lived kitchen tool and a long-term workhorse.
Choose the right finish (pros, cons, and recommendations)
Not all “oils” and finishes are equal. Below are the common food-safe options and when to use them.
- Mineral oil (food-grade): colorless, odorless, does not go rancid, penetrates well. Best for first-time conditioning and regular maintenance.
- Beeswax/mineral oil blends (board butter): adds some surface protection and sheen; good for end finish after oiling.
- Polymerizing finishes (e.g., food-safe tung oil blends or cured oils): provide deeper, harder protection than straight mineral oil but require following manufacturer instructions and full cure time. Some brands are formulated for cutting surfaces.
- Film finishes (varnishes, polyurethanes): create a hard coat. Not ideal for heavy-use cutting surfaces because cuts will damage the film; acceptable for serving or presentation boards where cutting is minimal.
Table — common choices at a glance
| Finish | Best for | Pros | Cons |
|---|---|---|---|
| Food-grade mineral oil | Everyday use, maintenance | Safe, inexpensive, easy | Needs frequent reapplication |
| Beeswax + oil | Final buff/appearance | Adds surface barrier, nicer feel | Less penetration; needs reapplication |
| Polymerizing tung/linseed (food-grade) | Display or light-cutting boards | More durable finish | Longer cure; must be food-safe, avoid raw linseed |
| Varnish/Polyurethane (food-grade) | Presentation boards | Hard surface | Not durable under knife cuts; may chip |
A common mistake is using household vegetable oils (olive, canola) — they can go rancid and create odors. Stick to mineral oil or purpose-made board oils. For general food-safety guidance on kitchen surfaces, see the U.S. Department of Agriculture’s food safety resources about safe food handling and sanitation practices at the USDA site.
Tools and materials you’ll need
- Food-grade mineral oil or a dedicated cutting-board oil
- Beeswax (for a board butter), optional
- Clean, lint-free cloths or paper towels
- Sandpaper: 80–120 grit (repair), 150–220 grit (finish)
- Sanding block or electric sander (careful with power tools)
- Soft-bristled brush or toothbrush (for grooves)
- Vacuum or tack cloth to remove dust
- Plastic scraper (for dried wax)
- Toothpicks or wood glue (for small crack repairs)
Step-by-step: Preparing the board (cleaning, sanding, repairs)
- Clean: Scrape off stuck-on debris, wash with warm water and mild dish soap, then rinse. Do not soak or use a dishwasher. For daily sanitize, wipe with 3% hydrogen peroxide or white vinegar; for occasional sanitizing, a diluted bleach solution (per USDA recommendations: 1 tablespoon of household bleach per gallon of water) may be used, then rinse thoroughly.
- Inspect: Look for deep cuts, glue seams that failed, or large stains. If end-grain boards have deep gouges, plan to sand down or repair.
- Sanding (if needed): Start with 80–120 grit to remove deep marks, then progress to 150–220 grit for a smooth finish. Always sand with the grain. For end-grain boards, go gently — they soak up more dust and oil.
- Dust removal: Vacuum and wipe with a tack cloth or damp lint-free rag. Let completely dry before oiling.
In practice: sanding evenly and removing all dust is essential; missed dust creates blotchy absorption later.
 Credit: en.chefstudio.vn
Step-by-step: Applying oil and wax (practical timing and amounts)
- Warm the board (optional): placing it in a room-temperature environment helps oil penetrate; avoid heat sources.
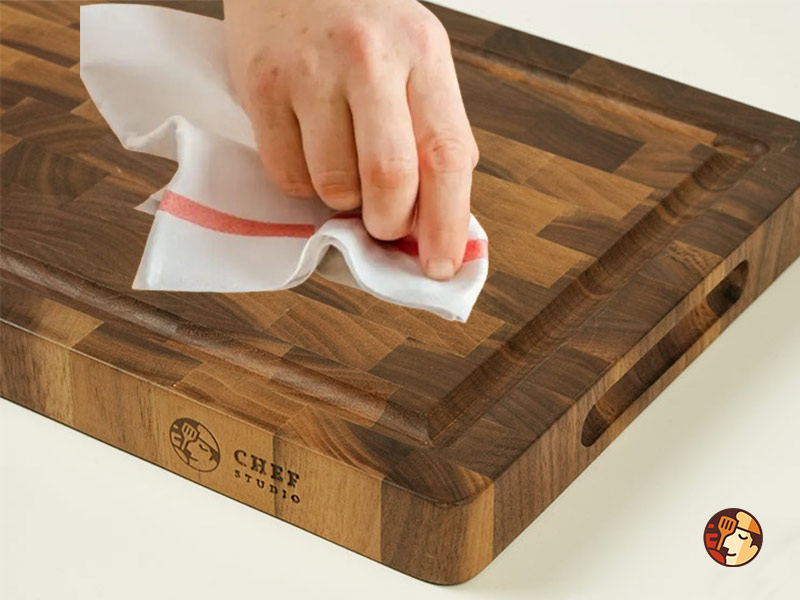
- Apply oil: Pour 1–2 tablespoons per side for a standard 12"×18" board. Rub the oil into the surface with a clean cloth, following the grain. For end-grain boards, you’ll need more oil and more time.
- Wait: Let the oil soak in. Light-use boards often absorb oil in 30–60 minutes; dry or thirsty boards can need several hours to overnight.
- Repeat: Apply coats until the wood no longer absorbs oil (surface beads rather than soaks). Expect 2–4 coats on a new or dry board. Wipe away visible excess after the final coat.
- Add beeswax finish (optional): Warm a beeswax/mineral oil blend (typical ratio 1 part beeswax : 4–6 parts mineral oil) until soft, rub a thin layer onto the board, let set for 10–30 minutes, then buff with a clean cloth. This gives a satin sheen and added moisture resistance.
- Final cure: Let the board rest for at least 12–24 hours before food use. Polymerizing finishes require full cure per product instructions (often days).
Practical tips: If the board still soaks oil after two coats, keep applying thin layers — forcing a thick coat will leave a sticky film. For beeswax blends, avoid applying too thickly; buff to a smooth finish.
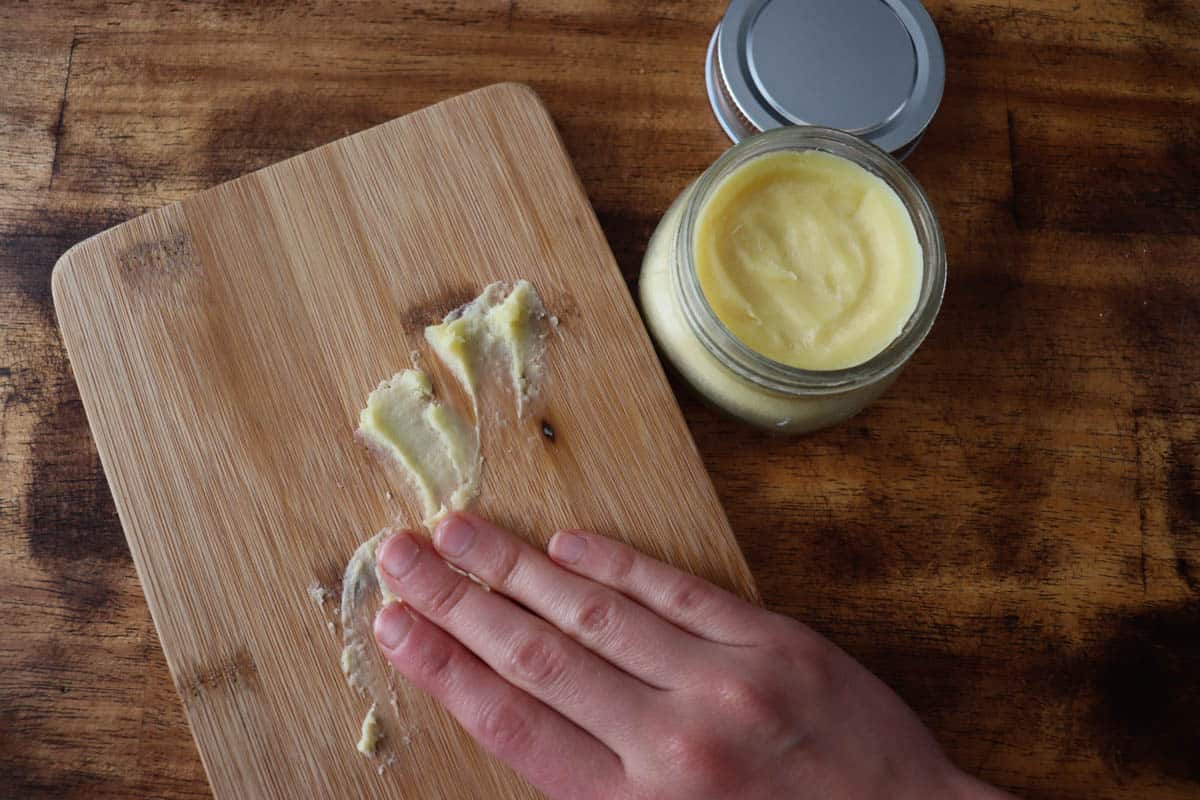 Applying board butter to a wooden cutting board surface
Credit: tulipsandtwill.com
Applying board butter to a wooden cutting board surface
Credit: tulipsandtwill.com
Drying, curing and environment
- Ideal conditions: warm (around 65–75°F / 18–24°C) and low humidity for faster cure. High humidity slows absorption and cure times.
- Timeframes: Mineral oil may be usable within 12–24 hours after application, but multiple coats benefit from overnight rests. Polymerizing finishes: follow the product label for full cure; don’t use the board for food prep until fully cured.
- Storage: Store boards standing on edge to allow both sides to breathe and reduce warping.
How often to recondition (real-world schedules)
- Heavy home use (daily): oil every 2–4 weeks; beeswax finish monthly.
- Moderate use (several times a week): oil every 1–3 months.
- Light or serving boards: oil every 3–6 months. Check the water-drop test: if water soaks in quickly, it’s time to reapply oil. In practice, mid-winter indoor heat can dry boards faster — adjust frequency seasonally.
Maintenance: cleaning, stain removal and deep repairs
- Daily cleaning: warm water, mild soap, rinse, and dry upright. Never use the dishwasher.
- Odor removal: sprinkle coarse salt and rub with half a lemon, rinse and dry.
- Stain removal: sand out surface stains; use 150–220 grit to blend the surface.
- Deep cuts/gouges: sand down to even surface; for gaps or cracks, clamp and use food-safe PVA glue for repair, then sand smooth.
- Re-gluing finger joints: disassemble or stabilize if needed; major repairs may be best handled by a professional.
For everyday sanitation and safe food handling, follow general food-safety practices recommended by food-safety authorities such as the USDA and educational extension services; these sources provide guidance on sanitizing kitchen surfaces and safe cleaning routines.
Common mistakes and how to avoid them
- Using cooking oils (olive, vegetable): they go rancid and smell bad. Avoid.
- Over-applying oil: leaves a sticky surface that attracts dirt. Wipe excess after absorption.
- Using the dishwasher or soaking: causes warping and separates glued joints.
- Applying hard film finishes to heavy-use boards: they will chip under knife cuts and are hard to repair.
- Skipping sanding after deep cuts: results in uneven absorption and blotchy color.
A common mistake in workshops: treating end-grain boards the same as edge-grain boards. End grain absorbs much more oil and requires extra coats and patience.
 Credit: www.youtube.com
When to refinish completely
Refinish (strip to bare wood and re-seal) when:
- Cuts are deep enough to trap food debris after cleaning.
- Surface is uneven or heavily stained after sanding attempts.
- Board develops a persistent odor that won’t lift. To refinish: sand the top to good wood (start with 80–120 grit as needed, finish with 150–220 grit), clean dust, then follow the oiling and waxing steps above.
FAQs
Q: Can I use tung oil or polymerized oils safely? A: Use only products labeled food-safe and follow full cure instructions. Fully polymerized tung oil products are more durable than straight mineral oil but require longer cure times and proper ventilation during application.
Q: Is a sealed wood board sanitary? A: Yes. Properly sealed and maintained wood boards are safe. Regular cleaning, timely resealing, and prompt repair of deep cuts keep them hygienic. For authoritative food-handling guidance, consult trusted food-safety resources from agencies like the USDA.
Q: How long will my sealed board last? A: With regular maintenance and proper use, a well-made wooden board can last many years. Frequency of resealing, usage intensity, and whether it’s end-grain or edge-grain greatly affect lifespan.
Q: Can I eat directly off a sealed board? A: Yes, if the sealant is food-safe and fully cured. Avoid serving acidic foods on recently applied finishes until the board is fully cured.
Troubleshooting
- Sticky surface after oiling: remove excess oil with a clean cloth and let it rest in a warm, dry place. If persistent, lightly sand and reapply thin coats.
- Rancid smell: likely from vegetable oil; deep-sand the surface and reapply mineral oil.
- Uneven color/blotches after oiling: sand lightly with 220 grit, dust off, and reapply thin coats.
Conclusion and next steps
Sealing a wood cutting board is a straightforward process that pays dividends in longevity and food safety. Start by inspecting and cleaning your board, sand as needed, then condition with food-grade mineral oil and finish with a beeswax blend if desired. Test absorption with a drop of water and set a reconditioning calendar based on use. Small, routine care will keep your board functional and beautiful for years.
Ready to protect your board? Do the water-drop test now—if water soaks in, apply a coat of food-grade mineral oil today.

Hi, I’m Daniel Brooks—a food lover and kitchen gear enthusiast. I enjoy testing cookware, utensils, and gadgets to see what really works in everyday cooking. At PlugChef.com, I share honest reviews, comparisons, and simple guides to help you choose the best tools for a safer, smarter, and more enjoyable kitchen.
Related posts:
 How to Make a Fruit Basket for a Gift: Easy DIY Guide
 Do You Need a Basket? Essential Guide for Air Fryers
 How to Choose Kitchen Appliances: Expert Tips Revealed
 Kitchen Cabinets With Black Stainless Steel Appliances: Modern Elegance
 White Kitchen Cabinets Stainless Steel Appliances: Timeless Elegance
 Top 10 Best Non-Toxic Cooking Utensils – Safe & Durable Choices for Healthy Homes

