
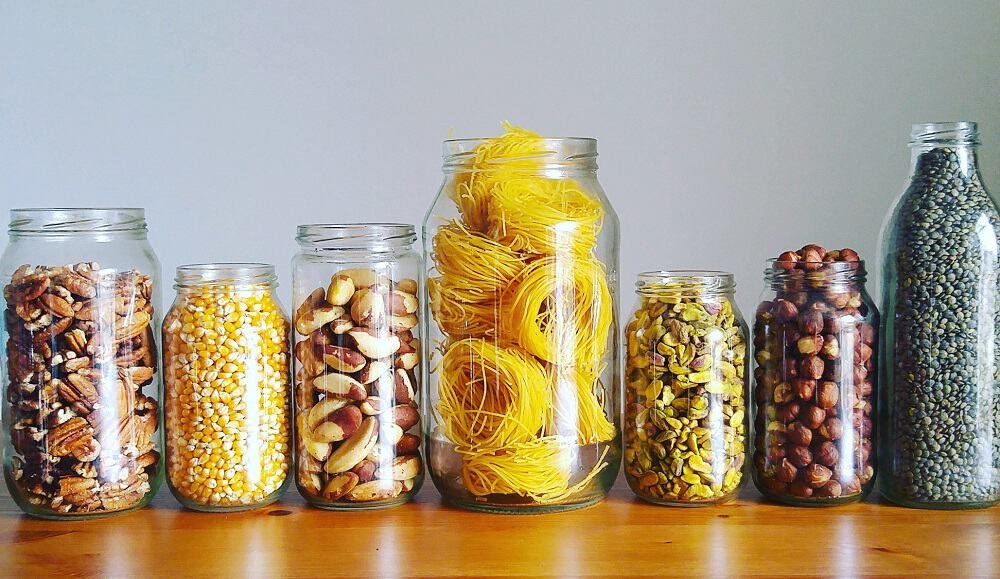
Ditching plastic from your kitchen doesn’t require extreme effort—just the right alternatives, storage habits, and a simple transition plan. This guide shows practical, safe, and long-lasting ways to store food without plastic: what to use, how to care for those items, safe temperature rules, and specific techniques for produce, dry goods, liquids, leftovers and freezer storage. Read on for precise steps you can apply this week.
Example of a plastic-free pantry using jars and baskets.
Credit: www.reddit.com
Quick-start plan: three easy swaps to begin today
- Swap plastic wrap for a beeswax wrap or silicone lid — use one for sandwiches or bowl covers.
- Replace a set of plastic storage tubs with three glass containers (one pint, one quart, one larger) to cover most leftovers.
- Store bulk staples (rice, oats, flour) in airtight glass jars or metal canisters.
In practice, starting small avoids up-front cost shock and makes the habit stick. A common mistake is replacing everything at once—buy what you need as you use it.
Materials that work — comparison and best uses
Below is a practical comparison to help you choose by food type and lifestyle.
| Material | Best uses | Pros | Cons / Care |
|---|---|---|---|
| Glass (tempered/borosilicate) | Leftovers, sauces, pickles, dry goods | Nonreactive, transparent, oven/fridge/freezer safe (if tempered) | Lids may be plastic—choose silicone or stainless lids |
| Stainless steel | Lunchboxes, dry goods, snacks, coffee | Lightweight, durable, won’t stain or retain odors | Not transparent; check for silicone seals for airtightness |
| Ceramic / glazed clay | Pantry jars, fermenting crocks, serving | Attractive, stable temperature, nonreactive | Porous unglazed clay needs seasoning; heavier |
| Beeswax-coated fabric | Covering bowls, wrapping cheese, sandwiches | Reusable, molds to shape, breathable | Not suited for raw meat; hand-wash in cool water |
| Silicone (food-grade) | Reusable bags, stretch lids, baking | Flexible, heat-resistant, dishwasher-safe | Made from synthetic polymer—durability varies |
| Bamboo / wood | Dry goods scoop, bread boxes, baskets | Renewable, breathable for produce | Can absorb odors/moisture; requires drying and oiling |
| Paper / cotton bags | Bread, onions, potatoes (short-term) | Breathable, compostable (paper) | Not long-term airtight; washable (cloth) |
When buying, prefer food-grade labels and avoid “unknown silicone” or thin metal tins with coatings.
Food-safety basics for non-plastic storage
- Keep your refrigerator at or below 40°F (4°C) and the freezer at 0°F (-18°C). These safe-temperature targets are standard food-safety guidance from the U.S. Food and Drug Administration and affect how long foods remain safe. See the FDA for general refrigerator and freezer guidance: FDA.
- Use airtight seals for wet foods and perishable leftovers. If using glass with non-plastic lids, ensure a silicone gasket or quality screw-top is present.
- Avoid storing raw meat or fish in beeswax or cloth wraps—use glass or stainless steel trays lined for leak protection, and place on a lowest-shelf drip tray to prevent cross-contamination. Government food-safety pages like the USDA provide preservation and handling guidance that is useful when shifting storage methods: USDA.
How to store specific foods without plastic
Produce
- High-moisture greens: wash, spin dry, then wrap in a slightly damp cotton towel and store in a breathable container or perforated ceramic baker. Change the towel every 3–4 days.
- Root vegetables: store in a cool, dark place in wooden crates or boxes layered with dry sand or sawdust (traditional method) or in breathable cloth sacks. Avoid sealed plastic bags that trap moisture.
- Berries and soft fruit: store unwashed in single layer on a paper towel–lined tray; wash only before eating to extend life.
Dry goods (flour, rice, beans, pasta)
- Transfer to glass jars with wide mouths and tight seals. Label with date purchased and rotation info. For long-term storage, consider food-grade metal canisters with silicone seals.
- For bulk buys, split between a working jar and a reserve jar kept in a cool, dark pantry to reduce oxidation and pests.
Liquids, sauces and wet leftovers
- Use glass jars with screw lids or silicone-sealed glass containers. For soups and sauces, leave 1–1.5 inches headspace if freezing. Avoid beeswax wraps for liquids.
- When reheating, remove lids and heat glass on stovetop-safe or oven-safe settings if labelled; do not use beeswax-coated fabric in hot ovens.
Bread and baked goods
- Store bread in a cotton bread bag or a wooden bread box on the counter for 2–3 days, or freeze in glass or silicone bags for longer storage. Wrap unsliced loaves in linen to retain crust.
Freezer storage without plastic
- Use tempered glass freezer-safe containers or heavy-duty silicone bags. Label with dates and contents. If you freeze liquids in glass, use short, wide jars and leave adequate headspace to prevent breakage. Always confirm manufacturer freezer-safety.
Cleaning and maintenance: make your replacements last
- Glass: soak with hot soapy water, use a bottle brush for narrow mouths; avoid thermal shock (don’t move straight from freezer to hot water).
- Stainless steel: hand-dry quickly to avoid spotting; use baking soda paste for stubborn stains. Avoid putting wooden lids through the dishwasher.
- Beeswax wraps: wash in cool water with mild soap; never submerge in hot water or microwave. Re-wax when tackiness diminishes (DIY kits or local refill services).
- Clay: cure/season unglazed clay before first use; clean gently and air-dry fully to avoid mold.
A common mistake is sterilizing beeswax wraps or wiping lids with hot water that melts the wax or damages seals—care labels and manufacturer instructions matter.
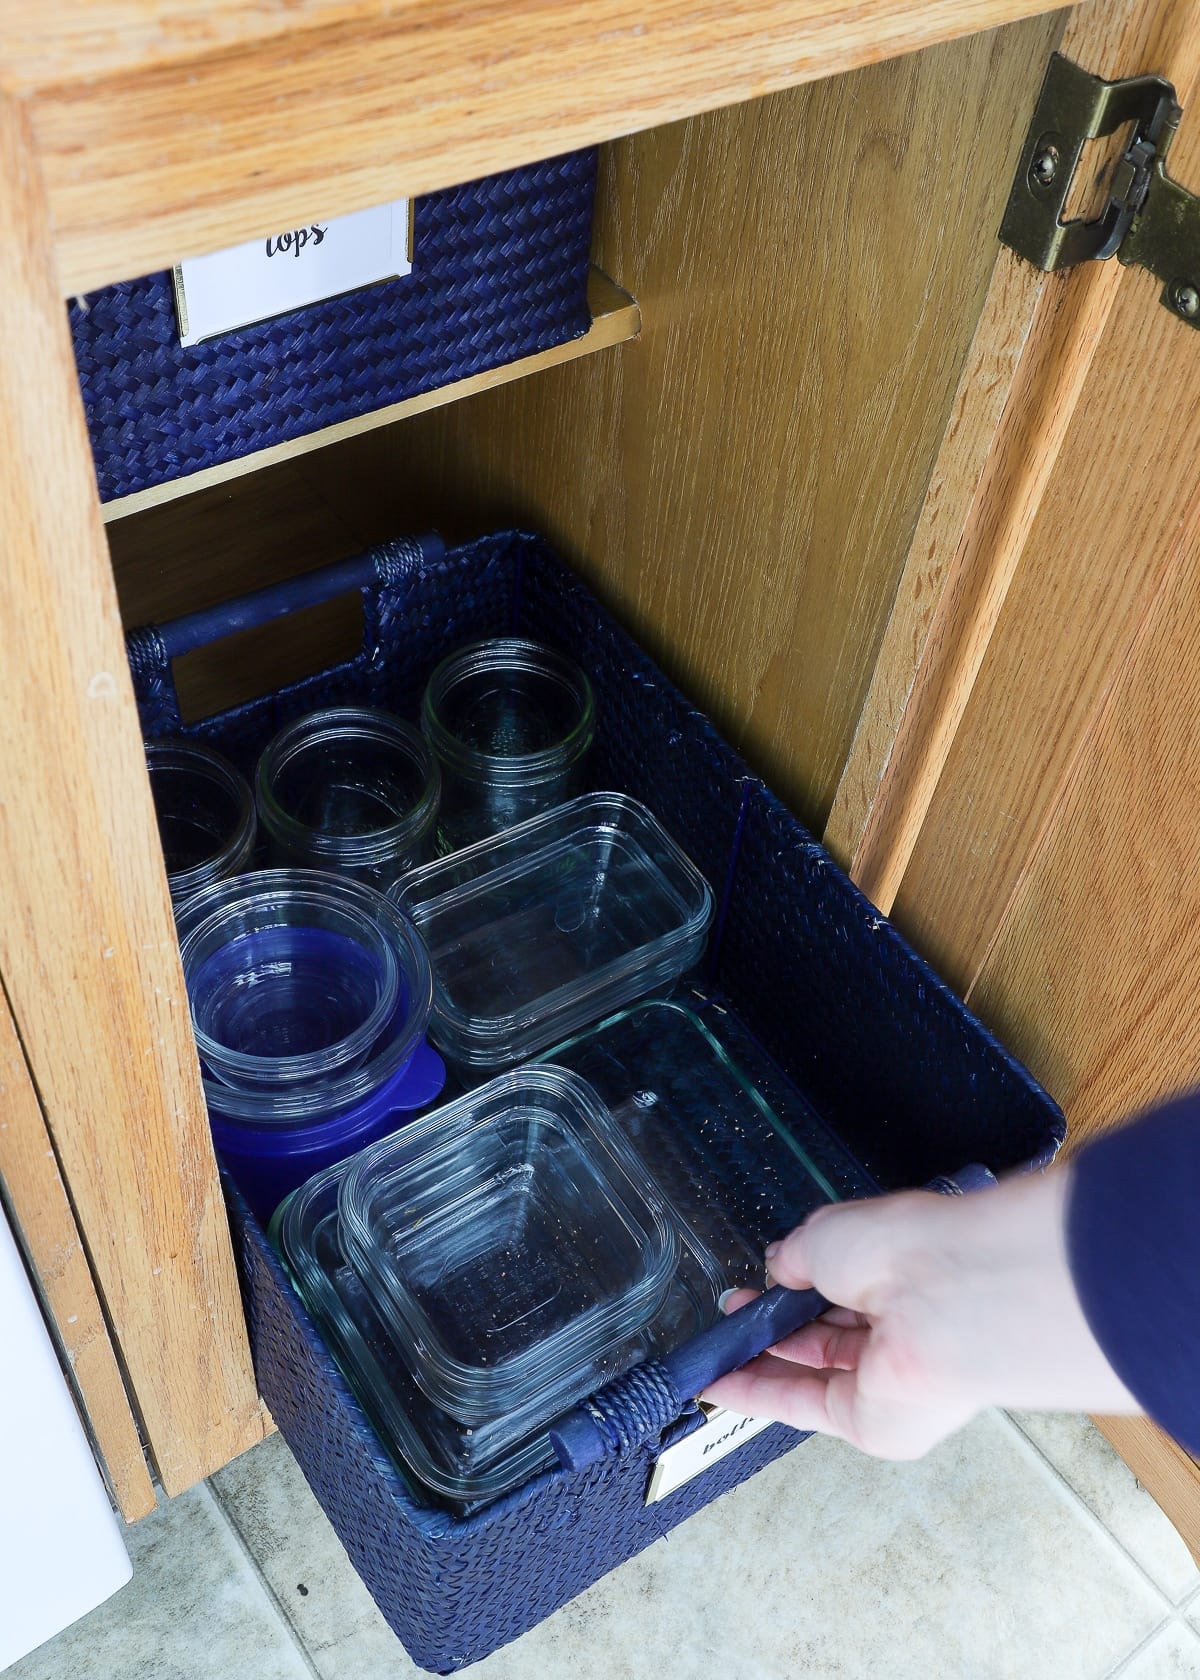
Stackable jars and metal tins for pantry organization.
Credit: thehomesihavemade.com
Transition tips and cost trade-offs
- Start a “one-in, one-out” rule: when a plastic container breaks or you decide to replace it, buy a non-plastic equivalent.
- Budgeting: upfront cost is higher for glass or stainless steel, but these items often last many years compared with repeated single-use plastic. Track savings by counting avoided single-use purchases per month.
- Thrift & upcycling: reuse commercial glass jars (sauce, jam) rather than buying new storage to reduce cost and embodied waste. Clean and label them; add new rubber or silicone seals if needed.
Where to buy and what to check
- Local zero-waste stores, farmer’s markets and reputable kitchenware brands often carry food-grade glass, stainless, beeswax wraps and silicone products.
- When buying online or in-store, check: food-grade certification, temperature ratings (oven/freezer-safe), airtightness (silicone gaskets), and return policy.
Common mistakes and troubleshooting
- Sealing wet food in non-airtight cloth: causes mold. Use glass/silicone for wet items.
- Assuming all silicone is equal: thin disposable-like bags tear; choose food-grade heavy-duty silicone with clear specs.
- Stacking heated glass in cold environments: thermal shock can crack tempered glass—let containers cool to room temperature before refrigerating or freezing.
Overview of multiple plastic-free storage techniques and examples.
Credit: treadingmyownpath.com
FAQs — concise, practical answers
Q: Are beeswax wraps safe for cheese and sandwiches?
A: Yes for cheese and sandwiches as long as the food is cool. Do not use for raw meat, hot foods, or in the microwave. Wash gently in cool water.
Q: Can I freeze liquids in glass jars?
A: Only use glass labeled freezer-safe and leave headspace for expansion. Short, wide jars reduce breakage risk.
Q: How to keep pantry pests out without plastic?
A: Use airtight glass or metal containers with silicone seals and practice “first in, first out” rotation. Bay leaves and clean storage reduce appeal; freeze new flour or grains for 48 hours to kill eggs.
Q: Is silicone really plastic-free?
A: Silicone is a synthetic polymer but not the same as single-use petroleum plastics. It’s durable and reusable; weigh the trade-offs if you desire fully natural materials.
Conclusion — next steps
Switching to plastic-free food storage improves safety, reduces waste, and often makes a kitchen more organized. Start with one practical swap this week—replace plastic wrap, move one staple to a glass jar, or pack lunches in stainless steel—and build from there. Small, consistent changes create long-term impact.
Try one swap today: replace one plastic item with a reusable glass or stainless alternative and notice the difference in convenience and waste reduction.
If you want a quick checklist to follow this week, use this simple, actionable list:
- Replace one plastic wrap or bag with a beeswax wrap, silicone lid, or silicone bag.
- Move one staple (flour, rice, oats) into a glass jar with a dated label.
- Swap one set of plastic takeaway containers for stainless steel or tempered glass.
- Store one type of produce using a breathable solution (cloth bag, linen, or wooden crate).
- Clean and repurpose two commercial glass jars for pantry use.
- Inspect lids and seals; replace any cracked or stained plastic lids with silicone or stainless options.
- Freeze one batch of leftovers in a freezer-safe glass or heavy-duty silicone container, leaving headspace.
Track one simple metric: the number of single-use plastics you avoided this week (bags, wrap, disposable containers). In practice, counting small wins helps the habit stick and shows real waste reduction over a month.
Ready to go further? Try swapping three more items next month and donate or responsibly recycle the plastics you remove. Small, steady changes result in a kitchen that’s safer for your food and kinder to the planet.
If you want a simple next step, take this 7-day micro-challenge to make the habit stick:
Day 1: Replace plastic wrap with a beeswax wrap or silicone lid for one meal.
Day 2: Transfer one dry good (rice, oats, flour) into a glass jar and label it.
Day 3: Pack today’s lunch in stainless steel or glass rather than a single-use container.
Day 4: Swap one produce bag for a cloth or mesh alternative and store that produce correctly.
Day 5: Repurpose two commercial glass jars (sauce/jam) into pantry storage.
Day 6: Freeze one portion of leftovers in a freezer-safe glass or heavy-duty silicone bag.
Day 7: Assess — count how many single-use plastics you avoided and plan three swaps for next week.
Donating or responsibly recycling the plastics you remove helps close the loop: check your municipality’s recycling rules before discarding lids, thin films, or mixed-material items. Many community reuse networks and thrift stores accept intact containers and kitchenware in good condition.
Longer-term ideas to expand your plastic-free kitchen
- Join a local refill or bulk store to reduce packaging on staples.
- Learn basic preservation methods (fermenting, drying, canning in glass) to reduce reliance on single-use packaging.
- Build a modest set of go-to non-plastic containers tailored to your cooking habits—this minimizes impulse buys and wasted money.
Final practical reminders
- Read product labels for “food-grade” and temperature ratings—this matters more than brand aesthetics.
- Rotate pantry stock and date jars to prevent spoilage and pest attraction.
- Keep wet and raw foods in non-porous containers (glass or stainless) to avoid contamination.
Take action now: replace one plastic item in your kitchen today and commit to the 7-day micro-challenge — small changes compound into real environmental and household benefit.

I’m Abby Lu, a passionate home cook who loves simplifying everyday meals. At PlugChef.com, I share product reviews and cooking guides to help you find the best tools for your kitchen.
Related posts:
 How to Make a Fruit Basket for a Gift: Easy DIY Guide
 Do You Need a Basket? Essential Guide for Air Fryers
 How to Choose Kitchen Appliances: Expert Tips Revealed
 Kitchen Cabinets With Black Stainless Steel Appliances: Modern Elegance
 White Kitchen Cabinets Stainless Steel Appliances: Timeless Elegance
 Top 10 Best Non-Toxic Cooking Utensils – Safe & Durable Choices for Healthy Homes

