
Do you want a strong cutting board? An end grain cutting board is great. It is beautiful and lasts a long time. Making one is fun and easy.

Credit: m.youtube.com
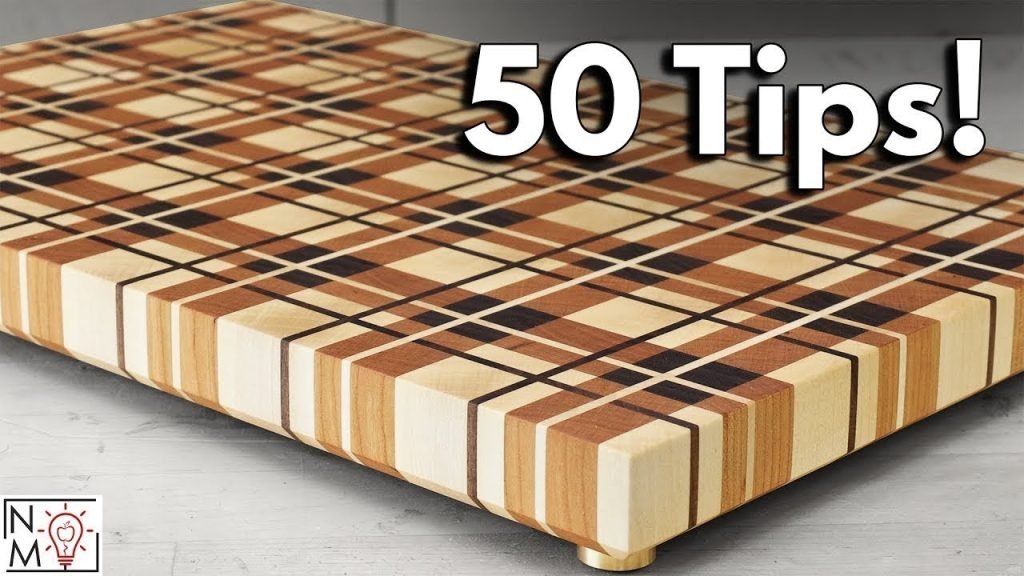
Why Choose End Grain?
End grain boards are special. They are different from other boards. The wood fibers stand up. This makes them strong. Also, they are gentle on knives. Your knives will stay sharp longer.
Materials You Need
To make your board, you need some things. Here is a list:
- Wood pieces (like maple, walnut, or cherry)
- Wood glue
- Clamps
- Sandpaper (different grits)
- Mineral oil
You also need some tools. Here they are:
- Saw (table saw or hand saw)
- Sander (or sanding block)
- Brush or cloth (for oil)
Steps to Make Your Board
1. Choose Your Wood
Pick pieces of wood you like. Choose different colors. This will make your board look nice. Make sure the wood is hard. Soft wood is not good for cutting boards.
2. Cut The Wood
Use your saw to cut the wood. Cut them into strips. Each strip should be the same width. This makes the board look even. Be careful while cutting. Safety first!
3. Arrange The Strips
Now, arrange the strips. Place them side by side. Look for patterns you like. You can make a checkerboard pattern. Or, mix different colors.
4. Glue The Strips
Take your wood glue. Apply it to the edges of each strip. Press them together. Use the clamps to hold them tight. Let the glue dry. This can take a few hours.
5. Sand The Surface
Once the glue is dry, it’s time to sand. Start with rough sandpaper. This removes any bumps. Then, use smoother sandpaper. Make the surface smooth.
6. Cut Again
Now, cut the board again. Turn it 90 degrees. Cut the board into strips again. This shows the end grain. Arrange these new pieces. Glue them again. Clamp them tightly. Let it dry again.
7. Final Sanding
Sand the board one more time. Make sure it’s smooth. No rough spots. This is important. You will use this board for cutting.
8. Oil The Board
Your board is almost ready. Now, apply mineral oil. Use a brush or cloth. Cover the whole board. Let the oil soak in. It protects the wood. Repeat this step a few times.
Caring for Your Cutting Board
Your board is done. Now, take care of it. Always wash it by hand. Dry it immediately. Never put it in the dishwasher. Reapply oil every month. This keeps it looking new.
Why Make Your Own Board?
Making your own board is rewarding. You learn new skills. You save money. It is also a great gift. Friends and family will love it. Plus, it is unique. No one else will have the same board.

Credit: www.youtube.com
Frequently Asked Questions
What Wood Is Best For An End Grain Cutting Board?
Hardwoods like maple, walnut, and cherry are best for durability and cutting safety.
How Long Does It Take To Build An End Grain Board?
It usually takes 5 to 8 hours, including drying and sanding time.
Why Choose End Grain Over Edge Grain Boards?
End grain boards are gentler on knives and last longer than edge grain boards.
How Do You Glue The Wood Pieces Together Properly?
Use strong wood glue and clamp pieces tightly for 1 to 2 hours.
Conclusion
Building an end grain cutting board is fun. It is not hard. Follow these steps. Use the right materials. Soon, you will have a beautiful board. A board that will last a long time.
Enjoy your new cutting board. Happy cooking!

I’m Abby Lu, a passionate home cook who loves simplifying everyday meals. At PlugChef.com, I share product reviews and cooking guides to help you find the best tools for your kitchen.
Related posts:
 What Type of Cooking Utensils are Safe: Expert Picks
 What Innovations Could Blenders Make: Unleashing Future Tech
 Smart Strategies to Organize a Small Kitchen: Maximize Space
 How to Organize a Kitchen Cabinet: Expert Tips & Tricks
 How to Organize Kitchen Drawers: Expert Tips and Tricks
 How to Organize a Corner Kitchen Cupboard: Expert Tips

