
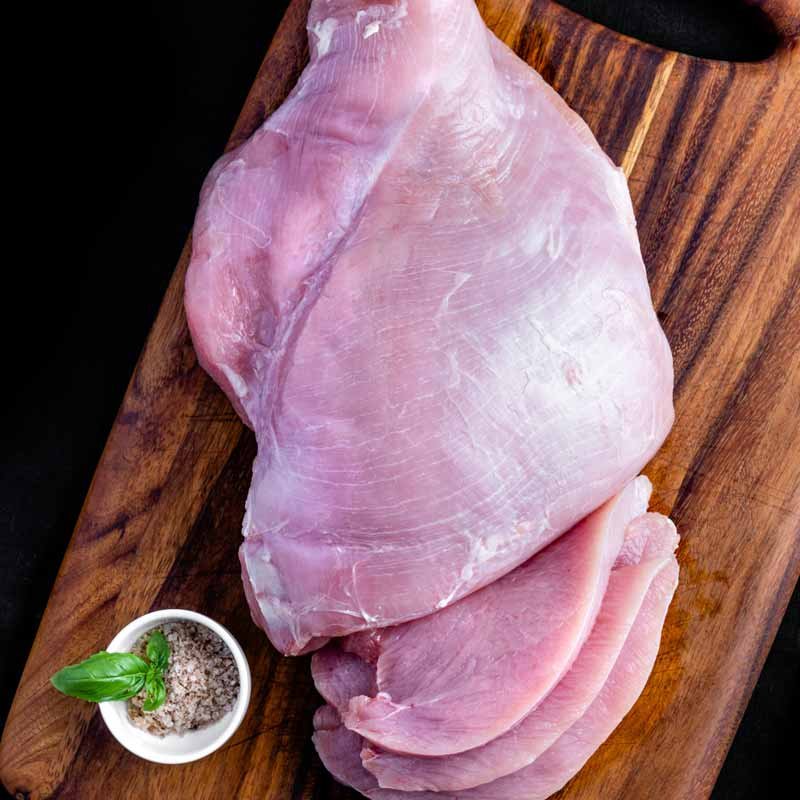
You just finished prepping raw chicken for tonight’s stir-fry, and now your cutting board is coated in juices, fat, and tiny bits of poultry. If you skip proper cleaning, those invisible pathogens can spread to your next prep task—whether that’s slicing veggies for a salad or assembling a charcuterie board—leading to preventable foodborne illness. Raw poultry is a top carrier of Salmonella and Campylobacter, bacteria that cause an estimated 1.35 million infections, 26,500 hospitalizations, and 420 deaths in the U.S. each year, per CDC food safety protocols. Pairing dedicated prep surfaces with kitchen food safety best practices cuts cross-contamination risk dramatically, starting with proper board cleaning after every raw poultry use.
Why Raw Chicken Requires Special Board Cleaning
Unlike produce or cooked meats, raw poultry carries a high risk of harmful pathogens that survive on surfaces for hours if not properly removed. Even a small amount of chicken juice left on a board can transfer to other foods, utensils, or your hands, leading to symptoms like nausea, vomiting, diarrhea, and fever within 12 to 72 hours. Cross-contamination often happens unintentionally: a 2022 USDA study found that 60% of home cooks who failed to sanitize cutting boards after raw meat use spread bacteria to other kitchen surfaces during meal prep. Unlike wiping with a dishcloth (which just spreads pathogens around), proper cleaning with soap and sanitizer eliminates nearly all harmful germs on contact.
What You’ll Need
Gather these supplies before you start to avoid cross-contamination mid-clean:
- Hot running water (at least 110°F / 43°C, hot enough to lift grease but not so hot it warps wood boards)
- Unscented dish soap (degreases and lifts bacteria from the board surface)
- White distilled vinegar (natural deodorizer and mild sanitizer for light use)
- Unscented household bleach (for heavy sanitizing of raw chicken residue; mix 1 tablespoon per 1 gallon of cool water for a safe, effective solution)
- Baking soda (gentle abrasive for deodorizing and removing stuck-on bits without scratching surfaces)
- Dedicated scrub brush or non-abrasive sponge (avoid using the same sponge you use for washing dishes, to prevent cross-contamination)
- Paper towels and a clean, dry cloth (for drying without re-contaminating the surface)
- Food-grade mineral oil (for wood boards only, to prevent cracking and bacterial growth in grooves)
Step-by-Step Cleaning Process
Follow these steps in order every time you use a board for raw chicken, regardless of the board material. Skipping steps or rushing the process leaves harmful bacteria behind.
Step 1: Remove Loose Debris First
Before rinsing, use a paper towel or plastic scraper to wipe off all visible chicken bits, fat, and juice from the board surface. A common mistake home cooks make is rinsing the board first, which spreads pathogens to the sink basin, faucet, and surrounding countertops. Scrape debris into the trash, then hold the board under hot running water to rinse away remaining loose particles.
 Image source: www.reddit.com
Scraping off visible debris before rinsing prevents spreading bacteria to your sink and surrounding surfaces.
Image source: www.reddit.com
Scraping off visible debris before rinsing prevents spreading bacteria to your sink and surrounding surfaces.
Step 2: Scrub With Hot, Soapy Water
Apply a small amount of unscented dish soap to your dedicated scrub brush, then scrub the entire board surface—including edges, corners, and any cut grooves—for at least 20 seconds, the same length of time recommended for handwashing. Hot, soapy water lifts grease and grime that can harbor bacteria, but it does not kill all pathogens on its own, so do not skip the sanitizing step later in the process. Avoid using abrasive scouring pads on wood or composite boards, as they scratch the surface and create deep grooves where bacteria can hide.
Step 3: Rinse Thoroughly
Rinse the board under hot running water to remove all soap residue, leftover chicken bits, and loosened grime. Leftover soap can leave a film that harbors bacteria and affects the taste of food prepped on the board later. Make sure no suds remain before moving to the sanitizing step.
Step 4: Sanitize the Surface
This is the most critical step for eliminating harmful pathogens from raw chicken residue. You have two safe, effective options:
- Natural sanitizing: Pour undiluted white distilled vinegar over the entire board surface, making sure to cover all areas. Let it sit for 3 to 5 minutes to kill common bacteria and neutralize odors.
- Chemical sanitizing (recommended for raw chicken): Mix 1 tablespoon of unscented household bleach with 1 gallon of cool water, then pour the solution over the board. Let it sit for 1 minute—no longer, as extended bleach exposure can damage some board materials.
Per official USDA guidance, diluted bleach is the most effective sanitizer for killing hardy pathogens like Salmonella on food contact surfaces.
Step 5: Deodorize and Remove Stuck-On Grime
If your board still smells like raw chicken after sanitizing, make a thick paste of baking soda and warm water, then scrub the entire surface gently with your non-abrasive brush. Let the paste sit for 5 minutes to neutralize acidic, odor-causing compounds from chicken fat, then rinse thoroughly. Baking soda is gentle enough for all board materials and won’t scratch surfaces like harsh chemical cleaners can.
Step 6: Dry and Store Properly
Pat the board dry with a clean paper towel first to remove excess moisture, then let it air dry completely in a well-ventilated area, stored upright or hanging to prevent moisture buildup. Never store a damp cutting board, as trapped moisture breeds mold and bacteria. For wood boards, once fully dry, rub a thin layer of food-grade mineral oil into the surface every 1 to 2 months to prevent cracking and maintain its natural antimicrobial properties. Hot water and soapy spills are common during board cleaning, so placing a slip-resistant kitchen mat under your work area prevents falls.
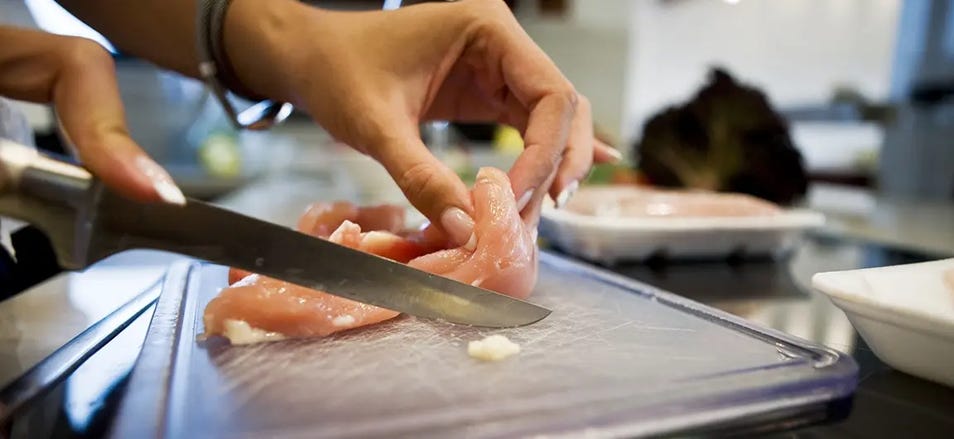 Image source: www.lysol.com
Air-drying your board completely before storage prevents moisture buildup that breeds bacteria and mold.
Image source: www.lysol.com
Air-drying your board completely before storage prevents moisture buildup that breeds bacteria and mold.
Material-Specific Care Tips
Different cutting board materials require slightly different care to stay sanitary and long-lasting:
Plastic Cutting Boards
Non-porous plastic boards are the easiest to sanitize, as they don’t absorb liquids or bacteria. They are also usually dishwasher-safe (top rack only) for deep cleaning. The only downside is that deep cuts and grooves can harbor bacteria over time, so replace plastic boards once they become heavily scored, as sanitizer can’t reach bacteria trapped in deep cuts.
Wood Cutting Boards (End-Grain and Edge-Grain)
Wood boards have natural antimicrobial properties that make them resistant to bacterial growth, but they are porous and require more careful maintenance. Never soak wood boards in water, as this warps the surface and creates cracks where bacteria can hide. Avoid putting them in the dishwasher, as high heat and harsh detergents damage the wood. Regular oiling with food-grade mineral oil prevents drying and cracking, a practice similar to caring for fixed blade sheaths to avoid damage to durable materials. End-grain wood boards are more prone to absorbing liquids than edge-grain, so they require more frequent deep sanitization after raw chicken use. Research from university extension programs confirms that porous surfaces like end-grain wood require more frequent deep sanitization than non-porous plastic, with evidence-based food safety guidance available for home cooks looking to reduce cross-contamination risk.
Composite Cutting Boards (Bamboo, Rubber)
Bamboo and rubber composite boards are a middle ground between plastic and wood: they are less porous than solid wood but more durable than plastic. Follow the manufacturer’s care instructions, but most can be cleaned with the same process outlined above, and should be oiled occasionally to prevent cracking.
Common Cleaning Mistakes to Avoid
Even experienced home cooks make these errors that leave harmful bacteria on their cutting boards:
- Skipping the sanitizing step: Washing with soap and water removes dirt and grease, but does not kill all pathogens. Always sanitize after cleaning boards used for raw chicken.
- Using a used dishcloth or sponge to dry: These items often harbor bacteria from other cleaning tasks, re-contaminating your freshly cleaned board. Always use a clean paper towel or dedicated drying cloth.
- Soaking wooden boards: Prolonged water exposure warps wood, creates deep cracks, and promotes bacterial growth. Wipe wood boards clean instead of soaking them.
- Using old, heavily scored boards: Once a board has deep, widespread cuts, sanitizer can’t reach bacteria trapped in the grooves. Replace heavily scored boards immediately to avoid cross-contamination.
- Using the same board for raw chicken and ready-to-eat foods without sanitizing in between: Even if you clean the board between uses, always sanitize fully after raw chicken before prepping foods that won’t be cooked, like produce or bread.
Long-Term Cross-Contamination Prevention Tips
Proper cleaning is just one part of kitchen food safety. Pair these habits with your new cutting board cleaning routine to reduce risk:
- Use color-coded cutting boards: designating red boards for raw meat, green for produce, and yellow for cooked foods eliminates confusion and accidental cross-contamination.
- Wash your hands with soap and hot water for 20 seconds after handling raw chicken, before touching any other surfaces, utensils, or foods.
- Sanitize your cutting board after every use, not just when it looks visibly dirty.
- When handling hot pans after cooking chicken, use a heat-resistant handle grip to avoid burns while you clean your board.
- Once your board is fully sanitized, it’s safe to use for prepping ingredients for dishes like our creamy vegan white bean dip without risk of cross-contamination.
- Keep all cleaning supplies, including diluted bleach solutions, locked away with child-safe cabinet locks to avoid accidental exposure for kids and pets.
Frequently Asked Questions
How long does it take to properly clean a cutting board after raw chicken?
The full process takes 10 to 15 minutes, including scraping, scrubbing, sanitizing, and air drying. The sanitizing step alone requires 1 to 5 minutes of contact time, depending on whether you use vinegar or bleach, to effectively kill pathogens.
Can I use vinegar to sanitize a cutting board after raw chicken?
White distilled vinegar is effective at killing many common bacteria and neutralizing odors, but it may not eliminate hardy pathogens like Salmonella that are commonly found on raw chicken. For full sanitization of raw chicken residue, a diluted bleach solution is recommended by USDA food safety experts.
Can I use bleach to clean my cutting board?
Yes, a diluted bleach solution (1 tablespoon unscented bleach per 1 gallon of cool water) is safe and highly effective at killing pathogens on both plastic and wood cutting boards. Rinse the board thoroughly after the 1-minute sanitizing step to remove any residual bleach, which can damage some board materials over time and affect food taste.
How long should I sanitize a cutting board after raw chicken?
For diluted bleach solutions, let the solution sit on the board for 1 full minute. For white vinegar, let it sit for 3 to 5 minutes to ensure effective sanitization. Do not wipe off the sanitizer before the contact time is up, as this reduces its effectiveness.
Can I put my cutting board in the dishwasher?
Most plastic and composite cutting boards are dishwasher-safe (top rack only) for deep cleaning and sanitizing. Never put wood cutting boards in the dishwasher, as high heat and harsh detergents will warp the wood, crack the surface, and damage its natural antimicrobial properties.
How often should I replace my cutting board?
Replace plastic boards every 1 to 2 years, or as soon as they become deeply scored with cuts that can’t be smoothed out. Wood boards can last 5 to 10 years with proper care, including regular oiling, but should be replaced if they develop deep cracks, widespread mold, or grooves that can’t be sanitized.
Conclusion
Properly cleaning your cutting board after raw chicken is a small, routine task that delivers massive protection against foodborne illness. By following the step-by-step process outlined above—scraping debris first, scrubbing with hot, soapy water, sanitizing with vinegar or diluted bleach, deodorizing with baking soda, and air drying fully—you’ll eliminate nearly all harmful pathogens from your board’s surface. Pair these cleaning habits with material-specific care, regular board replacement, and cross-contamination prevention practices like using separate boards for raw and ready-to-eat foods to keep your kitchen safe for every meal. For more expert kitchen safety and meal prep tips, browse our full library of home kitchen guides to simplify your cooking routine while keeping risk low.

I’m Abby Lu, a passionate home cook who loves simplifying everyday meals. At PlugChef.com, I share product reviews and cooking guides to help you find the best tools for your kitchen.
Related posts:
 How to Make a Fruit Basket for a Gift: Easy DIY Guide
 Do You Need a Basket? Essential Guide for Air Fryers
 How to Adjust Syrup Dispenser Pressure: Expert Tips
 White Appliances in Kitchen Design: Elevate Your Space
 Kitchen Appliances Stainless Steel Vs White: Ultimate Showdown
 Kitchen Appliances Made in Usa: Quality and Innovation

