
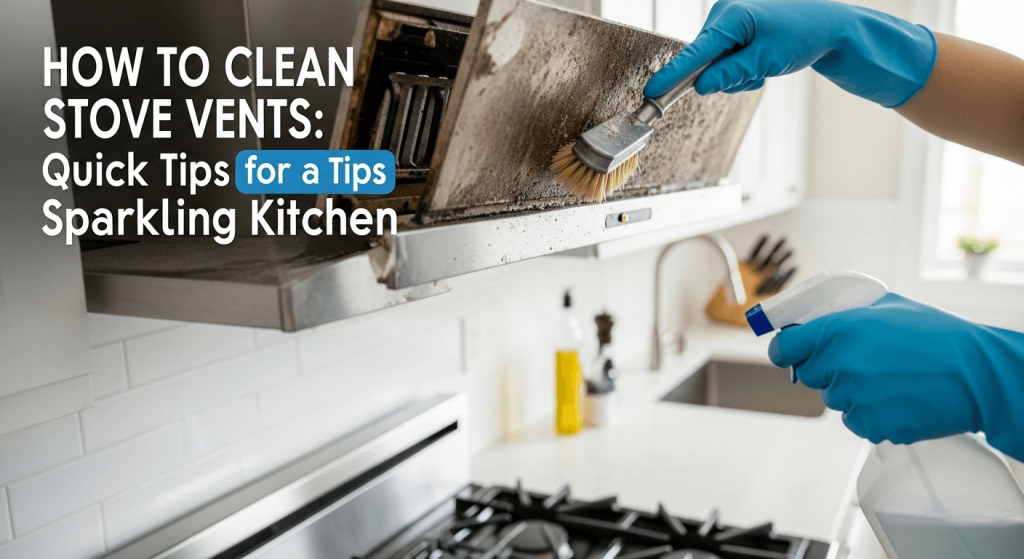
Your stove vents work hard every day, trapping grease, smoke, and odors from your cooking. But when was the last time you gave them a proper clean?
Neglecting your stove vents can lead to poor air quality, unpleasant smells, and even fire hazards. Cleaning them might seem like a hassle, but it’s simpler than you think—and the benefits are huge. Keep reading, and you’ll discover easy, step-by-step tips to make your stove vents spotless and your kitchen safer.
You’ll wonder why you didn’t do it sooner!

Credit: www.youtube.com
Tools You’ll Need
Cleaning stove vents can feel overwhelming without the right tools at hand. Having the proper supplies makes the job quicker and more effective. Before you start, gather everything you’ll need to avoid interruptions and frustration.
Essential Cleaning Supplies
- Screwdriver:Most stove vents are held in place with screws, so a screwdriver is crucial for easy removal and reattachment.
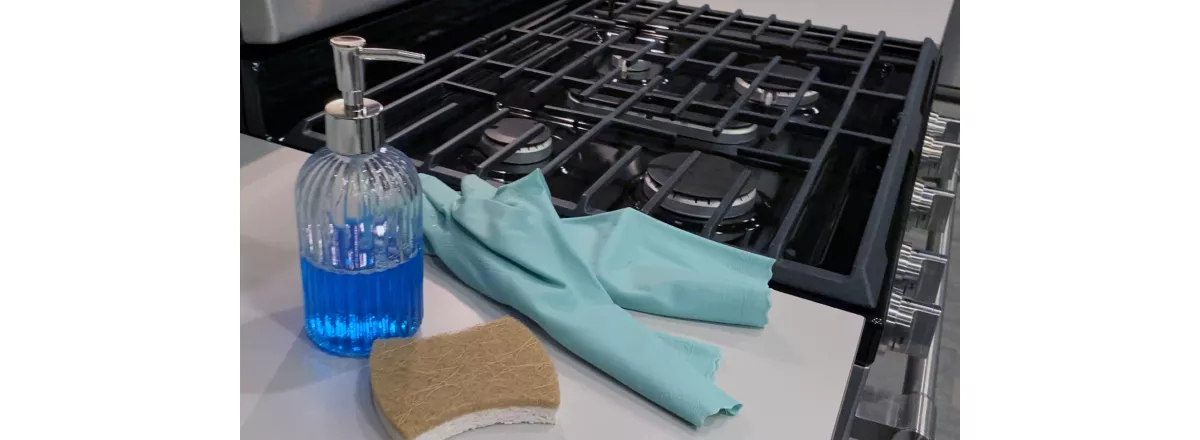
- Dish Soap:A mild dish soap works well to break down grease and grime without damaging surfaces.
- Warm Water:Warm water helps loosen stubborn dirt and grease, especially when combined with soap.
- Soft Cloths or Sponges:Use these to wipe down surfaces without scratching your vents.
- Old Toothbrush or Small Brush:This helps reach into tight corners and crevices where dirt hides.
- Paper Towels or Microfiber Towels:For drying and polishing after cleaning.
Do you have some of these already in your kitchen? You might be surprised how many everyday items double as excellent cleaning tools.
Optional Equipment For Deep Cleaning
- Vacuum Cleaner with Brush Attachment:Handy for sucking up dust and debris inside the vent ducts before wiping.
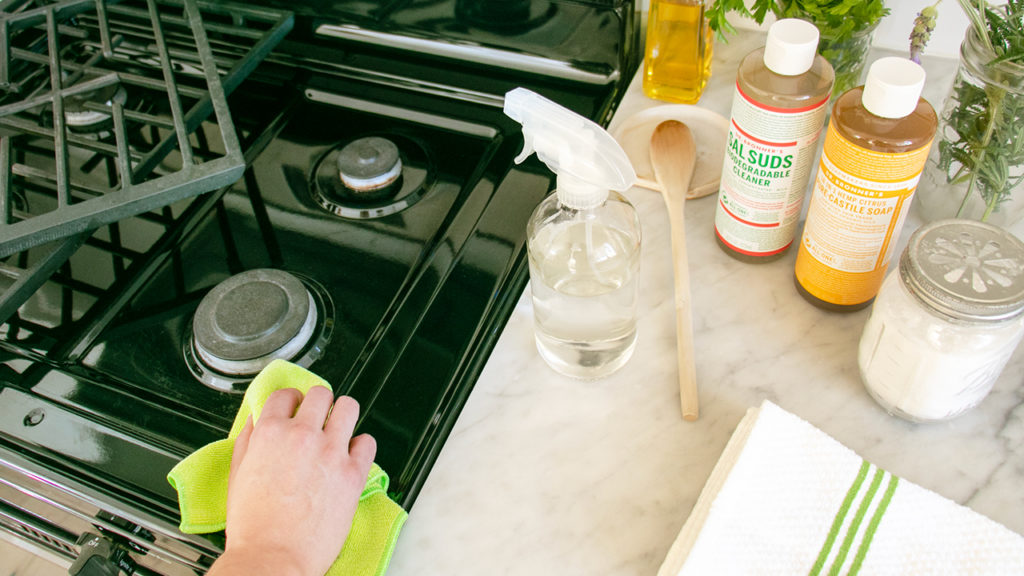
- Baking Soda:Use this with vinegar for a natural, extra-strength cleaner that tackles tough grease.
- Spray Bottle:Ideal for applying cleaning solutions evenly over vent surfaces.
- Rubber Gloves:Protect your hands from harsh chemicals and hot water during deep cleaning sessions.
- Compressed Air Canister:Great for blowing out dust from hard-to-reach vent parts.
Have you ever tried combining baking soda and vinegar for cleaning? It’s a powerful duo that can handle grime without harsh chemicals. Think about the last time you cleaned your vents—did you have the right tools, or did the task drag on longer than necessary?
Preparing The Stove Vents
Preparing the stove vents is the first key step for effective cleaning. It ensures safety and makes the process smoother. Taking time to prepare helps avoid accidents and damage.
Start by disconnecting all power sources and gas connections. This prevents any electrical shocks or gas leaks during cleaning. Safety should always come first.
Next, remove the vent covers carefully. These covers often collect the most grease and dust. Cleaning them separately allows for a deeper clean.
Turning Off Power And Gas
Locate the stove’s power switch or unplug it from the outlet. Switch off the gas valve connected to the stove. Confirm the stove is completely off before proceeding.
Use a flashlight to check no gas smell is present. Wait a few minutes to ensure power and gas are fully shut off.
Removing The Vent Covers
Identify the screws or clips holding the vent covers in place. Use a screwdriver to carefully remove screws. Keep screws in a safe place for reassembly.
Gently pull the covers away from the stove. Avoid bending or breaking the vent covers. Inspect for grease buildup and debris before cleaning.
Cleaning Methods
Remove the vent cover and soak it in warm, soapy water to loosen grease and dirt. Use a soft brush or cloth to scrub away grime gently. Wipe the vent and surrounding area with a damp cloth before drying and reassembling.
Cleaning stove vents can seem daunting, but breaking it down into manageable steps makes it much simpler. By using effective cleaning methods, you can maintain a sparkling kitchen and ensure optimal airflow. Let’s explore some practical ways to get those vents looking like new.
Soaking And Scrubbing
Start by removing the vent filters. Fill your sink with hot, soapy water and let the filters soak for at least 15 minutes. This helps loosen any stubborn grease and grime. After soaking, scrub the filters gently using a non-abrasive brush. Rinse thoroughly and let them dry completely before reattaching. This method is perfect for regular maintenance and keeps buildup at bay.
Using A Degreaser
For filters with tougher stains, a degreaser can be a lifesaver. Apply a degreaser evenly over the filters, ensuring you cover all areas. Let it sit for a few minutes to break down the grease. Then, rinse under warm water and wipe with a clean cloth. This is particularly useful if it’s been a while since the last deep clean.
Wiping With A Damp Cloth
For quick maintenance, simply wiping the vents with a damp cloth can be effective. Regularly doing this prevents grease from accumulating. Ensure the cloth is just damp and not soaked to avoid water damage. This easy method can be done weekly to keep your stove vents fresh. When was the last time you checked your stove vents? If it’s been a while, now might be the perfect time to give them some attention. A little effort goes a long way in maintaining a clean and efficient kitchen.
Credit: www.maytag.ca
Cleaning The Vent Fan
Cleaning the vent fan is essential for maintaining good air flow and reducing fire risks. Over time, dust and grease build up on the fan blades and motor. This can make the fan work harder and less efficiently. Regular cleaning keeps your stove vent running smoothly and extends its life.
Accessing The Fan
First, unplug the stove vent to ensure safety. Remove the vent cover or grille by unscrewing or unclipping it. Place the cover somewhere safe. Locate the fan inside the vent housing. Some models have a removable fan blade or motor assembly. Use a flashlight to see clearly inside the vent.
Removing Dust And Grease
Use a soft brush or cloth to wipe dust from the fan blades. For grease, apply warm soapy water or a degreaser to a cloth. Avoid soaking the fan motor. Clean each blade carefully to remove sticky residues. Wipe the surrounding vent area to prevent dust from falling back on the fan. Let all parts dry completely before reassembling.
Lubricating Moving Parts
Check the fan motor for any signs of stiffness or noise. Use a few drops of light machine oil on the motor shaft if needed. Avoid over-oiling, which can attract more dust. Spin the fan blades gently to spread the lubricant. This helps the fan move smoothly and quietly. Reattach the vent cover securely after lubrication.
Reassembling The Vents
Reassembling stove vents requires care to ensure they work well and last long. Each part must be dry and fit perfectly. Taking time here helps keep your kitchen safe and clean.
Drying Components Thoroughly
Make sure all vent parts are completely dry before putting them back. Water left inside can cause rust or mold. Use a clean cloth to wipe parts dry. Leave them in a warm place to air dry further. Avoid rushing this step for best results.
Reattaching Covers Securely
Place each cover and component back in its original spot carefully. Check that screws or clips hold the covers tight. Loose parts can cause noise or allow dirt in. Tighten screws evenly but do not force them. Test the vent to confirm it spins or moves smoothly.
Credit: www.lisabronner.com
Maintenance Tips
Maintaining your stove vents is key to keeping your kitchen safe and fresh. Regular upkeep stops grease and dirt from building up. It also helps your vents work better and last longer. Here are some simple tips for keeping your stove vents clean and efficient.
Regular Cleaning Schedule
Set a clear routine for cleaning your stove vents. Clean the vents every one to three months. More often if you cook daily or fry foods. Mark your calendar or set reminders. Consistency stops grease from hardening and becoming tough to remove.
Preventing Grease Build-up
Grease build-up blocks air flow and smells bad. Use a degreaser or warm soapy water to wipe vents. Clean spills and splatters immediately. Avoid using harsh chemicals that can damage the vent surface. Keeping the stove top clean helps reduce vent grease too.
Using Vent Filters
Install vent filters to catch grease and dirt. Choose filters that fit your vent size well. Replace or wash filters regularly based on use. Filters protect the vent system and make cleaning easier. They save time and keep air quality better.
Frequently Asked Questions
How Often Should I Clean Stove Vents?
Cleaning stove vents every 3 to 6 months is ideal. Frequent use requires more regular cleaning. This prevents grease buildup and maintains air quality.
What Tools Are Needed To Clean Stove Vents?
You need a screwdriver, degreaser, warm water, a scrub brush, and a soft cloth. These tools help remove grease and dirt effectively.
Can I Clean Stove Vents Without Removing Them?
Yes, you can clean accessible vents without removal. Use a degreaser and scrub brush to clean surfaces. However, deep cleaning may require vent removal.
Is It Safe To Use Chemical Cleaners On Stove Vents?
Use mild, non-toxic degreasers for stove vents. Harsh chemicals can damage vent materials or release harmful fumes. Always follow product instructions carefully.
Conclusion
Cleaning stove vents keeps your kitchen safe and fresh. It stops grease build-up that can cause fires. Regular cleaning helps your vent work better and last longer. Use simple tools and take your time. Small efforts now save big problems later.
Keep your kitchen air clean and smell-free. Start a cleaning routine to avoid tough dirt. A clean stove vent makes cooking more enjoyable. Simple steps make a big difference in your kitchen.

Hi, I’m Daniel Brooks—a food lover and kitchen gear enthusiast. I enjoy testing cookware, utensils, and gadgets to see what really works in everyday cooking. At PlugChef.com, I share honest reviews, comparisons, and simple guides to help you choose the best tools for a safer, smarter, and more enjoyable kitchen.
Related posts:
 What Type of Cooking Utensils are Safe: Expert Picks
 What Innovations Could Blenders Make: Unleashing Future Tech
 Smart Strategies to Organize a Small Kitchen: Maximize Space
 How to Organize a Kitchen Cabinet: Expert Tips & Tricks
 How to Organize Kitchen Drawers: Expert Tips and Tricks
 How to Organize a Corner Kitchen Cupboard: Expert Tips

