

Are you ready to create a snack that’s crunchy, flavorful, and perfect for any occasion? This recipe for Chex Mix Oven makes it easy for you to whip up a delicious treat right at home.
Imagine the smell of warm spices and toasted cereal filling your kitchen, inviting you to take that first irresistible bite. Whether you want something to munch on during movie night or a crowd-pleaser for your next get-together, this Chex Mix will become your new favorite go-to snack.
Keep reading, and you’ll discover how simple it is to make this tasty mix that everyone will love.
Ingredients For Chex Mix
Choosing the right ingredients for your Chex Mix sets the foundation for a snack that’s full of flavor and crunch. Each component plays a key role in creating the perfect balance of taste and texture. Let’s break down what you’ll need to make your Chex Mix stand out.
Cereal Varieties
The base of any great Chex Mix is the cereal. You’ll want a mix of different Chex cereals to add variety in texture and taste.
- Rice Chex:Light and crispy, it adds a subtle crunch without overpowering other flavors.
- Wheat Chex:Offers a heartier texture and a slightly nutty taste.
- Corn Chex:Adds a touch of sweetness and extra crunch to your mix.
Combining these cereals gives your snack an interesting mix of shapes and tastes. Have you ever tried mixing in other cereals to change up the texture?
Seasonings And Spices
Seasonings are where your Chex Mix gets its punch. The right blend can transform simple cereals into a crave-worthy snack.
- Butter:Melted butter binds the seasonings and adds a rich flavor.
- Worcestershire sauce:Adds a savory, tangy depth.
- Garlic powder and onion powder:These provide a robust, savory backdrop.
- Salt and smoked paprika:Salt enhances all flavors, while smoked paprika adds a subtle smoky kick.
- Cayenne pepper (optional):For those who like a little heat.
Experimenting with these seasonings allows you to adjust the flavor profile to your liking. What’s your favorite spice combination?
Additional Mix-ins
Adding extra ingredients can elevate your Chex Mix beyond the usual. Nuts and pretzels bring additional crunch and flavor.
- Mixed nuts:Peanuts, almonds, or cashews add protein and a satisfying bite.
- Pretzels:Their salty crunch pairs perfectly with the cereal.
- Bagel chips or rye chips:These offer a unique texture and flavor twist.
Think about what you love to snack on and try adding those to your mix. What unexpected ingredient would you add to make your Chex Mix truly yours?

Credit: cookingwithcarlee.com
Preparing The Oven
Preparing the oven properly sets the foundation for a perfect Chex Mix bake. It’s not just about turning it on; it’s about tuning your oven to the right conditions to ensure even cooking and the ideal crunch. Taking a moment here can save you from soggy or burnt snacks later.
Setting The Right Temperature
Most Chex Mix recipes call for baking at around 250°F to 275°F. This lower temperature allows the flavors to meld without burning the mix.
Have you noticed how your oven’s actual temperature can differ from the dial setting? Using an oven thermometer can help you get the exact heat you need. This small step can make a big difference in achieving that perfect toastiness.
Try preheating your oven fully before placing the mix inside. This ensures the heat is steady and consistent throughout the baking process.
Choosing The Baking Dish
Opt for a large, rimmed baking sheet or shallow roasting pan. This gives the Chex Mix enough space to spread out evenly, promoting uniform toasting.
A crowded pan can trap moisture, resulting in a less crispy texture. Have you ever ended up with clumps instead of crunchy pieces? Using a dish that fits your batch size helps avoid this.
Non-stick or lightly greased pans work best, so the mix doesn’t stick and makes cleanup easier. Consider using parchment paper if you want to minimize grease and mess even more.
Mixing The Ingredients
Combine cereals, nuts, and pretzels in a large bowl. Pour melted butter and seasoning over the mix. Stir well to coat everything evenly.
Mixing the ingredients for Chex Mix in the oven is a delightful task. It brings together a symphony of textures and flavors. This section guides you through combining both dry and wet components. Each step ensures every piece is coated with savory goodness. Let’s dive into the process.Combining Dry And Wet Components
Start with a large mixing bowl. Add your favorite Chex cereals. Include corn, rice, and wheat varieties for a balanced mix. Toss in pretzels, nuts, and bagel chips. These add crunch and flavor. In another bowl, prepare the wet mixture. Melt butter, then mix in Worcestershire sauce. Add garlic powder, onion powder, and salt. Stir until well combined. The wet mixture is crucial. It binds the flavors to the dry ingredients.Ensuring Even Coating
Pour the wet mixture over the dry ingredients. Use a spatula or spoon to mix. Stir gently, ensuring all pieces are touched. Every bite should taste delicious. Spread the mix onto a baking sheet. Use parchment paper for easy cleanup. This also helps in even cooking. Arrange the mix in a single layer. It allows heat to reach every piece. Bake in a preheated oven. Stir occasionally to ensure even cooking. Watch closely to avoid burning. Once done, let it cool before serving. Enjoy your homemade Chex Mix!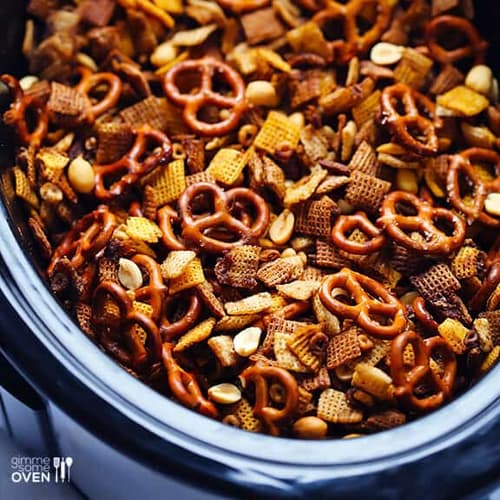
Credit: www.punchfork.com
Baking Process
Baking Chex Mix is where the magic happens. This process turns a simple mix of cereals, nuts, and spices into a crunchy, flavorful snack you’ll want to reach for again and again. Getting the baking right means balancing heat and time to ensure every bite is perfectly crispy without burning.
Timing For Crispiness
Timing is key to achieving that ideal crunch. Typically, baking Chex Mix takes about 45 minutes at 250°F (120°C). This low and slow approach gently dries out the mix, locking in flavor and crispness.
Have you noticed how a few extra minutes can make or break the texture? Too short, and the mix feels soggy; too long, and it risks becoming bitter. Keep an eye on the clock but trust your senses too.
Stirring Intervals
Stirring the mix at regular intervals is crucial to even baking. Every 15 minutes, take a moment to stir your Chex Mix thoroughly. This simple step prevents hotspots and ensures all pieces get equal heat exposure.
Without stirring, some parts can burn while others remain soft. Think of it like roasting vegetables—you wouldn’t leave them untouched. Your patience here pays off in a perfectly toasted, evenly flavored snack.
Cooling And Storage
Proper cooling and storage are key to keeping Chex Mix fresh and crunchy. Cooling lets the mix set and prevents sogginess. Storage keeps flavors sealed and stops air from making it stale. Follow simple steps to enjoy your Chex Mix longer and maintain its perfect crunch.
Cooling Tips For Crunchiness
Spread the Chex Mix on a large baking sheet. Use a single layer to cool evenly. Let it cool at room temperature, away from moisture. Avoid covering it while warm; steam causes sogginess. Stir gently once or twice during cooling to release heat. Make sure the mix is completely cool before storing.
Best Storage Methods
Use an airtight container for the best results. Plastic or glass containers with tight lids work well. Store in a cool, dry place away from sunlight. Avoid the refrigerator; moisture can soften the mix. For longer storage, keep the mix in a sealed ziplock bag. Press out excess air before sealing. Label the container with the date for freshness tracking.
Variations To Try
Chex Mix offers a world of flavors beyond the classic recipe. Small changes can create exciting new tastes. These variations suit different moods and occasions. Experimenting with them keeps your snack time fresh and fun.
Spicy Chex Mix
Give your Chex Mix a fiery twist. Use chili powder, cayenne, or hot sauce for heat. Mix in crushed red pepper flakes or smoked paprika. These spices bring warmth and bold flavor. Great for those who enjoy a spicy snack.
Sweet And Salty Blend
Combine sugary and salty elements for balance. Add honey, brown sugar, or maple syrup to the mix. Toss in pretzels or chocolate chips for contrast. This blend satisfies both sweet cravings and salty desires. Perfect for a diverse taste experience.
Gluten-free Options
Make Chex Mix safe for gluten-sensitive individuals. Use gluten-free cereals like rice or corn Chex. Avoid ingredients containing wheat or barley. Substitute soy sauce with tamari or coconut aminos. This way, everyone can enjoy a crunchy, tasty snack.
Serving Suggestions
Serving Chex Mix Oven snacks can be simple and fun. These crunchy bites fit many occasions. They bring flavor and crunch to every table. Try these ideas to enjoy your Chex Mix in new ways.
Party Platters
Create a colorful snack platter with Chex Mix Oven. Mix it with nuts, cheese cubes, and fresh veggies. Use small bowls for dips like ranch or salsa. Arrange everything on a large tray for easy sharing.
- Place Chex Mix in the center for easy reach
- Add variety with pretzels and popcorn
- Include fresh fruit slices for contrast
- Use themed plates for holiday or event vibes
Snack Time Ideas
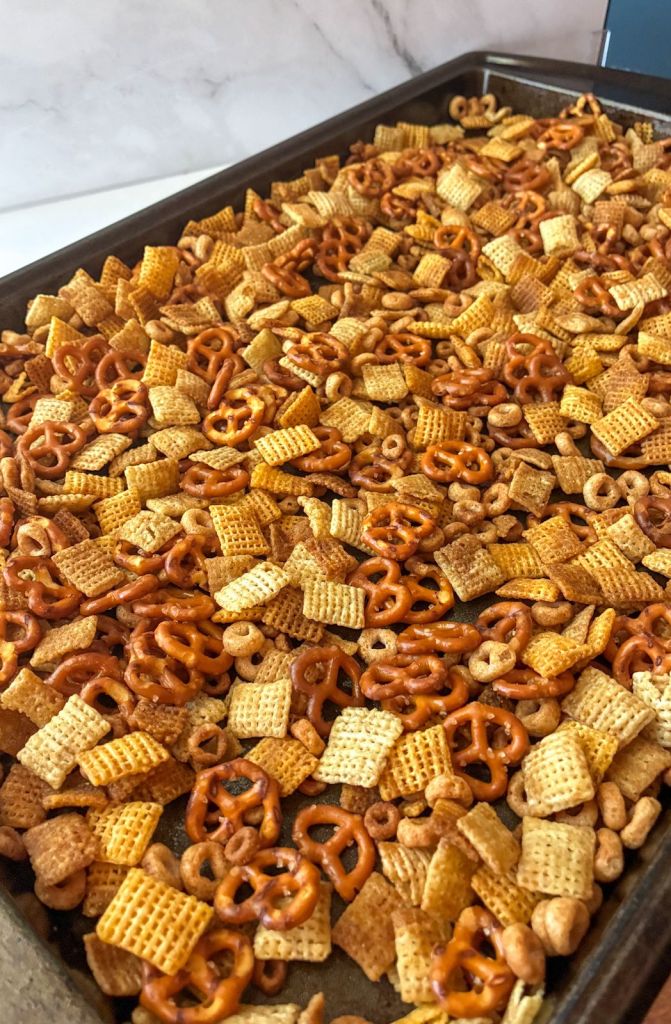
Chex Mix Oven is perfect for quick, tasty snacks. Pack it in small containers for school or work. Pair it with a piece of fruit or yogurt for balance. Great for movie nights or afternoon breaks.
- Fill snack bags for grab-and-go munching
- Combine with trail mix for extra energy
- Sprinkle over salads for added crunch
- Serve alongside soups for texture and flavor
Credit: oursliceofhome.com
Frequently Asked Questions
What Ingredients Are Needed For Chex Mix Oven Recipe?
You need Chex cereal, mixed nuts, pretzels, butter, Worcestershire sauce, garlic powder, onion powder, and seasoned salt. These ingredients create the classic, savory Chex Mix flavor.
How Long Should I Bake Chex Mix In The Oven?
Bake Chex Mix at 250°F (120°C) for 1 hour. Stir every 15 minutes for even coating and crisp texture.
Can I Customize The Chex Mix Recipe?
Yes, customize by adding your favorite nuts, spices, or snack pieces. Adjust seasonings to suit your taste preferences easily.
How Should I Store Homemade Chex Mix?
Store Chex Mix in an airtight container at room temperature. It stays fresh and crunchy for up to two weeks.
Conclusion
This Chex Mix Oven recipe is simple and quick to make. It brings great flavors to your snack time. You can enjoy it with friends or family anytime. Try different nuts or spices to change the taste. Store it in an airtight container to keep it fresh.
This homemade snack beats store-bought mixes for taste and fun. Give it a try and enjoy a crunchy, tasty treat today!

Hi, I’m Daniel Brooks—a food lover and kitchen gear enthusiast. I enjoy testing cookware, utensils, and gadgets to see what really works in everyday cooking. At PlugChef.com, I share honest reviews, comparisons, and simple guides to help you choose the best tools for a safer, smarter, and more enjoyable kitchen.
Related posts:
 What Type of Cooking Utensils are Safe: Expert Picks
 What Innovations Could Blenders Make: Unleashing Future Tech
 Smart Strategies to Organize a Small Kitchen: Maximize Space
 How to Organize a Kitchen Cabinet: Expert Tips & Tricks
 How to Organize Kitchen Drawers: Expert Tips and Tricks
 How to Organize a Corner Kitchen Cupboard: Expert Tips

