
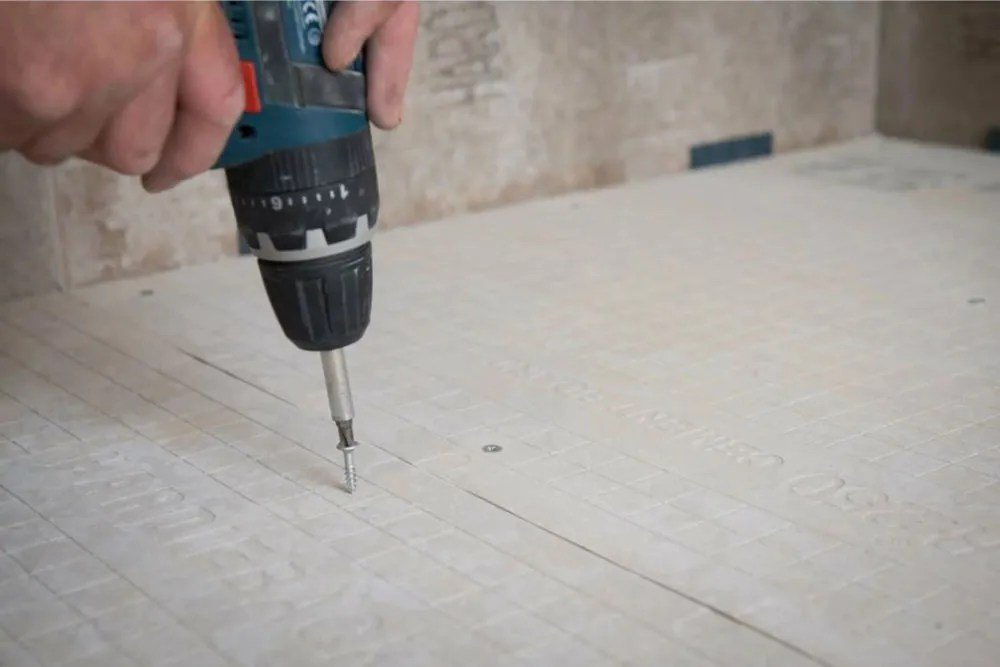
Backer board is the unsung hero of durable, long-lasting tile installations, used for everything from bathroom floors and shower walls to kitchen backsplashes and entryway tiles. Unlike standard drywall, it’s water-resistant, impact-resistant, and designed to hold thin-set mortar and tile securely for decades—but only if it’s cut correctly. Ragged, inaccurate cuts lead to lippage (uneven tile edges), cracking, and water intrusion behind tile, which can cause costly mold and rot damage over time. This guide breaks down exactly how to cut backer board for perfect results, no matter what type of board you’re using or what shape of cut you need. We’ll cover the right tools for every job, step-by-step instructions for straight and curved cuts, critical safety guidelines, and pro tips to avoid common DIY mistakes.
What Is Backer Board (and Why Cutting It Correctly Matters)
Backer board is a specialized, water-resistant underlayment designed to sit beneath tile, stone, or other rigid flooring and wall finishes. Unlike standard drywall, it won’t rot, warp, or degrade when exposed to moisture, making it the standard choice for bathrooms, kitchens, laundry rooms, and shower enclosures. The three most common DIY-friendly backer board types are:
- Cement board: A dense mix of Portland cement and aggregate, reinforced with fiberglass mesh, available in 1/4-inch, 1/2-inch, and 5/8-inch thicknesses. It’s the most durable option, ideal for floors, shower pans, and high-moisture walls.
- Fiber cement board: A lighter, fiber-reinforced cement product, typically 1/4-inch thick, best for wall applications and curved cuts where weight is a concern.
- Foam backer board: A lightweight, extruded polystyrene panel with a glass-fiber mesh facing, available in 1/2-inch and 5/8-inch thicknesses. It’s waterproof, easy to cut, and perfect for shower walls and areas where reduced weight is beneficial. Your backer board type will dictate which cutting method works best, so identify your material before gathering tools.
Tools You’ll Need for Clean, Safe Cuts
Having the right tools on hand before you start cutting will save you time, reduce waste, and ensure clean, accurate edges. Below is a breakdown of essential tools, organized by cut type:
| Cut Type | Recommended Tools |
|---|---|
| Straight cuts on thin (1/4") backer board | Sharp utility knife, T-square, long straight edge |
| Straight cuts on thick (1/2"+ cement board | Carbide-tipped backer board scorer, circular saw with diamond blade |
| Curved cuts, notches, holes for pipes/outlets | Jigsaw with carbide-tipped blade, drill with hole saw |
| Additional required safety gear includes: |
- A NIOSH-approved P100 respirator (cement backer board dust contains crystalline silica, a known respiratory hazard; basic dust masks do not provide adequate protection)
- Safety glasses with side shields to protect eyes from flying cement chips
- Cut-resistant gloves to prevent scrapes from sharp board edges
- Hearing protection for use with power saws If you’re working in a kitchen space, use a gentle all-purpose spray to wipe down nearby countertops and cabinets after dust cleanup to avoid abrasive scratches from cement particles.
 Credit: www.simplydesigning.net
Step-by-Step Guide to Cutting Backer Board
Follow these steps for clean, accurate cuts every time, whether you’re working with thin fiber cement board or thick cement board.
Step 1: Measure and Mark for Accuracy
Start by measuring the rough opening of your installation area (wall or floor) with a 12-foot measuring tape, noting width, height, and any obstructions like pipes, vents, or outlet boxes. Subtract 1/8 inch from each measurement to account for the required 1/8-inch expansion gap between the backer board and adjacent walls or fixed surfaces, and a 1/16-inch gap between adjacent backer board panels to allow for slight movement without cracking. Write down your final cut dimensions, then transfer them to the backer board sheet with a pencil, using a T-square or long straight edge to draw crisp, straight cut lines. Always mark cut lines on the back of the backer board if possible—these marks will be hidden once tile is installed, keeping your visible surfaces clean.
Step 2: Choose the Right Cutting Method for Your Board
Your cutting method depends entirely on the type and thickness of your backer board:
- Scoring and snapping works best for thin (1/4-inch) fiber cement and foam backer board, as these materials are soft enough to break cleanly along a scored line.
- Saw cutting is required for 1/2-inch and thicker cement board, as well as any curved or irregular cuts, regardless of board type. Using the wrong method for your board will lead to ragged edges, wasted material, or cracked panels.
Scoring and Snapping
This drywall-style method is fast, low-dust, and ideal for straight cuts on thin backer board. We cover the full process in Steps 3 and 4 below.
Saw Cutting
For thick cement board or curved cuts, a jigsaw or circular saw with a carbide-tipped or diamond blade is the only reliable option. For full 3ft x 5ft sheets, a circular saw paired with a straight edge guide cuts straight lines 3x faster than a jigsaw, while a jigsaw is ideal for tight curves around pipes or vents.
 Credit: www.tilemountain.co.uk
Step 3: Score the Backer Board (For Thin Board)
If you’re using the scoring and snapping method for thin backer board, position your carbide-tipped scorer or sharp utility knife at the start of your marked cut line, resting the guide of the scorer against the edge of the backer board to keep the line straight. Apply firm, even pressure as you drag the tool along the entire length of the line in one continuous motion. You want a score that is roughly 1/2 the thickness of the board—deep enough that the board will snap cleanly along the line, but not so deep that you cut all the way through. If you’re using a utility knife, you may need to make 2-3 passes along the same line to reach the correct depth. A common mistake here is applying too much pressure at the start of the cut, which can cause the scorer to slip off the line: start slow, then increase pressure as you get into the motion.
Step 4: Snap the Board Along the Score Line
Once scored, lift the backer board and align the score line directly over the edge of a sturdy workbench, sawhorse, or other rigid surface, with the waste side (the side you’re cutting off) overhanging the edge. Hold the larger piece of the board firmly with one hand, then use your other hand to press down sharply on the overhanging waste piece. The board will snap cleanly along the score line, leaving a straight, smooth edge on the main piece. If the board doesn’t snap cleanly on the first try, re-score the line with slightly more pressure and repeat the process. For thicker boards that resist snapping, you can use a straight edge as a lever to apply more even pressure along the entire length of the cut.
Step 5: Smooth Rough Edges for Better Tile Adhesion
Even a clean snap or saw cut will leave small burrs, rough spots, or cement splinters on the edge of the backer board. These imperfections can create high spots that lift tile corners or prevent thin-set mortar from bonding properly, leading to cracked tile over time. To smooth edges, use a 60-grit sanding block or a carbide-edger rasp to gently sand away rough spots, working along the edge in long, even strokes. For very rough cuts from a saw, start with 40-grit sandpaper to remove large burrs, then finish with 120-grit for a smooth, even edge. Wear a dust mask while sanding, as this process creates fine cement dust.
Step 6: Cut Curves, Notches, and Holes for Obstructions
For cuts around round obstructions like toilet flanges, showerhead pipes, or rounded cabinet edges, a jigsaw is your best tool. Start by tracing the shape of the curve or hole onto the backer board with a compass or flexible curve ruler for accuracy. Drill a 1/2-inch access hole inside the marked shape with a spade bit, large enough to fit the jigsaw blade through. Insert the blade into the hole, then carefully cut along the marked line, moving the saw slowly to avoid chipping the board edge. For small round holes (like for water pipes), a hole saw attached to a drill will cut clean, round openings without the need for a jigsaw. Pro tip: Cut curves 1/8 inch larger than the obstruction to allow for expansion and easy fitting around pipes.
Pro Tips for Professional-Grade Results
These expert tricks will help you avoid common pitfalls and get flawless cuts, even if you’re a first-time DIYer:
- Cut backer board outdoors or in a well-ventilated garage to avoid cement dust settling on kitchen cabinets, floors, or appliances. If you must cut indoors, seal off the area with plastic sheeting and use a shop vac with a HEPA filter to capture dust as you work.
- Use a fresh, sharp blade for all saw cuts: dull blades will chip the board, create excess dust, and increase your risk of kickback.
- For full 3ft x 5ft backer board sheets, use a circular saw with a straight edge guide instead of a jigsaw for straight cuts—this is 3x faster and produces much cleaner edges.
- Always cut backer board 1/8 inch smaller than your rough opening measurements to leave room for expansion gaps and avoid bowing when tile is installed.
- If you’re working on a full kitchen backsplash, practice your cuts on a scrap piece of backer board first to avoid wasting expensive material, then use a non-scratch scrubber to clean excess cement residue from the finished tile surface after installation.
Safety Guidelines for Cutting Cement Backer Board
Cutting backer board is low-risk if you follow basic safety rules, but cement dust poses a serious long-term health hazard if ignored:
- Cutting cement-based backer board releases crystalline silica dust, a known respiratory hazard regulated by OSHA’s silica safety standards for both job sites and DIY projects. Even short-term exposure to high levels of silica dust can cause silicosis, a permanent lung disease. Always wear a P100 respirator, not just a basic dust mask, when cutting any cement-based board.
- Always wear safety glasses and cut-resistant gloves to protect against flying cement chips and sharp board edges.
- Work in a well-ventilated area, preferably outdoors. If cutting indoors, open windows and use fans to direct dust away from your breathing zone.
- If using a wet saw, let the backer board dry completely for at least 24 hours before installing tile, as excess moisture can weaken the bond of thin-set mortar.
- After cutting, clean your tools with a bleach-safe kitchen cleaner to remove cement residue and prevent rust on metal blades.
- Always disconnect power to saws before changing blades to avoid accidental startup.
Common Cutting Mistakes (and How to Avoid Them)
Even experienced DIYers run into these avoidable errors:
| Mistake | How to Avoid It |
|---|---|
| Measuring incorrectly, failing to account for expansion gaps | Always subtract 1/8 inch from rough opening measurements for expansion gaps, and double-check all measurements before marking cut lines. |
| Using the wrong tool for your backer board type | Match your cutting method to your board: use scoring and snapping only for thin (1/4-inch) board, and saws for thick cement board or curved cuts. |
| Skipping safety gear | Always wear a P100 respirator, safety glasses, and gloves, even for small cuts. Cement dust poses long-term health risks. |
| Cutting too fast with a power saw | Let the blade do the work: forcing the saw will cause chipping, kickback, and rapid blade dulling. Move the saw at a steady, moderate pace. |
| Leaving rough, unsanded edges | Always sand edges smooth after cutting to avoid high spots that lift tile corners and prevent proper thin-set bonding. |
| Cutting curves too small | Cut curved openings 1/8 inch larger than the obstruction to allow for expansion and easy fitting around pipes or fixtures. |
| Rough, unsanded edges create high spots that lift tile corners over time, leading to costly repairs—if you do notice cracked tile later, a sturdy cleaning scraper can help remove loose grout and debris before re-tiling. |
Frequently Asked Questions
What tools do I need to cut backer board?
The tools you need depend on your backer board type and the cut you’re making. For straight cuts on thin (1/4-inch) fiber cement or foam backer board, you only need a sharp utility knife, T-square, and straight edge. For thick (1/2-inch or larger) cement board or curved cuts, you’ll need a jigsaw or circular saw with a carbide-tipped or diamond blade, plus safety gear including a P100 respirator, safety glasses, and cut-resistant gloves.
Can I use a regular wood saw to cut backer board?
You can use a standard circular saw or jigsaw, but you must fit it with a blade designed for cement, masonry, or tile. Standard wood blades will dull within a few cuts, produce ragged, chipped edges, and generate excess dust. For the cleanest results, use a blade with at least 7 teeth per inch for cement board.
What’s the best way to score backer board for a straight cut?
The most reliable method is to use a dedicated carbide-tipped backer board scorer, which has a built-in guide to keep your cut line perfectly straight. Use a sharp utility knife only for thin foam or fiber cement board, and make 2-3 even passes along the marked line to create a deep, consistent score roughly halfway through the board’s thickness.
How do I minimize dust when cutting backer board?
To reduce airborne dust, cut backer board outdoors or in a well-ventilated garage whenever possible. If you must cut indoors, use a wet saw to eliminate nearly all airborne dust, or attach a shop vac with a HEPA filter directly to your power saw’s dust port to capture particles as you work. Always wear a P100 respirator, even for small cuts, to avoid inhaling harmful crystalline silica dust.
Can I cut backer board without a saw?
Yes, for straight cuts on thin (1/4-inch) fiber cement or foam backer board, scoring and snapping is a reliable saw-free method. You will only need a carbide-tipped scorer or sharp utility knife, T-square, and a sturdy work surface to snap the board along the scored line.
Why are my backer board cuts chipping or ragged?
Chipping usually happens when using a dull blade, forcing the saw through the board too quickly, or using a wood blade instead of a carbide or diamond-tipped blade. For clean cuts, always use a sharp, appropriate blade and let the saw do the work without applying excess pressure.
Why Proper Cuts Matter for Long-Lasting Tile
Cutting backer board correctly isn’t just about aesthetics—it’s critical to the long-term performance of your tile installation. Following industry best practices from the Tile Council of North America ensures your backer board installation meets durability standards for wet areas like showers and kitchen floors, reducing the risk of water damage, tile cracking, and costly repairs down the line. Rough or inaccurate cuts create uneven surfaces that prevent thin-set mortar from bonding fully to both the backer board and the tile, leading to loose tiles that crack or fall out over time. Gaps left from improper cuts also allow water to seep behind the tile, causing rot, mold, and structural damage to the subfloor or wall framing. Taking the time to cut backer board accurately now will save you hours of repair work and hundreds of dollars in replacement costs later.
Final Thoughts
Cutting backer board is a simple, accessible skill that makes a massive difference in the quality and longevity of your tile projects. Clean, accurate cuts ensure your tile lays flat, stays securely bonded, and resists water damage for years to come. By following these steps, using the right tools for your board type, and prioritizing safety, you’ll get professional-grade results without the professional price tag. Once your backer board is installed and tiled, keep your new surfaces looking their best with regular cleaning using a heavy-duty kitchen degreaser to cut through cooking splatter and grime. Ready to tackle your next project? Bookmark this guide for reference, and share your finished results with us in the comments below.

I’m Abby Lu, a passionate home cook who loves simplifying everyday meals. At PlugChef.com, I share product reviews and cooking guides to help you find the best tools for your kitchen.
Related posts:
 Pull Down Under Cabinet Spice Rack: Maximize Your Space
 How to Organize T Shirts on a Shelf: Expert Tips
 Navy Bean And Ham Recipes: Delicious Comfort Food Ideas
 Cherry Pistachio Chocolate Ice Cream: Irresistible Summer Delight
 How to Freeze Bacon Strips: Easy Tips for Freshness & Flavor
Iced Coffee With French Press: Ultimate Guide for Bold Refreshment
How to Freeze Bacon Strips: Easy Tips for Freshness & Flavor
Iced Coffee With French Press: Ultimate Guide for Bold Refreshment

