
Introduction
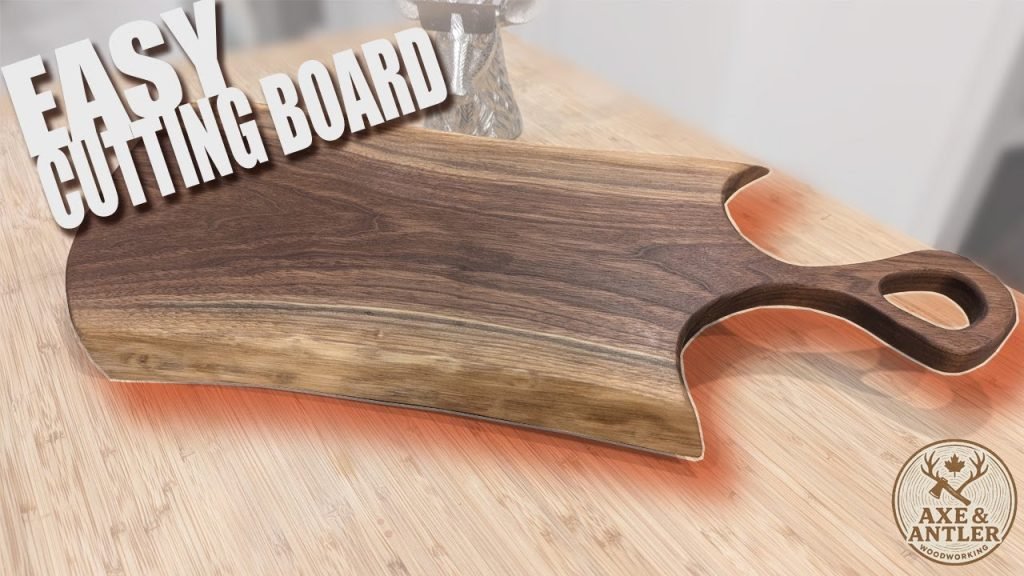
Making a cutting board is fun. It’s a great woodworking project. Perfect for beginners. You need some wood and tools. This guide will help you. Follow the steps. Soon, you’ll have a beautiful cutting board.
Why Make a Cutting Board?
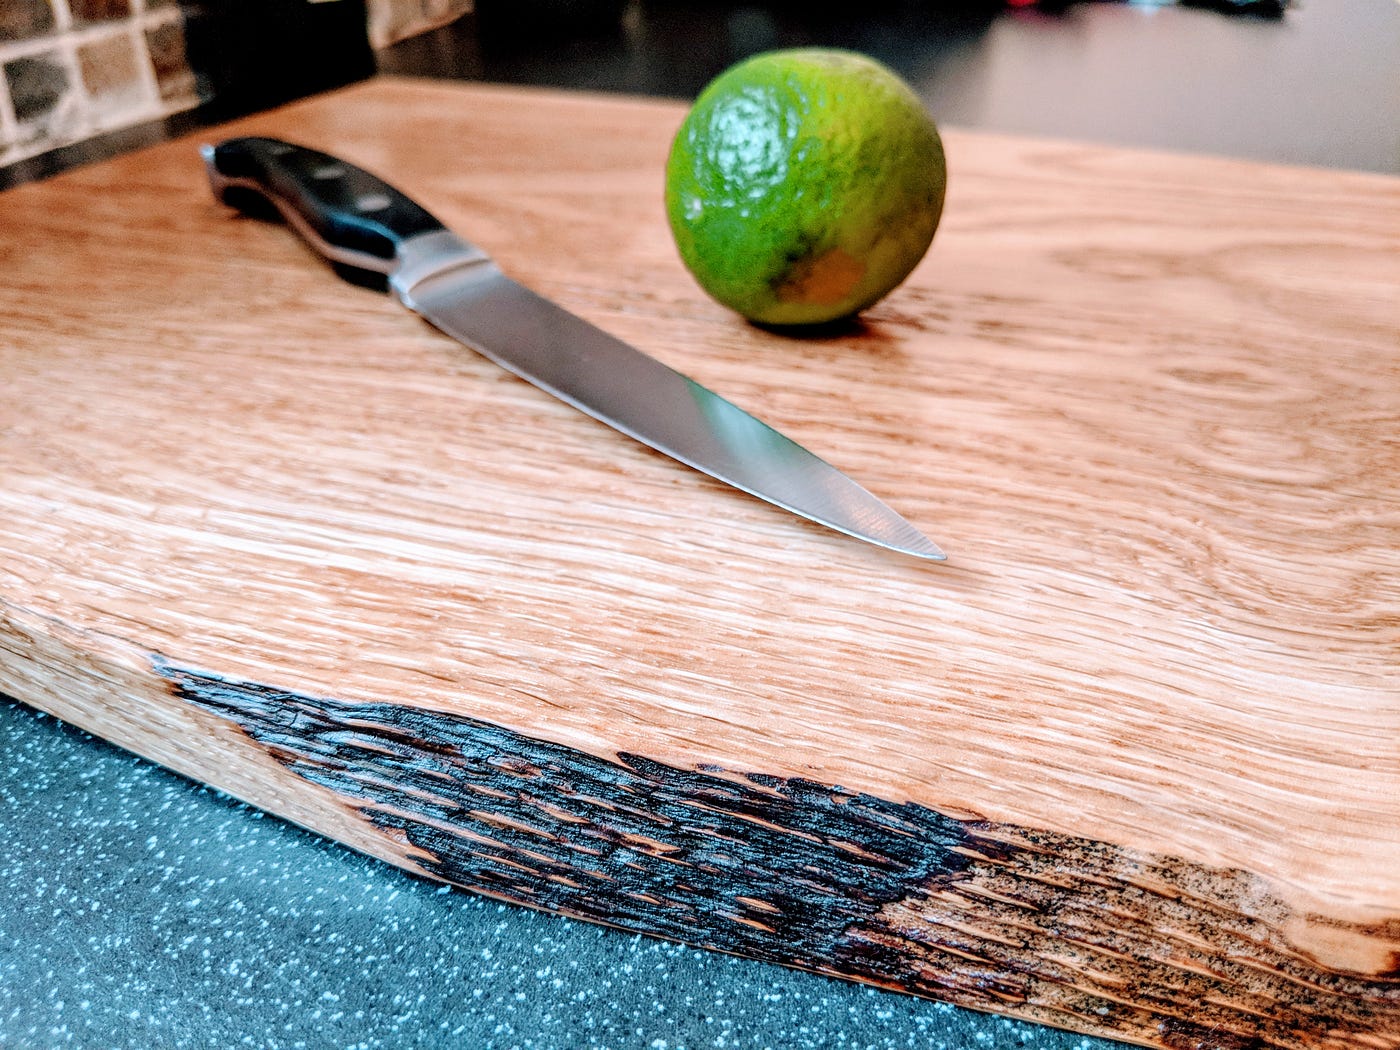
Cutting boards are useful. They protect your kitchen counter. You can also use them to serve food. Making one is a rewarding experience. It can be a gift too. Friends and family will love it.
Materials You Need
You need the right materials. Here is a list:
- Wood: Maple, Walnut, or Cherry
- Wood Glue
- Mineral Oil
- Sandpaper
Choose hardwood. Softwood can get damaged easily. Maple and Walnut are strong. They are great choices for a cutting board.
Tools Required
Here are the tools you need:
- Saw
- Clamps
- Brush
- Measuring Tape
These tools are easy to use. You might already have them at home. If not, they are easy to find.
Step-by-Step Guide
Step 1: Choose Your Wood
Pick a good piece of wood. Make sure it is flat. No cracks or knots. Measure the size you want. Most cutting boards are 12 by 18 inches.
Step 2: Cut The Wood
Use a saw to cut the wood. Be careful. Cut straight lines. You need several pieces. Each piece should be 1.5 inches wide.
Step 3: Glue The Pieces
Arrange the wood pieces. Make a pattern you like. Apply wood glue on the edges. Stick them together. Use clamps to hold them. Let it dry for 24 hours.
Step 4: Smooth The Surface
Remove the clamps. The wood should be stuck together. Now, smooth the surface. Use sandpaper. Start with rough sandpaper. Then use fine sandpaper. Make it smooth.
Step 5: Finish The Cutting Board
Clean the board. Remove dust. Use a brush. Now, apply mineral oil. Use a cloth or brush. Let it soak in. This protects the wood. It also makes it shiny.
Step 6: Let It Dry
Let the board dry. This takes a few hours. Once dry, it is ready to use. Wash it with soap and water before first use.
Credit: medium.com

Credit: www.youtube.com


