
You’ve got some delicious sliced brisket leftover, but reheating it can be tricky. You want it warm, juicy, and just as tasty as when it was first cooked.
If you’ve ever ended up with dry or tough brisket after reheating, you’re not alone. But don’t worry—this guide will show you simple, effective ways to bring your sliced brisket back to life. Keep reading to discover how to enjoy your brisket just like fresh, every single time.

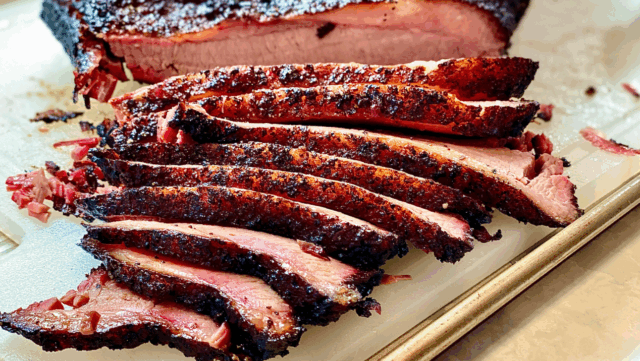
Credit: www.reddit.com
Choosing The Right Method
Choosing the right way to reheat sliced brisket can make all the difference between a dry, tough bite and a juicy, flavorful experience. You want the meat to stay tender and moist, preserving the smoky flavor that makes brisket special. So, which method fits your time, tools, and taste preferences?
Oven Reheating
The oven is perfect if you want even heating and have a bit of time to spare. Wrap your brisket slices in foil to lock in moisture and heat at a low temperature, around 250°F (120°C). This slow warming helps keep the meat juicy and prevents it from drying out.
Adding a splash of beef broth or water inside the foil can create steam, which softens the meat further. Have you noticed how brisket reheated this way tastes almost like it’s freshly cooked? That’s because the oven method gently revives the flavors without rushing the process.
Microwave Technique
If you’re short on time, the microwave can do the job quickly but requires careful handling. Arrange the brisket slices in a microwave-safe dish and cover them with a damp paper towel or microwave-safe lid to keep moisture in.
Heat on medium power in 30-second bursts, checking often to avoid overheating. This approach prevents the brisket from becoming rubbery or drying out. Ever microwaved brisket and found it tough? Using lower power and short intervals changes everything.
Stovetop Approach
Using your stovetop lets you control the heat more directly and add extra flavor. Place the brisket slices in a skillet with a little beef broth or water, then cover and heat on low.
This method steams the meat gently and keeps it moist. Stir occasionally to warm evenly and stop as soon as the brisket is heated through. Have you tried reheating brisket this way and noticed how it stays tender and juicy?
Slow Cooker Option
The slow cooker is ideal for reheating large amounts without much effort. Place the sliced brisket inside, add a small amount of beef broth, and heat on low for 1 to 2 hours.
This method keeps the meat tender and allows flavors to meld again. It’s especially handy if you’re preparing for a gathering and want the brisket ready without standing by the stove or oven. What’s great is waking up or coming home to warm, perfectly reheated brisket.
Preparing Brisket For Reheating
Preparing sliced brisket for reheating is a crucial step that can make or break your dining experience. Without proper preparation, the meat can dry out or lose its tender texture. Taking a few extra minutes to add moisture, wrap it correctly, and consider how you slice the brisket will keep your leftovers juicy and flavorful.
Adding Moisture
Brisket tends to dry out quickly during reheating because it’s a lean cut that loses its natural juices. Adding a splash of beef broth, water, or even a bit of barbecue sauce can help retain moisture. You might be surprised how a simple spoonful of liquid can transform dry slices into tender bites.
Try brushing the slices lightly with the liquid before reheating. This small step creates steam that keeps the meat soft. Ask yourself—are you willing to sacrifice flavor for convenience? A little moisture makes all the difference.
Wrapping Tips
How you wrap your brisket slices can significantly affect the reheating result. Wrapping in aluminum foil traps heat and steam, preventing the meat from drying out. Avoid plastic wrap or loose coverings that allow moisture to escape.
If you’re using an oven, place the wrapped brisket on a baking sheet to catch any drips. For microwave reheating, use a microwave-safe dish with a lid or cover the brisket with a damp paper towel. These simple tricks help maintain moisture and heat evenly.
Slicing Considerations
The way you slice your brisket before reheating impacts texture and juiciness. Cutting against the grain shortens muscle fibers, making the meat easier to chew. Slices about ¼ inch thick heat more evenly and stay tender.
Thicker slices might reheat unevenly, leaving some parts cold while others get overcooked. Have you noticed how brisket tastes different when sliced thin or thick? Choosing the right slice thickness ensures every bite is just right after reheating.
Step-by-step Reheating Guide
Place sliced brisket in a baking dish and cover with foil to keep moisture. Heat gently in the oven or microwave until warm throughout. Let it rest briefly before serving for best flavor and tenderness.
Reheating sliced brisket can be a bit of an art. You want to preserve the smoky flavor and tender texture without drying it out. Whether you’re using an oven, microwave, stovetop, or slow cooker, each method has its own unique benefits and challenges. This step-by-step reheating guide will help you choose the best technique for your needs, ensuring your brisket remains juicy and delicious.Oven Instructions
Preheat your oven to 325°F (163°C). Wrap your sliced brisket in aluminum foil to lock in moisture. Place it on a baking sheet and heat for about 20-25 minutes. Check periodically to avoid overcooking. Does your brisket need a flavor boost? Add a splash of beef broth or BBQ sauce before wrapping it in foil for an extra punch.Microwave Instructions
Arrange your brisket slices on a microwave-safe plate. Cover them with a damp paper towel to prevent drying. Heat on medium power for 1-2 minutes. Stir or flip the slices halfway through for even heating. Are you in a hurry? The microwave can be your best friend, but be cautious to avoid turning your brisket into rubber!Stovetop Instructions
Place your brisket slices in a skillet over medium-low heat. Add a tablespoon of beef broth or water to the pan. Cover with a lid to trap steam and heat for about 5 minutes. Stir occasionally. This method allows you to monitor the brisket closely. It’s great for adding a quick sear to the edges if you prefer a bit of crispiness.Slow Cooker Instructions
Set your slow cooker to low heat. Add the brisket slices with a small amount of beef broth. Cover and heat for 1-2 hours. This method is ideal for when you have time to spare. It’s perfect for maintaining that melt-in-your-mouth texture. How do you like your brisket? The slow cooker allows flavors to meld beautifully, so consider adding some onions or garlic for a new twist. Whichever method you choose, reheating brisket can be a rewarding experience when done right. Enjoy the rich flavors and savor every bite!Maintaining Juiciness
Keeping sliced brisket juicy during reheating can be tricky. The meat tends to dry out quickly if you’re not careful. But with the right techniques, you can enjoy tender, flavorful slices that taste almost as good as when freshly cooked.
Avoiding Overcooking
Overheating is the main culprit behind dry brisket. Heat the slices gently and slowly to prevent the meat from tightening up and losing moisture. Use low oven temperatures or a slow stovetop method, and check frequently to avoid turning your brisket into shoe leather.
Have you ever reheated meat only to end up with tough, chewy bites? That happens because the proteins contract too much. Keeping the temperature under control is key to preserving juiciness.
Using Broth Or Sauce
Adding a bit of liquid like beef broth or your favorite BBQ sauce helps keep the brisket moist. Pour a small amount over the slices before reheating to create steam and lock in moisture.
Think of it as giving your brisket a quick bath. This extra moisture prevents drying and enhances flavor. Even a splash of water works if you’re short on broth.
Covering Properly
Cover the brisket slices with foil or a lid while reheating. This traps steam and moisture, ensuring the meat stays tender. Without a cover, the heat dries out the surface quickly, making the brisket less enjoyable.
Try wrapping the brisket loosely in foil or using a microwave-safe cover. Both methods keep the juiciness locked inside while allowing even heat circulation.
Storage And Reheating Safety
Proper storage and reheating are key to keeping sliced brisket safe and tasty. Handling leftovers with care stops bacteria growth and food poisoning risks. Follow simple rules to store and reheat brisket correctly.
Proper Storage Tips
- Cool brisket quickly after cooking, within two hours max.
- Wrap slices tightly using foil or airtight containers.
- Keep brisket in the fridge at or below 40°F (4°C).
- Use leftovers within 3 to 4 days for best quality.
- Freeze brisket if storing longer than 4 days.
- Label containers with date for easy tracking.
Safe Temperature Guidelines
- Keep cold brisket below 40°F to slow bacteria growth.
- Reheat brisket to an internal temperature of 165°F (74°C).
- Use a food thermometer to check temperature accurately.
- Avoid reheating brisket multiple times to reduce risk.
- Discard brisket left out over 2 hours at room temperature.
Reheating Leftovers
- Reheat brisket slowly to keep meat moist and tender.
- Use oven, microwave, or stovetop methods safely.
- Add a splash of broth or water to avoid drying.
- Cover brisket while reheating to trap heat and moisture.
- Stir or flip slices during reheating for even warmth.
- Serve brisket immediately after reheating for best taste.
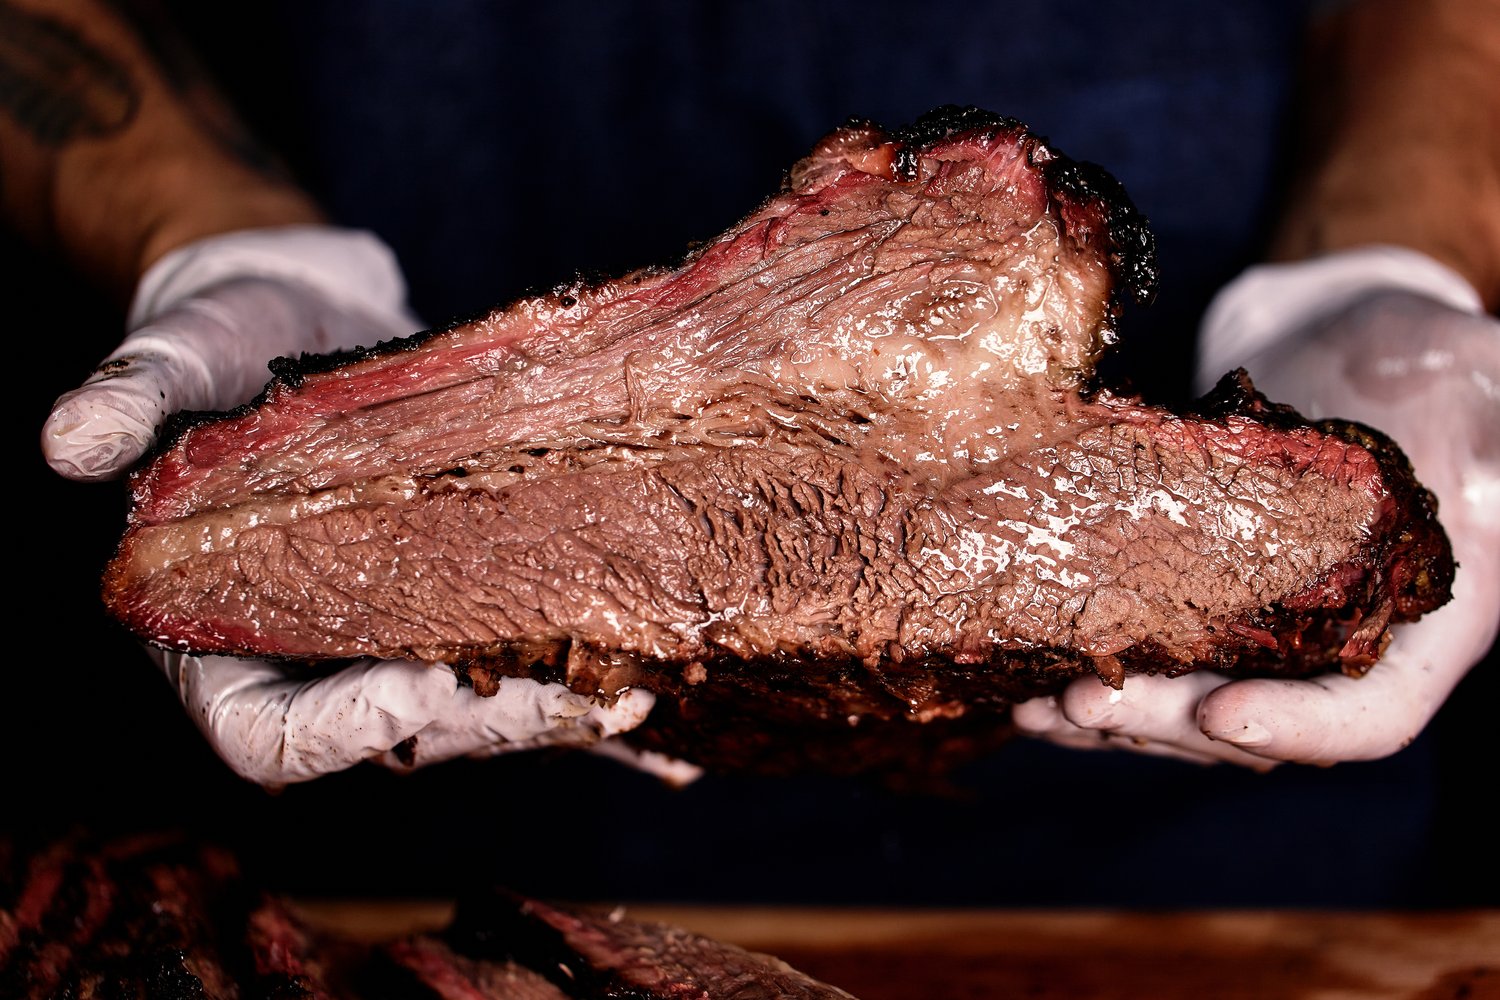
Credit: www.thegrillcoach.com
Serving Suggestions
Serving sliced brisket after reheating offers many tasty options. It can be the star of a meal or a part of a hearty plate. Choosing the right sides, sauces, and presentation can make it even better. Simple choices often work best to bring out the brisket’s rich flavor.
Pairing With Sides
Brisket pairs well with classic, comforting sides. Consider creamy mashed potatoes or roasted vegetables. Coleslaw adds a fresh crunch that balances the meat’s richness. Baked beans or cornbread bring a sweet and smoky touch. A simple green salad can lighten the plate.
Sauce Options
Sauces add moisture and extra flavor to sliced brisket. Barbecue sauce is a popular choice, offering tangy and sweet notes. Horseradish sauce adds a sharp, spicy kick. A mushroom gravy can make the dish feel warm and homey. Try a mustard-based sauce for a bit of zest.
Presentation Tips
Presentation helps make the meal inviting and tasty. Arrange brisket slices neatly on a warm plate. Garnish with fresh herbs like parsley or thyme for color. Serve sauces on the side to let guests choose. Use rustic plates or wooden boards for a cozy feel.

Credit: argentineasado.com
Frequently Asked Questions
How Do You Reheat Sliced Brisket Without Drying It Out?
To prevent dryness, reheat sliced brisket slowly with moisture. Use a covered pan or foil and add beef broth or water. Heat at low temperature until warm. This method keeps the brisket tender and juicy.
Can I Reheat Sliced Brisket In The Microwave?
Yes, you can microwave sliced brisket. Place slices in a microwave-safe dish, cover with a damp paper towel, and heat on medium power. Heat in short intervals to avoid overcooking and drying out the meat.
What’s The Best Oven Temperature To Reheat Brisket?
Set your oven to 250°F (120°C) to gently reheat brisket. Wrap the brisket in foil with some beef broth inside to retain moisture. Heat for 20-30 minutes until warmed through without drying out.
Is It Safe To Reheat Sliced Brisket Multiple Times?
It’s safe if you reheat brisket properly and quickly cool leftovers. Avoid reheating more than once to reduce food safety risks and preserve flavor and texture. Always store brisket in an airtight container in the fridge.
Conclusion
Reheating sliced brisket is easy with the right steps. Keep the meat moist to avoid dryness. Use gentle heat to keep flavors rich and texture tender. Take your time and check often. Enjoy your brisket just like it was freshly cooked.
This way, every bite stays delicious and satisfying. Try different methods to find what works best for you. Simple care brings great taste back to your plate.

Hi, I’m Daniel Brooks—a food lover and kitchen gear enthusiast. I enjoy testing cookware, utensils, and gadgets to see what really works in everyday cooking. At PlugChef.com, I share honest reviews, comparisons, and simple guides to help you choose the best tools for a safer, smarter, and more enjoyable kitchen.
Related posts:
 What Type of Cooking Utensils are Safe: Expert Picks
 What Innovations Could Blenders Make: Unleashing Future Tech
 Smart Strategies to Organize a Small Kitchen: Maximize Space
 How to Organize a Kitchen Cabinet: Expert Tips & Tricks
 How to Organize Kitchen Drawers: Expert Tips and Tricks
 How to Organize a Corner Kitchen Cupboard: Expert Tips

