
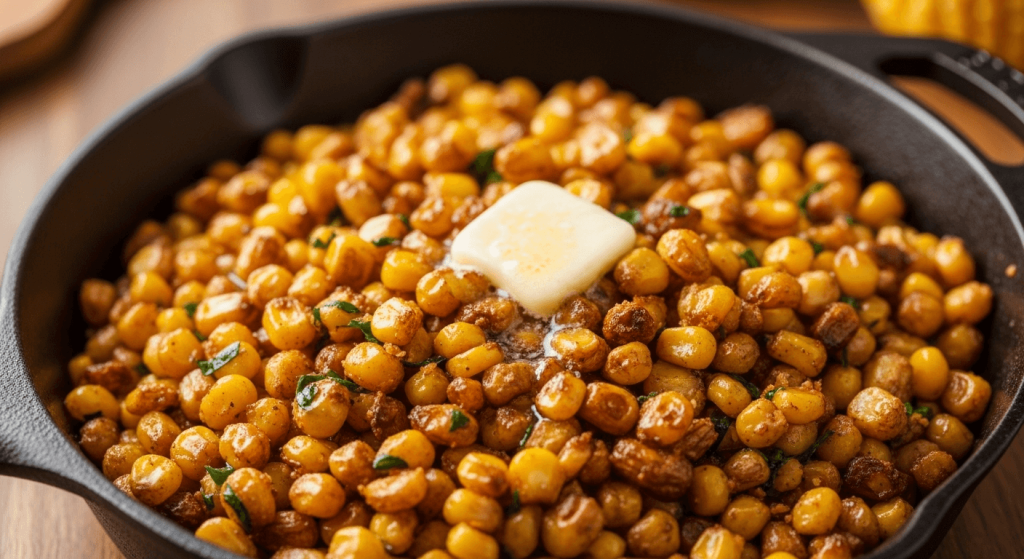
Are you craving a quick and tasty side dish that fits perfectly into your busy schedule? Fried corn made with frozen corn is the answer you didn’t know you needed.
It’s simple, fast, and brings out a delicious, crispy flavor that fresh corn sometimes can’t match. Whether you’re cooking for yourself or your family, this easy recipe will turn your frozen corn into a mouthwatering treat. Keep reading, and you’ll discover how to transform a common freezer staple into a dish everyone will love.
Why Use Frozen Corn
Frozen corn is a fantastic option that many home cooks overlook. It offers unique advantages that fresh corn sometimes can’t match. Before you reach for the fresh ears at the market, consider why frozen corn might just be the smarter choice for your fried corn recipe.
Convenience And Availability
Frozen corn is available year-round, no matter the season. This means you can enjoy the sweet, crisp taste of corn even when fresh corn is out of season or hard to find.
It’s already cleaned and pre-cut, saving you valuable prep time. Simply open the bag, and you’re ready to start cooking. Have you ever been stuck wanting fried corn but didn’t want to deal with husking and cutting? Frozen corn solves that hassle instantly.
Nutritional Benefits
Freezing locks in most of corn’s nutrients right after harvest. This means frozen corn often retains more vitamins and minerals than fresh corn that’s been sitting on shelves for days.
It’s rich in fiber, antioxidants, and essential vitamins like B and C. Using frozen corn ensures you get the nutritional goodness without compromise. Isn’t it great to know your quick meal is also a healthy one?
Cost-effectiveness
Frozen corn typically costs less per serving compared to fresh corn, especially when fresh corn is out of season. Buying in bulk is also easier with frozen corn, which helps reduce waste.
Think about how many times fresh corn has spoiled before you got a chance to use it. Frozen corn stays fresh in your freezer for months, so you can use exactly what you need without throwing any away.
How much money could you save by switching to frozen corn for your fried corn dishes?
Ingredients Needed
Fried corn using frozen corn is a quick and tasty dish. The right ingredients make a big difference in flavor and texture. This section covers all you need to prepare perfect fried corn at home.
Frozen Corn Selection
Choose high-quality frozen corn for best results. Look for kernels that are plump and bright yellow. Avoid corn with ice crystals to prevent sogginess. Sweet corn varieties add natural sweetness and crunch.
Essential Spices And Oils
- Cooking oil: Use vegetable oil or olive oil for frying.
- Salt: Enhances the natural flavor of corn.
- Black pepper: Adds mild heat and depth.
- Garlic powder: Gives a subtle savory note.
- Paprika: Adds color and gentle smokiness.
Optional Add-ins
- Chopped onions for sweetness and texture.
- Butter for richer flavor and creaminess.
- Fresh herbs like parsley or cilantro for freshness.
- Chili flakes for a spicy kick.
- Grated cheese to melt over the corn.
Preparation Steps
Getting your frozen corn ready for frying is more than just a quick thaw. Proper preparation can make a huge difference in taste and texture. Let’s break down the essential steps that ensure your fried corn turns out crispy, flavorful, and perfectly cooked every time.
Thawing And Draining Corn
Start by thawing your frozen corn to prevent excess moisture from steaming it during cooking. Spread the corn out on a paper towel or a clean kitchen towel and let it sit for about 10 to 15 minutes at room temperature.
Once thawed, place the corn in a fine mesh strainer and press gently with the back of a spoon to remove any remaining water. Removing moisture is key because soggy corn won’t crisp up well. Have you noticed how sometimes frozen corn gets mushy when cooked? That’s usually due to too much water still clinging to the kernels.
Seasoning Techniques
Seasoning your corn before frying enhances every bite. A simple sprinkle of salt and pepper is a good start, but you can also add garlic powder, smoked paprika, or even a pinch of chili flakes for a spicy kick.
Smoked Paprika Seasoning: McCormick Gourmet Smoked Paprika – Amazon
Mix your seasonings with the corn evenly in a bowl before it hits the pan. This way, every kernel carries flavor. Don’t be afraid to experiment—sometimes a little lemon zest or fresh herbs like cilantro can brighten the dish unexpectedly.
Prepping The Cooking Surface
The right cooking surface can make or break your fried corn. Use a heavy-bottomed skillet or cast iron pan for even heat distribution. Best Cast Iron Skillet: Lodge Pre-Seasoned Cast Iron Skillet – Amazon
Heat your pan on medium-high and add a tablespoon of oil with a high smoke point, such as vegetable or avocado oil. Wait until the oil shimmers before adding your corn; this ensures a quick sear and prevents sticking.
Have you ever tried frying corn in a cold pan? It usually results in uneven cooking. Heating the pan properly helps you get that perfect golden crust every time.

Credit: phillyjaycooking.com
Cooking Techniques
Frozen corn fries quickly in hot oil, creating a crispy outside and tender inside. Season simply for a tasty, easy side dish.
Cooking Techniques Cooking fried corn using frozen corn can be both a delicious and convenient option. Frozen corn is often already prepared, making it a time-saver in the kitchen. The trick lies in the cooking techniques you choose to achieve that perfect balance of flavor and texture.
Pan-frying Tips For Crispiness
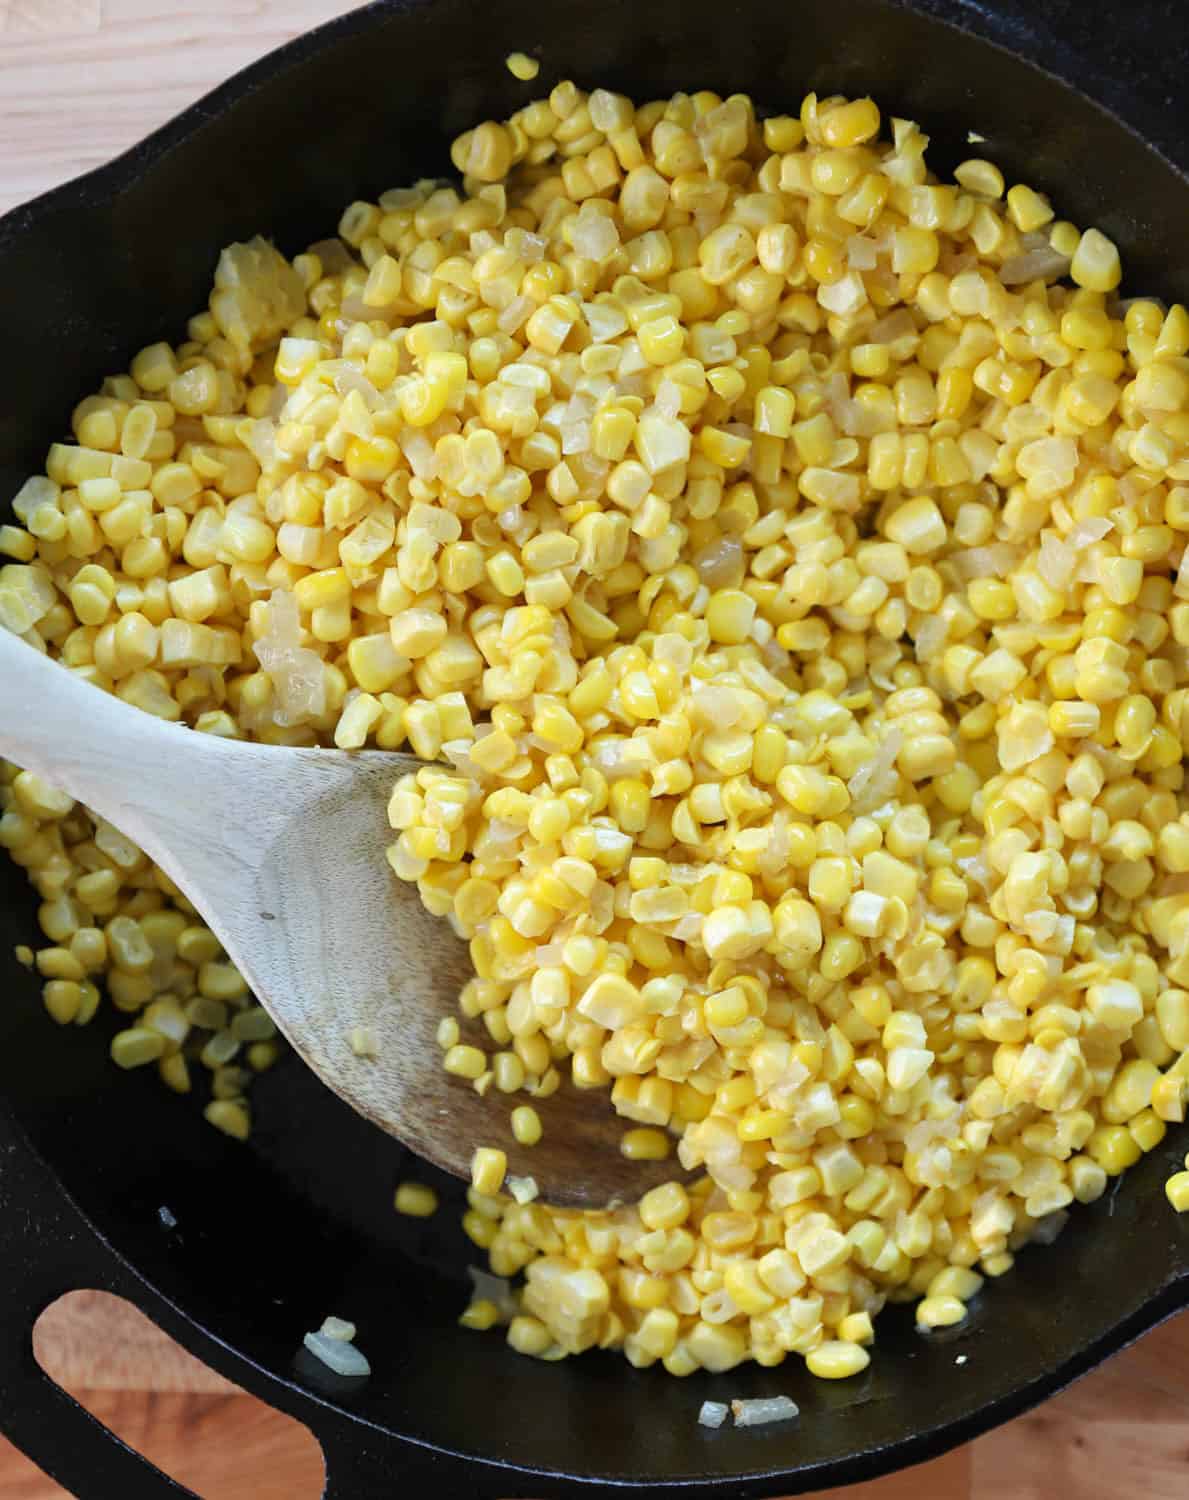
Pan-frying frozen corn can bring out its natural sweetness while adding a delightful crispiness. Start by thawing the corn slightly. Heat a tablespoon of oil or butter in a skillet over medium-high heat. Once the oil is shimmering, add the corn in a single layer. This ensures even cooking and prevents steaming. Stir occasionally, allowing the corn to brown and develop a crispy edge.
Using Air Fryer Or Oven
The air fryer and oven offer a hands-off approach to crispy fried corn. Preheat your air fryer or oven to 400°F (200°C). Toss the frozen corn with a little oil and your choice of spices. Spread it out on the air fryer basket or a baking sheet. Cook for about 10-15 minutes, shaking the basket or stirring midway to ensure even cooking. The result is corn with a satisfying crunch and a burst of flavor.
Avoiding Common Mistakes
Avoid overcrowding the pan or air fryer basket; it can lead to steaming rather than frying. Always preheat your cooking surface to ensure the corn cooks quickly and crisply. Season the corn after cooking to maintain its crisp texture. Have you ever noticed how soggy corn can get if you add salt too early? Waiting until the end helps maintain that perfect crunch. Cooking fried corn using frozen corn is simple and rewarding. Experiment with these techniques and find your favorite way to enjoy this tasty treat.
Serving Suggestions
Fried corn made from frozen corn is a simple and tasty dish. Serving it right can make your meal more enjoyable. This section shares ideas to serve your fried corn deliciously and attractively. Small touches can make a big difference. Let’s explore ways to enhance your dish with pairings, dips, and presentation.
Pairing Ideas
- Serve with grilled chicken for a balanced meal.
- Combine with a fresh green salad for a light option.
- Pair with steamed rice to keep it simple and filling.
- Add to tacos or wraps for extra crunch and flavor.
- Enjoy alongside roasted vegetables for a colorful plate.
Dips And Sauces
- Try a creamy garlic sauce to add richness.
- Use salsa for a fresh, zesty taste.
- Offer ranch dressing for a cool contrast.
- Spicy mayo adds a nice kick.
- Honey mustard gives a sweet and tangy flavor.
Presentation Tips
- Serve in a bright bowl to highlight the corn’s color.
- Garnish with chopped herbs like parsley or cilantro.
- Add a sprinkle of paprika or chili flakes for color.
- Use a wooden spoon or rustic dish for a homey feel.
- Arrange with fresh lemon wedges for a fresh look.
Storing And Reheating
Storing and reheating fried corn made from frozen corn needs care. Proper storage keeps it fresh and tasty. Reheating the right way keeps its crispiness and flavor. Follow simple tips to enjoy it again like fresh.
Best Storage Practices
- Let fried corn cool to room temperature before storing.
- Use an airtight container to keep moisture out.
- Store in the refrigerator for up to 3 days.
- For longer storage, freeze in a sealed bag or container.
- Label the container with the date for easy tracking.
Reheating Methods To Retain Crispiness
- Use an oven or toaster oven at 350°F (175°C) for 10 minutes.
- Spread fried corn evenly on a baking sheet for crisp heat.
- Avoid microwaving directly to prevent sogginess.
- If using a microwave, heat briefly and finish in a hot pan.
- Reheat in a skillet with a small amount of oil on medium heat.
- Toss gently to warm and keep the crispy texture.
Variations To Try
Fried corn made from frozen corn is easy and tasty. Changing up the recipe keeps it fresh and exciting. Try different flavors and textures to suit your mood or meal.
Small tweaks can turn simple fried corn into a new dish. Experimenting with spices, cheese, or sweet elements adds variety. These variations offer something for every taste.
Spicy Versions
Spice up fried corn with chili flakes or cayenne pepper. Add diced jalapeños for a fresh, hot kick. A dash of hot sauce mixes well with the sweet corn flavor.
- Chili powder and smoked paprika blend nicely.
- Red pepper flakes add heat and color.
- Fresh herbs like cilantro balance the spice.
Cheesy Additions
Cheese melts beautifully into warm fried corn. Sprinkle grated cheddar or Parmesan for rich taste. Cream cheese or feta can add creaminess and tang.
- Melt mozzarella for gooey, stringy bites.
- Crumbled blue cheese adds a sharp flavor.
- Mix cheese with herbs like chives or parsley.
Sweet And Savory Twists
Sweet and savory blends bring unique layers to fried corn. Try adding a touch of honey or brown sugar. Crispy bacon bits or caramelized onions deepen the flavor.
- Combine corn with diced apples for a fresh crunch.
- Maple syrup and black pepper create contrast.
- Roasted nuts add texture and richness.
Credit: www.simplylakita.com

Credit: www.thepioneerwoman.com
Frequently Asked Questions
Can I Use Frozen Corn For Fried Corn Recipes?
Yes, frozen corn works perfectly for fried corn recipes. It saves prep time and cooks evenly. Just thaw or cook directly from frozen for best results.
How Do I Prevent Frozen Corn From Being Soggy?
To avoid soggy fried corn, drain excess water well. Pat the corn dry with paper towels before frying. Use medium-high heat for a crispy texture.
What Seasonings Enhance Fried Corn Flavor?
Common seasonings include salt, pepper, garlic powder, and paprika. Fresh herbs like cilantro or parsley add freshness. Adjust spices to suit your taste preferences.
Is Frozen Corn As Nutritious As Fresh Corn?
Frozen corn retains most nutrients due to quick freezing. It contains fiber, vitamins, and antioxidants similar to fresh corn. It’s a healthy and convenient option.
Conclusion
Fried corn made with frozen corn is quick and tasty. It saves time and still tastes fresh. You can add your favorite spices for more flavor. This simple recipe works well as a side dish or snack. Try it anytime you want a warm, crunchy treat.
Cooking with frozen corn makes life easier in the kitchen. Enjoy this easy dish without any fuss or mess. Give it a try and enjoy a delicious meal soon.

Hi, I’m Daniel Brooks—a food lover and kitchen gear enthusiast. I enjoy testing cookware, utensils, and gadgets to see what really works in everyday cooking. At PlugChef.com, I share honest reviews, comparisons, and simple guides to help you choose the best tools for a safer, smarter, and more enjoyable kitchen.
Related posts:
 What Type of Cooking Utensils are Safe: Expert Picks
 What Innovations Could Blenders Make: Unleashing Future Tech
 Smart Strategies to Organize a Small Kitchen: Maximize Space
 How to Organize a Kitchen Cabinet: Expert Tips & Tricks
 How to Organize Kitchen Drawers: Expert Tips and Tricks
 How to Organize a Corner Kitchen Cupboard: Expert Tips

