
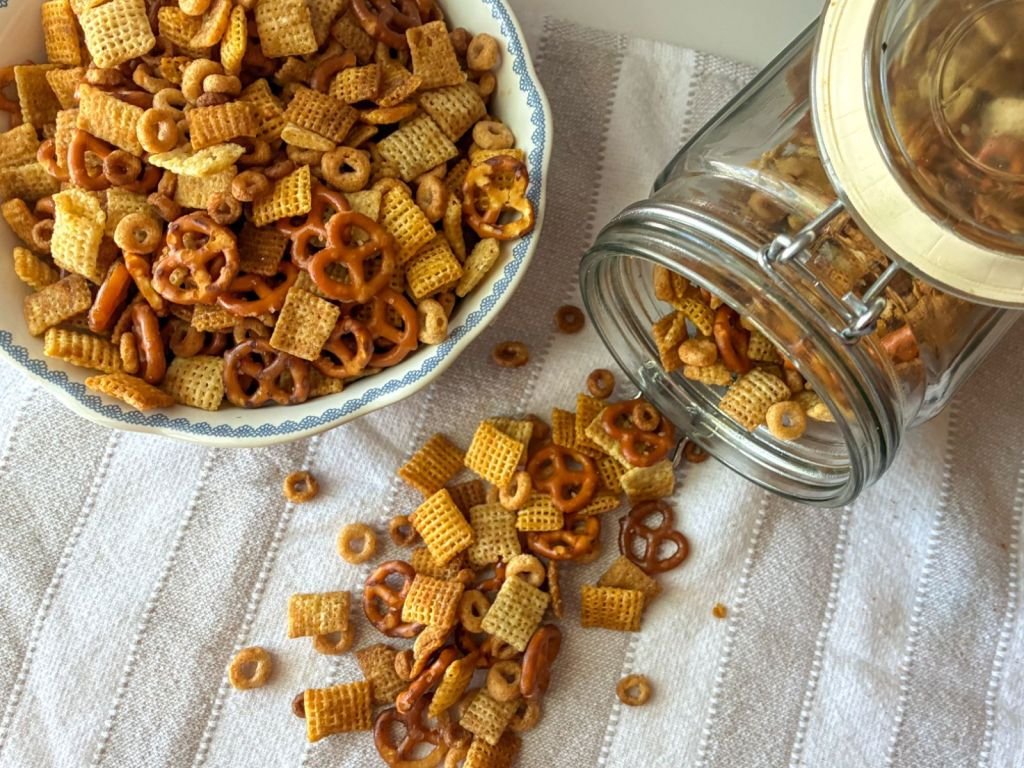
Are you ready to discover a snack that’s crunchy, savory, and totally addictive? The Baked Chex Mix Original Recipe is exactly what your taste buds have been craving.
Whether you’re hosting a party, need a quick snack, or want to impress your friends with something homemade, this recipe has you covered. It’s simple, packed with flavor, and perfect for any occasion. Keep reading, and you’ll learn how to make this classic treat right in your own kitchen—your snack game will never be the same!
Ingredients Needed
Getting the ingredients right is the first step to nailing the Baked Chex Mix Original Recipe. You’ll want a good balance of crunchy cereals, flavorful seasonings, and a few extras to punch up the taste. Let’s break down exactly what you need so your mix turns out just like the classic snack everyone loves.
Chex Cereal Varieties
The base of any Chex Mix is the cereals. The original recipe calls for a combination that gives you different textures and flavors. Grab:
- Rice Chex– light and crispy, it adds a mild crunch.
- Wheat Chex– heartier and slightly nutty, perfect for depth.
- Corn Chex– a bit sweeter, balancing the savory elements.
Have you ever noticed how mixing these cereals keeps every bite interesting? That variety is key to the classic experience.
Seasoning Components
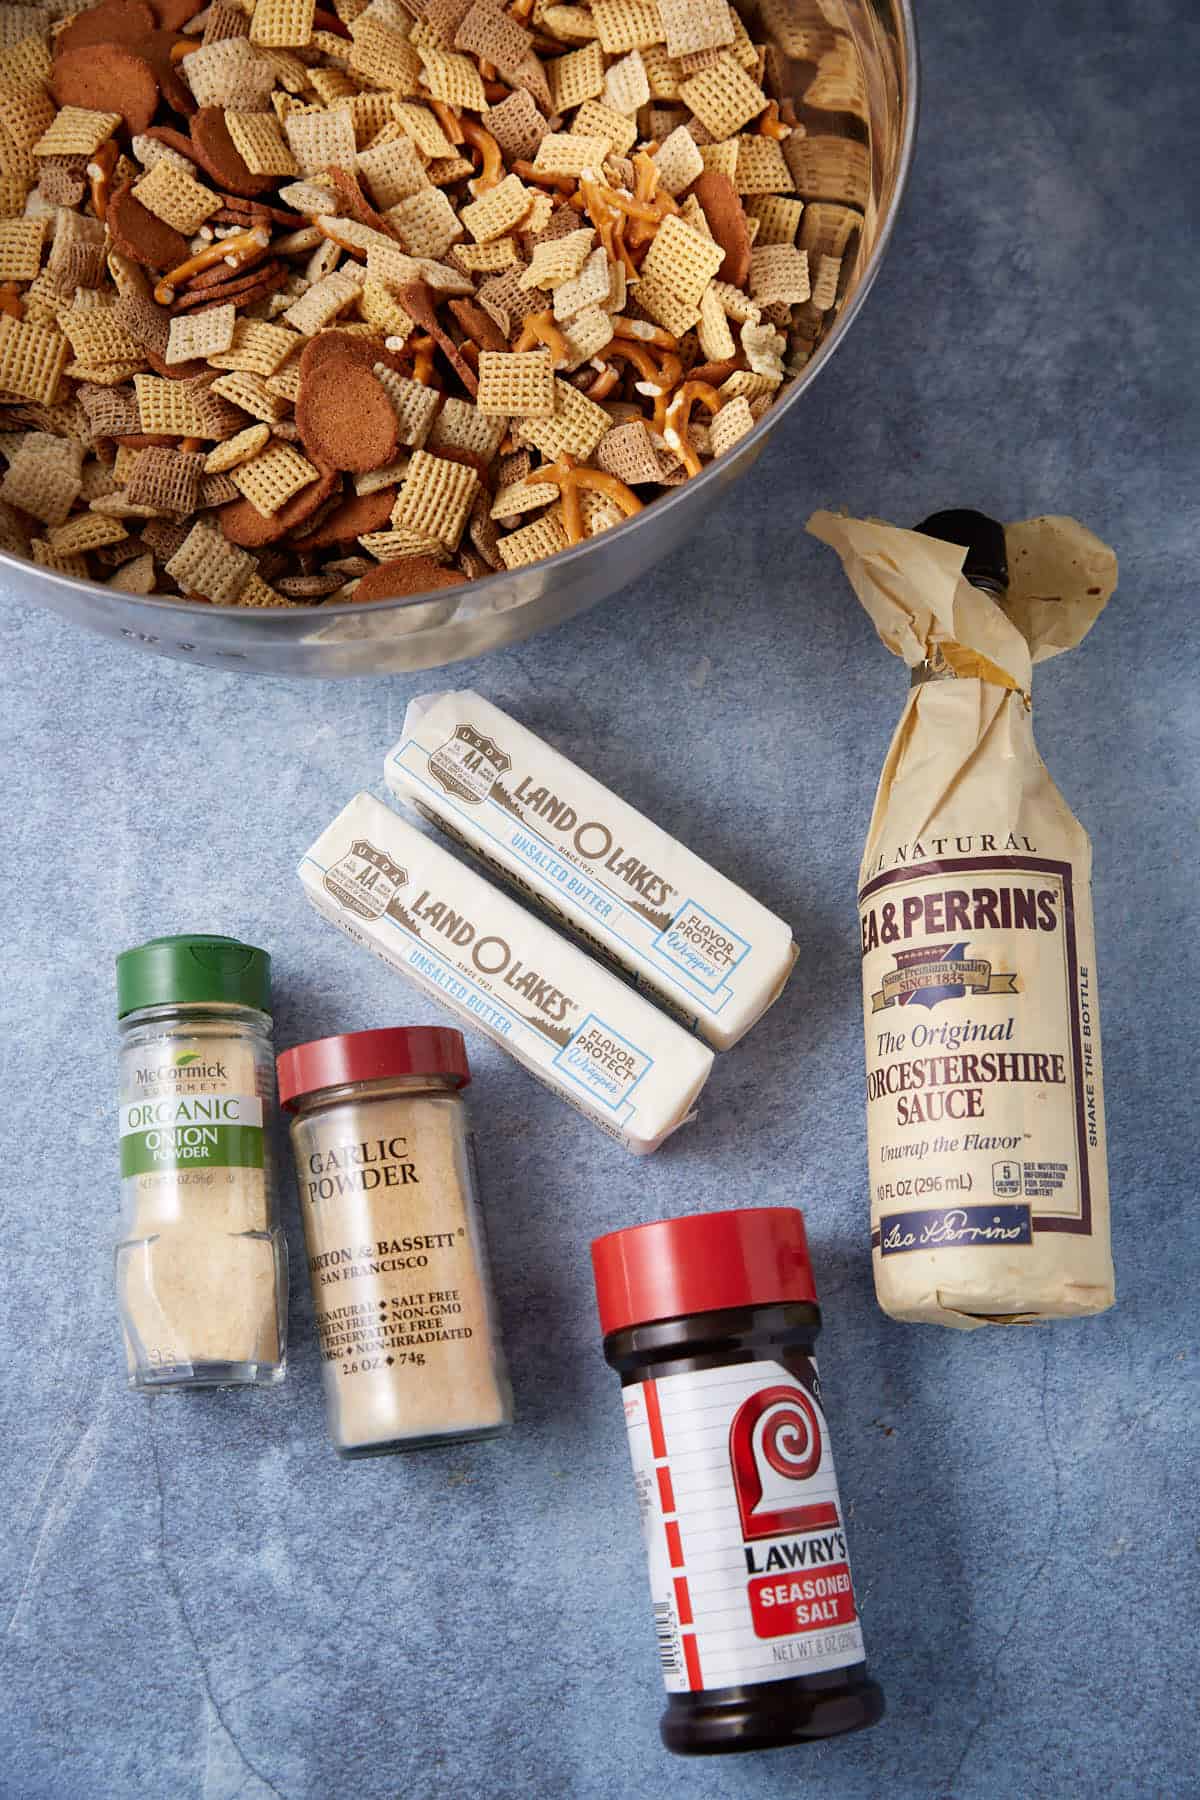
This is where the magic happens. The seasoning mix brings out bold flavors and keeps your snack addictive. You’ll need:
- Butter– melted, it helps everything stick and adds richness.
- Worcestershire sauce– a small amount gives a savory, tangy kick.
- Garlic powder– for a subtle, aromatic punch.
- Onion powder– complements the garlic with a sweet, sharp edge.
- Seasoned salt– the secret ingredient that ties all flavors together.
Think about your favorite snacks. Isn’t it the seasoning that makes them unforgettable? This mix is no different.
Additional Flavor Boosters
Want to add a personal twist? Consider these extras to elevate your Chex Mix:
- Mixed nutslike peanuts or cashews for extra crunch.
- Pretzelsto introduce a salty, crunchy contrast.
- Ranch seasoningfor a tangier version.
- Smoked paprikaif you prefer a smoky undertone.
Have you tried adding a surprise ingredient to your mix? It can turn a familiar snack into something you crave in a new way.

Credit: cookingwithcarlee.com
Preparation Steps
Preparing Baked Chex Mix Original Recipe is simple and fun. It takes just a few steps to create a delicious snack. Follow these preparation steps to make your Chex Mix crispy and flavorful.
Mixing The Ingredients
Start by gathering all the dry ingredients. Use a large bowl to hold the mix.
- Pour in Rice Chex, Corn Chex, and Wheat Chex.
- Add pretzels, nuts, and bagel chips.
- Stir gently to combine everything evenly.
Seasoning The Mix
Prepare the seasoning sauce next. This makes the mix tasty and savory.
- Melt butter in a small saucepan.
- Mix in Worcestershire sauce, seasoned salt, garlic powder, and onion powder.
- Pour the sauce over the dry mix.
- Toss the mix well to coat every piece with seasoning.
Baking Instructions
Spread the seasoned mix on a large baking sheet. Make sure it is in a single layer for even baking.
- Preheat the oven to 250°F (120°C).
- Bake for 1 hour, stirring every 15 minutes to prevent burning.
- Remove from oven and let cool before serving.
Tips For Perfect Texture
Creating the perfect Baked Chex Mix Original Recipe requires attention to detail. The texture is key to making it irresistible. Below are some expert tips to help you achieve that ideal crispy crunch without overbaking.
Achieving Crispy Crunch
Avoid crowding your baking sheet. Spread the mix evenly across the pan. This ensures even heat distribution. Stir the mix halfway through baking. It helps in achieving consistent crunchiness.
Use a low oven temperature. High heat can burn the mix quickly. A slow bake enhances flavor and texture. Each ingredient bakes to perfection. Monitor the mix closely during baking.
Avoiding Overbaking
Set a timer for the recommended baking duration. Check the mix often in the final minutes. The mix should be golden, not dark. Overbaking can lead to a bitter taste.
Once done, let it cool on the pan. The mix continues to firm up as it cools. Store in an airtight container. This keeps it fresh and maintains its texture.
Variations To Try
Baked Chex Mix Original Recipe offers a classic snack loved by many. Trying different variations keeps the mix exciting and fresh. Small changes can bring new flavors and textures. Experimenting with spices, sweetness, or added crunch can suit any taste. Explore these tasty ideas to make your Chex Mix unique.
Spicy Twists
Give your Chex Mix a bold kick with spices. Add cayenne pepper or chili powder for heat. Mix in a bit of smoked paprika for a smoky flavor. Garlic powder and onion powder boost savory notes. Toss with hot sauce before baking for extra spice. These changes create a lively, zesty snack.
Sweet And Savory Options
Mix sweet flavors with savory for a balanced taste. Drizzle honey or maple syrup lightly over the mix. Add a sprinkle of cinnamon or nutmeg for warmth. Combine with a pinch of salt to enhance sweetness. Chocolate chips or dried cranberries add bursts of flavor. This blend makes a satisfying snack for all cravings.
Nut And Seed Additions
Boost texture and nutrition by adding nuts and seeds. Try almonds, pecans, or cashews for a crunchy bite. Sunflower seeds or pumpkin seeds add subtle earthiness. Lightly toast nuts before mixing for deeper flavor. These additions increase protein and healthy fats. A perfect way to make Chex Mix more filling.
Storage And Serving
Keeping your Baked Chex Mix Original Recipe fresh and tasty is easier than you think. Proper storage can make a big difference in maintaining that perfect crunch and flavor. Plus, knowing how to serve it can elevate your snack time or party spread.
Best Containers For Freshness
Choosing the right container keeps your Chex Mix crisp for days. Airtight containers work best because they block air and moisture. Glass jars with tight lids or BPA-free plastic containers are ideal options.
Plastic zipper bags can also do the trick if you squeeze out as much air as possible before sealing. Avoid storing the mix in open bowls or loosely covered containers, as this will quickly make it stale. Have you noticed how quickly snacks lose crunch when left out? This simple tip solves that problem.
Serving Suggestions
Serving your Chex Mix doesn’t have to be plain. Try putting it in colorful bowls or on a rustic wooden board for a casual look. Adding small cups or scoops lets guests serve themselves easily.
You can also mix in some fresh nuts or dried fruit right before serving to add a new twist. Have you ever paired it with a cold drink or used it as a crunchy topping for salads? Experimenting with serving styles can make your snack time more enjoyable.
Credit: www.butterandbaggage.com
Healthier Alternatives
Looking for healthier alternatives to the classic Baked Chex Mix Original Recipe? You don’t have to give up the crunchy, savory snack you love to make better choices for your health. Small tweaks can make a big difference in reducing sodium intake and accommodating dietary restrictions without losing flavor or fun.
Low-sodium Seasoning
Reducing sodium doesn’t mean your Chex Mix has to taste bland. Try using herbs and spices like garlic powder, onion powder, smoked paprika, and a pinch of black pepper to boost flavor naturally. I swapped out the usual salt-heavy seasoning for a mix of these, and it made the snack just as addictive without the extra sodium.
You can also experiment with low-sodium soy sauce or tamari to add a savory depth. Adding a little acid, like a splash of lemon juice or vinegar, lifts the flavors and keeps things interesting. This way, you control how much salt goes in, making your snack heart-healthier.
Gluten-free Options
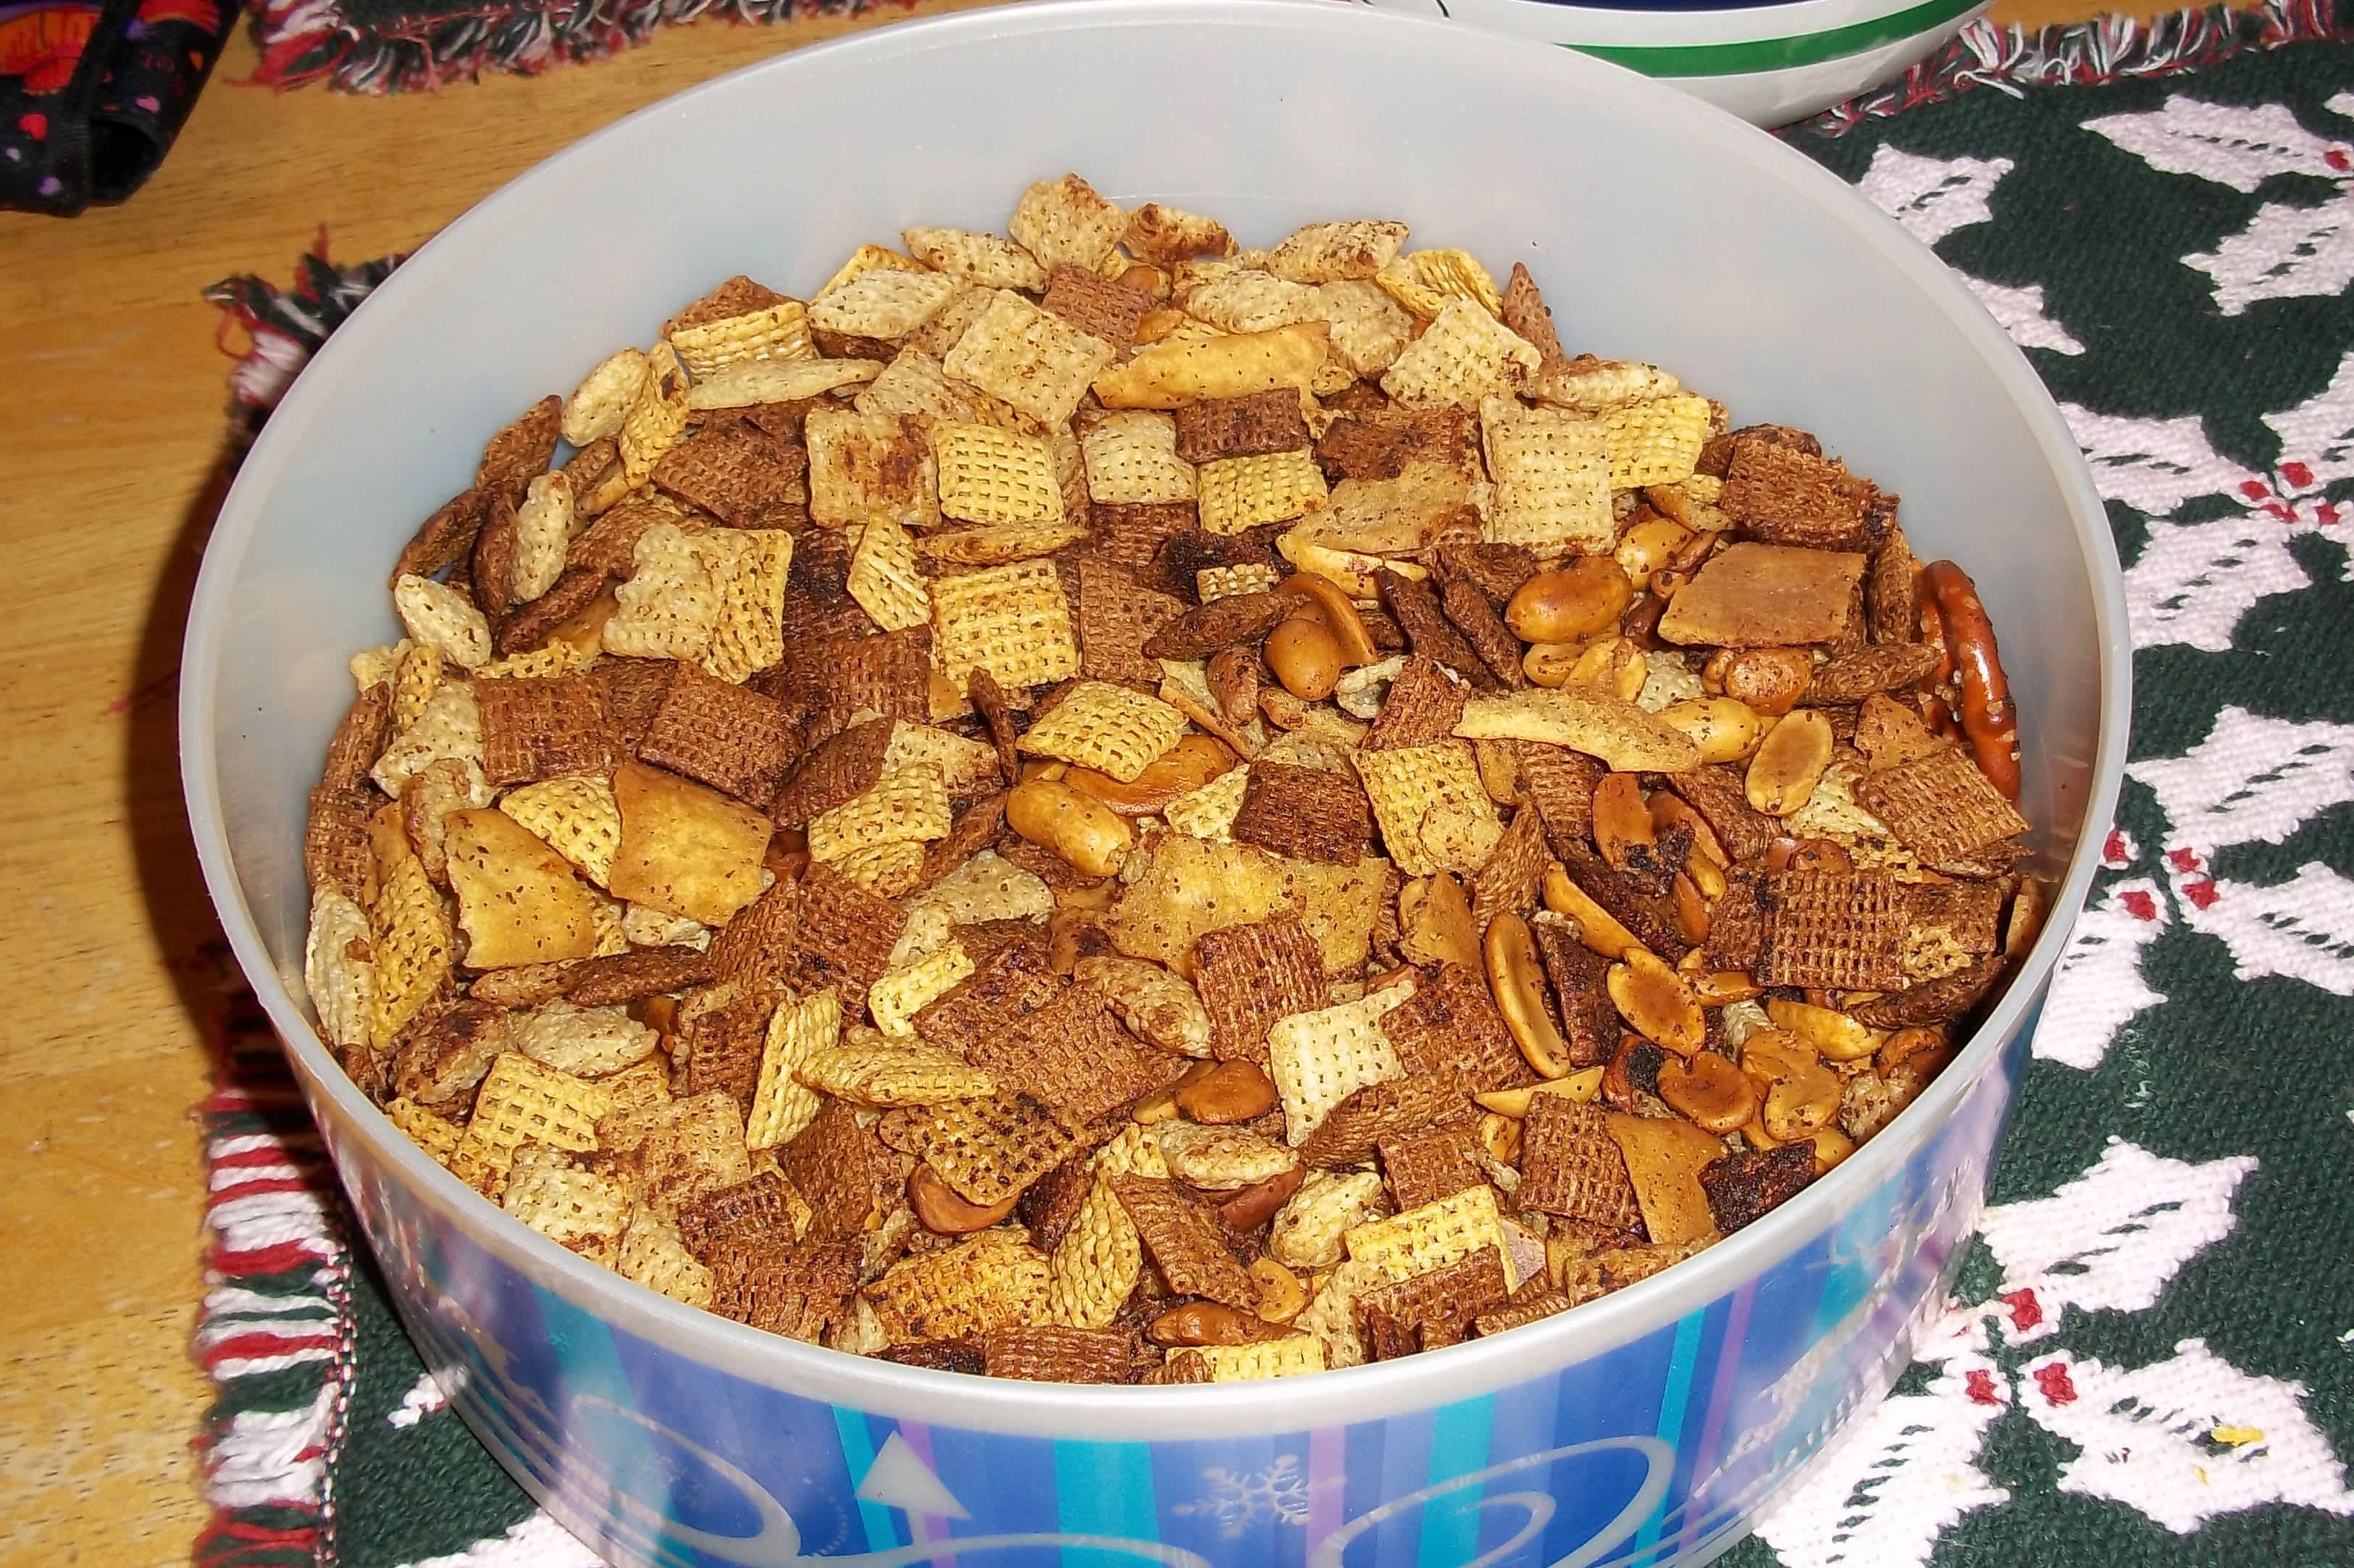
If gluten is a concern for you or your guests, there are simple ways to keep Chex Mix on the menu. Use gluten-free varieties of the Chex cereals—corn, rice, or even multigrain—which are widely available. Just check the packaging to ensure they’re certified gluten-free.
For seasoning, avoid soy sauce unless it’s gluten-free tamari. You can substitute with coconut aminos or gluten-free Worcestershire sauce to maintain that umami kick. Have you ever tried adding nuts like almonds or pecans to your mix? They add crunch and protein without any gluten worries.
Credit: www.food.com
Frequently Asked Questions
What Ingredients Are Needed For Baked Chex Mix Original?
The original recipe requires Corn Chex, Rice Chex, Wheat Chex, pretzels, nuts, butter, Worcestershire sauce, seasoned salt, garlic powder, and onion powder. These create the classic savory flavor and crunchy texture.
How Long Should Baked Chex Mix Bake?
Bake the mixture at 250°F (120°C) for 1 hour. Stir every 15 minutes to ensure even coating and crispiness.
Can I Customize The Baked Chex Mix Recipe?
Yes, you can add different nuts, spices, or mix cereals. Customize to your taste while keeping the basic baking method.
How Should I Store Baked Chex Mix?
Store in an airtight container at room temperature. It stays fresh and crunchy for up to two weeks.
Conclusion
Baked Chex Mix Original Recipe brings great taste to your snack time. It’s easy to make and perfect for sharing with friends. The mix is crunchy, salty, and full of flavor. You can enjoy it during parties, movie nights, or anytime you want a quick treat.
Try this recipe and see how simple snacks can be so good. Enjoy the homemade touch with every bite. Keep this recipe handy for your next snack craving. Simple ingredients, great results. A classic favorite everyone will love.

Hi, I’m Daniel Brooks—a food lover and kitchen gear enthusiast. I enjoy testing cookware, utensils, and gadgets to see what really works in everyday cooking. At PlugChef.com, I share honest reviews, comparisons, and simple guides to help you choose the best tools for a safer, smarter, and more enjoyable kitchen.
Related posts:
 What Type of Cooking Utensils are Safe: Expert Picks
 What Innovations Could Blenders Make: Unleashing Future Tech
 Smart Strategies to Organize a Small Kitchen: Maximize Space
 How to Organize a Kitchen Cabinet: Expert Tips & Tricks
 How to Organize Kitchen Drawers: Expert Tips and Tricks
 How to Organize a Corner Kitchen Cupboard: Expert Tips

