
Craving a crispy, mouthwatering pizza that feels light and fresh? You’re just a few simple steps away from making your own easy thin crust pizza dough at home.
Imagine pulling a golden, crunchy crust straight from your oven—perfectly thin, yet sturdy enough to hold all your favorite toppings. Whether you’re a beginner or just want a foolproof recipe, this guide will help you create pizza dough that’s quick, delicious, and better than takeout.
Ready to impress your taste buds and anyone you share it with? Let’s get started!
Ingredients For Thin Crust Dough
Getting the ingredients right is key to making the perfect thin crust pizza dough. The right balance between dry and wet components defines the dough’s texture and crunch. Understanding each ingredient’s role helps you customize your dough to fit your taste and cooking style.
Essential Dry Ingredients
- All-purpose flour:The base of your dough. It provides structure and chewiness. Using high-quality flour makes a noticeable difference.
- Instant yeast:Helps the dough rise quickly. It activates faster than traditional yeast, saving you time.
- Salt:Adds flavor and controls yeast activity. Without it, the dough can taste bland and rise uncontrollably.
- Sugar:Feeds the yeast and improves browning. A little sugar helps develop that golden crust you love.
Wet Ingredients Breakdown
- Warm water:Activates the yeast and hydrates the flour. The temperature should be just right—not too hot or cold.
- Olive oil:Adds flavor and keeps the dough tender. It also helps create a crispy crust when baked.
Have you ever noticed how a slight change in water temperature can make or break your dough? It’s a simple detail that many overlook but makes all the difference.
Optional Add-ons
- Garlic powder or dried herbs:Add these to your dry mix for extra flavor in the crust.
- Cornmeal:Sprinkle on your baking surface to prevent sticking and add a subtle crunch.
- Honey or malt syrup:Swap sugar with these for a deeper, richer sweetness that enhances browning.
Experimenting with these extras lets you tailor your dough to your personal taste. What small twist will you try next to make your pizza truly yours?
Step-by-step Dough Preparation
Preparing thin crust pizza dough needs simple, clear steps. Each step helps create a perfect base. Follow carefully to get a light, crispy crust every time.
Mixing The Ingredients
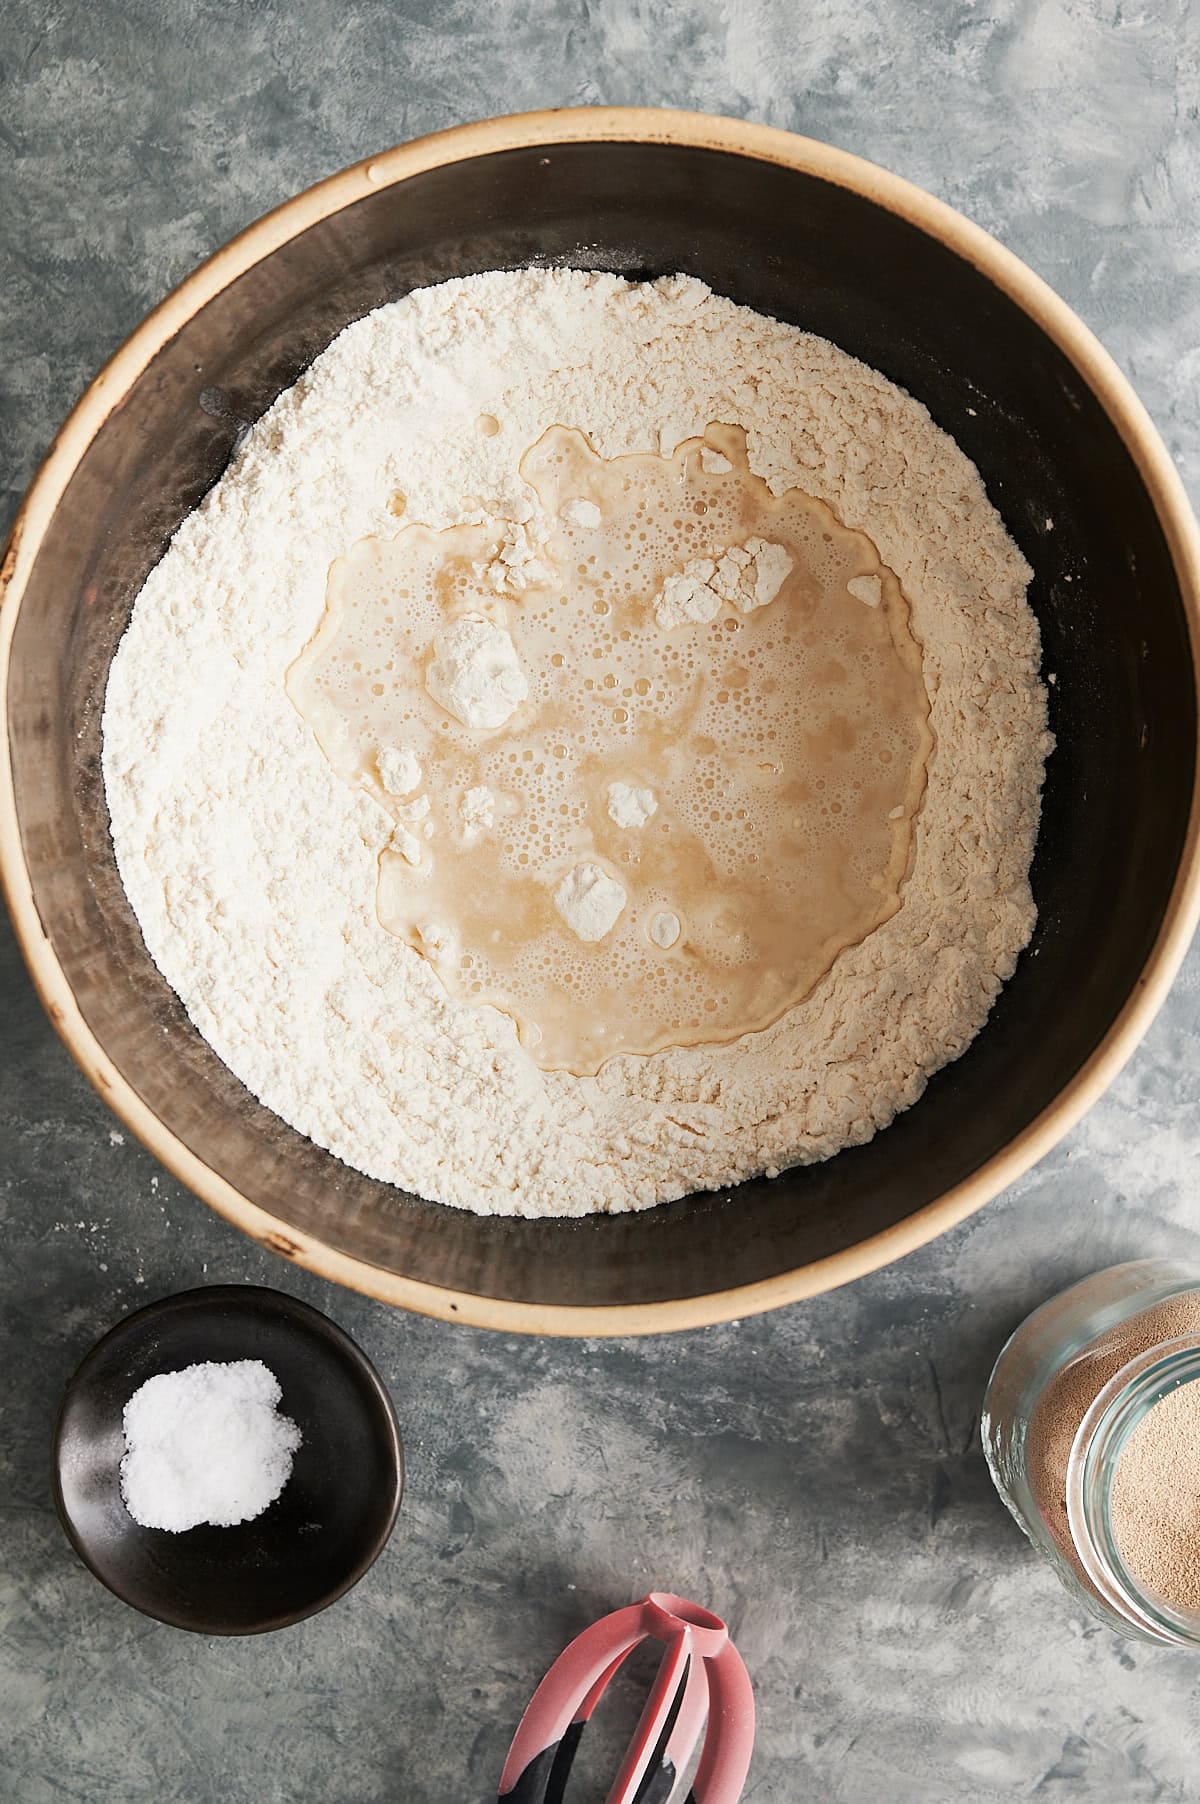
Start by combining flour, salt, and yeast in a large bowl. Use warm water to activate the yeast. Pour water slowly while stirring to form a sticky dough. Add a small amount of olive oil for extra flavor. Mix until all ingredients blend evenly. Avoid overmixing at this stage.
Kneading Techniques
Turn the dough onto a clean surface. Use your palms to push the dough away, then fold it back. Repeat this motion for about 8-10 minutes. Kneading develops gluten, making the dough stretchy and smooth. If the dough sticks, sprinkle a little flour. Stop when the dough feels soft and elastic.
Resting And Rising Times
Place the dough in a lightly oiled bowl. Cover with a damp cloth or plastic wrap. Let it rest in a warm spot for 1 to 1.5 hours. The dough should double in size. Punch it down gently to release air bubbles. Let it rise again for 20-30 minutes before shaping.
Shaping The Thin Crust
Gently stretch the dough from the center outward to form a thin, even circle. Keep edges slightly thicker for a perfect crust hold. Thin crust shapes quickly with a light touch and warm hands.
Creating a thin crust pizza that rivals your favorite pizzeria is easier than you might think. The key is in the shaping. Many home chefs struggle with achieving that perfect thinness, often ending up with a crust that’s too thick or unevenly cooked. This part of the process can make or break your homemade pizza experience. How do you ensure your dough is thin enough without tearing it?Rolling Tips For Thinness
Use a rolling pin instead of your hands. While hand stretching can be effective, a rolling pin ensures even pressure and uniform thinness across the dough. Start from the center and roll outward. This method helps distribute the dough evenly, preventing a thicker center and thinner edges. If the dough resists rolling, let it rest for a few minutes. This relaxation period allows the gluten to relax, making it easier to roll out.Avoiding Common Mistakes
Don’t overload with flour. While dusting your surface is essential, too much flour can dry out the dough, making it difficult to roll and shape. Avoid using cold dough. Cold dough is less pliable and more likely to tear. Let it sit at room temperature for 30 minutes before shaping. Skip the temptation to stretch the dough with your fingers. This can lead to uneven thickness and potential tears. Stick to rolling for the best results. By following these practical tips, you’ll be crafting thin crust pizzas that are not only delicious but also visually impressive. What will your next pizza creation look like?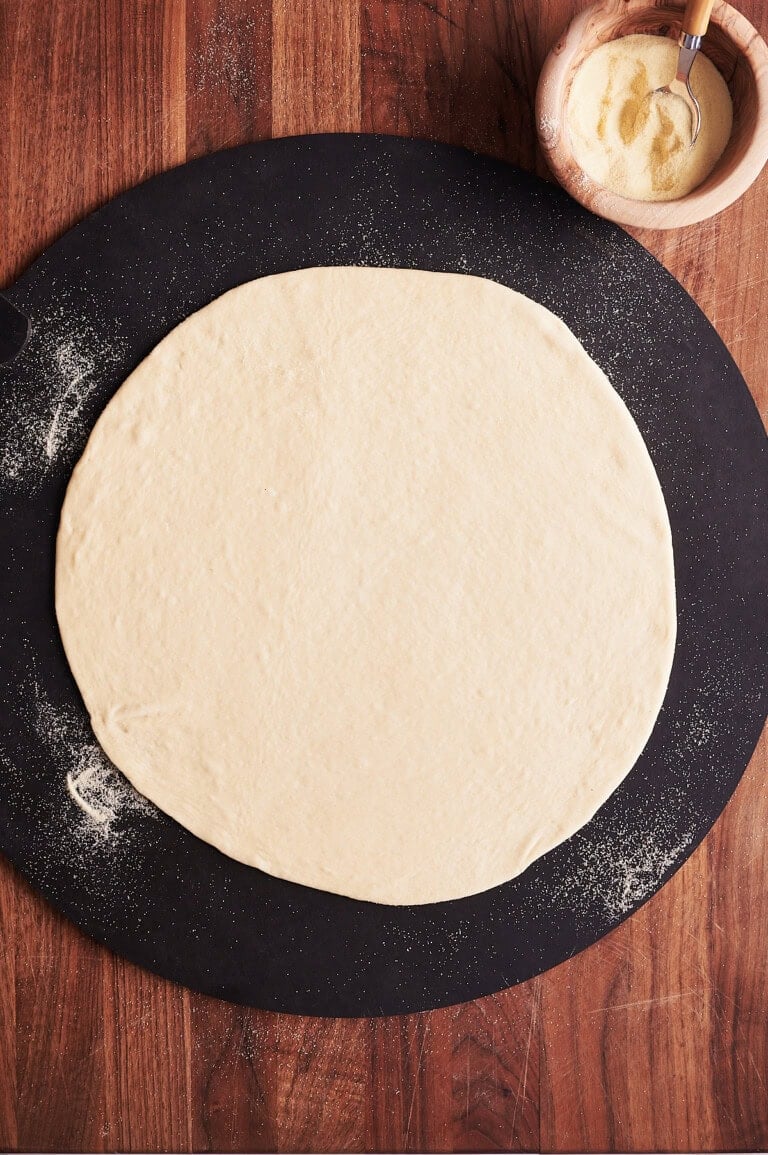
Credit: josieandnina.com
Baking For Crispy Results
Baking your thin crust pizza to achieve that ideal crispy texture is all about controlling heat and timing. The right oven setup can transform your dough from soft to satisfyingly crunchy. Let’s dive into the key factors that will help you get that perfect crisp every time.
Oven Temperature Settings
Your oven’s temperature plays a huge role in crisping the crust. Aim for a high heat—usually between 475°F and 500°F (245°C to 260°C). This intense heat quickly cooks the dough’s surface, locking in moisture while creating that golden crunch you want.
Have you noticed how pizzas baked at lower temperatures turn out soggy? That’s because the dough spends too long cooking, allowing steam to soften it. Preheating your oven thoroughly ensures consistent heat right from the start, so your crust crisps evenly.
Using Pizza Stones Or Sheets
A pizza stone or steel can be a game-changer for crispiness. These surfaces retain and radiate heat much better than a regular baking tray, mimicking the effect of a pizza oven floor. Placing your dough on a hot stone helps it cook evenly and develop a firm base.
If you don’t have a stone, a heavy-duty baking sheet works fine but preheat it in the oven first. This preheating step is key because it prevents the dough from absorbing moisture and becoming soggy. Think of it as giving your dough a hot landing pad.
Timing For Perfect Crisp
Timing your bake is a balancing act. Usually, 10 to 12 minutes at high heat is enough for thin crust dough to become crispy without burning. Keep an eye on your pizza from around the 8-minute mark to catch the moment the edges turn golden.
Do you flip your pizza or rotate your tray mid-bake? Rotating can help if your oven has hot spots, ensuring even crispness all around. Remember, every oven is different—experimenting with timing will reveal your sweet spot for that perfect crunch.
Topping Ideas For Thin Crust
Thin crust pizza lets toppings shine with every bite. The crisp base pairs well with many flavors. Choosing toppings can be fun and simple. Pick ingredients that balance taste and texture. Here are some tasty ideas to try.
Classic Combinations
- Tomato sauce, mozzarella, and fresh basil
- Pepperoni slices with melted cheese
- Mushrooms, olives, and green peppers
- Ham and pineapple for a sweet twist
- Sausage, onions, and bell peppers
These classic choices offer familiar, comforting flavors. They work well with thin crust’s crispness.
Creative And Healthy Options
- Spinach, feta cheese, and sun-dried tomatoes
- Grilled chicken, arugula, and light ranch drizzle
- Zucchini ribbons with goat cheese and lemon zest
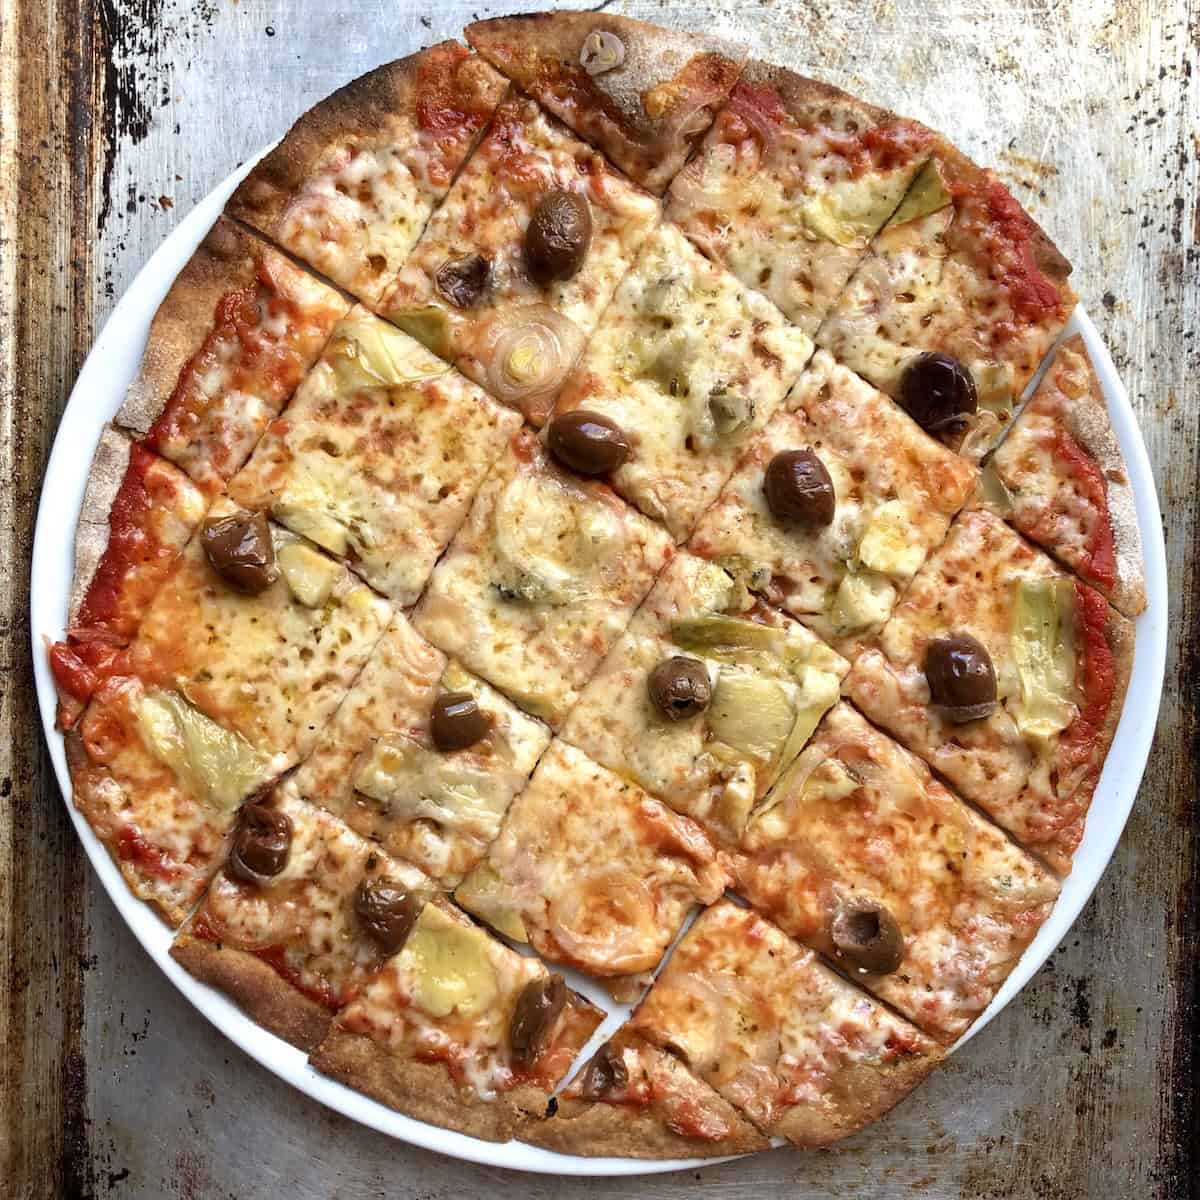
- Roasted red peppers, artichoke hearts, and olives
- Avocado slices, cherry tomatoes, and a sprinkle of chili flakes
These toppings bring fresh, vibrant flavors to your pizza. They add nutrition without extra heaviness. Perfect for a light and tasty meal.
Credit: bitingatthebits.com
Troubleshooting Dough Issues
Making thin crust pizza dough can sometimes bring small problems. These issues affect the dough’s texture and the final crust. Fixing these troubles helps create a perfect thin crust every time. Below are common problems and easy fixes for each.
Fixing Sticky Or Dry Dough
Sticky dough feels wet and hard to handle. Dry dough cracks and is tough to stretch.
- For sticky dough, sprinkle small amounts of flour. Mix gently until it feels soft but not sticky.
- For dry dough, add a teaspoon of water. Knead well to absorb the moisture.
- Use a clean surface to test the dough. It should be smooth and elastic.
Preventing Soggy Crust
Soggy crust happens when the dough is too wet or toppings release too much moisture.
- Roll the dough thin but firm. Avoid making it too thick in the center.
- Pre-bake the crust for 3-5 minutes before adding toppings. This helps keep it crispy.
- Use less watery toppings or drain excess liquid from vegetables.
- Spread sauce thinly to avoid soaking the dough.
Credit: josieandnina.com
Frequently Asked Questions
What Ingredients Are Needed For Thin Crust Pizza Dough?
Thin crust pizza dough requires flour, water, yeast, salt, and olive oil. These basic ingredients create a light, crispy base perfect for toppings. Using high-protein flour improves texture. Allowing dough to rest enhances flavor and elasticity, ensuring a delicious thin crust pizza every time.
How Long Should Thin Crust Pizza Dough Rest?
Rest the dough for at least 1 to 2 hours at room temperature. This allows yeast to activate and gluten to develop. A longer rest, like overnight in the fridge, improves flavor and texture. Proper resting time is key for a thin, crispy crust.
Can I Make Thin Crust Pizza Dough Without Yeast?
Yes, you can use baking powder as a substitute for yeast. However, yeast dough produces better texture and flavor. Baking powder dough cooks faster but may lack the classic chewy thin crust. For best results, stick to yeast in thin crust pizza recipes.
How Do I Get A Crispy Thin Crust Pizza?
To get a crispy crust, roll dough thinly and bake at high temperatures. Use a pizza stone or steel to evenly distribute heat. Avoid heavy toppings to prevent sogginess. Brushing olive oil on the crust edges also enhances crispiness and flavor.
Conclusion
Making thin crust pizza dough at home is simple and fun. You need only a few basic ingredients. Follow the steps carefully for the best results. You can enjoy fresh, crispy pizza anytime. Try different toppings to suit your taste.
Baking at the right temperature makes the crust perfect. This recipe saves money and tastes great. Share your homemade pizza with family and friends. Enjoy cooking and eating your own thin crust pizza!

Hi, I’m Daniel Brooks—a food lover and kitchen gear enthusiast. I enjoy testing cookware, utensils, and gadgets to see what really works in everyday cooking. At PlugChef.com, I share honest reviews, comparisons, and simple guides to help you choose the best tools for a safer, smarter, and more enjoyable kitchen.
Related posts:
 What Type of Cooking Utensils are Safe: Expert Picks
 What Innovations Could Blenders Make: Unleashing Future Tech
 Smart Strategies to Organize a Small Kitchen: Maximize Space
 How to Organize a Kitchen Cabinet: Expert Tips & Tricks
 How to Organize Kitchen Drawers: Expert Tips and Tricks
 How to Organize a Corner Kitchen Cupboard: Expert Tips

