
Are you craving a delicious salmon dinner but forgot to thaw your fish? No worries!
Cooking frozen salmon in the oven is easier than you think. This simple method saves you time and still delivers juicy, flavorful results. Keep reading, and you’ll discover a foolproof recipe that turns frozen salmon into a tasty meal your whole family will love.
Get ready to impress yourself with how quick and satisfying this dish can be!
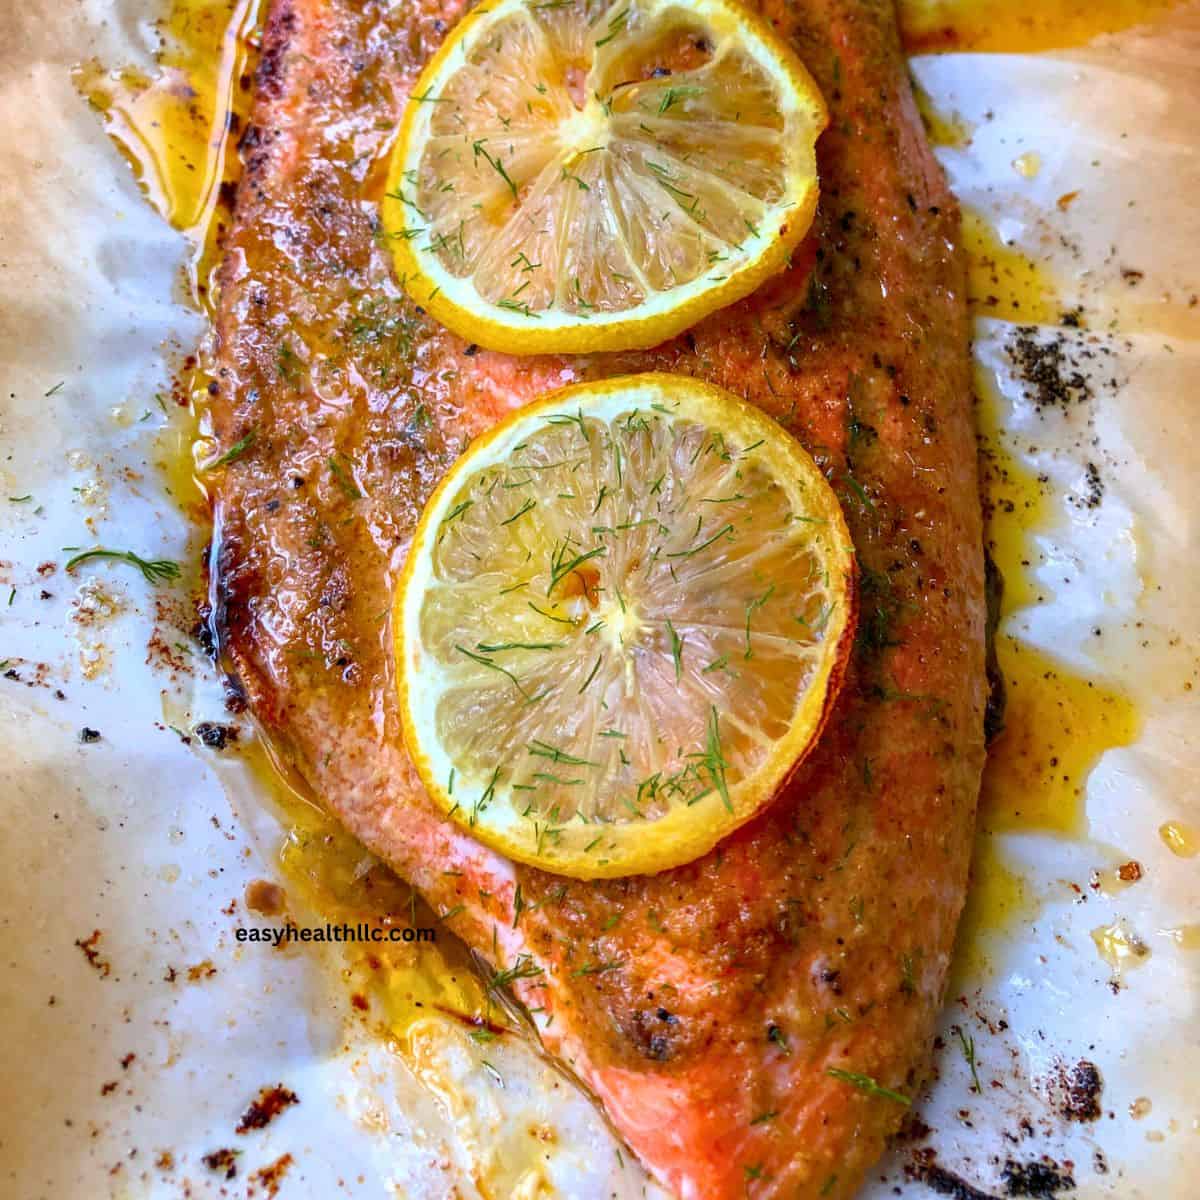
Credit: easyhealthllc.com
Choosing The Right Salmon
Choosing the right salmon is key to making your frozen salmon in oven recipe a success. The type of salmon you pick affects the flavor, texture, and cooking time. Understanding your options can help you get the best results every time.
Types Of Salmon For Baking
Not all salmon is created equal for baking. The most common types you’ll find are Atlantic, Sockeye, Coho, and King salmon. Each has a unique flavor and fat content that impacts how it cooks.
- Atlantic Salmon:Often farmed, it has a milder flavor and higher fat, which keeps it moist in the oven.
- Sockeye Salmon:Known for its rich, deep red color and stronger flavor. It’s leaner, so watch your cooking time to avoid dryness.
- Coho Salmon:A balanced choice with moderate fat and a delicate taste, perfect for those who want something in between.
- King Salmon:The fattiest and most flavorful, it’s ideal if you want a rich, buttery texture.
Think about what flavor profile you enjoy most. Do you prefer a mild taste or something bolder? Your answer will guide you toward the right salmon for your oven recipe.
Benefits Of Using Frozen Salmon
Frozen salmon often gets overlooked, but it has several advantages that can improve your cooking experience. First, it’s usually flash-frozen right after being caught, locking in freshness and nutrients.
This means you can enjoy salmon year-round, regardless of the season. Plus, frozen salmon tends to be more affordable and available in larger portions.
Have you ever noticed how fresh salmon can sometimes be hit or miss at the store? Frozen salmon takes away that uncertainty. You can store it in your freezer and use it whenever you’re ready without worrying about spoilage.

Credit: downshiftology.com
Preparing Frozen Salmon
Preparing frozen salmon properly sets the foundation for a delicious oven-baked meal. Handling frozen fish might seem tricky, but with the right approach, you can maintain its fresh flavor and texture. Taking a moment to prepare your salmon thoughtfully makes all the difference in the final dish.
Thawing Methods
Thawing salmon correctly is key to even cooking and a tender bite. You can thaw it safely by placing the frozen salmon in the fridge overnight. This slow thaw keeps the fish at a safe temperature, preserving its quality.
If you’re short on time, try the cold water method. Put the frozen salmon in a sealed plastic bag and submerge it in cold water for about 30 minutes. Change the water every 10 minutes to keep it cold and speed up thawing.
Have you noticed how thawing in the microwave can sometimes make salmon unevenly cooked? It’s best to avoid that because it can affect the texture and taste.
Seasoning Tips
Once your salmon is thawed, seasoning is your chance to add bold flavors. A simple mix of olive oil, salt, pepper, and lemon juice works wonders. The oil helps keep the fish moist while baking.
Consider adding herbs like dill, parsley, or thyme for a fresh touch. Garlic powder or paprika can add a subtle kick without overpowering the natural salmon flavor. Don’t forget to season both sides evenly for consistent taste.
Have you ever tried marinating your salmon for 15 minutes before baking? It’s a small step that can transform the dish by letting the flavors sink in deeply.
Oven Settings And Timing
Cooking frozen salmon in the oven is simple and delicious. Proper oven settings ensure a perfectly cooked dish. Follow these guidelines for the best results.
Optimal Temperature
The ideal oven temperature for frozen salmon is 425°F (220°C). This high heat ensures a crispy exterior. Meanwhile, the inside remains moist and tender.
Preheat the oven to achieve this temperature. This step is crucial for even cooking.
Cooking Duration For Frozen Fillets
Frozen salmon fillets require 20 to 25 minutes in the oven. Cooking times vary based on fillet thickness. Thicker fillets may need up to 30 minutes.
Check the salmon halfway through cooking. Use a fork to test flakiness. If it flakes easily, it’s ready.
Step-by-step Baking Process
Baking frozen salmon in the oven doesn’t have to be complicated. With the right approach, you can get a delicious meal on the table quickly and easily. Let’s break down the process so you know exactly what to do, from prepping your baking tray to knowing when your salmon is perfectly cooked.
Prepping The Baking Tray
Start by lining your baking tray with parchment paper or aluminum foil. This prevents the salmon from sticking and makes cleanup much easier. You can also lightly brush the tray with olive oil for extra protection and flavor.
Adding a layer of sliced lemon or fresh herbs like dill on the tray can infuse your salmon with subtle flavors as it bakes. Have you tried placing garlic cloves under the fish? It adds a wonderful aroma without overpowering the salmon’s natural taste.
Arranging The Salmon
Place the frozen salmon fillets on the prepared tray, skin side down if they have skin. Make sure to leave space between each piece so the heat circulates evenly. Crowding the tray can cause uneven cooking and soggy edges.
If you want, sprinkle some seasoning on top before baking—salt, pepper, paprika, and a drizzle of olive oil work well. I’ve found that seasoning frozen salmon before baking locks in moisture and enhances the flavor right from the start.
Monitoring For Doneness
Check your salmon after about 15 minutes of baking at 425°F (220°C). The exact time depends on the thickness of your fillets. You’re looking for the flesh to turn opaque and easily flake with a fork.
Using a food thermometer is a smart move—aim for an internal temperature of 145°F (63°C). Ever noticed how overcooked salmon becomes dry? Keeping an eye on doneness ensures juicy, tender results every time.
Flavor Enhancements
Enhancing the flavor of frozen salmon in the oven makes every bite delicious. Simple additions bring depth and freshness. These flavor boosters brighten the natural taste of salmon. They make the cooking experience more fun and the meal more satisfying.
Sauces And Marinades
Sauces and marinades soak into salmon, adding moisture and taste. They protect the fish during baking, keeping it tender. Use citrus-based sauces for a fresh, tangy flavor. Soy sauce or teriyaki gives a sweet and salty balance.
- Lemon garlic butter sauce
- Honey mustard glaze
- Maple soy marinade
- Dill and cucumber yogurt sauce
Marinate salmon for 15-30 minutes before baking. Brush sauces on halfway through cooking for a glossy finish. These steps boost flavor without overpowering the fish.
Herbs And Spices
Herbs and spices add aroma and color. They highlight salmon’s natural flavors. Use fresh herbs like dill, parsley, or thyme. Sprinkle dried herbs if fresh ones are unavailable. Black pepper and paprika add gentle heat and color.
- Fresh dill and lemon zest
- Thyme and garlic powder
- Paprika and black pepper
- Rosemary and sea salt
Combine herbs and spices in a simple rub. Coat the salmon evenly for balanced flavor. Herbs and spices make the dish look inviting too.
Serving Suggestions
Serving baked frozen salmon straight from the oven can be a delightful experience. The right sides and presentation can elevate this simple dish into a satisfying meal. Careful pairing and plating make your salmon dinner look and taste even better.
Side Dishes
- Steamed asparagus or green beans add a fresh crunch.
- Roasted baby potatoes with herbs complement the salmon’s flavor.
- A light quinoa or couscous salad offers a healthy grain option.
- Garlic butter rice balances richness with a mild taste.
- Simple mixed greens with lemon vinaigrette brighten the plate.
Presentation Ideas
- Place the salmon on a white plate for a clean look.
- Drizzle a little olive oil or lemon juice over the fish.
- Garnish with fresh dill or parsley for color and aroma.
- Arrange sides neatly around the salmon, not piled up.
- Use a wedge of lemon on the side for extra zest.
Common Mistakes To Avoid
Cooking frozen salmon in the oven can be quick and easy. Many beginners make simple mistakes that affect taste and texture. Avoiding these errors leads to perfectly cooked salmon every time. Read on to learn common mistakes and how to skip them.
Not Preheating The Oven
Oven temperature matters a lot. Placing salmon in a cold oven causes uneven cooking. Always preheat the oven to the right temperature before starting. This ensures the salmon cooks evenly and stays juicy.
Skipping Seasoning
Frozen salmon can taste bland without seasoning. Salt, pepper, and herbs bring out its natural flavor. Don’t forget to season the fish before baking. This simple step improves taste significantly.
Cooking Salmon Straight From Freezer Without Adjusting Time
Frozen salmon takes longer to cook than fresh salmon. Using the same cooking time leads to undercooked or overcooked fish. Increase cooking time by about 50% for frozen salmon. Check doneness with a fork or thermometer.
Overcrowding The Baking Tray
Placing too many salmon pieces close together traps steam. This makes the fish soggy instead of crispy. Leave space between pieces for hot air to circulate. It helps the salmon cook evenly and develop a nice crust.
Ignoring Internal Temperature
Guessing if salmon is done can cause problems. Overcooked salmon becomes dry; undercooked salmon is unsafe. Use a meat thermometer to check. The ideal internal temperature is 145°F (63°C).

Credit: www.mediterraneandietmealplans.com
Tips For Best Results
Cooking frozen salmon in the oven can be a real time-saver, but getting the best results takes a few smart moves. Small changes in preparation and cooking can make a big difference in flavor and texture. Here are some key tips to help you enjoy perfectly cooked salmon every time.
Preheat Your Oven Properly
A fully preheated oven ensures even cooking from start to finish. I once skipped this step and ended up with unevenly cooked fish—some parts dry, others underdone. Always wait until your oven reaches the desired temperature before putting the salmon in.
Use A Baking Sheet With A Rack
Placing the salmon on a rack allows heat to circulate around the fish. This helps the bottom cook evenly and prevents sogginess. If you don’t have a rack, use parchment paper or foil to avoid sticking and make cleanup easier.
Season The Salmon Before Cooking
Seasoning frozen salmon might seem tricky, but sprinkling salt, pepper, and your favorite herbs directly on the fish works well. If you want extra flavor, brush the salmon with olive oil or melted butter first. This locks in moisture and enhances taste.
Adjust Cooking Time Based On Thickness
Thicker salmon fillets need more time, but be careful not to overcook. A general rule is about 20 minutes at 425°F (220°C) for a one-inch thick piece. Keep an eye on the fish’s texture—flaky but moist is the goal.
Check For Doneness With A Fork
Instead of relying solely on the clock, test the salmon by gently pressing it with a fork. It should flake easily but still feel juicy. If it looks dry or tough, it’s been in the oven too long.
Let The Salmon Rest Before Serving
Resting the salmon for a few minutes after baking helps redistribute the juices. This simple step makes the fish more tender and flavorful. Don’t skip it—even a short rest can improve your meal.
Frequently Asked Questions
Can I Cook Frozen Salmon Directly In The Oven?
Yes, you can cook frozen salmon directly in the oven. It saves time and maintains flavor. Just adjust cooking time slightly longer than fresh salmon.
How Long Does Frozen Salmon Take To Bake?
Frozen salmon typically takes 20-25 minutes to bake at 400°F (200°C). Check for an internal temperature of 145°F (63°C) to ensure it’s fully cooked.
Should I Season Frozen Salmon Before Baking?
Yes, seasoning frozen salmon before baking enhances flavor. Use olive oil, salt, pepper, and herbs. Apply seasoning directly on the fish without thawing.
Is Frozen Salmon Healthy Compared To Fresh?
Frozen salmon retains most nutrients and is equally healthy. It’s often flash-frozen quickly to preserve freshness and omega-3 fatty acids.
Conclusion
Cooking frozen salmon in the oven saves time and effort. This recipe keeps the fish tender and full of flavor. You do not need to thaw the salmon first. Just follow simple steps for a healthy meal. Serve with your favorite sides for a complete dish.
Enjoy fresh-tasting salmon anytime without extra work. Give this easy method a try tonight. It makes dinner quick and tasty. Simple, fast, and delicious—perfect for busy days.

Hi, I’m Daniel Brooks—a food lover and kitchen gear enthusiast. I enjoy testing cookware, utensils, and gadgets to see what really works in everyday cooking. At PlugChef.com, I share honest reviews, comparisons, and simple guides to help you choose the best tools for a safer, smarter, and more enjoyable kitchen.
Related posts:
 What Type of Cooking Utensils are Safe: Expert Picks
 What Innovations Could Blenders Make: Unleashing Future Tech
 Smart Strategies to Organize a Small Kitchen: Maximize Space
 How to Organize a Kitchen Cabinet: Expert Tips & Tricks
 How to Organize Kitchen Drawers: Expert Tips and Tricks
 How to Organize a Corner Kitchen Cupboard: Expert Tips

