

Imagine waking up to the perfect pancake—crispy on the outside, fluffy on the inside, and cooked to golden perfection. What if you could make that every single morning, right in your own kitchen?
Cooking pancakes in a cast iron skillet is the secret that many home cooks swear by. It’s simple, it’s reliable, and it transforms your breakfast into something special. If you want to learn how to get that flawless pancake every time, keep reading—your mornings are about to get a whole lot better.

Credit: hopewellheightsblog.com
Choosing The Right Cast Iron Skillet
Choosing the right cast iron skillet is key for perfect pancakes. The skillet affects cooking time, texture, and flavor. Knowing what to pick helps you cook better pancakes every time.
Size And Shape Matters
Skillets come in many sizes. A 10-inch skillet is ideal for pancakes. It fits one or two pancakes without crowding. Smaller skillets heat faster but hold less batter. Larger pans take longer to heat but cook more pancakes at once.
Shape also plays a role. A round skillet gives pancakes a classic look. Some skillets have slightly sloped sides, making it easy to flip pancakes. Flat edges help slide pancakes onto plates without breaking.
Seasoned Vs. Unseasoned Skillets
Seasoned skillets have a natural non-stick coating. This comes from layers of baked oil. They require less oil for cooking pancakes. Pancakes cook evenly and release easily.
Unseasoned skillets need to be seasoned before use. They may stick to pancakes at first. Seasoning builds a smooth surface over time. This process improves pancake cooking with each use.
Choose a pre-seasoned skillet for convenience. Pick unseasoned if you want full control over seasoning.
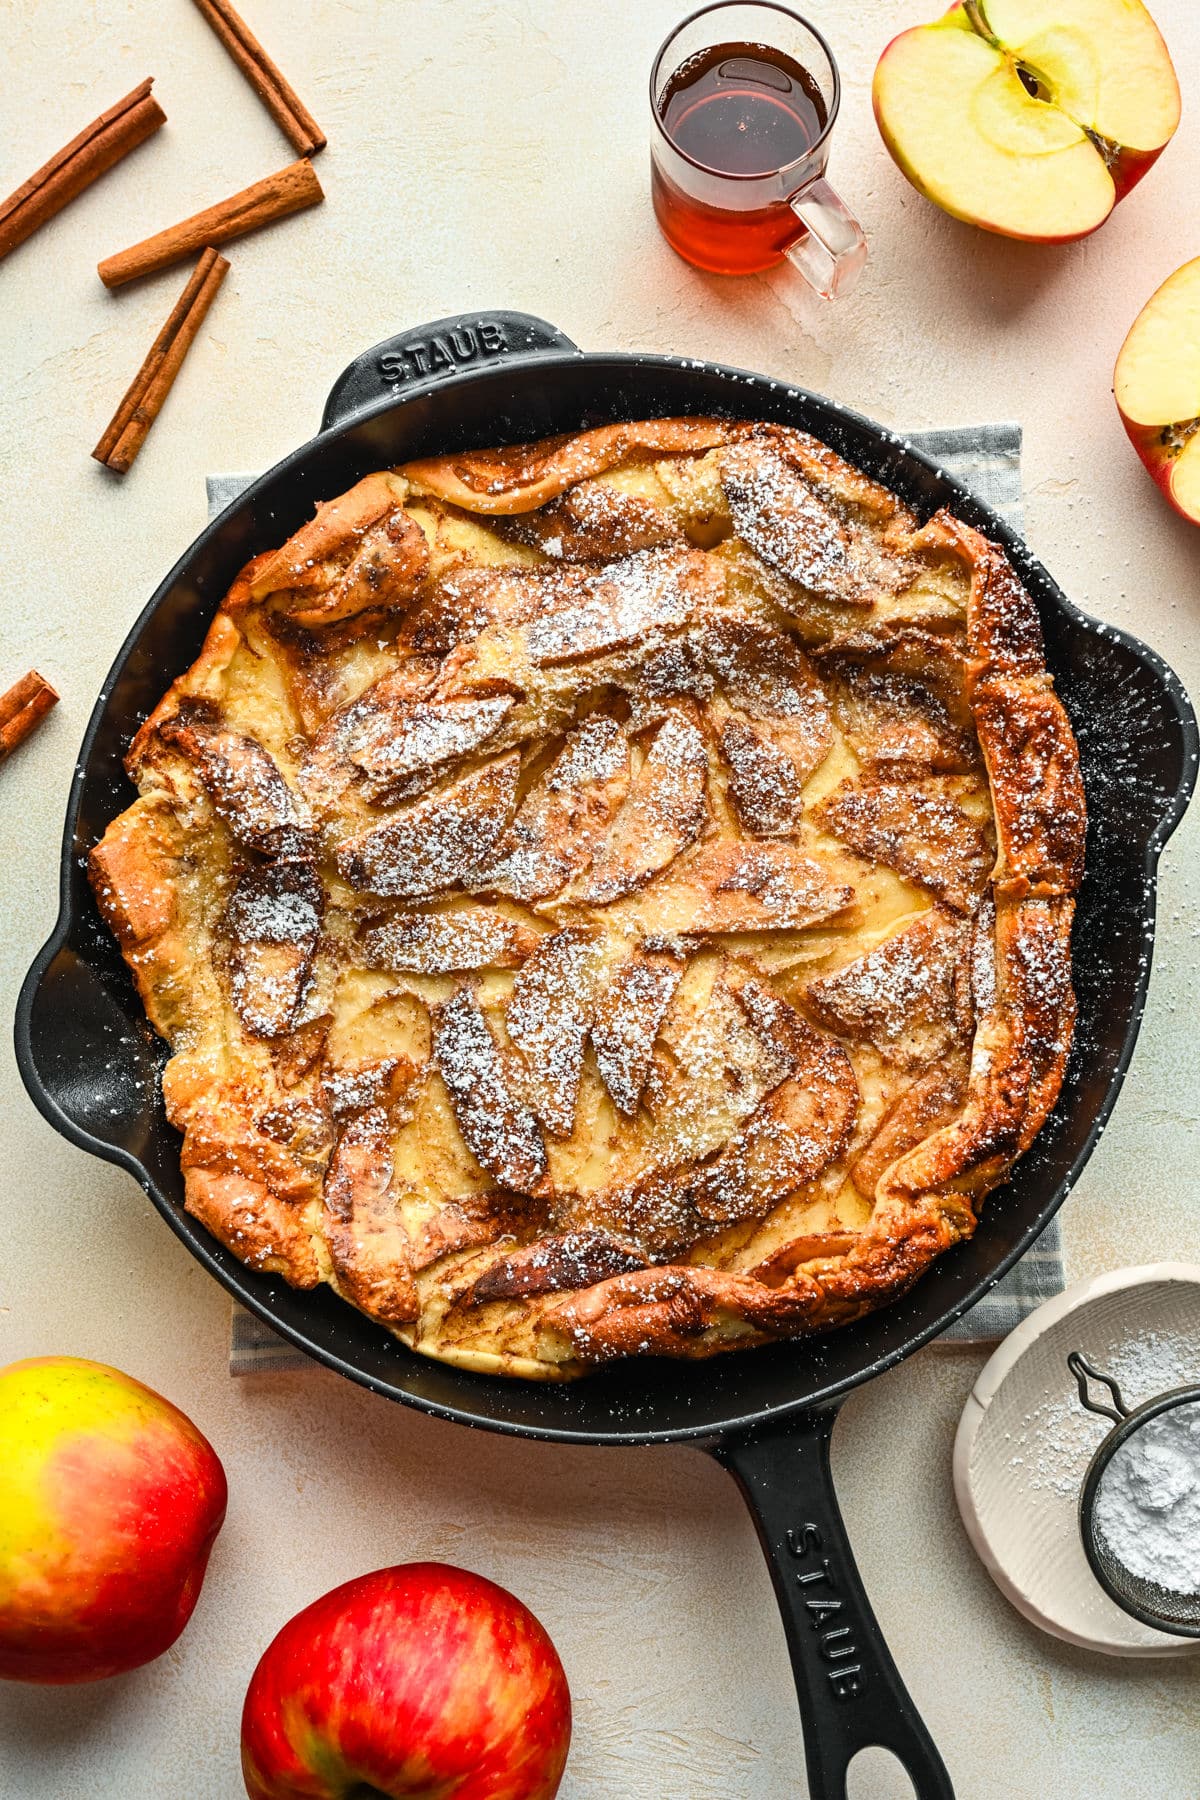
Credit: www.ihearteating.com
Preparing Your Skillet For Pancakes
Getting your cast iron skillet ready for pancakes is the key to achieving that golden, fluffy perfection. Skipping this step can lead to sticking, uneven cooking, or pancakes that don’t rise properly. The right preparation makes your cooking smoother and cleanup easier.
Proper Cleaning Techniques
Before you start, ensure your skillet is clean but not stripped of its seasoning. Avoid harsh soaps that can remove the natural non-stick layer you’ve built over time.
- Use hot water and a stiff brush or sponge to clean off any food residue.
- If needed, scrub with coarse salt as a gentle abrasive.
- Dry your skillet thoroughly to prevent rust — a quick heat on the stove helps evaporate any moisture.
Have you ever faced pancakes sticking because the pan wasn’t cleaned right? Proper cleaning avoids that frustration.
Preheating Tips
Preheat your skillet slowly over medium heat. Cast iron retains heat well, so a gradual warm-up prevents hot spots that can burn your pancakes.
- Test if the skillet is ready by flicking a few drops of water on the surface — they should dance and evaporate quickly.
- A properly heated pan ensures even browning and perfect texture.
Try this: preheat for about 5 minutes and observe how your pancake batter behaves when poured. Does it sizzle gently? That’s your green light.
Oiling For Non-stick Surface
Applying the right amount of oil is crucial to prevent sticking without making your pancakes greasy. Use an oil with a high smoke point like vegetable or canola oil.
- Pour a small amount (about a teaspoon) into the skillet.
- Use a paper towel to spread the oil evenly across the surface.
- Remove any excess oil to avoid pooling, which can cause uneven cooking.
Have you noticed how some pans seem to grab your pancake batter? This simple oiling trick can change that experience completely.
Crafting The Perfect Pancake Batter
Perfect pancake batter blends flour, eggs, milk, and a pinch of salt for smooth consistency. Cooking in a cast iron skillet ensures even heat and a crispy edge. Simple steps create fluffy, golden pancakes every time.
Crafting the perfect pancake batter is an art. The right mix of ingredients creates fluffy pancakes. A cast iron skillet enhances the experience. Let’s explore how to make the best batter.Key Ingredients For Fluffiness
Fluffiness starts with quality ingredients. Use all-purpose flour for structure. Baking powder adds lift. A pinch of salt enhances flavors. Sugar sweetens the batter. Eggs contribute to texture. Milk provides the necessary moisture. A touch of vanilla adds depth. Butter enriches the taste.Mixing Without Overworking
Mixing is crucial. Combine dry ingredients first. In another bowl, whisk wet ingredients. Pour wet into dry. Stir gently with a spatula. Stop when just combined. Lumps are okay. Overmixing leads to tough pancakes. Aim for a slightly lumpy texture. It ensures air pockets form.Resting The Batter
Let the batter rest. Five to ten minutes is enough. Resting allows gluten to relax. It results in tender pancakes. Meanwhile, preheat your cast iron skillet. Use medium heat. Grease lightly with butter or oil. Once ready, your batter is set to create delicious pancakes.
Credit: food52.com
Cooking Pancakes In Cast Iron
Cooking pancakes in a cast iron skillet brings out a rich, even flavor and texture. The heavy skillet holds heat well, creating a perfectly golden crust. It also distributes heat evenly, preventing hot spots and burnt pancakes. With a little care, this tool can make pancake mornings special and delicious.
Ideal Temperature Settings
Heat the cast iron skillet over medium heat. Too hot and pancakes burn on the outside while staying raw inside. Too low and pancakes cook slowly, becoming dry. Aim for a temperature around 375°F (190°C) for best results. Use a small drop of water to test heat: it should sizzle and evaporate quickly.
Pouring And Spreading Batter
Pour batter gently into the center of the skillet. Use about ¼ cup for each pancake to keep size uniform. Let the batter spread naturally without pushing it outward. The batter will form a nice round shape by itself. Avoid pressing or spreading it with a spatula to keep fluffiness.
Flipping At The Right Time
Wait until bubbles form on the surface and edges look set. The edges should look dry and slightly lifted from the skillet. Flip the pancake carefully to avoid splashing batter. Cook the other side for about 1-2 minutes until golden brown. Remove and keep warm while cooking the rest.
Troubleshooting Common Issues
Troubles with pancakes in a cast iron skillet can be frustrating. Common problems include sticking, burning, and uneven thickness. Each issue has simple fixes that improve your cooking experience.
Avoiding Sticking
Season your cast iron skillet well before cooking. Use enough oil or butter to create a smooth, non-stick surface.
Preheat the skillet properly. A hot pan helps pancakes release easily.
Do not flip pancakes too early. Wait until bubbles form and edges look set.
Preventing Burning
Cook pancakes on medium or low heat. High heat burns the outside while leaving the inside raw.
Use a heavy skillet that distributes heat evenly. Thin pans cause hot spots.
Keep an eye on cooking times. Remove pancakes as soon as they turn golden brown.
Adjusting For Thickness
Thicker batter makes fluffy pancakes but takes longer to cook through.
Add a little milk or water to thin the batter for thinner pancakes.
Pour batter gently and spread slightly with the back of a spoon for even thickness.
Serving And Enhancing Your Pancakes
Serving pancakes straight from a cast iron skillet is a delightful experience. The warm, fluffy texture is just the beginning. How you enhance and serve them can transform a simple breakfast into a memorable meal.
Toppings To Complement Fluffy Pancakes
Think beyond the usual syrup. Fresh berries like blueberries or strawberries add a burst of natural sweetness and vibrant color. A dollop of whipped cream or a sprinkle of powdered sugar can make your pancakes look as good as they taste.
For a savory twist, try topping with crispy bacon or a smear of cream cheese. Nut butters such as almond or peanut butter add richness and protein. Don’t forget a drizzle of honey or a spoonful of Greek yogurt for extra flavor and texture.
Keeping Pancakes Warm
Keeping pancakes warm while you finish cooking the batch can be tricky. Place a baking sheet in a low oven (around 200°F or 90°C) and transfer cooked pancakes there. This prevents them from drying out or getting soggy.
If you don’t want to use the oven, stacking pancakes on a plate with foil loosely covering them helps retain heat. Avoid piling them too high, or the steam can make them soggy. Have you tried warming your serving plates? It’s a small step that keeps pancakes warm longer on the table.
Caring For Your Cast Iron Skillet After Use
Caring for your cast iron skillet after cooking pancakes is key to its long life. Proper care keeps the skillet non-stick and rust-free. It also preserves the seasoning that makes cooking easier. Simple steps after use protect your investment and improve cooking results over time.
Cleaning Without Damaging Seasoning
Clean your skillet while it is still warm. Use hot water and a soft brush or sponge. Avoid soap or harsh detergents that strip seasoning. For stuck-on food, scrub with coarse salt and a little water. Rinse well and dry immediately with a towel. Never leave your skillet soaking in water. Reapply a thin layer of oil after drying. This keeps the surface protected and ready for next use.
Proper Storage Tips
Store your cast iron skillet in a dry place. Keep it away from moisture to prevent rust. Place a paper towel inside the skillet to absorb any humidity. Stack skillets with a cloth between them to avoid scratching. Avoid storing with the lid tightly closed. Air circulation helps maintain the seasoning and freshness. Proper storage means your skillet stays in great shape for years.
Frequently Asked Questions
How Do You Make Pancakes In A Cast Iron Skillet?
To make pancakes in a cast iron skillet, preheat the skillet on medium heat. Lightly grease it with butter or oil. Pour batter evenly and cook until bubbles form. Flip and cook until golden brown. Cast iron ensures even heat and a perfect crust.
What Are The Benefits Of Using Cast Iron For Pancakes?
Cast iron provides even heat distribution, which cooks pancakes uniformly. It retains heat well, keeping pancakes warm longer. The skillet also adds a crispy texture to pancake edges. Plus, it’s durable and naturally non-stick when seasoned properly, enhancing flavor without extra grease.
How Do You Prevent Pancakes From Sticking To Cast Iron?
To prevent sticking, preheat the skillet thoroughly before adding batter. Use a thin layer of oil or butter to grease the pan. Avoid flipping too early; wait until bubbles form and edges look set. Properly seasoned cast iron also helps pancakes release easily.
Can You Cook Fluffy Pancakes In A Cast Iron Skillet?
Yes, cast iron skillets can cook fluffy pancakes. The even heat ensures pancakes rise uniformly. Maintain medium heat to avoid burning. Use a well-mixed batter with baking powder or soda for fluffiness. Patience and correct heat settings yield soft, thick pancakes.
Conclusion
Cooking pancakes in a cast iron skillet brings great taste and texture. The skillet heats evenly, making pancakes golden and soft. It keeps heat well, so pancakes cook faster and better. Cleaning and caring for the skillet is simple with a little practice.
Using this method turns a regular breakfast into something special. Try it today and enjoy the difference in every bite. Simple, tasty, and easy to do. Pancakes in a cast iron skillet make mornings better.

Hi, I’m Daniel Brooks—a food lover and kitchen gear enthusiast. I enjoy testing cookware, utensils, and gadgets to see what really works in everyday cooking. At PlugChef.com, I share honest reviews, comparisons, and simple guides to help you choose the best tools for a safer, smarter, and more enjoyable kitchen.
Related posts:
 What Type of Cooking Utensils are Safe: Expert Picks
 What Innovations Could Blenders Make: Unleashing Future Tech
 Smart Strategies to Organize a Small Kitchen: Maximize Space
 How to Organize a Kitchen Cabinet: Expert Tips & Tricks
 How to Organize Kitchen Drawers: Expert Tips and Tricks
 How to Organize a Corner Kitchen Cupboard: Expert Tips

