
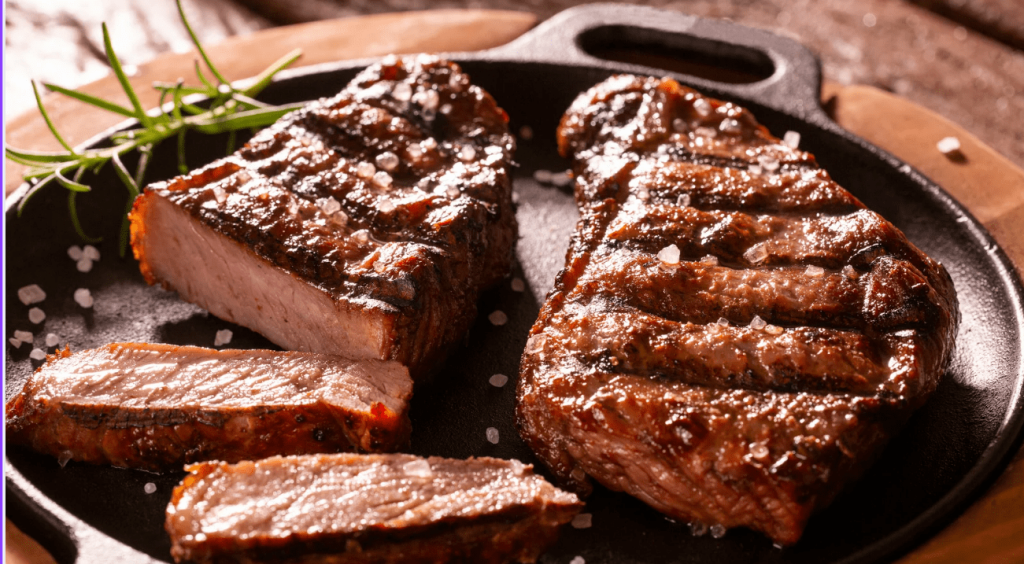
You’ve spent 12+ hours smoking a whole brisket to tender, smoky perfection, only to be left with leftovers that turn dry and chewy when you reheat them. It’s a universal frustration for brisket lovers: all that time and effort wasted on a second meal that doesn’t live up to the original. The good news? Reheating whole brisket in the oven to retain its juicy, tender texture is simple, as long as you follow a few key rules focused on low heat, moisture retention, and precise temperature control. This guide walks you through every step, from pre-reheating storage to pro tips for preserving flavor, so your leftover brisket tastes just as good as the day it came off the smoker.
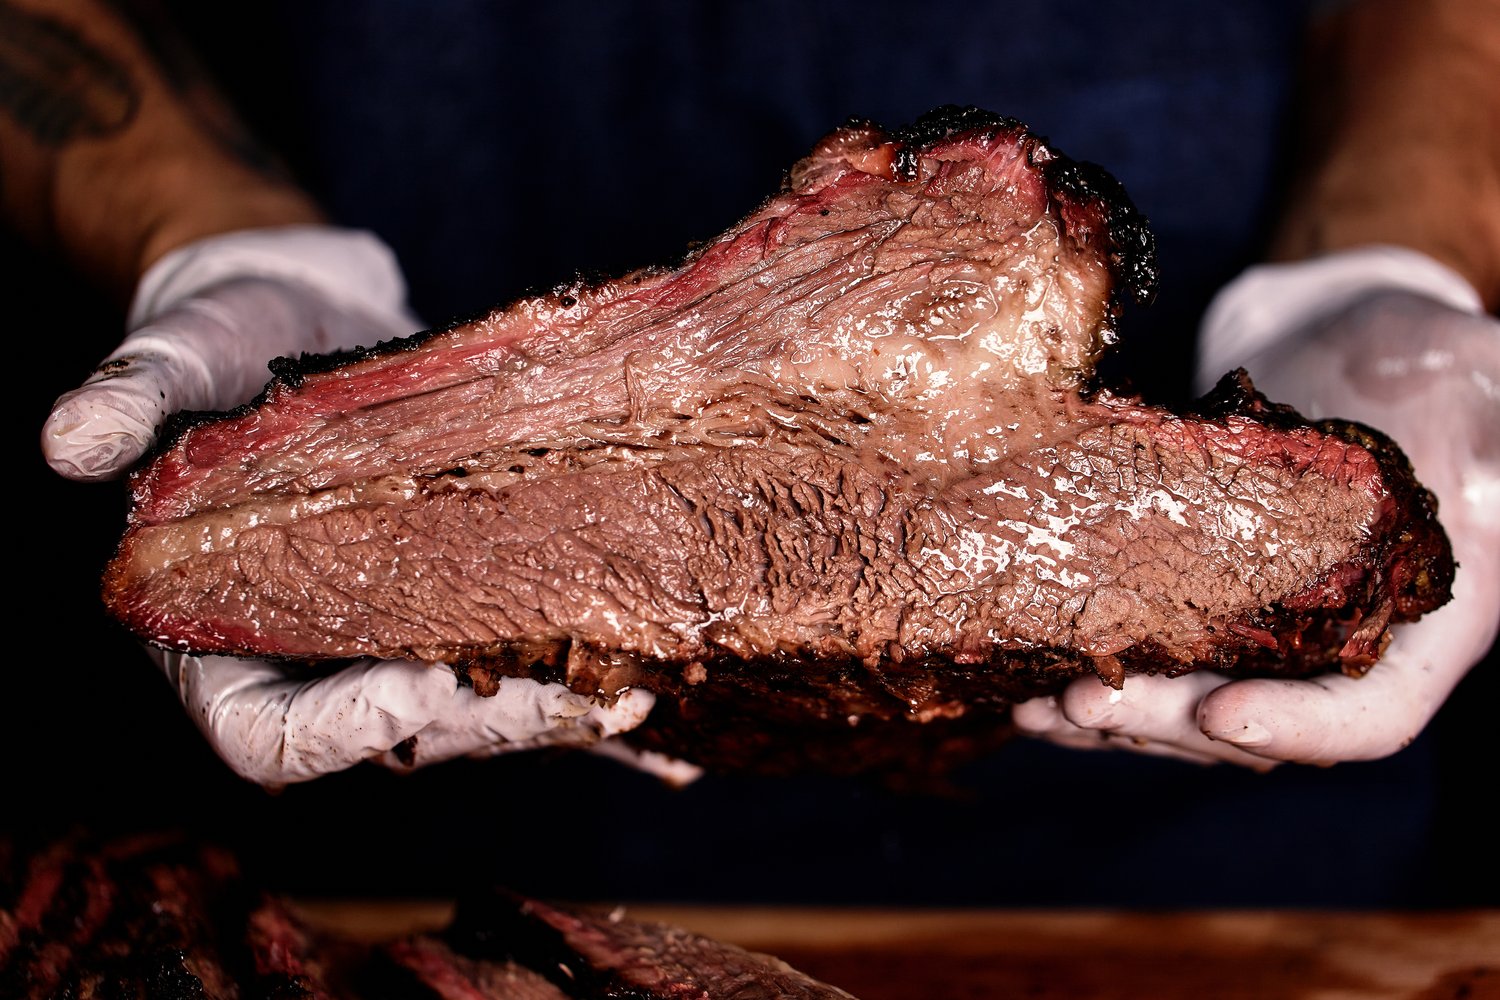 Freshly sliced smoked brisket with a moist, tender texture
Why Reheating Whole Brisket Requires Special Care
Brisket is a tough, heavily exercised muscle from the chest of the cow, packed with connective tissue (collagen) and intramuscular fat. When cooked low and slow initially, the collagen melts into gelatin, giving brisket its signature tender, juicy texture. High-heat reheating breaks down that gelatin and evaporates moisture rapidly, leading to dry, chewy meat that bears little resemblance to your freshly cooked brisket. Unlike leaner cuts like chicken breast, brisket’s unique composition means even small temperature missteps can ruin its texture. As outlined by meat science best practices from Texas A&M AgriLife Extension, slow, even heating is the only way to preserve the melted collagen and fat that make brisket so flavorful. For more on this, see our guide on pizza oven temp and time.
Before You Reheat: Prep & Storage Best Practices
Proper prep before you even turn on the oven is half the battle for juicy reheated brisket.
Storing Cooked Brisket for Optimal Results
Let your brisket cool to room temperature (no more than 2 hours, to stay out of the food safety danger zone) after cooking, then wrap tightly in plastic wrap, heavy-duty aluminum foil, or a vacuum sealer for best results. Store in an airtight container in the refrigerator for up to 4 days, or in the freezer for 2–3 months. Label the package with the cook date to avoid eating old leftovers. Vacuum sealing prevents freezer burn, which dries out the meat and dulls its smoky flavor. If you stored your brisket in a regular foil wrap in the freezer, trim any discolored, dry edges before reheating to avoid tough, flavorless bites.
Bringing Brisket to Room Temperature Safely
Remove the brisket from the refrigerator 30 to 60 minutes before reheating, keeping it loosely covered with foil to avoid contamination. Cold meat placed directly in a hot oven heats unevenly: the exterior cooks and dries out long before the center reaches a safe temperature. Never leave brisket at room temperature for more than 2 hours, as this creates ideal conditions for bacterial growth. If you’re reheating a frozen brisket, thaw it fully in the refrigerator for 24 to 36 hours per 5 pounds first; never reheat frozen brisket directly, as it will heat unevenly and turn dry.
Oven Setup & Temperature Guidelines
Getting your oven settings right is critical to avoiding dry, overcooked brisket.
Ideal Oven Temperature for Juicy Reheated Brisket
Set your oven to 250°F (121°C) for the most consistent, juicy results. This low, slow heat gently warms the brisket without evaporating its natural juices or toughening the connective tissue. Higher temperatures (325°F or above) may seem like a time-saver, but they cook the exterior dry before the center is warm, leading to tough, chewy meat. Most home oven thermostats are off by 25–50°F, so use an oven thermometer to confirm the temperature is accurate. Official food safety guidelines from the USDA recommend reheating all cooked leftovers to an internal temperature of 165°F to eliminate harmful bacteria, which aligns with our target temp for brisket.
Wrapping Choices: Foil, Butcher Paper, or Baking Dish?
The way you wrap your brisket impacts both moisture and texture:
- Aluminum foil: The best choice for maximum moisture retention. It creates a sealed environment that traps steam, making it ideal for brisket that’s already slightly dry or has been frozen. The downside is it can make a crispy smoked bark soggy.
- Butcher paper: A breathable alternative that traps enough moisture to keep the meat tender while preserving the crispy crust on smoked brisket. It’s the go-to for brisket with a well-developed bark you want to keep intact.
- Covered baking dish: Works well for very large whole briskets that don’t fit wrapped easily. It allows a small amount of steam to escape, preventing sogginess while still retaining most moisture.
 Foil-wrapped whole brisket on a baking sheet, ready for low-heat oven reheating
Step-by-Step Oven Reheating Process
Follow these exact steps for consistently juicy results, no guesswork required:
- Prep and preheat: Remove the brisket from the fridge, let it rest at room temperature for 30–60 minutes, and preheat your oven to 250°F, confirming the temperature with an oven thermometer.
- Add moisture and wrap: Place the brisket on a rimmed baking sheet, then pour ¼ cup of beef broth, reserved brisket drippings, or water over the meat. Wrap tightly in aluminum foil or butcher paper, double-layering the wrap for large briskets to avoid gaps where steam can escape.
- Reheat to target temperature: Place the wrapped brisket on the center oven rack, and reheat for 45–60 minutes per pound. Check the internal temperature with a meat thermometer every 30 minutes after the first hour of cooking.
- Rest before serving: Once the brisket reaches 165°F internally, remove it from the oven and let it rest, still wrapped, for 10–15 minutes. This allows the juices to redistribute throughout the meat, so they don’t run out when you slice it.
How to Tell Your Reheated Brisket Is Perfect
You don’t have to guess when your brisket is ready: use these reliable checks to confirm it’s juicy and safe to eat.
Internal Temperature Benchmarks
Insert a meat thermometer into the thickest part of the brisket, avoiding any fat or bone. The USDA safe minimum for reheated leftovers is 165°F (74°C), and you don’t need to heat it higher than this — extra time in the oven will only dry out the meat. For the most accurate reading, use a leave-in thermometer that stays in the brisket while it reheats, so you don’t have to open the oven and let heat escape.
Visual & Texture Cues
A perfectly reheated brisket will have a moist, glistening surface with no dry, cracked spots. When you press it gently with a fork, it should feel soft but firm, with a slight spring back. If it feels crumbly or tough, it’s overcooked; if it’s cold in the center, keep reheating in 10-minute increments until it reaches 165°F evenly.
Pro Tips for Extra Juicy, Flavorful Results
These tested tricks will elevate your reheated brisket from good to great:
- Revive slightly dry brisket: If your brisket is already a bit tough from previous storage, add 2 tablespoons of water or beef broth to the foil wrap before reheating for an extra 10 minutes. The added steam will rehydrate the meat without making it soggy.
- Preserve the crispy bark: If your brisket has a well-developed smoky crust from initial cooking, unwrap it for the last 10 minutes of reheating, tented loosely with foil if it starts to darken too much. This will re-crisp the exterior without drying out the interior.
- Add flavor without sogginess: Skip adding barbecue sauce or other wet seasonings before reheating, as they can make the meat soggy. Instead, brush a thin layer of sauce or brisket au jus over the sliced brisket after resting for a flavor boost without extra moisture.
- Cleanup made easy: After reheating, you’ll likely have baked-on brisket fat and drippings on your baking sheet and oven racks. A heavy-duty scrub brush makes quick work of stuck-on residue without scratching your cookware.
Common Reheating Mistakes to Avoid
Even small errors can ruin a whole brisket, so steer clear of these common pitfalls:
- Cranking the oven temperature: High heat (above 275°F) cooks the exterior dry before the center warms, leading to tough, chewy meat. Stick to 250°F max, no matter how rushed you are.
- Skipping the moisture step: Wrapping brisket in foil without adding a splash of broth or drippings will still lead to dryness, as the meat’s natural moisture evaporates over the long reheating time.
- Cutting into the brisket immediately after reheating: This releases all the juices that have redistributed during the rest period, leaving the meat dry and flavorless. Always wait at least 10 minutes before slicing.
- Overcooking past 165°F: The longer brisket sits in the oven past the safe internal temperature, the more moisture it loses. Pull it from the oven as soon as it hits 165°F evenly, and let it rest to carry over cook a few degrees if needed.
Alternative Reheating Methods (If You Don’t Want to Use the Oven)
If you’re short on oven space or want to try a different method, these options also yield juicy results:
- Slow cooker: Place the brisket in a slow cooker, add ½ cup of beef broth, and cook on low for 3–4 hours. This set-it-and-forget-it method is great for tender, fall-apart brisket, but it will make the crispy bark soggy.
- Sous vide: Seal the brisket in a vacuum bag, set a sous vide bath to 140°F (60°C), and reheat for 1–2 hours. This precise temperature control eliminates the risk of overcooking, making it ideal for high-quality brisket you don’t want to ruin. If you’re using a sous vide container, a soap-dispensing scrub brush makes cleaning out food residue fast and easy.
- Smoker or grill: Preheat your smoker or grill to 225°F, wrap the brisket in foil, and reheat for 30–45 minutes per pound. This method adds a subtle extra smoky flavor, but requires more attention to avoid hot spots.
Frequently Asked Questions
Can I reheat a frozen whole brisket in the oven?
Yes, but you must thaw it fully in the refrigerator first (24–36 hours per 5 pounds of brisket) to ensure even heating. Reheating frozen brisket directly will lead to cold spots in the center and dry, overcooked edges. If you’re in a pinch, you can reheat frozen brisket at 250°F for 1.5–2 hours per pound, but it will be less juicy than thawed brisket.
How long does leftover brisket last in the fridge before reheating?
Properly stored in an airtight container, leftover brisket will last 3–4 days in the refrigerator. Discard any brisket that has a sour smell, slimy texture, or has been stored longer than 4 days to avoid foodborne illness. To keep your fridge organized and avoid cross-contamination between raw and cooked foods, use drawer safety latches to store meats in dedicated, separate spaces.
Can I reheat brisket with the fat cap on?
Absolutely. The fat cap renders during reheating and bastes the meat from the top, keeping it juicy and flavorful. If the fat cap is very thick (more than ¼ inch), you can trim a small portion off before reheating if you prefer less greasy meat, but it’s not required.
What if my reheated brisket is still dry?
If your brisket turns out dry despite following these steps, shred it and mix in a splash of beef broth, barbecue sauce, or brisket au jus to rehydrate it. It’s perfect for sandwiches, tacos, brisket hash, or loaded fries, so you won’t have to waste it.
Should I reheat sliced or whole brisket?
Whole brisket reheats more evenly and retains more moisture, as there’s less exposed surface area for steam to escape. If you have sliced brisket, wrap the slices together in foil to minimize moisture loss, and reduce the reheating time to 20–30 minutes total at 250°F.
 Perfectly reheated brisket, sliced against the grain to maximize tenderness
Conclusion
Reheating whole brisket in the oven to juicy, tender perfection comes down to three simple rules: use low heat, add moisture, and let it rest before slicing. By following the steps above, you’ll never have to settle for dry, tough leftover brisket again — every bite will taste as rich and flavorful as the first time you cooked it.
Once you’ve enjoyed your perfectly reheated brisket, make post-meal cleanup a breeze with our range of top-rated cleaning tools designed to tackle baked-on brisket fat and sauce without elbow grease.

I’m Abby Lu, a passionate home cook who loves simplifying everyday meals. At PlugChef.com, I share product reviews and cooking guides to help you find the best tools for your kitchen.
Related posts:
 How to Make a Fruit Basket for a Gift: Easy DIY Guide
 Do You Need a Basket? Essential Guide for Air Fryers
 How to Adjust Syrup Dispenser Pressure: Expert Tips
 Appliance Play Food Kitchen Toys: Ignite Imaginative Play
 How Long Do Beauty Blenders Last: Expert Tips Unveiled
 Philips Kitchen Appliances Compact Pasta And Noodle Maker: Effortless Homemade Pasta

