
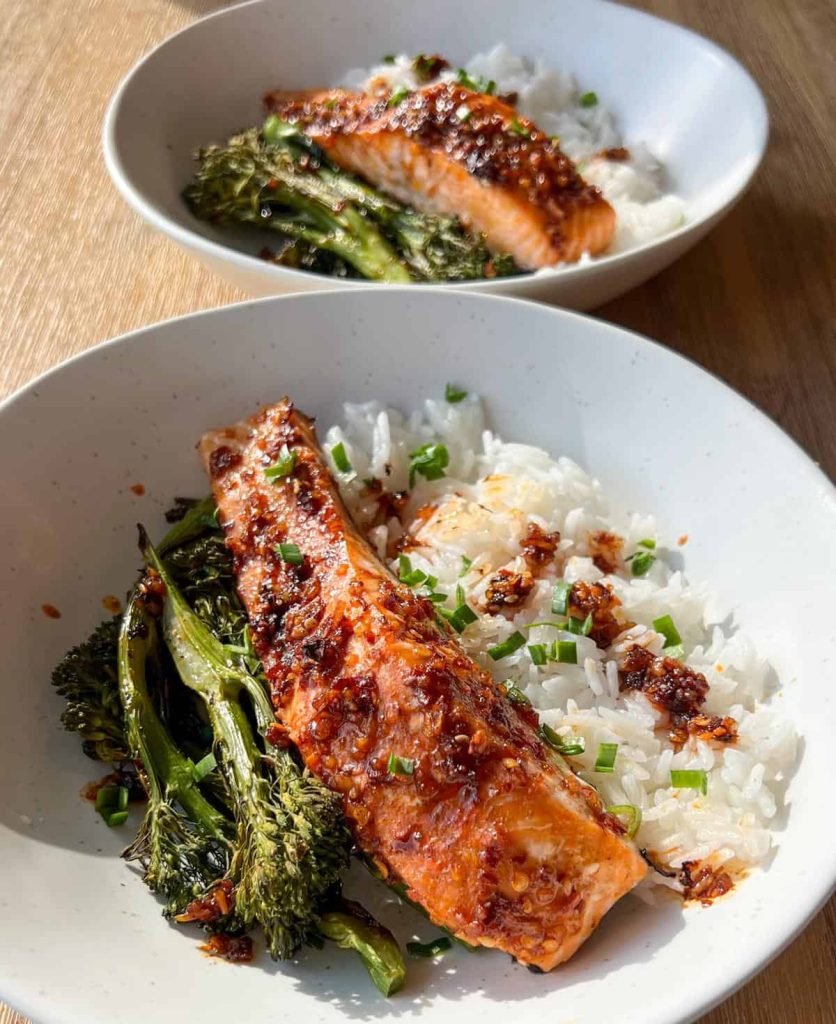
Are you ready to transform your dinner routine with a dish that’s bursting with flavor and incredibly simple to make? This Easy Chili Crisp Salmon Recipe is exactly what you need.
Imagine tender, juicy salmon topped with a crunchy, spicy chili crisp that wakes up your taste buds with every bite. Whether you’re cooking for yourself or impressing guests, this recipe delivers big taste without the hassle. Keep reading, and you’ll discover how to make this mouthwatering meal quickly and effortlessly—your new favorite weeknight dinner is just a few steps away.
Ingredients Needed
To make the Easy Chili Crisp Salmon, gather fresh and flavorful ingredients. Each component adds taste and texture. Choosing quality items ensures the best dish.
Focus on fresh salmon, the spicy chili crisp, and simple seasonings. These three groups create a balanced and tasty meal.
Fresh Salmon Selection
- Choose skin-on salmon fillets for crispiness
- Look for firm, pink flesh without dark spots
- Opt for wild-caught salmon for richer flavor
- Check freshness by a mild ocean scent
Chili Crisp Components
- Chili flakes for heat and color
- Crispy garlic pieces for crunch
- Chopped shallots or onions for sweetness
- Oil infused with chili and spices
- Optional: toasted sesame seeds for nuttiness
Additional Seasonings
- Soy sauce to add umami depth
- Fresh lime juice for brightness
- Salt and pepper to taste
- Optional: a pinch of sugar to balance heat
Credit: snackingemily.com
Preparing The Salmon
Preparing the salmon properly sets the foundation for a delicious chili crisp dish. Clean salmon ensures the best texture and taste. Proper seasoning enhances the flavor without overpowering the fish.
Cleaning And Patting Dry
Start by rinsing the salmon under cold water. This removes any surface impurities. Use your hands to gently rub the skin and flesh. After rinsing, pat the salmon dry with paper towels. Drying helps the seasoning stick better. It also promotes a crispy skin when cooking.
Seasoning Tips
Season the salmon with salt and pepper for a simple base. Use a light hand to avoid masking the chili crisp’s flavor. Add a sprinkle of garlic powder for extra taste. A touch of lemon zest brightens the dish. Let the salmon rest with the seasoning for 5 minutes. This allows the flavors to settle into the fish.
Making Chili Crisp Sauce
Chili crisp sauce adds a spicy crunch that pairs perfectly with salmon. This easy recipe blends oil, chili flakes, and garlic for bold flavor. Serve it over crispy salmon for a simple, tasty meal.
Making a delightful chili crisp sauce elevates the flavors of salmon. This sauce adds a spicy, aromatic touch to your dish. Let’s explore how to create this flavorful component.Choosing The Right Oil
Selecting the right oil is crucial for chili crisp sauce. Use neutral oils like canola or vegetable oil. They don’t overpower the spices. A light sesame oil works too. It adds a nutty hint.Adding Spices And Aromatics
Spices and aromatics are the heart of the sauce. Use garlic, ginger, and shallots. These create a fragrant base. Then, add chili flakes for heat. Star anise and cinnamon add depth. Toast them lightly for enhanced flavor.Balancing Heat And Flavor
Balance is key in chili crisp sauce. Use sugar or honey for sweetness. It softens the heat. Add soy sauce for umami. Vinegar adds a tangy twist. Taste and adjust. Achieve a harmonious blend of heat and flavor.Cooking Methods
Choosing the right cooking method can make a big difference in how your chili crisp salmon turns out. Each technique brings out unique flavors and textures that can change your dining experience. Let’s look at two popular ways to cook this dish and how you can get the best results with each.
Pan-searing Technique
Pan-searing salmon gives you a crispy, caramelized crust that pairs perfectly with the spicy chili crisp. Start by heating a non-stick or cast-iron skillet over medium-high heat and adding a little oil.
Place the salmon skin-side down first to get it extra crispy. Cook for about 4-5 minutes without moving it, then flip and cook the other side for 2-3 minutes until the fish flakes easily.
I’ve found that not overcrowding the pan is key—you want each piece to have space to crisp up nicely. This method also lets you control the heat, so the chili crisp sauce stays vibrant and doesn’t burn.
Oven-baking Alternative
If you prefer a hands-off approach, oven-baking is a great choice. Preheat your oven to 400°F (200°C), place the salmon on a lined baking sheet, and spoon the chili crisp over the top.
Bake the salmon for about 12-15 minutes, depending on thickness, until it’s opaque and flakes easily with a fork. This method locks in moisture and infuses the fish with the chili crisp flavor evenly.
One tip I discovered is to broil the salmon for the last 2 minutes to get a slightly charred finish without drying it out. Have you tried baking salmon with spicy toppings before? It’s a simple way to get bold flavors with minimal effort.
Serving Suggestions
Serving chili crisp salmon can be simple yet exciting. Choosing the right sides and garnishes can enhance the flavors. These suggestions help create a balanced and tasty meal. They make your dish look inviting and taste even better.
Pairing With Sides
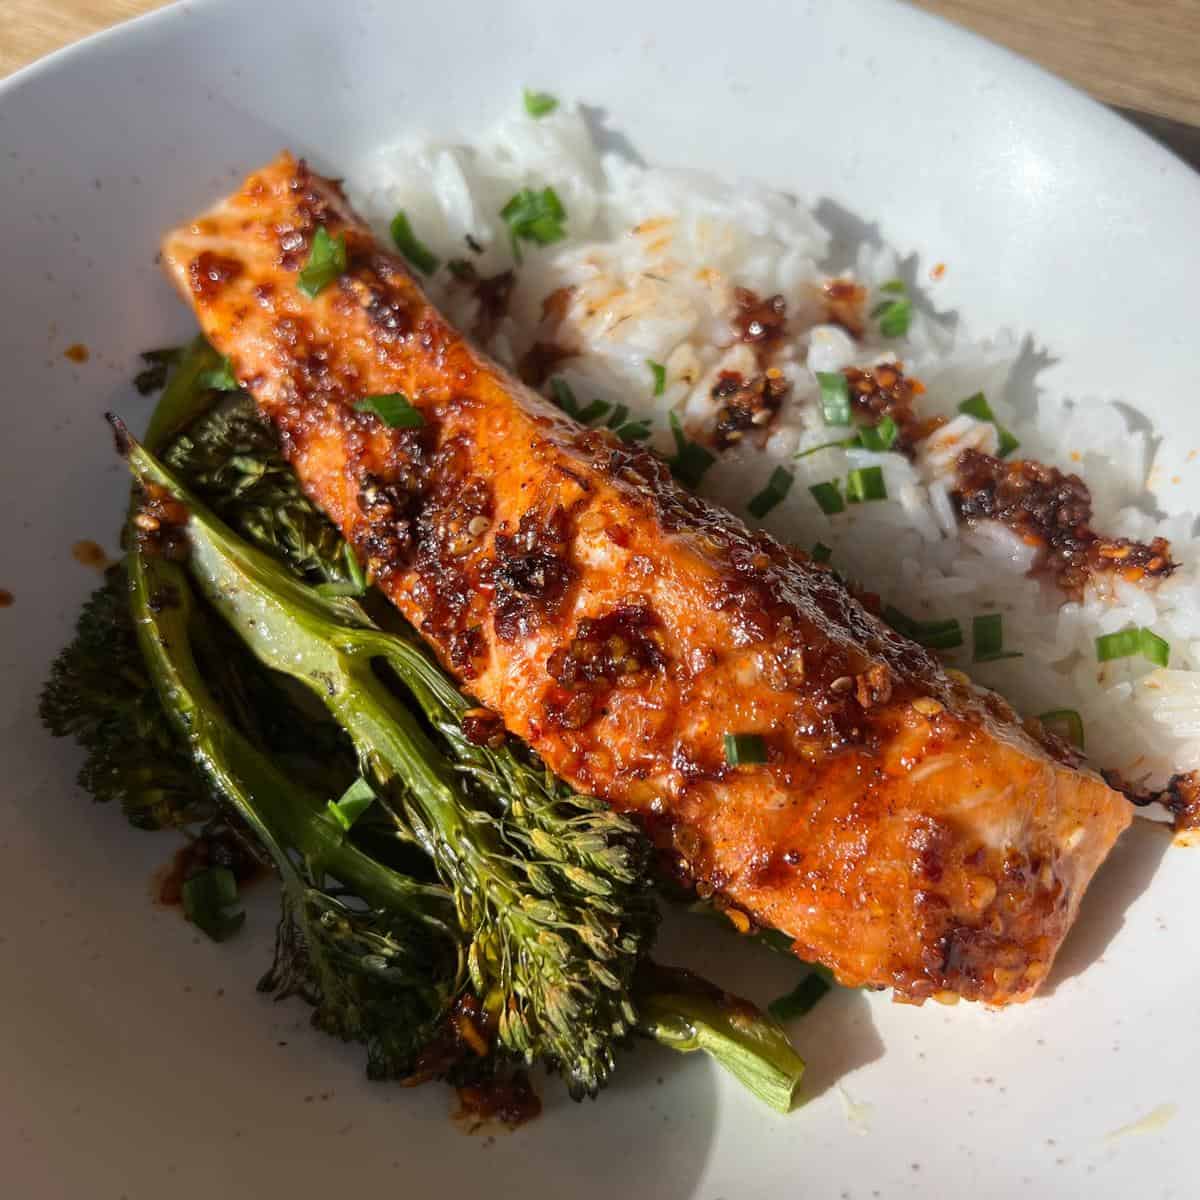
- Steamed jasmine rice adds a soft, fragrant base.
- Roasted vegetables like broccoli or asparagus offer crunch and color.
- Simple cucumber salad refreshes the palate with cool, crisp bites.
- Garlic mashed potatoes bring creamy comfort to the plate.
- Quinoa or couscous provides a healthy, nutty alternative to rice.
Garnishing Ideas
- Fresh chopped cilantro adds a bright, herbal note.
- Thinly sliced green onions give a mild onion flavor and crunch.
- Toasted sesame seeds add nutty texture and visual appeal.
- Thin red chili slices boost heat and color contrast.
- A wedge of lime offers a zesty citrus finish.

Credit: snackingemily.com
Tips For Extra Flavor
Adding extra flavor to your chili crisp salmon can turn a simple meal into a memorable dish. Small changes in preparation can make a big difference in taste and aroma. Here are some practical tips to help you amplify those bold flavors.
Marinating Options
Marinating your salmon allows the flavors to sink deep into the fish. Try mixing chili crisp with soy sauce, a splash of lime juice, and a pinch of brown sugar for a balanced sweet and spicy marinade.
Let the salmon rest in the marinade for at least 30 minutes, but no longer than an hour to avoid overpowering the fish. If you want to experiment, add minced garlic or grated ginger for a fresh, zesty kick.
Adjusting Spice Levels
Chili crisp can vary in heat, so adjust it to fit your taste. If you prefer milder spice, mix the chili crisp with a little honey or mayonnaise to soften the heat without losing flavor.
For those who crave more fire, layer on extra chili flakes or drizzle some hot sauce right before serving. Have you ever tried adding a dash of smoked paprika? It enhances the smoky depth without adding extra heat.
Storage And Leftovers
Storing leftover Easy Chili Crisp Salmon properly keeps it fresh and tasty. This fish dish holds its flavor well when handled right. Safe storage helps avoid waste and saves cooking time later.
Refrigeration Guidelines
Place the salmon in an airtight container or wrap it tightly with plastic wrap. Store it in the refrigerator within two hours of cooking. Keep the temperature at or below 40°F (4°C). Consume leftovers within 2 to 3 days for best taste and safety.
Reheating Tips
Reheat salmon gently to keep it moist and flaky. Use a microwave at medium power for 30-second intervals. Cover the fish with a microwave-safe lid or damp paper towel. Alternatively, warm it in an oven at 275°F (135°C) for 10-15 minutes. Avoid high heat to prevent drying out the salmon.

Credit: food52.com
Frequently Asked Questions
What Makes Chili Crisp Salmon Recipe Easy?
This recipe uses simple ingredients and quick cooking methods. It requires minimal prep time and delivers bold, spicy flavors. Perfect for busy weeknights or beginner cooks wanting delicious salmon.
How Do I Make Chili Crisp Salmon Crispy?
Use high heat when searing the salmon skin-side down. Pat the skin dry and add chili crisp sauce after cooking. This enhances crunchiness and adds a spicy, savory kick.
Can I Use Store-bought Chili Crisp Sauce?
Yes, store-bought chili crisp sauce works well. Choose a quality brand with balanced flavors. It saves time and ensures consistent taste for your salmon dish.
What Sides Pair Well With Chili Crisp Salmon?
Serve with steamed rice, sautéed greens, or roasted vegetables. These sides complement the spicy, rich flavor of the salmon. They create a balanced, satisfying meal.
Conclusion
This easy chili crisp salmon recipe brings bold flavors to your table. It cooks quickly and tastes delicious every time. You can serve it with rice, veggies, or salad. Spicy, crispy, and tender—this dish pleases many taste buds. Try it for a simple weeknight dinner or special meal.
Enjoy the rich taste and easy steps. Cooking salmon has never felt this fun or tasty. Give it a shot and savor each bite.

I’m Abby Lu, a passionate home cook who loves simplifying everyday meals. At PlugChef.com, I share product reviews and cooking guides to help you find the best tools for your kitchen.
Related posts:
 What Type of Cooking Utensils are Safe: Expert Picks
 What Innovations Could Blenders Make: Unleashing Future Tech
 Smart Strategies to Organize a Small Kitchen: Maximize Space
 How to Organize a Kitchen Cabinet: Expert Tips & Tricks
 How to Organize Kitchen Drawers: Expert Tips and Tricks
 How to Organize a Corner Kitchen Cupboard: Expert Tips

