
Are you planning a home renovation and feeling a bit overwhelmed by the thought of cutting Hardiebacker board? You’re not alone.
Many DIY enthusiasts and even seasoned professionals find themselves hesitating at this crucial step. But fear not! You’re about to discover simple techniques that will transform your cutting challenges into opportunities for success. Picture a perfectly cut Hardiebacker board, smoothly fitting into your project, boosting both your confidence and the quality of your work.
This article is crafted with your needs in mind, offering clear guidance and practical tips that will empower you to tackle this task with ease. Ready to make your project shine? Let’s dive in!
Credit: www.thesawguy.com
Tools Required
Cutting Hardiebacker board requires the right tools. These tools make the task easier and ensure precise cuts. Proper preparation is key for a successful project.
Essential Cutting Tools
A circular saw is ideal for straight cuts. Use a carbide-tipped blade for clean edges. A jigsaw works well for curved cuts. Make sure it has a carbide blade too. Score and snap with a utility knife for small pieces. A straightedge helps guide the knife for accurate scoring.
Safety Equipment
Safety goggles protect your eyes from dust and debris. Wear gloves to shield your hands from sharp edges. Dust masks are crucial to avoid inhaling particles. Hearing protection is necessary when using loud power tools.

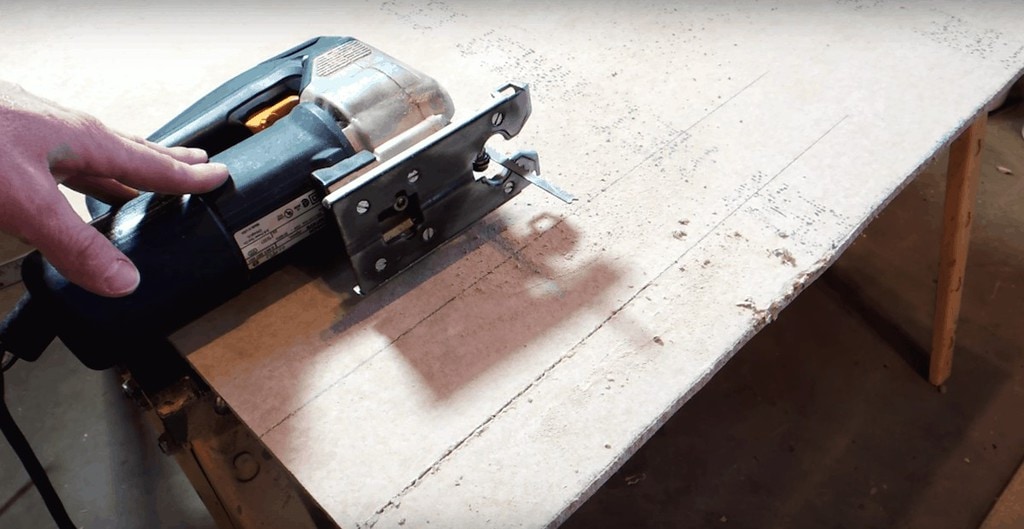
Credit: www.youtube.com
Preparation Steps
Before cutting Hardiebacker board, preparation is crucial for accuracy and safety. Proper planning ensures smooth cutting and installation. This section covers essential preparation steps. These steps set the foundation for a successful project.
Measuring And Marking
Start by measuring the area where the Hardiebacker board will be installed. Use a tape measure for precise dimensions. Write down the measurements on paper. Next, transfer these measurements onto the board. Use a pencil to mark lines. Ensure lines are clear and visible. Double-check measurements for accuracy. Incorrect measurements lead to wasted materials.
Setting Up The Workspace
Create a clean and organized workspace. This prevents accidents and improves efficiency. Choose a flat and stable surface for cutting. Lay down a tarp to catch debris. Ensure proper lighting for visibility. Keep tools within easy reach. Arrange them neatly to avoid clutter. Maintain a safe distance from flammable materials. This reduces fire risks when cutting. Keep safety gear nearby. Goggles and gloves protect against dust and sharp edges.
Cutting Methods
Cutting Hardiebacker board requires precision tools like a carbide-tipped scoring knife or a circular saw. Score the board along the marked line, then snap it cleanly. Always wear safety gear to protect against dust and debris.
Cutting Hardiebacker Board can be a straightforward task if you know the right methods. Whether you’re renovating your bathroom or kitchen, getting those clean cuts on Hardiebacker Board is crucial for a professional finish. The way you cut can make a significant difference in the ease of installation and the overall look of your project. Here, I’ll walk you through three effective cutting methods that cater to different needs and tools you might have at home.Score And Snap Technique
The score and snap technique is a go-to method for many DIY enthusiasts. It’s simple, requires minimal tools, and gets the job done with precision. Just grab a utility knife and a straight edge. Place the straight edge where you want to cut. Score the Hardiebacker Board along the line with your utility knife. Apply firm pressure but don’t rush—slow and steady ensures a clean cut. Once scored, apply pressure on either side of the line to snap the board cleanly. You’ll be surprised at how satisfying it is when the board breaks along the scored line.Using A Circular Saw
For larger projects or thicker boards, a circular saw can be your best friend. A few years ago, I tackled my first bathroom remodel and found that a circular saw made cutting through multiple boards a breeze. Use a carbide-tipped blade for the best results. Make sure to wear safety goggles and a mask to protect yourself from dust. The key is to cut slowly and steadily—let the saw do the work. Keep your hands steady and follow your marked line for a precise cut.Jigsaw For Curved Cuts
Need to cut a curve or an odd shape? A jigsaw is your tool of choice. This method is perfect for those tricky spots around pipes or corners. Choose a fine-tooth blade for smoother cuts. I remember working on a kitchen backsplash and needing to fit the board around an awkward corner. The jigsaw allowed me to make curved cuts effortlessly. Take your time and follow the line closely to ensure accuracy. So, which method will you try first? Each technique has its place, depending on your project’s demands and available tools. Whether you’re an experienced DIYer or a weekend warrior, mastering these cutting methods can elevate the quality of your work.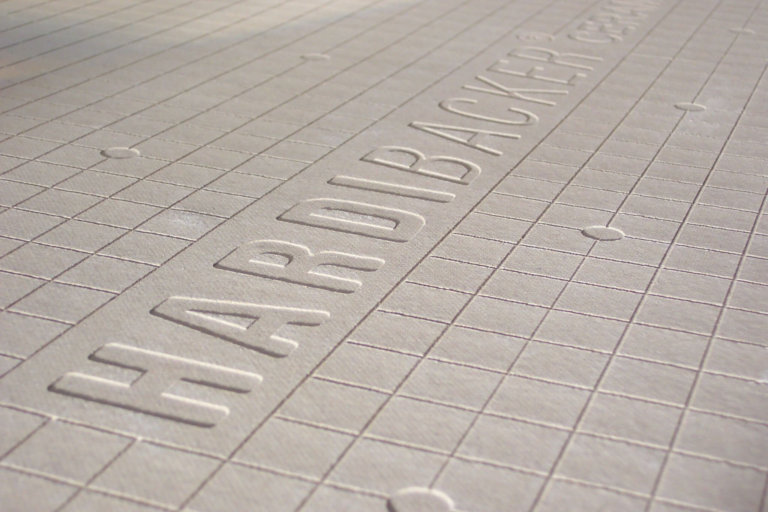
Credit: www.jameshardie.co.uk
Handling Dust And Debris
Cutting Hardiebacker board requires careful handling of dust and debris. This process can generate significant dust, which is both a health and safety concern. Proper techniques can minimize dust and ensure a cleaner workspace. Knowing how to manage debris effectively is also crucial.
Dust Collection Techniques
Use a wet saw to reduce airborne dust. This technique uses water to capture dust particles. Another method is attaching a vacuum to the cutting tool. This setup helps collect dust directly at the source. Ensure the vacuum is suitable for fine dust particles. Wear a dust mask to protect your lungs. Choose a mask with a high filtration capacity.
Proper Disposal Methods
Collect all debris in a sturdy trash bag. Ensure the bag is not overfilled to prevent tearing. Seal the bag tightly to avoid dust escape. Dispose of the sealed bag in accordance with local regulations. Avoid dumping debris in regular trash bins. Consider recycling facilities if available for construction waste.
Common Mistakes
Cutting Hardiebacker board requires precision and care. Many people make common mistakes during this process. These errors can lead to wasted materials and increased costs. Understanding these mistakes helps avoid them.
Avoiding Measurement Errors
Incorrect measurements are frequent in cutting Hardiebacker boards. Always double-check your measurements before marking. Use a reliable measuring tape for accuracy. Measure twice to ensure precision.
Mark your lines clearly with a pencil. Faint lines can lead to cutting errors. Recheck your measurements against your marked lines. This helps verify accuracy before cutting.
Preventing Board Damage
Board damage occurs when cutting tools are used improperly. Choose the right tool for cutting Hardiebacker boards. A circular saw with a carbide-tipped blade works best.
Use steady pressure when cutting. Avoid forcing the tool through the material. This prevents cracking or chipping. Support the board to avoid bending or breaking.
Keep your cutting tools sharp. Dull blades cause rough cuts and damage. Regularly check and maintain your tools for best results.
Finishing Touches
Finishing touches on your Hardiebacker board project ensure durability and aesthetics. These final steps prepare the board for long-lasting performance. They also enhance the overall look of your installation. Precision in these steps makes a big difference. Let’s dive into the details.
Smoothing Edges
After cutting, edges of the Hardiebacker board may be rough. Use a sanding block or a rasp to smooth them. This prevents splinters and ensures a neat finish. A smooth edge also helps in fitting boards perfectly. Take care while sanding to maintain the board’s shape.
Preparing For Installation
Before installation, clean the board thoroughly. Remove dust and debris from the surface. This ensures a strong bond with adhesive. Check for any cracks or chips on the board. Repair them to prevent future issues. Ensure the board is dry before proceeding. This preparation guarantees a seamless installation.
Frequently Asked Questions
What Is The Best Tool To Cut Hardie Board With?
The best tool for cutting Hardie board is a carbide-tipped circular saw. It provides clean, precise cuts. Always use a dust-reducing blade to minimize silica dust exposure. Consider using shears or a jigsaw for smaller, intricate cuts. Proper safety gear is essential to protect against dust and debris.
What Is The Best Thing To Cut Hardiebacker Board With?
Use a carbide-tipped scoring knife or a jigsaw with a carbide blade for cutting HardieBacker board. These tools ensure precise, clean cuts. Avoid using regular saw blades, as they can damage the board. Proper tools enhance accuracy and maintain the board’s integrity.
Do You Need A Special Saw Blade To Cut A Hardie Board?
Yes, use a special saw blade for cutting Hardie board. Choose a diamond-tipped or carbide-tipped blade. These blades provide precise cuts and reduce dust. Ensure your saw blade is suitable for fiber cement materials. Proper blade selection enhances safety and efficiency.
Can You Cut Hardie Board With A Utility Knife?
Hardie board is best cut with a circular saw. A utility knife isn’t suitable for cutting this durable material. Use carbide-tipped blades for clean cuts. Ensure safety by wearing a mask and goggles to protect from dust. Proper tools and precautions ensure efficient and safe cutting of Hardie board.
Conclusion
Cutting Hardiebacker board doesn’t have to be hard. With the right tools, it’s simple. Score it with a utility knife. Snap the board along the line. For curves, use a jigsaw. Wear protective gear to stay safe. Dust can be harmful.
Keep your workspace clean and tidy. Planning ahead saves time and effort. Measure twice to avoid mistakes. Practice makes perfect. Try different methods to see what works best. Cutting Hardiebacker board can be easy with practice. You’ll soon have clean, straight cuts.
Remember to be patient and careful. Your project will look great!

I’m Abby Lu, a passionate home cook who loves simplifying everyday meals. At PlugChef.com, I share product reviews and cooking guides to help you find the best tools for your kitchen.
Related posts:
 What Type of Cooking Utensils are Safe: Expert Picks
 What Innovations Could Blenders Make: Unleashing Future Tech
 Smart Strategies to Organize a Small Kitchen: Maximize Space
 How to Organize a Kitchen Cabinet: Expert Tips & Tricks
 How to Organize Kitchen Drawers: Expert Tips and Tricks
 How to Organize a Corner Kitchen Cupboard: Expert Tips

